Introduction
Connecting your old camcorder to your new smart TV may seem like a daunting task, but with the right cables and a little know-how, it can be a straightforward process. By doing so, you can relive those cherished memories captured on tape and enjoy them on a modern, high-definition screen. Whether it’s the first steps of your child, a family vacation, or a special event, connecting your old camcorder to your smart TV allows you to share those moments with ease.
In this guide, we’ll walk you through the step-by-step process of connecting your old camcorder to your smart TV. We’ll discuss the different types of ports to look for, the necessary cables you will need, and how to adjust the TV input settings to view your camcorder footage. By following these instructions, you’ll be able to enjoy your old camcorder videos on a bigger and better screen in no time.
It’s important to note that the specific steps may vary depending on the make and model of your camcorder and smart TV. However, the general principles outlined here should apply to most setups. Let’s dive in and get started on connecting your old camcorder to your smart TV.
Step 1: Check the ports
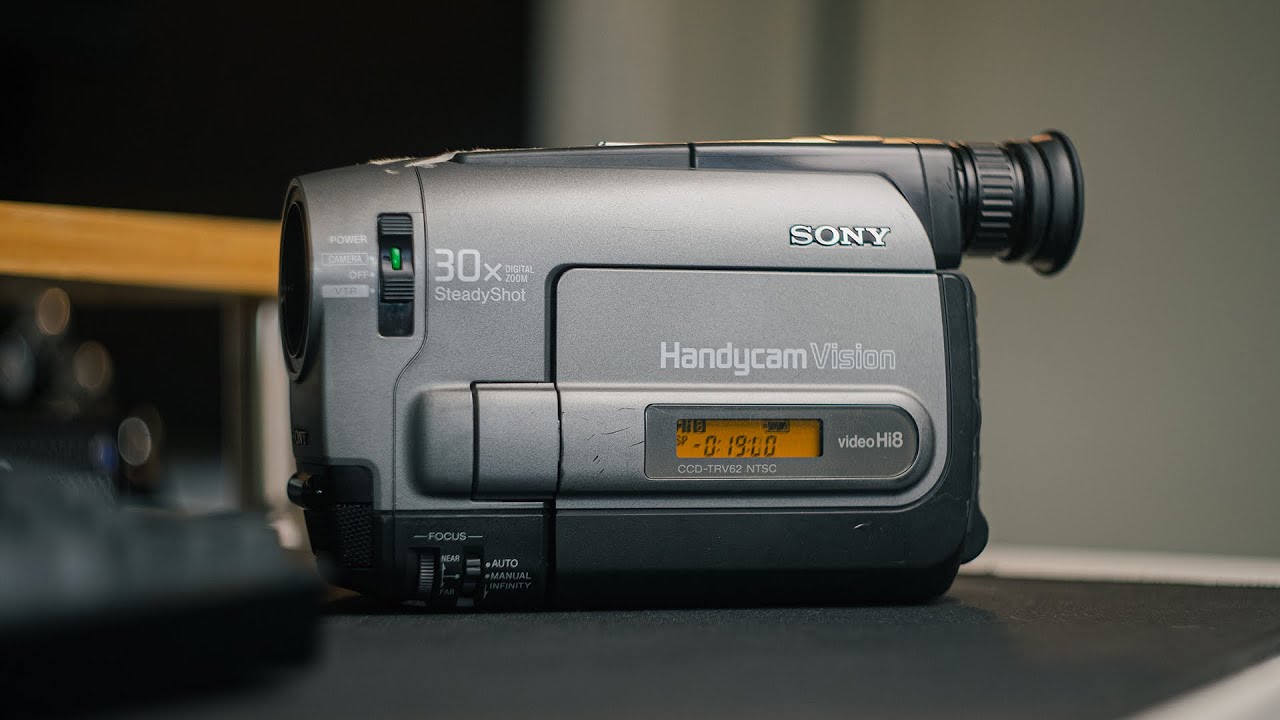
The first step in connecting your old camcorder to your smart TV is to check the available ports on both devices. This will help you determine what type of cable you will need for the connection. Most camcorders have either an AV output or an HDMI output, while smart TVs usually have multiple input options.
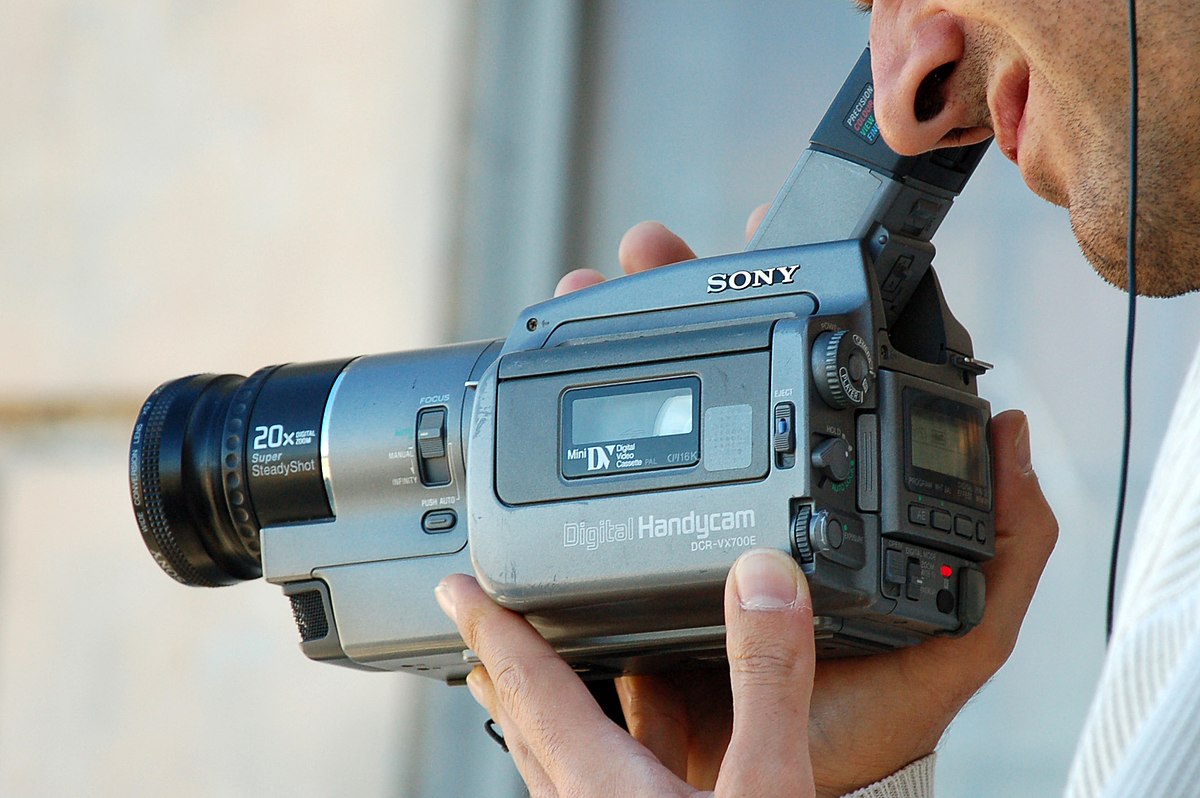
Take a look at your camcorder and identify the output port. If it has an AV output, you will typically find three color-coded ports — yellow, red, and white — which correspond to video and audio signals. If your camcorder has an HDMI output, it will feature a small, rectangular port that delivers both video and audio signals in high-definition.
Next, inspect your smart TV and locate the input ports. Commonly found input ports include HDMI, composite, and component. HDMI ports are rectangular and are usually labeled with an HDMI symbol, while composite ports have color-coded connections (yellow for video, red and white for audio). Component ports have three color-coded connections for video (red, green, and blue) and two connections for audio (red and white).
Once you’ve identified the ports on both your camcorder and smart TV, you can move on to the next step: gathering the necessary cables for the connection.
Step 2: Gather the necessary cables
Now that you’ve identified the ports on both your old camcorder and smart TV, it’s time to gather the necessary cables to connect the two devices. The type of cables you’ll need will depend on the ports available on your camcorder and smart TV.
If your camcorder has an AV output, you’ll need an AV cable with the corresponding color-coded connectors. This cable typically has a yellow connector for video and red and white connectors for audio. Make sure to choose a cable with the appropriate length to comfortably connect your camcorder to your smart TV.
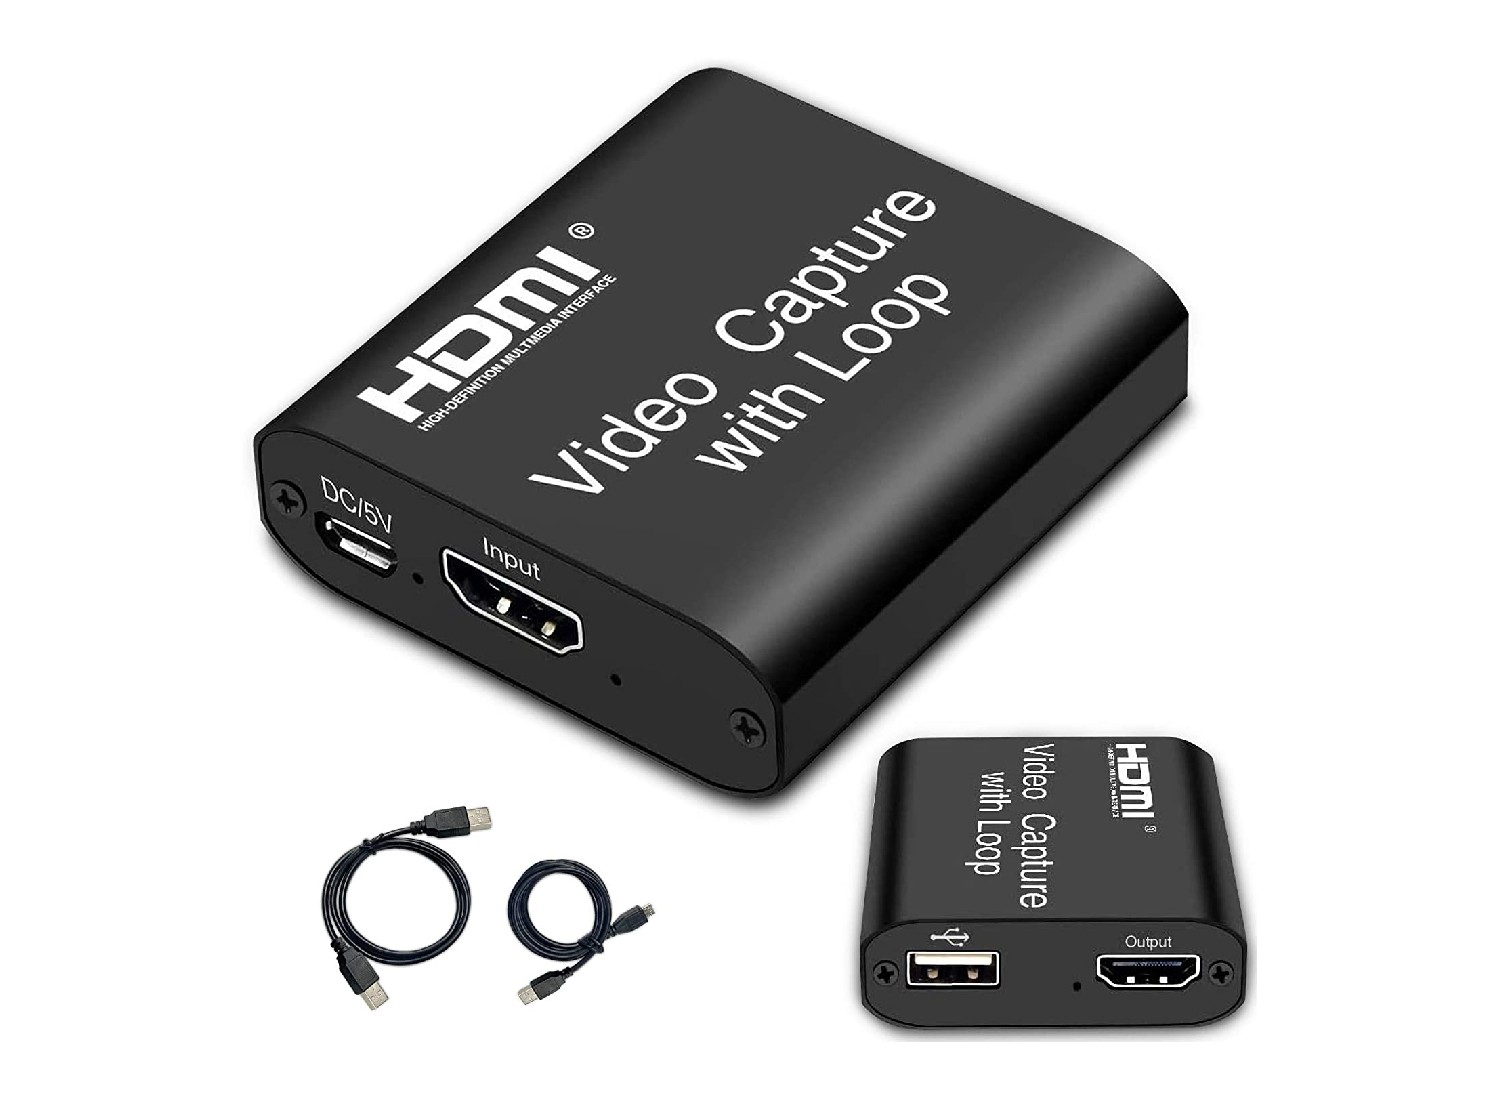
On the other hand, if your camcorder has an HDMI output, you’ll need an HDMI cable. HDMI cables are widely available and come in various lengths, so choose one that suits your needs. It’s worth noting that HDMI cables transmit both video and audio signals, so you won’t need any additional audio cables.
Before purchasing any cables, it’s a good idea to measure the distance between your camcorder and your smart TV to ensure you choose the correct cable length. Additionally, consider the quality of the cable you’re purchasing. While you don’t need to splurge on expensive cables, getting a reliable and durable one will ensure a stable and clear connection between your devices.
Now that you have the necessary cables, you’re ready to move on to the next step: connecting your camcorder to your smart TV.
Step 3: Connect the camcorder to the TV
With the necessary cables in hand, it’s time to connect your old camcorder to your smart TV. The exact steps may vary depending on the types of ports and cables you are using, so refer to the user manuals for your specific devices if needed. Follow these general instructions to establish the connection:
- AV Output: If your camcorder has an AV output, start by plugging one end of the AV cable into the corresponding color-coded ports on the camcorder. The yellow connector should go into the yellow port for video, while the red and white connectors should go into the red and white ports for audio, respectively.
- Take the other end of the AV cable and connect the yellow (video) connector to the matching yellow port on your smart TV. Again, make sure to match the colors correctly for audio, with the red connector going into the red port and the white connector going into the white port.
- Alternatively, if your camcorder has an HDMI output, simply plug one end of the HDMI cable into the HDMI output port on your camcorder.
- Now, connect the other end of the HDMI cable into an available HDMI input port on your smart TV.
Ensure that all connections are secure and tightly plugged in. It’s a good practice to turn off both your camcorder and smart TV before making the connections to avoid any potential damage.
Congratulations! You have successfully connected your old camcorder to your smart TV. The next step is to adjust the TV input settings to view the camcorder footage, which we’ll cover in the following step.
Step 4: Adjust TV input settings
After connecting your old camcorder to your smart TV, it’s time to adjust the TV input settings so that you can view the camcorder footage on the screen. The steps for this may vary depending on your smart TV model, but here are some general guidelines to help you get started:
- Using the remote control: Locate the remote control for your smart TV and look for a button that is labeled “Input,” “Source,” or “AV.” Press this button to access the input menu. Use the directional buttons on the remote control to navigate through the input options until you find the one that corresponds to the port you connected your camcorder to.
- Selecting the correct input: Once you’ve found the input option that matches your camcorder connection, press the “OK” or “Enter” button on the remote control to select it. Your smart TV should now switch to the input source and display the camcorder’s video output on the screen.
- Setting up the input label: Some smart TVs allow you to rename the input labels for better organization. If desired, navigate to the input option you selected in the previous step and look for an option to edit the label. Rename it to something like “Camcorder” or “AV” to easily identify the connected device.
If you’re having trouble finding the input settings or the correct input option, consult the user manual that came with your smart TV. It should provide detailed instructions specific to your model.
Once you have adjusted the input settings, you are ready to play the footage from your old camcorder on your smart TV. Let’s move on to the final step.
Step 5: Play the camcorder footage on your smart TV
Now that you have successfully connected your old camcorder to your smart TV and adjusted the input settings, it’s time to play the footage and relive those cherished memories. Follow these steps to start playing the camcorder footage on your smart TV:
- Camcorder playback: Turn on your camcorder and cue up the tape or media that contains the desired footage you want to watch.
- Smart TV input selection: On your smart TV remote control, navigate to the input/source button again. This time, select the input/source that you previously connected your camcorder to.
- Camcorder playback control: Use the camcorder’s play, pause, and rewind buttons to control the playback of the footage. The video should now be visible on your smart TV screen.
- Smart TV volume control: Adjust the volume on your smart TV or use the camcorder’s audio controls to ensure you can hear the sound accompanying the footage.
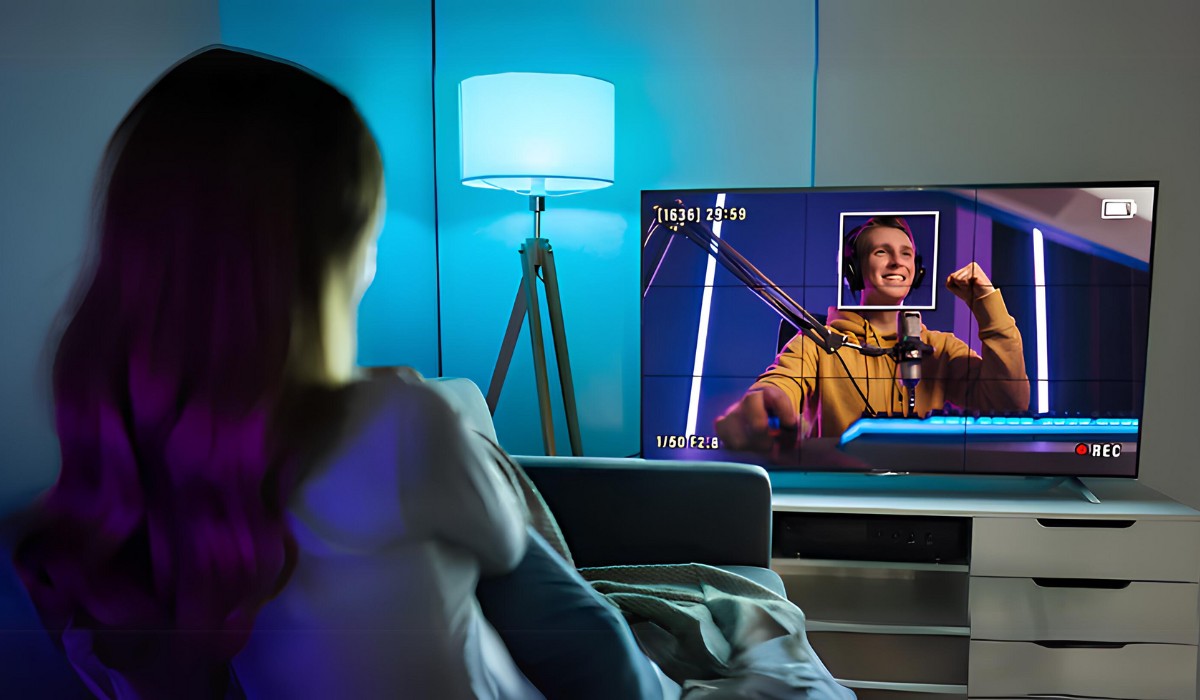
- Enjoy the memories: Sit back, relax, and enjoy watching your camcorder footage on the big screen of your smart TV. Revisit those special moments and share them with your loved ones.
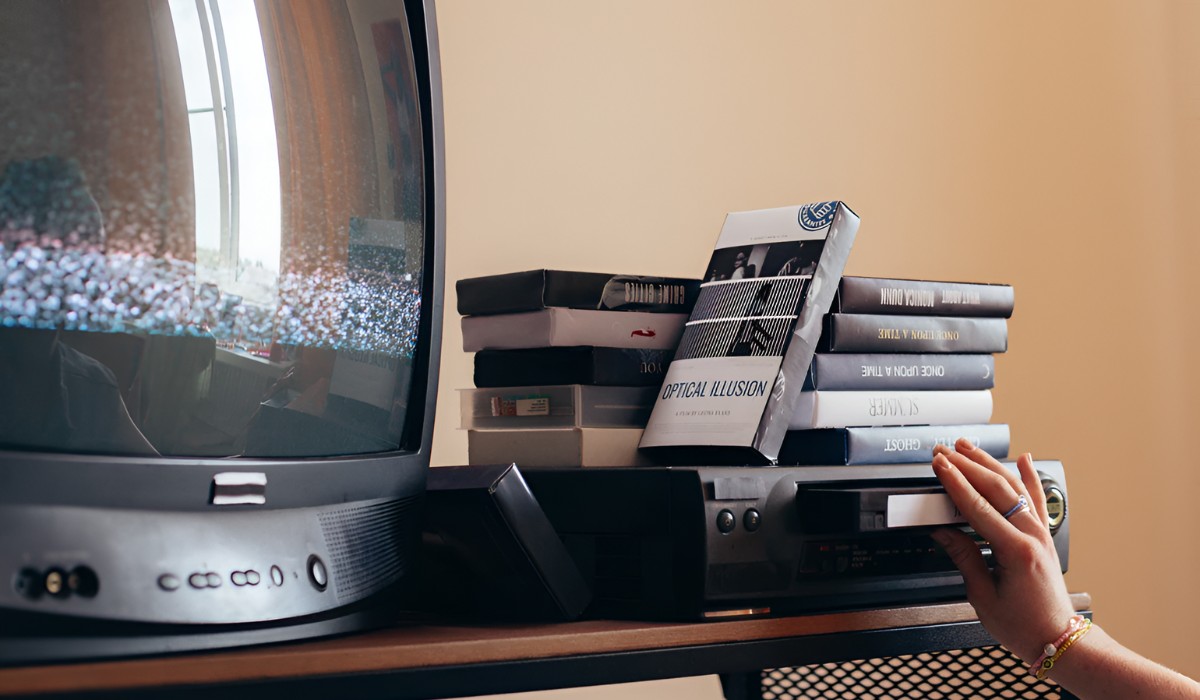
Remember to properly store your old camcorder tapes or media after watching them to preserve them for future viewing. You can also consider transferring the footage to a digital format for easier access and long-term preservation.
With your camcorder successfully connected to your smart TV, you can now comfortably watch your old videos with enhanced picture and sound quality. Enjoy the nostalgia and the ability to relive those precious moments anytime you want.
Conclusion
Connecting your old camcorder to your smart TV may have initially seemed like a challenging task, but by following the steps outlined in this guide, you can now enjoy your cherished camcorder footage on a modern, high-definition screen.
We started by checking the ports on both the camcorder and the smart TV, identifying the necessary cables for the connection. We then proceeded to gather the required cables, ensuring they match the ports on both devices. Next, we connected the camcorder to the TV, either using an AV cable or an HDMI cable.
Once the physical connections were established, we moved on to adjusting the TV input settings. By accessing the input/source menu on the smart TV and selecting the appropriate input option, we ensured that the camcorder footage would be displayed on the screen.
With the input settings configured, we finally reached the step of playing the camcorder footage on the smart TV. By initiating playback on the camcorder and selecting the connected input on the smart TV, we were able to relive those special memories with improved picture and sound quality.
Remember, the specific steps and options may vary depending on the make and model of your camcorder and smart TV. Be sure to consult the user manuals for your devices for detailed instructions tailored to your setup.
Connecting your old camcorder to your smart TV allows you to share those precious moments with family and friends, immersing yourself in nostalgia and creating lasting memories. So go ahead, gather your old tapes, connect your devices, and enjoy the magic of revisiting the past on the big screen of your smart TV.