Introduction
Are you looking to change the LEDs in your Corsair H100i GTX 70.7 CFM Liquid CPU Cooler? Whether you want to customize the lighting to match your PC setup or simply replace a faulty LED, this guide will walk you through the process step by step.
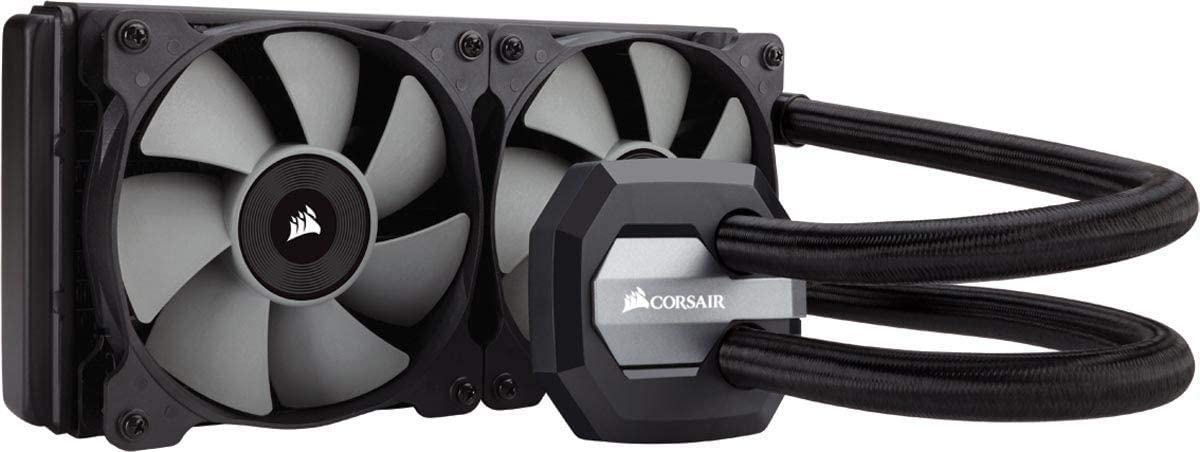
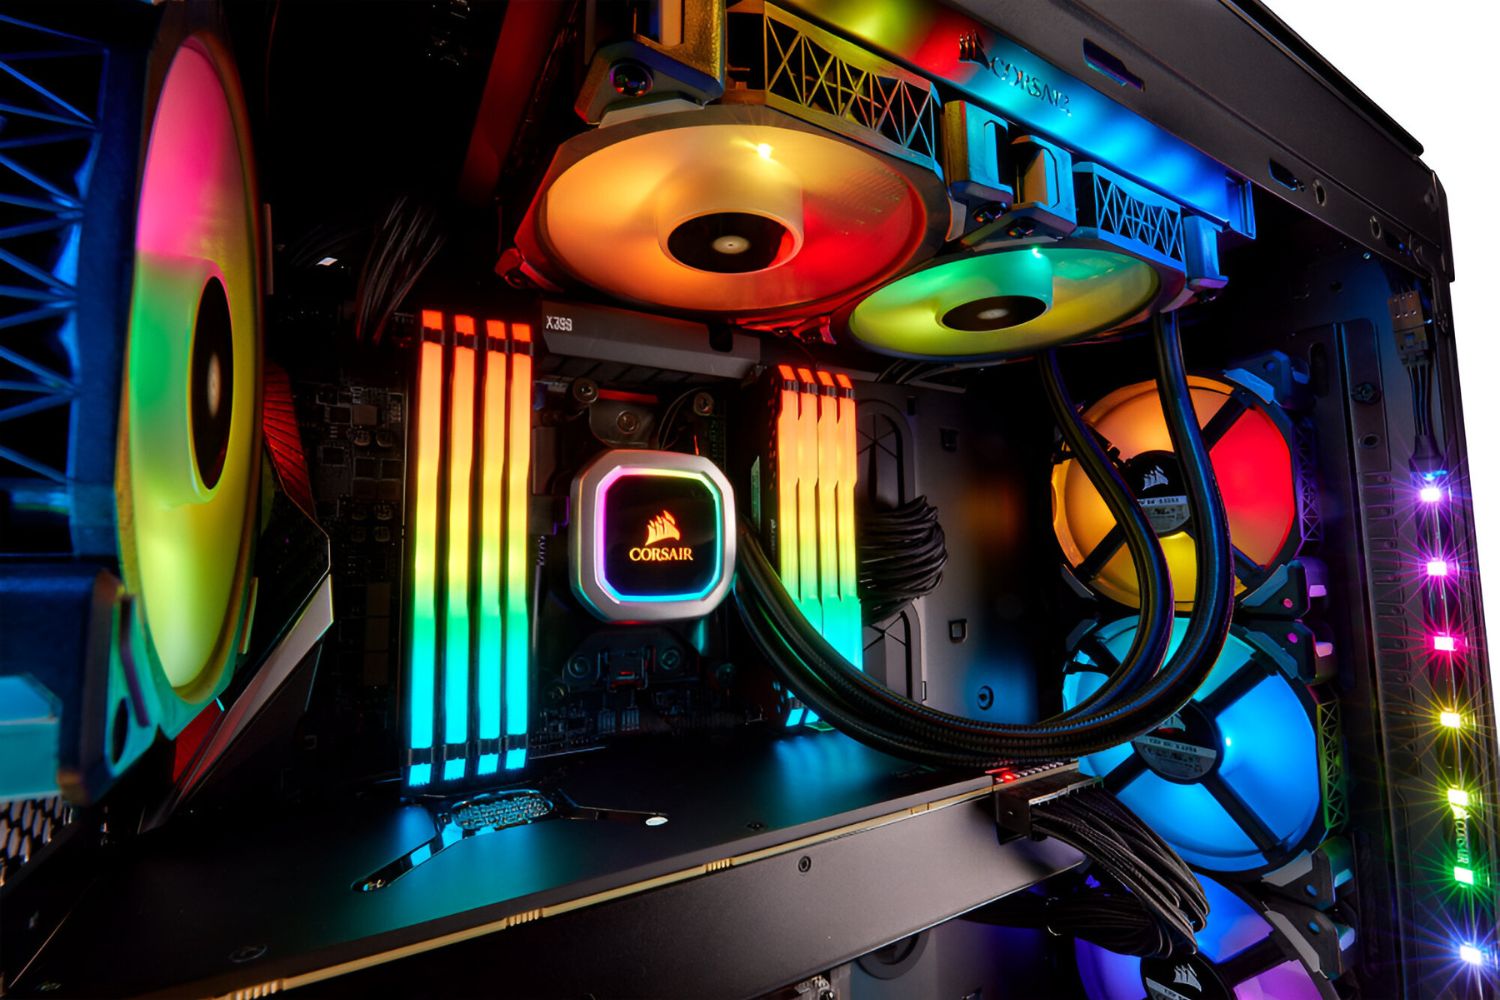
The Corsair H100i GTX is a popular liquid CPU cooler known for its high-performance cooling capabilities. It features vibrant LEDs that can be customized to create stunning lighting effects. However, over time, you may find the need to change the LEDs to freshen up your system’s aesthetics or address any issues with the existing lighting.
Before we dive into the steps, it is essential to gather the necessary tools for this project. Having all the required tools on hand will ensure a smooth and efficient LED replacement process. With a few simple tools and a little patience, you can easily transform the look of your Corsair H100i GTX cooler.
Next, we’ll go over the tools you’ll need for this project.
Tools You’ll Need
Before starting the LED replacement process for your Corsair H100i GTX 70.7 CFM Liquid CPU Cooler, make sure you have the following tools:
- Screwdriver set: A set of screwdrivers with various sizes and types of heads will be necessary for removing screws.
- Tweezers: A pair of tweezers will help you handle small components and make intricate adjustments.
- Replacement LEDs: Make sure you have the appropriate replacement LEDs that are compatible with your Corsair H100i GTX cooler. Check the specifications of your cooler to ensure you get the correct type and size of LEDs.
- Anti-static wrist strap: It’s always a good idea to use an anti-static wrist strap when working with electronic components to prevent any potential damage from electrostatic discharge.
- Clean cloth or microfiber cloth: You’ll need a clean cloth to wipe down the cooler and remove any dust or debris.
Having these tools readily available will make the LED replacement process much smoother and reduce the likelihood of encountering any difficulties along the way. Once you have all the necessary tools, you’re ready to proceed with the LED replacement process.
In the next section, we’ll guide you through the process of removing the CPU cooler from your PC.
Step 1: Removing the CPU Cooler from Your PC
The first step in the LED replacement process is to remove the CPU cooler from your PC. Follow these steps:
- Ensure your PC is powered off and unplugged from the power source. This is crucial for your safety.
- Remove any attached cables or connections from the CPU cooler, including the power cable and any fan connectors.
- Using a screwdriver, locate and remove the screws that secure the CPU cooler to the motherboard. Typically, there will be four screws, one on each corner of the cooler.
- Once the screws are removed, carefully lift the CPU cooler off the CPU socket. Be cautious as there may still be some thermal paste residue between the CPU and the cooler.
- Place the CPU cooler on a clean, flat surface. If there is any thermal paste on the cooler or CPU, use a clean cloth or a thermal paste remover to clean it off. Ensure both surfaces are clean and free from any residue.
Now that you have successfully removed the CPU cooler from your PC, you can proceed to the next step of removing the pump.
In the next section, we’ll guide you through the process of removing the pump.
Step 2: Removing the Pump
After removing the CPU cooler from your PC, the next step is to remove the pump. Follow these steps:
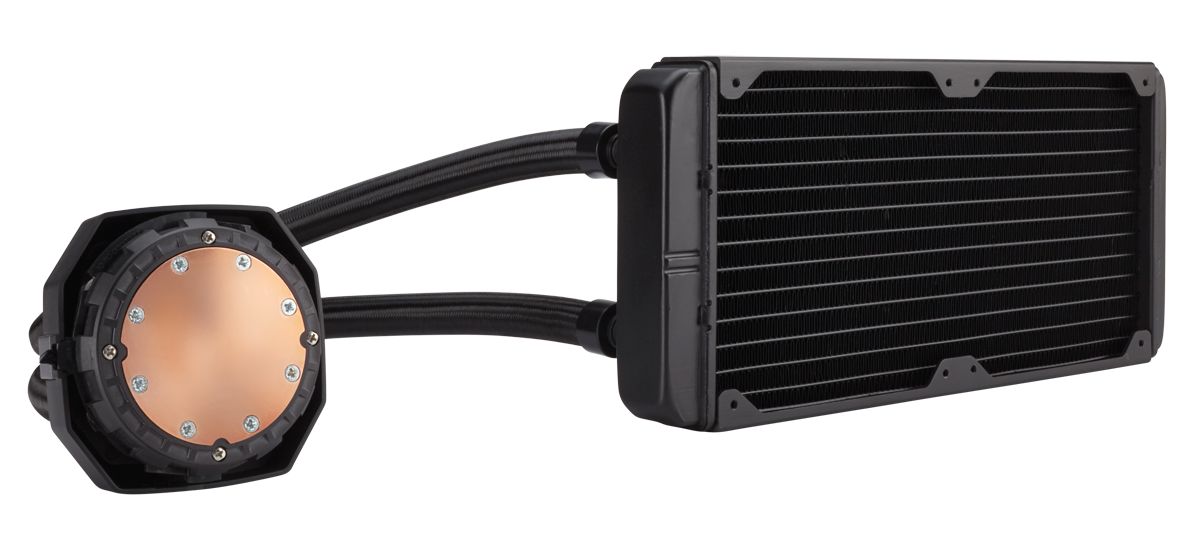
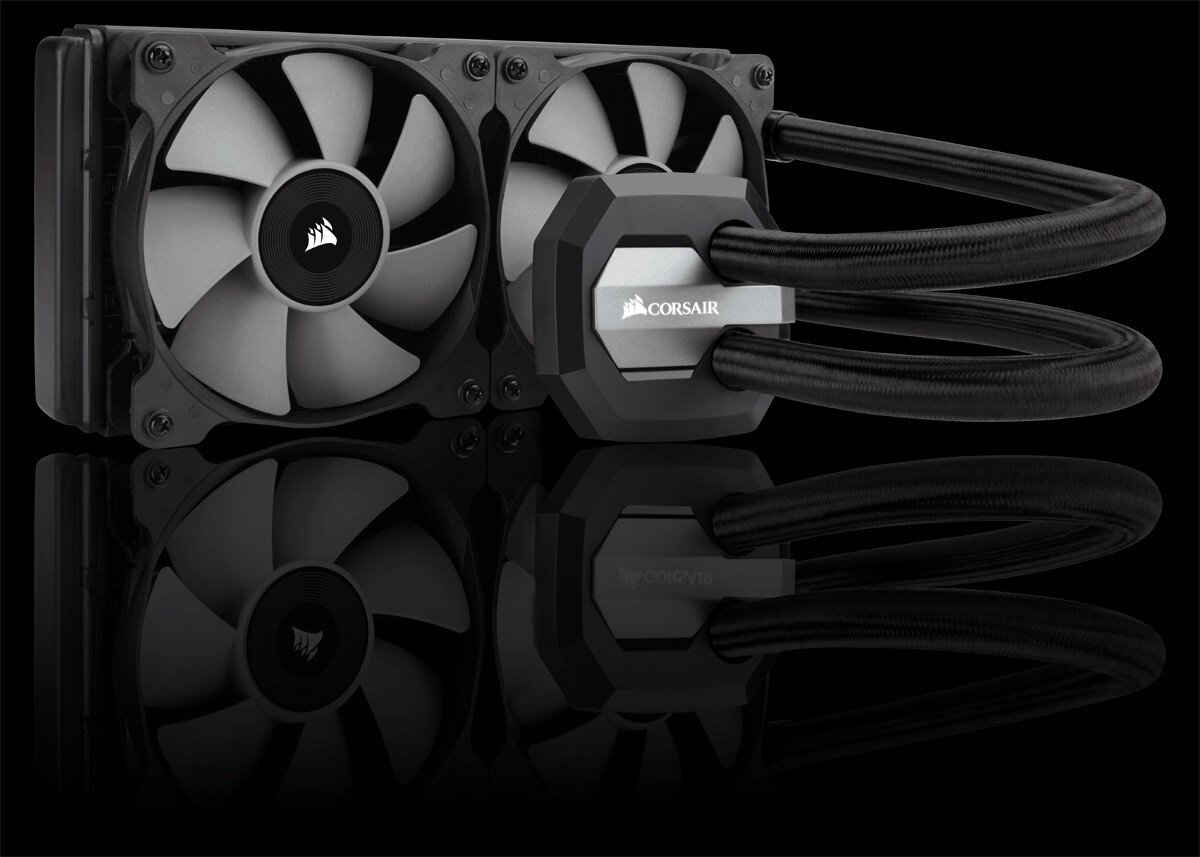
- Locate the pump attached to the CPU cooler. It is typically located on one end of the radiator, and it houses the LED components.
- Identify the screws or clips that secure the pump to the radiator. Use a screwdriver or your fingers to loosen and remove these fasteners.
- Gently detach the pump from the radiator. Be careful not to apply excessive force to avoid damaging any components.
- With the pump removed, you now have better access to the LED components that need to be replaced.
Take a moment to inspect the pump and its components. Look for any signs of damage or wear that may have caused the LED issue. This is also an excellent time to clean any dust or debris that may have accumulated on the pump and radiator.
Once you have completed these steps, you are ready to move on to the next section, where we will guide you through identifying the LEDs to be replaced.
In the next section, we’ll go over the process of identifying the LEDs to be replaced.
Step 3: Identifying the LEDs to be Replaced
Before replacing the LEDs in your Corsair H100i GTX liquid CPU cooler, it’s important to identify the specific LEDs that need to be replaced. Follow these steps:
- Examine the pump and locate the LEDs that are not functioning correctly or need replacement.
- Typically, the LEDs are positioned around the Corsair logo or at specific points on the pump. Take note of the exact location of the faulty LEDs to ensure accurate replacement.
- If possible, compare the faulty LEDs to the working ones adjacent to them. This will help you identify any discernible differences in color, intensity, or flickering.
It’s essential to ensure that you have the correct replacement LEDs for your Corsair H100i GTX cooler. Check the specifications of your cooler and refer to the manufacturer’s documentation to determine the appropriate type and size of LEDs to use for the replacement.
Once you have identified the faulty LEDs and obtained the necessary replacement components, you’re ready to proceed to the next step: replacing the LEDs. This will be covered in detail in the following section.
In the next section, we’ll walk you through the process of replacing the LEDs in your Corsair H100i GTX cooler.
Step 4: Replacing the LEDs
Now that you have identified the faulty LEDs in your Corsair H100i GTX liquid CPU cooler, it’s time to replace them. Follow these steps:
- Using a screwdriver or your fingers, carefully remove any screws or clips holding the faulty LEDs in place. Keep track of these fasteners to prevent them from getting lost.
- Gently detach the faulty LEDs from their sockets. Depending on the type of LEDs used in your cooler, they may be soldered or have connectors. Take your time and handle the LEDs with care to avoid any damage.
- Position the replacement LEDs in the sockets or connectors, ensuring they are properly aligned with the corresponding holes or pins.
- Secure the replacement LEDs in place by reattaching the screws or clips that were removed earlier. Double-check that the LEDs are securely fastened and seated correctly.
It’s important to ensure that the replacement LEDs have the same specifications as the faulty ones. This includes matching the color, size, and voltage requirements to maintain the desired lighting effects and compatibility with your Corsair H100i GTX cooler.
Once you have successfully replaced the LEDs, take a moment to power on your PC and test the lighting. Verify that the newly installed LEDs are functioning correctly and are in sync with the rest of the lighting effects.
If the LEDs are working as expected, congrats! You have successfully replaced the faulty LEDs in your Corsair H100i GTX cooler.
In the next section, we’ll guide you through the process of reassembling the pump.
Step 5: Reassembling the Pump
Now that you have successfully replaced the LEDs in your Corsair H100i GTX liquid CPU cooler, it’s time to reassemble the pump. Follow these steps:
- Take the pump, ensuring that the replacement LEDs are securely in place.
- Align the pump with the radiator and carefully position it back into its original position.
- Reattach the screws or clips that secure the pump to the radiator. Make sure they are tightened adequately but avoid overtightening to prevent any damage to the components.
Ensure that all connections, such as the power cable and any fan connectors, are properly reattached to the pump.
Before moving on to the next step, give the pump a visual inspection to confirm that it is fully assembled, secure, and aligned correctly. This will help ensure optimum performance and prevent any issues with cooling or lighting effects.
In the next section, we will guide you through the process of reinstalling the CPU cooler onto your PC.
Step 6: Reinstalling the CPU Cooler
After successfully reassembling the pump, it’s time to reinstall the CPU cooler onto your PC. Follow these steps:
- Take the CPU cooler, placing it back onto the CPU socket. Ensure that the cooler is aligned properly with the mounting holes.
- Use a screwdriver to reattach the screws in a diagonal pattern. This will ensure even pressure distribution and a secure attachment.
- Tighten the screws until they are snug, but avoid over-tightening to prevent any damage to the CPU or motherboard.
- Once the CPU cooler is properly secured, reconnect any cables or connections that were previously detached.
Before you power on your PC, it’s essential to double-check that all connections are securely fastened and that there are no loose or dangling cables near the CPU cooler. This will help prevent any potential damage to your components or interference with the cooler’s performance.
Once you have confirmed that everything is properly reconnected and secured, you can now plug in your PC and power it on. Take a moment to admire the new LED lighting effects on your Corsair H100i GTX cooler.
Congratulations! You have successfully replaced the LEDs in your Corsair H100i GTX liquid CPU cooler and reinstalled it onto your PC.
Closing Thoughts
Changing the LEDs in your Corsair H100i GTX liquid CPU cooler is a great way to personalize your PC’s aesthetics and ensure that it continues to look and perform its best. By following the steps outlined in this guide, you can easily replace the LEDs and enjoy a vibrant lighting experience once again.
Conclusion
Replacing the LEDs in your Corsair H100i GTX liquid CPU cooler can breathe new life into your PC’s aesthetics and add a touch of personalization. By following the step-by-step guide outlined in this article, you can easily replace faulty or outdated LEDs and enjoy a vibrant lighting experience once again.
Throughout the LED replacement process, it is important to ensure you have the necessary tools on hand and take caution when handling delicate components. Make sure to identify the specific LEDs that need replacing and choose replacement LEDs that match the specifications of your Corsair H100i GTX cooler.
From removing the CPU cooler and pump to replacing the LEDs and reassembling the pump, each step is crucial to successfully completing the LED replacement process. By following these steps carefully, you can avoid any damage to your components and ensure a smooth installation.
After reinstalling the CPU cooler and powering on your PC, take a moment to appreciate the refreshed lighting effects. The vibrant LEDs will enhance the overall appearance of your system and create an eye-catching display.
Remember to regularly maintain and clean your Corsair H100i GTX liquid CPU cooler to keep the LEDs and the entire cooling system functioning optimally. Performing routine maintenance can prolong the lifespan of your cooler and maintain its performance over time.
Now that you have completed the LED replacement process, you can continue to customize and upgrade your PC to suit your preferences. Whether it’s tweaking other lighting elements, upgrading hardware components, or exploring new software features, the possibilities are endless.
We hope this guide has provided you with valuable insights and instructions to successfully change the LEDs in your Corsair H100i GTX liquid CPU cooler. Enjoy your newly enhanced lighting effects and the visual appeal it brings to your PC setup!