Introduction
Welcome to our guide on how to connect the front case fan to the GA-B85M-DS3H-A motherboard. If you are a computer enthusiast or a DIY builder, understanding how to properly connect the front case fan to your motherboard is crucial for maintaining optimal cooling performance.
The GA-B85M-DS3H-A motherboard is a reliable and affordable choice for many PC builders. It offers a range of features and supports various components, including front case fans. Front case fans play a vital role in keeping your computer cool by pulling in fresh air from the front of the case and expelling hot air through the rear or top of the case.
Proper airflow and cooling are essential for preventing overheating and ensuring the longevity of your components. By correctly connecting the front case fan to the motherboard, you can effectively manage the temperature inside your computer case.
In this guide, we will walk you through the process of identifying the front case fan connectors on the GA-B85M-DS3H-A motherboard and demonstrate how to connect your front case fan for optimal cooling performance. Additionally, we will provide troubleshooting tips for common issues you may encounter along the way.
Before we dive into the specifics, it’s important to note that each motherboard may have slightly different connectors and configurations. Therefore, always consult your motherboard’s manual for the most accurate and up-to-date information regarding fan connectors and their locations.
Now, let’s begin our journey to connect the front case fan to the GA-B85M-DS3H-A motherboard and ensure your computer stays cool and in optimal working condition.
Overview of the GA-B85M-DS3H-A Motherboard
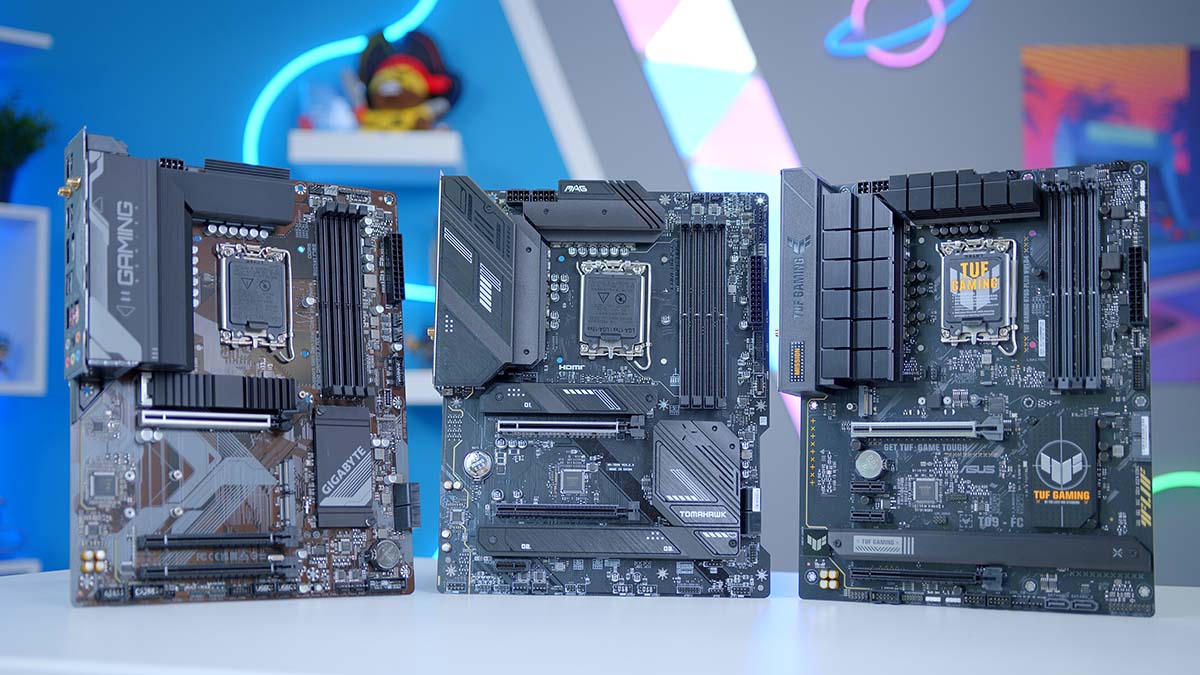
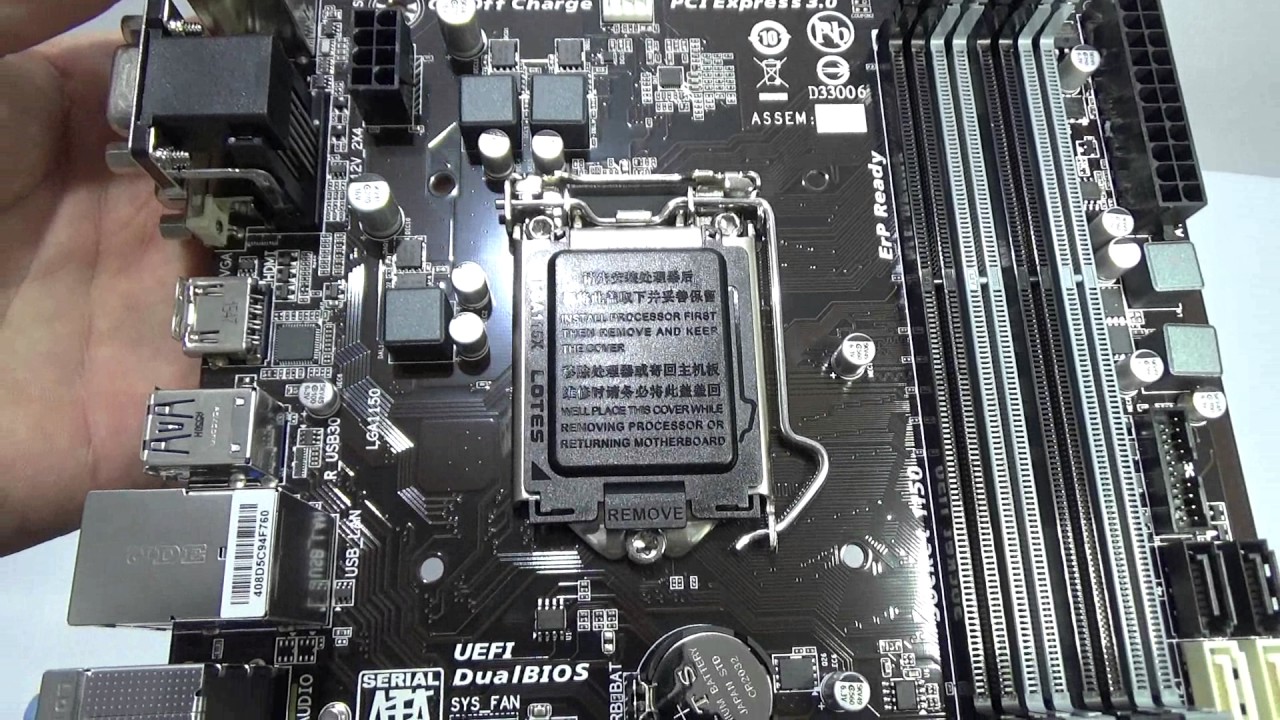
The GA-B85M-DS3H-A motherboard is a reliable and feature-rich micro ATX motherboard designed for both casual users and PC enthusiasts. Developed by Gigabyte, a reputable manufacturer known for producing high-quality motherboards, the GA-B85M-DS3H-A offers a balance of affordability and performance.
This motherboard is based on the Intel B85 chipset, which supports 4th generation Intel Core processors. It features an LGA 1150 socket that is compatible with a wide range of Intel processors, providing flexibility for different budget and performance requirements.
In terms of memory, the GA-B85M-DS3H-A supports up to 4 DDR3 DIMMs, allowing for a maximum capacity of 32GB. It also offers support for dual-channel memory configurations, which can enhance overall system performance.
Connectivity options on the GA-B85M-DS3H-A motherboard include USB 3.0 and USB 2.0 ports, SATA III and SATA II connectors for storage devices, and audio jacks for high-definition audio. Furthermore, it features PCIe 3.0 slots, allowing for expansion cards such as graphics cards or Wi-Fi adapters to be installed.
In terms of graphics, the GA-B85M-DS3H-A motherboard supports Intel HD Graphics integrated into the processors. This means that users can enjoy decent graphics performance without the need for a dedicated graphics card, making it suitable for everyday tasks and light gaming.
Additionally, the GA-B85M-DS3H-A motherboard offers standard features like Gigabit Ethernet, BIOS with Dual-UEFI support, and solid capacitors for improved stability and longevity. These features contribute to a reliable and efficient computing experience.
Overall, the GA-B85M-DS3H-A motherboard provides a solid foundation for building a budget-friendly, yet capable computer system. Its compatibility with a wide range of Intel processors, ample memory support, and various connectivity options make it a versatile choice for both casual users and enthusiasts.
In the next section, we will discuss the importance of cooling and front case fans for maintaining optimal performance on your GA-B85M-DS3H-A system.
Importance of Cooling and Front Case Fans
Proper cooling is essential for keeping your computer operating at optimal performance levels and preventing potential damage caused by overheating. The GA-B85M-DS3H-A motherboard, like any other computer component, generates heat during operation. Excessive heat buildup can lead to reduced performance, system instability, and even permanent damage to sensitive components.
Front case fans play a vital role in maintaining proper airflow and cooling inside the computer case. They are typically situated in the front panel of the case and draw in cool air from outside, directing it towards crucial components such as the CPU, GPU, and memory modules. This influx of fresh air helps dissipate heat more efficiently, ensuring that the internal temperature of your system remains within safe limits.
Without an adequate cooling system, components like the CPU can overheat, causing the system to slow down or crash altogether. Heat can also affect the lifespan and reliability of your hardware, potentially leading to costly repairs or replacements.
The GA-B85M-DS3H-A motherboard is designed to support front case fans to help manage the temperature inside the system. By strategically placing front case fans and maintaining proper airflow, you can significantly reduce the risk of overheating and prolong the lifespan of your components.
In addition to cooling, front case fans can also contribute to reducing noise levels. By circulating air efficiently, they ensure that components stay within their temperature thresholds, preventing fans from spinning at higher speeds, which can generate additional noise.
Front case fans come in various sizes and designs, including 120mm and 140mm fans, and can be equipped with LED lighting for aesthetics. Depending on your preferences and the available space in your case, you can select the appropriate fan that balances noise levels, airflow, and visual appeal.
Now that we understand the importance of cooling and front case fans, let’s move on to identifying the front case fan connectors on the GA-B85M-DS3H-A motherboard and explore how to connect them properly.
Identifying the Front Case Fan Connectors on the Motherboard
Before connecting the front case fan to the GA-B85M-DS3H-A motherboard, it’s crucial to identify the appropriate connectors on the motherboard. These connectors are specifically designed to accommodate the power and control signals required for the front case fan to function correctly.
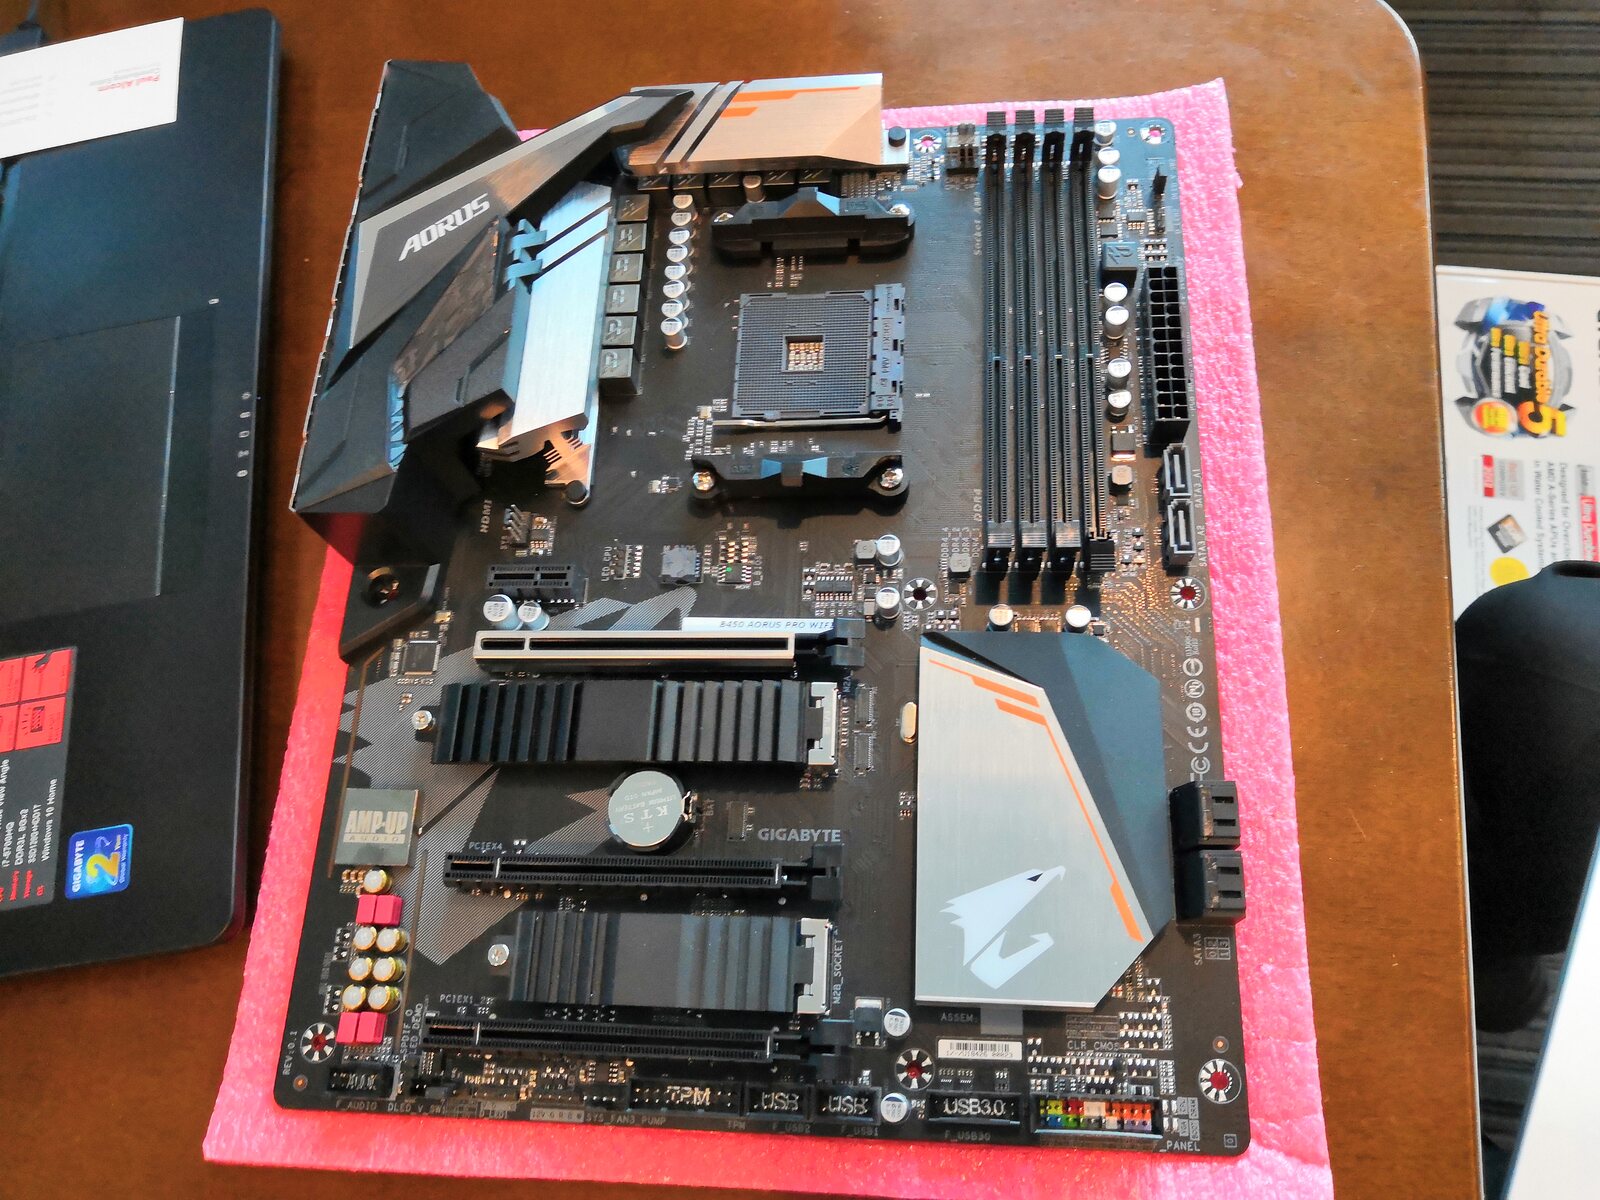
The GA-B85M-DS3H-A motherboard typically features multiple fan headers, including ones specifically labeled for the front case fan. These headers are usually situated near the top or bottom of the motherboard, close to the CPU socket and memory slots.
These fan headers are typically marked as “CHA_FAN” or “SYS_FAN” to indicate their purpose. However, it’s essential to consult the motherboard’s manual to confirm the exact location and labeling of these connectors as different motherboards may have variations in their naming conventions.
To identify the front case fan connectors on the GA-B85M-DS3H-A motherboard, follow these steps:
- Locate the motherboard’s manual either in physical or digital form.
- Refer to the section detailing the motherboard layout or the connections section.
- Look for the headers labeled as “CHA_FAN” or “SYS_FAN”. These are likely to be the connectors designated for connecting front case fans.
- Note the number of available connectors and their positions on the motherboard.
Once you have identified the front case fan connectors, you are ready to proceed with connecting your front case fan. In the next section, we will walk you through the step-by-step process of connecting the front case fan to the GA-B85M-DS3H-A motherboard.
Connecting the Front Case Fan to the Motherboard
Now that you have identified the appropriate connectors on the GA-B85M-DS3H-A motherboard, it’s time to connect the front case fan to ensure proper cooling for your system. Follow these steps to connect the front case fan:
- Locate the front case fan header on the motherboard. It should be labeled as “CHA_FAN” or “SYS_FAN”. Refer to the motherboard manual for its specific location.
- Inspect the front case fan’s cable. It typically has a three- or four-pin connector at the end.
- Align the pins or notches on the fan cable connector with the corresponding pins or notches on the motherboard’s fan header. Pay attention to the orientation to ensure a proper connection.
- Gently push the fan connector onto the fan header, ensuring a secure fit. Take care not to bend any pins during the process.
- Double-check the connection to ensure it is properly seated. The connection should be snug and firm.
- If your front case fan has a separate power cable, connect it to an available power connector, such as a Molex connector from the power supply unit (PSU). This step may not be necessary if your fan receives power directly through the motherboard.
- Once you have completed the connection, tidy up any excess cables and ensure they do not obstruct airflow within the case.
With the front case fan successfully connected to the motherboard, you have taken a significant step towards improving the cooling efficiency and overall performance of your GA-B85M-DS3H-A system. Now, the fan will be able to draw in fresh air from the front of the case and expel hot air, helping to maintain optimal operating temperatures for your components.
Keep in mind that you can connect multiple front case fans to the available fan headers on the motherboard if necessary. Simply repeat the above steps for each additional fan.
In the next section, we will discuss some troubleshooting tips for common issues you may encounter during the front case fan installation process.
Troubleshooting and Common Issues
While connecting the front case fan to the GA-B85M-DS3H-A motherboard is a relatively straightforward process, you may encounter some common issues. Here are a few troubleshooting tips to help you overcome these challenges:
- Fan not spinning: If the fan is not spinning after connecting it to the motherboard, ensure that it is receiving power. Check that the power cable is properly connected, either to the fan header or to an available power connector from the PSU.
- Fan spinning too loudly: If the fan is excessively loud, it may be running at higher speeds than necessary. Check the fan’s speed settings in the BIOS or via fan control software. Adjusting the fan curve or setting a custom fan profile can help reduce noise levels while maintaining adequate cooling.
- Fan vibrations: If the fan is causing vibrations that are noticeable or disruptive, double-check that it is securely mounted to the case. Loose screws or improper positioning can lead to vibrations. Consider using rubber grommets or anti-vibration pads to minimize vibrations.
- Incorrect fan orientation: Ensure that the front case fan is properly oriented to intake air from the front and exhaust it towards the rear or top. Incorrect airflow direction may disrupt the cooling efficiency within the case.
- Fan control issues: If the fan speed is not being properly regulated or adjusted, update the motherboard’s BIOS to the latest version. The latest BIOS may resolve compatibility issues or improve fan control functionality.
- Insufficient airflow: If you find that the front case fan is not providing adequate airflow to cool your components, consider adding additional case fans or upgrading to more powerful fans. Proper case design, cable management, and proper positioning of fans can also improve overall airflow within the case.
If you encounter any other issues or difficulties while connecting the front case fan, consult the motherboard’s manual or seek assistance from the manufacturer’s customer support resources. They will provide specialized guidance tailored to the GA-B85M-DS3H-A motherboard.
Now that you have learned how to troubleshoot common issues, you are equipped with the knowledge to overcome any challenges during the front case fan installation process. In the final section, we will wrap up our guide on connecting the front case fan to the GA-B85M-DS3H-A motherboard.
Conclusion
Congratulations! You have successfully learned how to connect the front case fan to the GA-B85M-DS3H-A motherboard. By ensuring proper cooling and airflow, you have taken a crucial step towards maintaining optimal performance and preventing potential damage caused by overheating.
Throughout this guide, we discussed the importance of cooling and the significant role front case fans play in maintaining the temperature inside your computer. We also provided step-by-step instructions on identifying the front case fan connectors on the motherboard, connecting the front case fan, and troubleshooting common issues you may encounter during the installation process.
Remember to consult the motherboard’s manual for specific instructions and details, as different motherboards may have variations in their fan headers and labeling. Additionally, consider the airflow and positioning of your front case fan to maximize its effectiveness in cooling your components.
Regularly monitor the temperatures of your system and adjust fan speeds or configurations as necessary to optimize cooling performance. A well-cooled system ensures that your computer works efficiently, performs reliably, and has a longer lifespan.
We hope that this guide has provided you with the information and guidance necessary to successfully connect the front case fan to your GA-B85M-DS3H-A motherboard. If you have any further questions or concerns, do not hesitate to seek assistance from the manufacturer’s customer support or a knowledgeable professional.
Thank you for following along with this guide, and good luck with your cooling endeavors! May your computer stay cool, quiet, and perform at its best.