Introduction
Setting bookmarks in Chrome is a convenient way to save and organize your favorite websites for quick and easy access. Whether it's a frequently visited blog, a helpful research page, or an entertaining article, bookmarks allow you to revisit these online destinations with just a click. By following a few simple steps, you can effortlessly create and manage bookmarks, streamlining your browsing experience and ensuring that your go-to sites are always within reach.
In this guide, we will walk you through the process of setting a bookmark in Chrome, providing clear and easy-to-follow instructions. Whether you're a seasoned Chrome user or just getting started with this popular web browser, mastering the art of bookmarking will empower you to tailor your browsing environment to suit your preferences and streamline your online activities.
By the end of this tutorial, you will have the knowledge and confidence to create, organize, and access bookmarks in Chrome, enhancing your overall browsing efficiency and enjoyment. So, let's dive in and discover how to set a bookmark in Chrome, unlocking the full potential of this versatile web browser.
Step 1: Open Chrome and Navigate to the Page
To begin the process of setting a bookmark in Chrome, you first need to open the Chrome web browser on your desktop, laptop, or mobile device. Once Chrome is launched, you can proceed to navigate to the specific web page that you wish to bookmark. This could be a website, a blog post, an article, or any other online content that you want to save for future reference.
If you are using a desktop or laptop, simply click on the Chrome icon on your taskbar or desktop to open the browser. If you are using a mobile device, tap on the Chrome app icon to launch the browser. Once Chrome is open, you can either enter the URL of the web page directly into the address bar or use a search engine to find the page you want to bookmark.
If you have the URL of the web page handy, type it into the address bar at the top of the Chrome window and press Enter. This will take you directly to the desired web page. Alternatively, if you don't have the URL memorized, you can use the search bar on the new tab page to look for the web page by entering relevant keywords or phrases.
Once you have successfully navigated to the web page you want to bookmark, you are ready to move on to the next step in the process. This initial step sets the stage for the bookmarking process, ensuring that you are on the right web page before proceeding to save it as a bookmark in Chrome.
By following these simple instructions, you can easily open Chrome and navigate to the specific web page that you intend to bookmark. This foundational step paves the way for the seamless creation of bookmarks, allowing you to curate a personalized collection of saved web pages within your Chrome browser.
Step 2: Click on the Star Icon
After navigating to the desired web page in Chrome, the next step in setting a bookmark is to click on the star icon located in the browser's address bar. This star icon serves as the gateway to saving the current web page as a bookmark, allowing you to easily revisit it in the future with just a few clicks.
When you click on the star icon, a small dialog box will appear, prompting you to confirm and customize the bookmark. This dialog box provides essential options for naming the bookmark and selecting the folder in which it will be saved, enabling you to organize your bookmarks efficiently.
By clicking the star icon, you are signaling to Chrome that the current web page is significant to you and that you want to save it for future reference. This simple yet powerful action initiates the bookmarking process, capturing the URL and metadata of the web page and preparing it for inclusion in your bookmark collection.
The star icon serves as a visual cue, reminding you of the importance of the current web page and offering a convenient means of preserving it for later access. This intuitive feature embodies Chrome's user-friendly design, empowering you to curate a personalized library of bookmarks tailored to your browsing habits and interests.
By clicking on the star icon, you are taking an active step towards customizing your browsing experience, ensuring that your favorite web pages are readily accessible whenever you need them. This straightforward action exemplifies Chrome's commitment to user convenience and personalization, allowing you to effortlessly manage and revisit your bookmarked content.
In summary, clicking on the star icon in Chrome is a pivotal moment in the bookmarking process, marking the transition from browsing to saving. This action encapsulates the essence of bookmarking, empowering you to capture and preserve valuable web content within your browser, ready to be rediscovered at your convenience.
Step 3: Edit the Bookmark Name and Folder (Optional)
Once you've clicked on the star icon to save a bookmark in Chrome, you have the option to customize the bookmark name and choose the folder where it will be stored. While this step is optional, it offers valuable flexibility in organizing and managing your bookmarks according to your preferences.
Upon clicking the star icon, a small dialog box will appear, presenting the option to edit the bookmark name. By default, Chrome uses the page's title as the bookmark name, but you can modify it to better reflect the content or purpose of the web page. This customization allows you to create descriptive and easily recognizable bookmark names, making it simpler to identify and access your saved web pages.
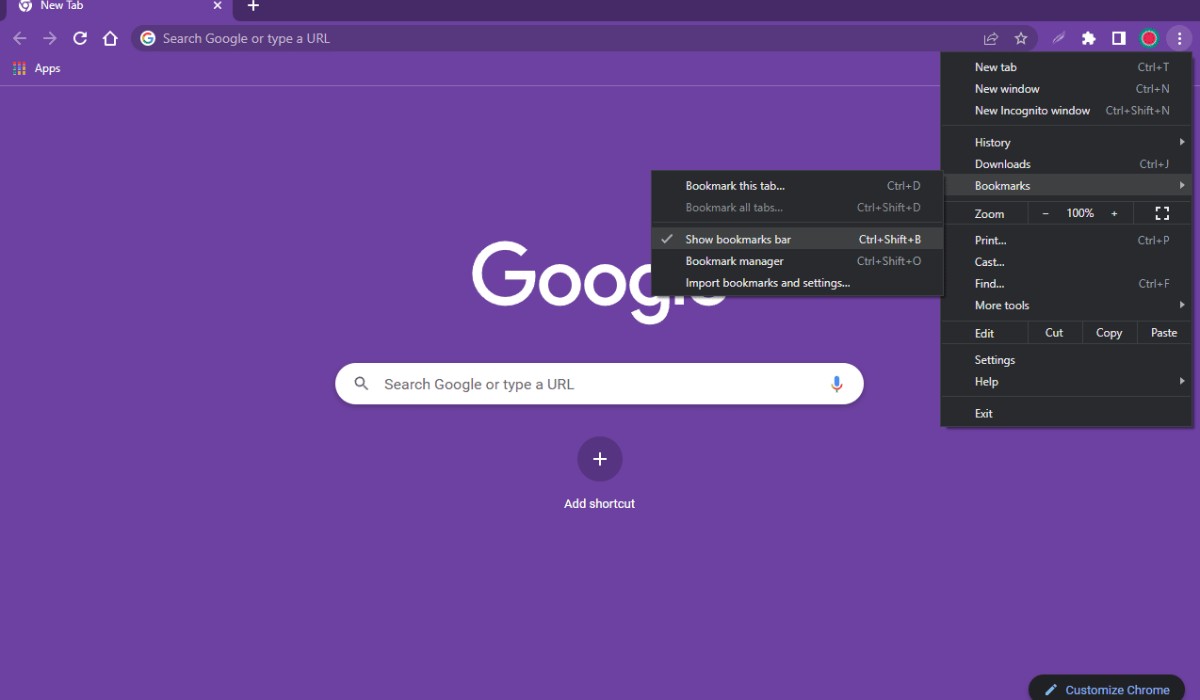
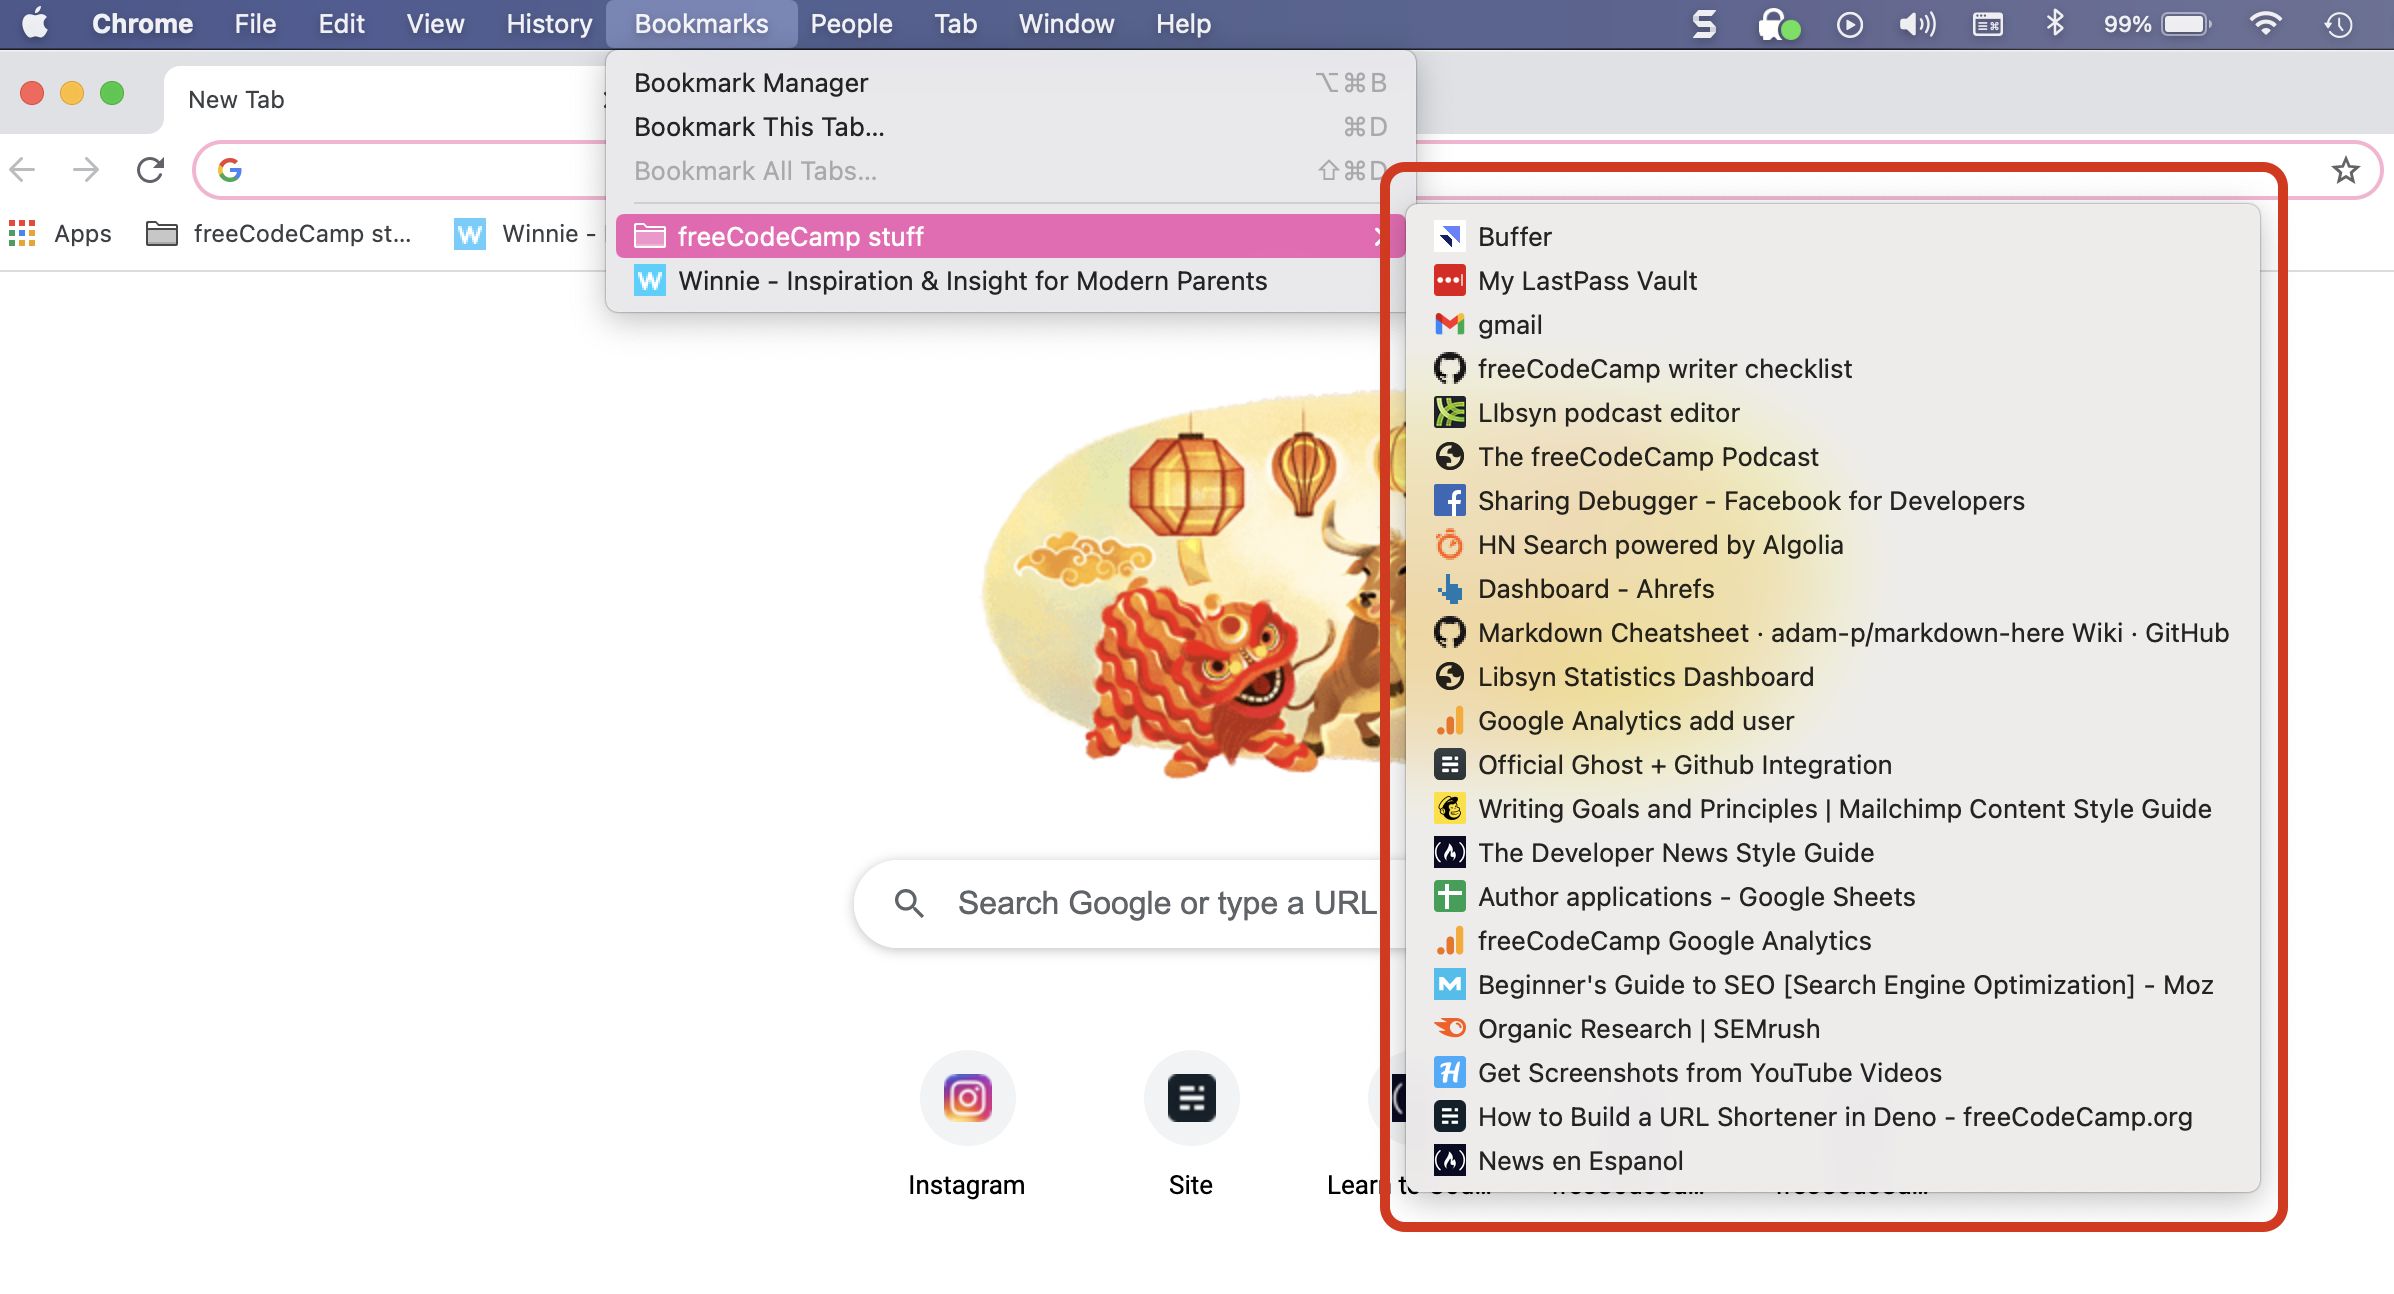
In addition to editing the bookmark name, you can also select the folder in which the bookmark will be stored. Chrome provides default folders such as "Bookmarks Bar" and "Other Bookmarks," as well as the option to create custom folders for more specific categorization. Organizing bookmarks into folders enables you to structure and compartmentalize your saved web pages based on topics, interests, or any other criteria that resonate with your browsing habits.
Customizing the bookmark name and choosing the appropriate folder empowers you to curate a well-organized and personalized collection of bookmarks within Chrome. Whether you prefer a streamlined approach with minimal folder usage or a meticulously categorized system, the ability to tailor bookmark names and folder placement ensures that your bookmark library aligns with your individual preferences and browsing patterns.
By providing the option to edit bookmark names and select storage folders, Chrome places control in your hands, allowing you to shape your browsing environment according to your unique needs and preferences. This level of customization enhances the usability and practicality of bookmarks, transforming them from mere saved links into a curated repository of valuable online resources.
In summary, while editing the bookmark name and choosing the folder for storage is an optional step, it offers significant benefits in terms of personalization and organization. By taking advantage of these customization options, you can optimize your bookmarking experience, creating a tailored collection of saved web pages that aligns seamlessly with your browsing habits and interests.
Step 4: Save the Bookmark
After customizing the bookmark name and selecting the desired folder, the final step in setting a bookmark in Chrome is to save the bookmark. This straightforward yet crucial action solidifies the inclusion of the web page in your bookmark collection, ensuring that it is readily accessible for future visits.
Upon completing the customization of the bookmark name and folder selection, you can simply click the "Done" button within the small dialog box that appeared after clicking the star icon. This action confirms your choices and saves the bookmark, seamlessly integrating it into your Chrome browser's bookmark library.
By clicking "Done," you are effectively sealing the bookmarking process, signaling to Chrome that you are satisfied with the customizations and ready to add the web page to your collection. This action signifies the culmination of your efforts to save a valuable online resource for convenient access at a later time.
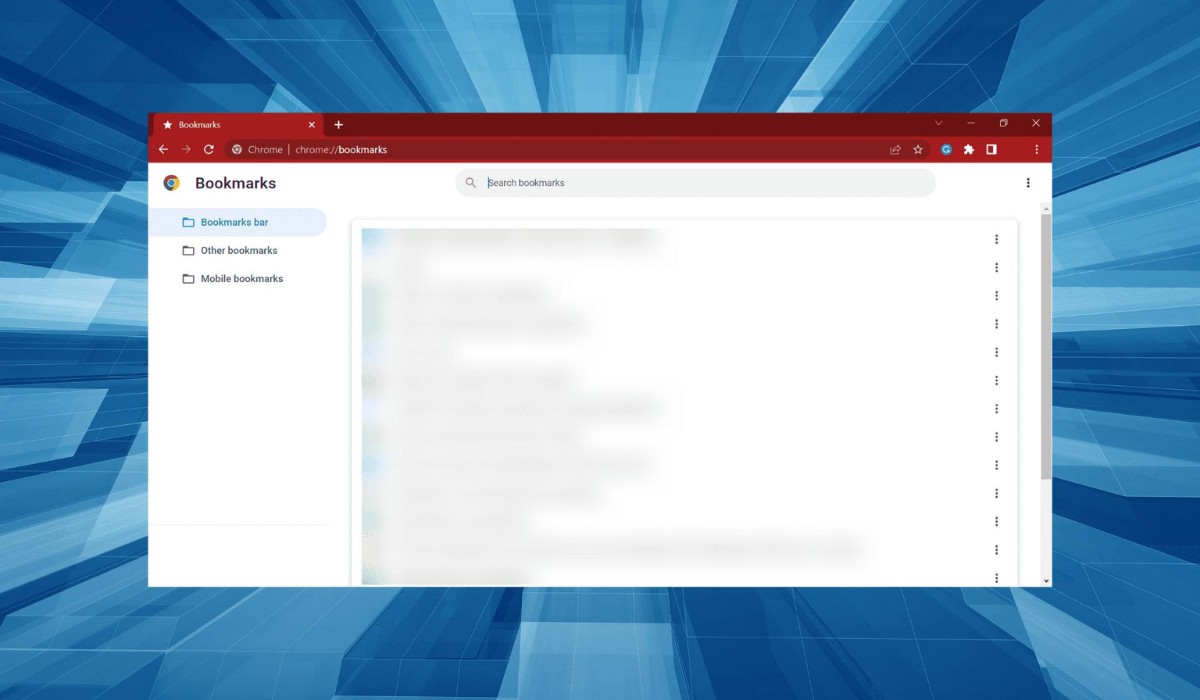
Once the bookmark is saved, it becomes a permanent fixture within your Chrome browser, easily accessible through the bookmarks bar, the bookmarks manager, or any designated folders. This ensures that you can revisit the saved web page with ease, eliminating the need to remember or search for the URL each time you want to access the content.
Saving the bookmark in Chrome represents the final touch in curating your personalized collection of saved web pages, reflecting your browsing preferences and interests. This simple yet impactful action empowers you to build a repository of valuable online resources, tailored to your individual needs and readily available whenever you need them.
In essence, saving the bookmark in Chrome is the culmination of the entire bookmarking process, transforming a mere web link into a conveniently accessible and organized entry in your browsing arsenal. By completing this step, you solidify your ability to effortlessly revisit and engage with your favorite online content, enhancing your overall browsing experience.
In summary, saving the bookmark in Chrome is the ultimate act of preserving and organizing valuable web content, ensuring that it remains within reach whenever you need it. This final step encapsulates the essence of bookmarking, empowering you to curate a personalized library of saved web pages that aligns seamlessly with your browsing habits and preferences.
Conclusion
In conclusion, mastering the art of setting bookmarks in Chrome is a valuable skill that can significantly enhance your browsing experience. By following the simple yet impactful steps outlined in this guide, you can seamlessly create and manage bookmarks, ensuring that your favorite web pages are readily accessible whenever you need them.
Setting a bookmark in Chrome begins with the fundamental step of opening the browser and navigating to the desired web page. This initial action sets the stage for the bookmarking process, ensuring that you are on the right page before proceeding to save it as a bookmark.
Clicking on the star icon in Chrome serves as the pivotal moment in the bookmarking process, signaling your intent to save the current web page for future reference. This intuitive action captures the URL and metadata of the web page, preparing it for inclusion in your bookmark collection.
Customizing the bookmark name and selecting the storage folder offers valuable flexibility in organizing and managing your bookmarks according to your preferences. Whether you prefer a streamlined approach with minimal folder usage or a meticulously categorized system, the ability to tailor bookmark names and folder placement ensures that your bookmark library aligns with your individual preferences and browsing patterns.
Saving the bookmark in Chrome represents the final touch in curating your personalized collection of saved web pages, reflecting your browsing preferences and interests. This simple yet impactful action empowers you to build a repository of valuable online resources, tailored to your individual needs and readily available whenever you need them.
By mastering the process of setting bookmarks in Chrome, you can streamline your online activities, ensuring that your go-to sites are always within reach. Whether it's a frequently visited blog, a helpful research page, or an entertaining article, bookmarks allow you to revisit these online destinations with just a click, enhancing your overall browsing efficiency and enjoyment.
In essence, setting bookmarks in Chrome empowers you to curate a personalized library of saved web pages that aligns seamlessly with your browsing habits and preferences. This simple yet powerful feature embodies Chrome's commitment to user convenience and personalization, allowing you to effortlessly manage and revisit your bookmarked content.
By incorporating the knowledge gained from this guide into your browsing routine, you can unlock the full potential of Chrome's bookmarking capabilities, creating a tailored collection of saved web pages that reflects your unique interests and browsing habits. So, embrace the power of bookmarks in Chrome and elevate your browsing experience to new heights.