Introduction
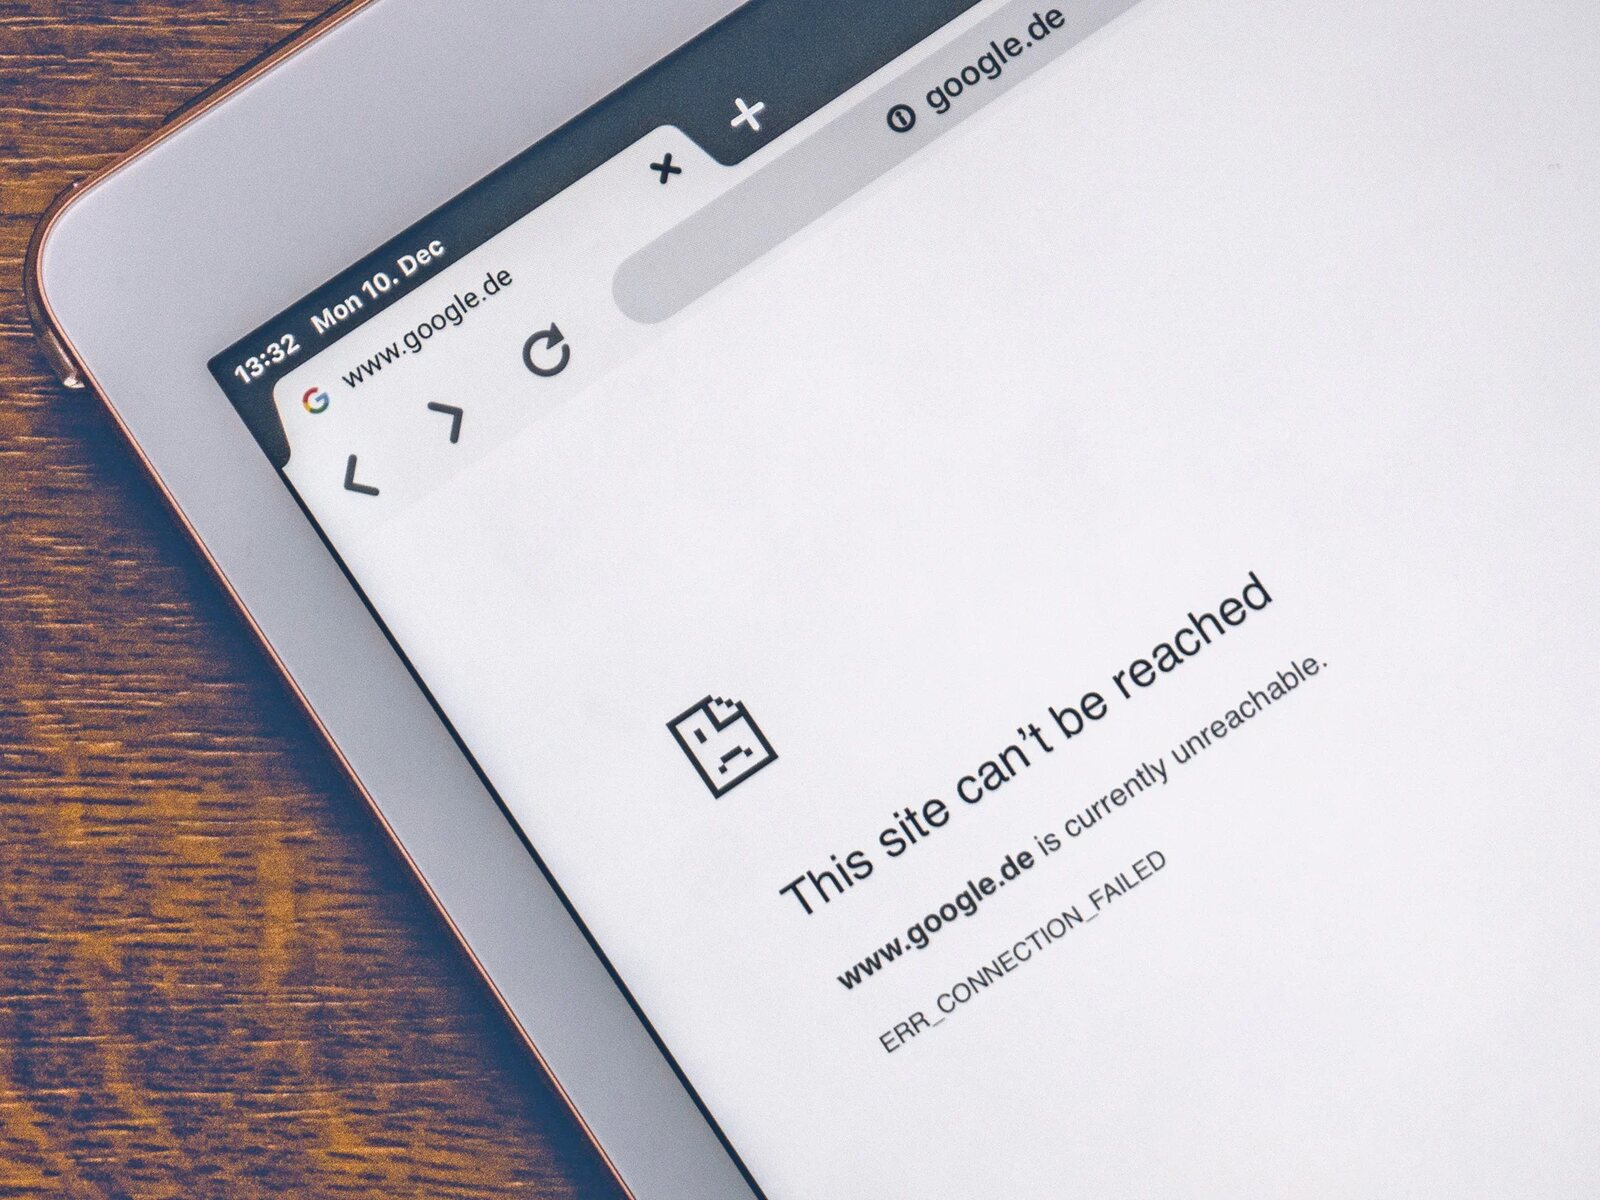
When browsing the web, have you ever encountered a situation where a webpage fails to load properly due to a slow internet connection or server issues? It can be frustrating, especially when you urgently need to access the information on that page. However, there's a nifty feature in Google Chrome that can come to your rescue – the ability to view cached pages.
Cached pages are essentially saved versions of websites that Chrome stores on your computer. This means that even if the live version of a webpage is inaccessible, you can still retrieve the cached version from your browser's memory. This can be incredibly handy, allowing you to access the content you need without having to wait for the page to reload or the server to come back online.
In this article, we'll delve into the details of how you can access and view cached pages in Chrome. Whether you're a casual internet user or a seasoned web surfer, understanding this feature can be a game-changer in your browsing experience. So, let's roll up our sleeves and explore the world of cached pages in Chrome!
Accessing Chrome's Cached Pages
Accessing Chrome's cached pages is a straightforward process that can be incredibly useful in various browsing scenarios. Whether you're experiencing slow internet connectivity, server downtime, or simply want to revisit a previously viewed webpage without reloading it, accessing cached pages can be a lifesaver.
To access Chrome's cached pages, follow these simple steps:
-
Open Chrome's History: Start by launching Google Chrome on your computer or device. Once the browser is open, navigate to the top-right corner and click on the three-dot menu icon. From the dropdown menu, select "History." Alternatively, you can press "Ctrl + H" on your keyboard to directly access the browsing history.
-
Browsing History Page: Upon clicking "History," a new tab will open, displaying your browsing history. Here, you'll find a list of websites you've visited, organized by date and time. This is where you can access the cached pages of previously visited websites.
-
Search for the Desired Page: If you remember the specific webpage you want to access in its cached form, you can use the search bar at the top of the browsing history page to quickly locate it. Simply enter keywords related to the webpage's title or content, and the browsing history will filter the results accordingly.
-
Access the Cached Page: Once you've located the desired webpage in the browsing history, click on it to open the cached version. Chrome will retrieve the saved version of the webpage from its cache, allowing you to view the content even if the live version is inaccessible.
-
Navigate Through Cached Content: Upon accessing the cached page, you can navigate through the content just as you would on the live webpage. This includes reading articles, viewing images, and accessing other media that was present when the page was initially cached.
By following these steps, you can easily access Chrome's cached pages and retrieve valuable information from previously visited websites, even when the live versions are unavailable. This feature can be particularly beneficial in situations where internet connectivity is limited or when websites experience temporary outages.
Now that we've explored how to access Chrome's cached pages, let's delve into the next step – viewing the cached pages in Chrome.
Viewing Cached Pages in Chrome
When it comes to viewing cached pages in Chrome, the process is remarkably simple and can be a lifesaver in various browsing scenarios. Whether you're dealing with slow internet connectivity, temporary server issues, or simply want to revisit a previously viewed webpage without the need to reload it, accessing and viewing cached pages can significantly enhance your browsing experience.
Once you've accessed Chrome's browsing history and located the desired webpage, the next step is to view its cached version. Here's how you can effortlessly view cached pages in Chrome:
Step 1: Accessing the Cached Version
Upon clicking on the desired webpage from the browsing history, Chrome will retrieve the cached version of the page. This process is seamless and allows you to access the content even if the live version is temporarily inaccessible. It's important to note that the cached version may not always reflect the most recent updates to the webpage, as it represents a saved snapshot from a previous visit.
Step 2: Navigating Through the Cached Content
Once the cached page is loaded, you can navigate through the content just as you would on the live webpage. This includes reading articles, viewing images, and accessing other media that was present when the page was initially cached. The layout and formatting of the page will mirror the original version, providing a familiar browsing experience.
Step 3: Retrieving Valuable Information
Viewing cached pages in Chrome enables you to retrieve valuable information from previously visited websites, even when the live versions are temporarily unavailable. This can be particularly beneficial when you urgently need to access specific content or reference details from a webpage that is experiencing downtime.
Step 4: Understanding Limitations
While accessing and viewing cached pages in Chrome is incredibly useful, it's essential to understand the limitations of this feature. The cached version may not include dynamic content that requires real-time updates, such as live social media feeds or interactive elements. Additionally, any changes made to the webpage after the cached version was saved will not be reflected in the retrieved content.
By following these steps, you can seamlessly view cached pages in Chrome, leveraging this feature to access valuable information and navigate previously visited websites with ease. Whether you're dealing with intermittent internet connectivity or encountering temporary website outages, the ability to view cached pages can be a game-changer in your browsing toolkit.
Now that we've explored the process of viewing cached pages in Chrome, let's move on to the next crucial aspect – clearing cached pages in Chrome.
Clearing Cached Pages in Chrome
Clearing cached pages in Chrome is an essential maintenance task that can help optimize your browsing experience and resolve certain issues related to outdated or corrupted cached data. When cached pages accumulate over time, they can consume storage space and potentially lead to browsing inconsistencies. By clearing the cached pages, you can ensure that Chrome operates efficiently and delivers up-to-date content from websites.
Here's a step-by-step guide on how to clear cached pages in Chrome:
-
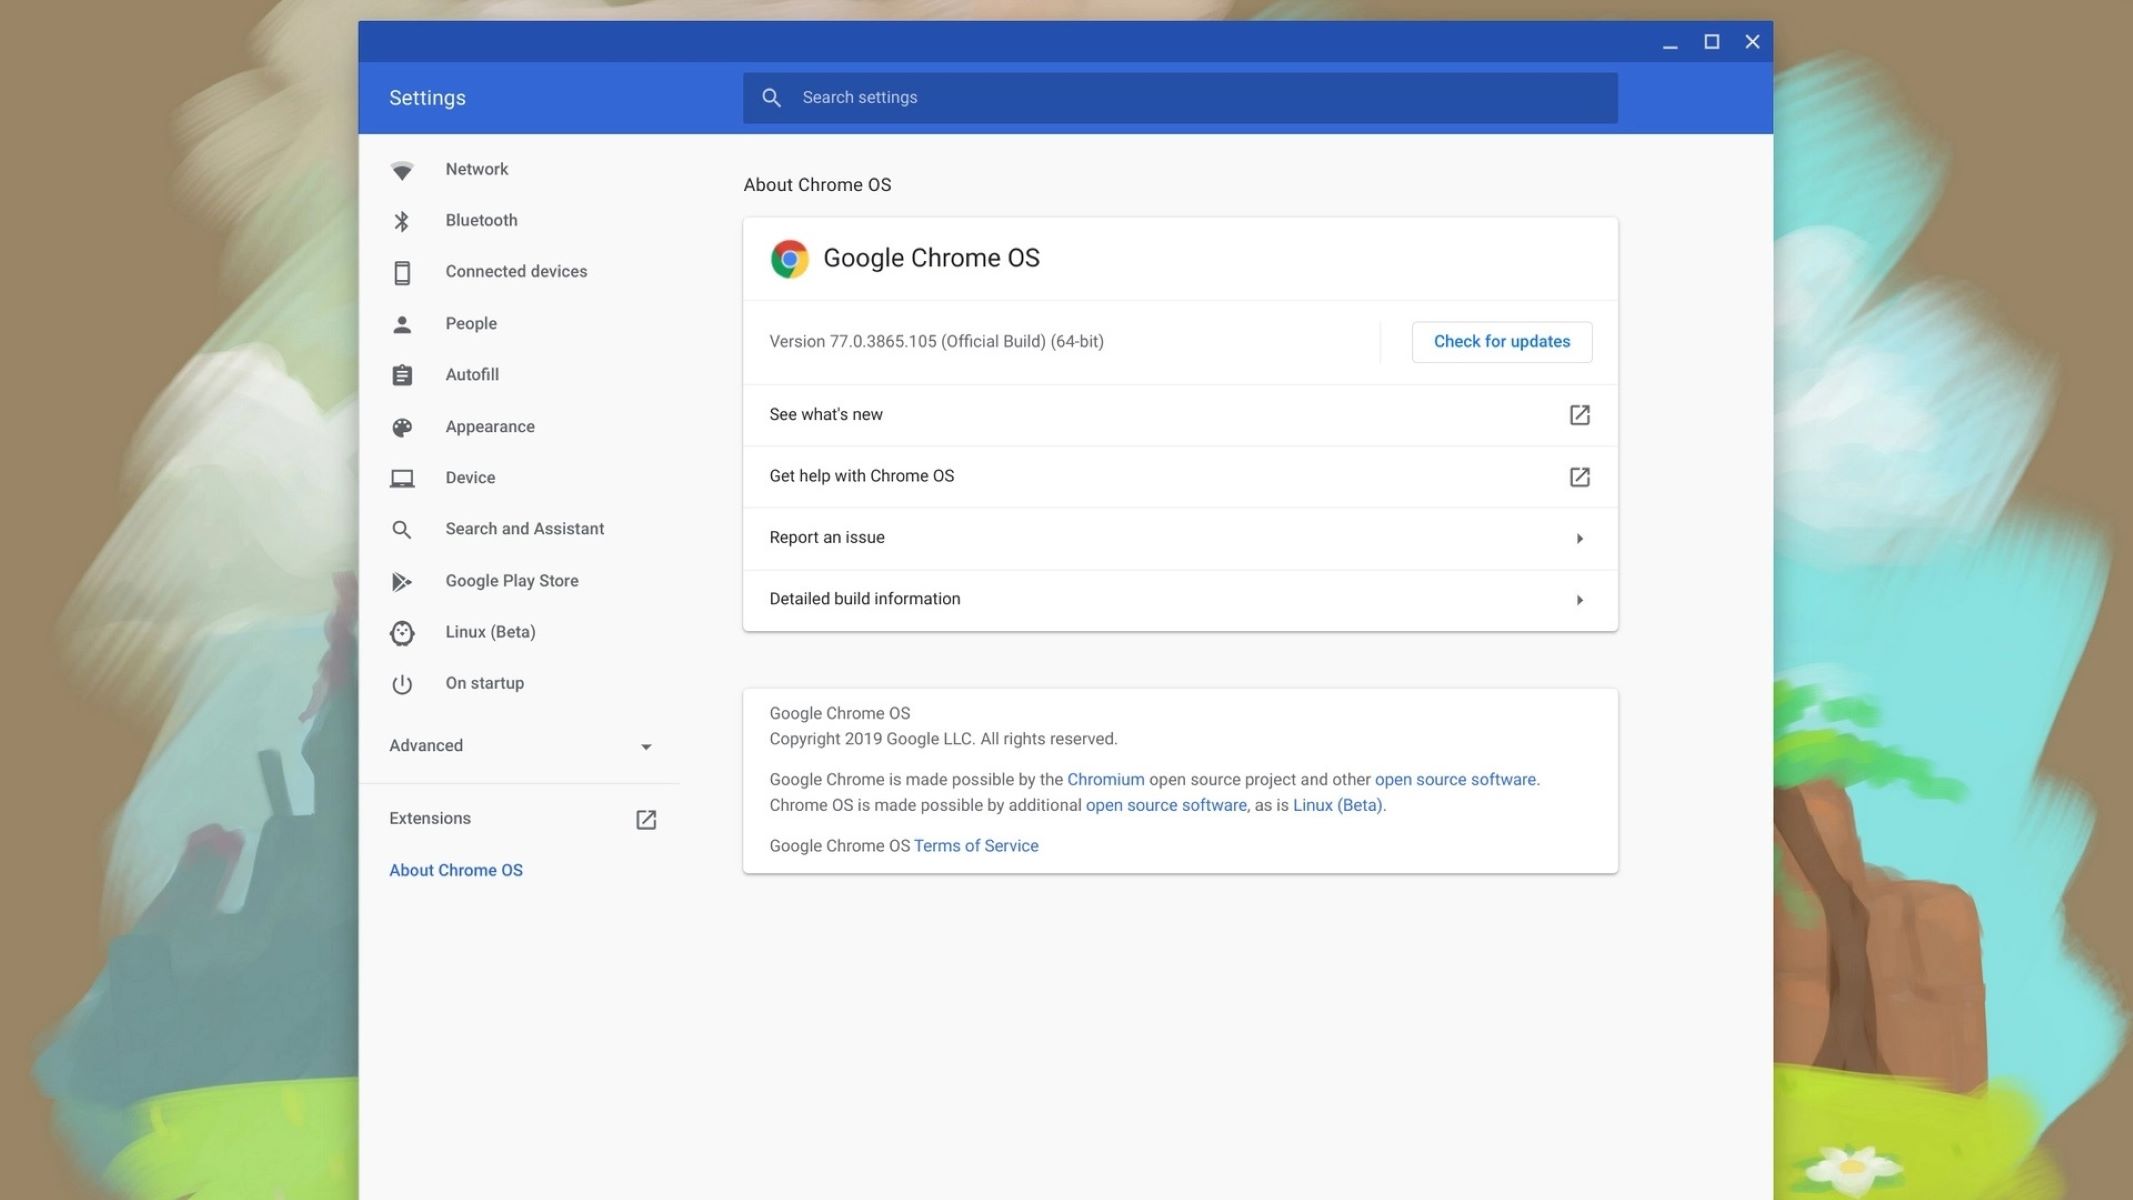
Accessing Chrome's Settings: Begin by opening Google Chrome on your computer or device. In the top-right corner of the browser window, click on the three-dot menu icon to open the dropdown menu. From the menu, select "Settings" to access Chrome's configuration options.
-
Navigating to Clear Browsing Data: Within the Settings menu, scroll down and click on "Privacy and security" in the left-hand navigation pane. Under this section, select "Clear browsing data." This action will direct you to the browsing data management interface.
-
Selecting Cached Images and Files: In the "Clear browsing data" interface, you'll find a list of data types that can be cleared, including browsing history, cookies, and cached images and files. To specifically clear the cached pages, ensure that the "Cached images and files" option is checked.
-
Choosing the Time Range: Chrome allows you to specify the time range for which you want to clear the browsing data. You can select options such as "Last hour," "Last 24 hours," "Last 7 days," "Last 4 weeks," or "All time." Choose the appropriate time range based on your browsing habits and the duration for which you want to clear the cached pages.
-
Initiating the Clearing Process: Once you've selected the data types and time range, click on the "Clear data" button to initiate the clearing process. Chrome will proceed to remove the cached images and files based on your selections.
-
Confirmation and Completion: After the clearing process is complete, Chrome will display a confirmation message. You can then close the Settings tab and continue browsing with a refreshed cache.
By following these steps, you can effectively clear cached pages in Chrome, ensuring that your browsing data is optimized and free from unnecessary clutter. This maintenance task can contribute to a smoother browsing experience and help address issues related to outdated or corrupted cached content.
Clearing cached pages in Chrome is a simple yet impactful practice that can enhance the performance and reliability of your browsing sessions. Whether you're troubleshooting browsing inconsistencies or aiming to optimize Chrome's data management, regularly clearing cached pages is a valuable maintenance habit for any avid internet user.