Introduction
Google Chrome is one of the most popular web browsers, known for its speed, simplicity, and user-friendly interface. While it's widely used on Windows and macOS, installing Chrome on Ubuntu, a popular Linux distribution, requires a slightly different approach. In this guide, we'll walk through the process of installing Google Chrome on Ubuntu using the terminal. By following these steps, you'll be able to enjoy the seamless browsing experience that Chrome offers, complete with its extensive range of extensions and features.
Installing Chrome via the terminal offers a convenient and efficient method for Ubuntu users. It allows for quick updates and simplifies the installation process, ensuring that you have the latest version of Chrome running on your system. Whether you're a seasoned Linux user or just getting started with Ubuntu, this guide will provide you with the necessary steps to successfully install Google Chrome and start browsing the web with ease.
Now, let's dive into the step-by-step process of installing Google Chrome on Ubuntu using the terminal. By the end of this guide, you'll have Chrome up and running, ready to explore the web and make the most of its powerful features and extensions.
Step 1: Update the System
Before installing Google Chrome on Ubuntu, it's essential to ensure that the system is up to date. Updating the system not only provides the latest security patches and bug fixes but also ensures compatibility with the latest software packages. Here's how to update the system using the terminal:
-
Open the Terminal: To begin, open the terminal by pressing
Ctrl + Alt + Tor by searching for "Terminal" in the Ubuntu application launcher. -
Update Package Lists: Start by updating the package lists to fetch information about the latest available software packages. Enter the following command and press Enter:
sudo apt update
This command prompts the system to refresh the package lists, checking for updates and new software versions.
-
Upgrade Installed Packages: Once the package lists are updated, proceed to upgrade the installed packages to their latest versions. Enter the following command and press Enter:
sudo apt upgrade
The system will then display a list of packages that are upgradable. To confirm the upgrade, type 'y' and press Enter. The system will then download and install the updates.
-
Reboot the System: After the upgrade process is complete, it's advisable to reboot the system to ensure that all changes take effect. You can reboot by entering the following command and pressing Enter:
sudo reboot
Alternatively, you can use the graphical user interface to reboot the system.
By following these steps, you'll have successfully updated your Ubuntu system, ensuring that it's equipped with the latest software versions and security patches. With the system up to date, you're now ready to proceed with the installation of Google Chrome using the terminal.
Step 2: Download the Google Chrome Package
Now that your Ubuntu system is up to date, the next step is to download the Google Chrome package. Google provides a convenient way to install Chrome on Ubuntu using the command line. Here's how to download the Google Chrome package using the terminal:
-
Open the Terminal: Launch the terminal by pressing
Ctrl + Alt + Tor searching for "Terminal" in the Ubuntu application launcher. -
Download the Google Chrome Package: Use the
wgetcommand to download the latest stable version of the Google Chrome package. Enter the following command and press Enter:bash
wget https://dl.google.com/linux/direct/google-chrome-stable_current_amd64.debThis command instructs the system to download the Google Chrome package directly from Google's servers. The package name includes "stable" to ensure that you're downloading the latest stable release of Google Chrome.
-
Verify the Download: Once the download is complete, you can verify the downloaded package by checking its integrity. This step is optional but recommended to ensure that the package was downloaded without any errors. You can use the
md5sumcommand to verify the integrity of the downloaded package. Enter the following command and press Enter:bash
md5sum google-chrome-stable_current_amd64.debThe system will generate a checksum value, which you can compare with the official checksum provided by Google to ensure that the package is authentic and hasn't been tampered with during the download process.
By following these steps, you'll have successfully downloaded the Google Chrome package to your Ubuntu system. With the package downloaded and verified, you're now ready to proceed with the installation of Google Chrome using the terminal. This method provides a straightforward way to acquire the necessary package for installing Google Chrome, ensuring that you have access to the latest version of the browser on your Ubuntu system.
Step 3: Install Google Chrome
With the Google Chrome package successfully downloaded to your Ubuntu system, the next crucial step is to install the browser using the terminal. This method offers a streamlined approach to installing Google Chrome, ensuring that you have the latest version of the browser with all its features and security updates. Here's how to install Google Chrome on Ubuntu using the terminal:
-
Open the Terminal: Launch the terminal by pressing
Ctrl + Alt + Tor searching for "Terminal" in the Ubuntu application launcher. -
Install the Google Chrome Package: Use the
dpkgcommand to install the Google Chrome package that you downloaded in the previous step. Enter the following command and press Enter:
bash
sudo dpkg -i google-chrome-stable_current_amd64.debThis command initiates the installation process for Google Chrome, leveraging the package that you downloaded directly from Google's servers. The
-iflag instructs the system to install the specified package, in this case, the Google Chrome package. -
Resolve Dependencies: During the installation process, you may encounter dependency issues, which can be addressed using the following command:
bash
sudo apt install -fThis command resolves any unmet dependencies, ensuring that Google Chrome and its associated components are installed correctly on your Ubuntu system.
-
Verify the Installation: Once the installation process is complete, you can verify that Google Chrome has been successfully installed by launching the browser. You can do this by searching for "Google Chrome" in the Ubuntu application launcher or by entering
google-chromein the terminal and pressing Enter.
By following these steps, you'll have successfully installed Google Chrome on your Ubuntu system using the terminal. This method provides a direct and efficient way to install the browser, ensuring that you have access to its full range of features and capabilities. With Google Chrome now installed, you're ready to launch the browser and start exploring the web with its fast and user-friendly interface.
This installation process simplifies the setup of Google Chrome on Ubuntu, allowing you to enjoy a seamless browsing experience while leveraging the power of Chrome's extensive range of extensions and features. Whether you're browsing the web for work, entertainment, or research, having Google Chrome installed on your Ubuntu system ensures that you can make the most of its capabilities while enjoying a secure and reliable browsing environment.
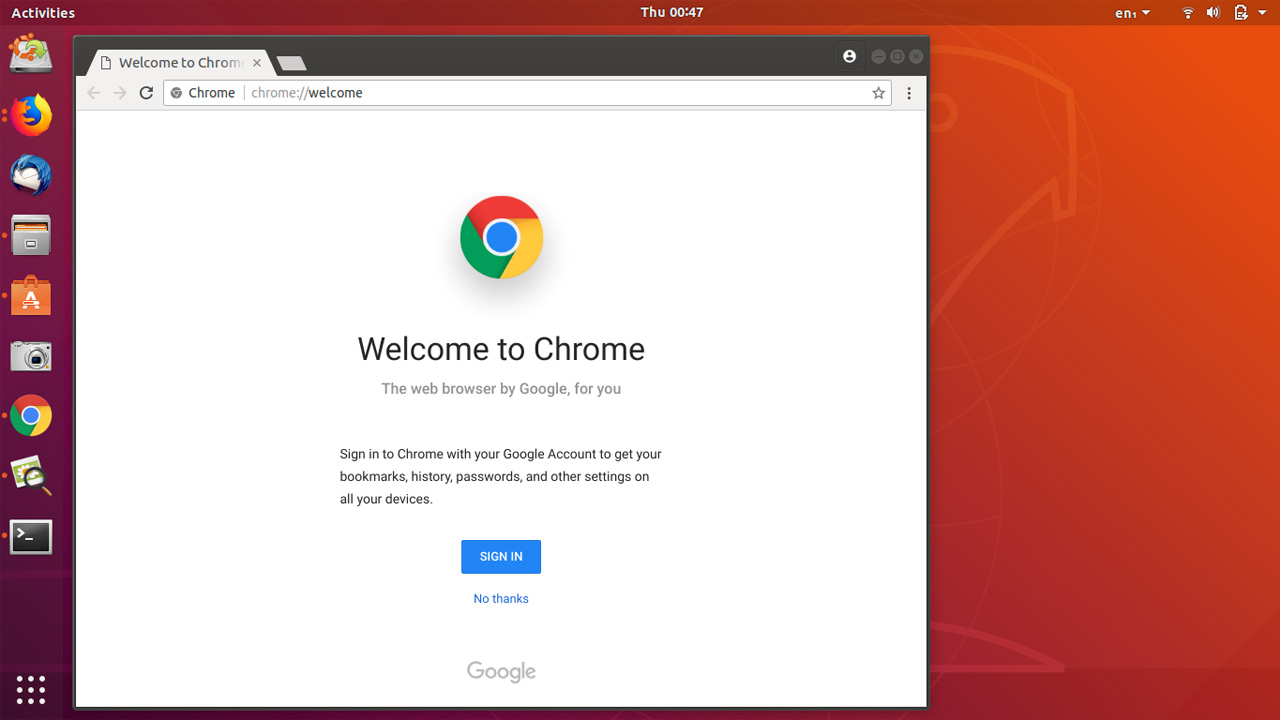
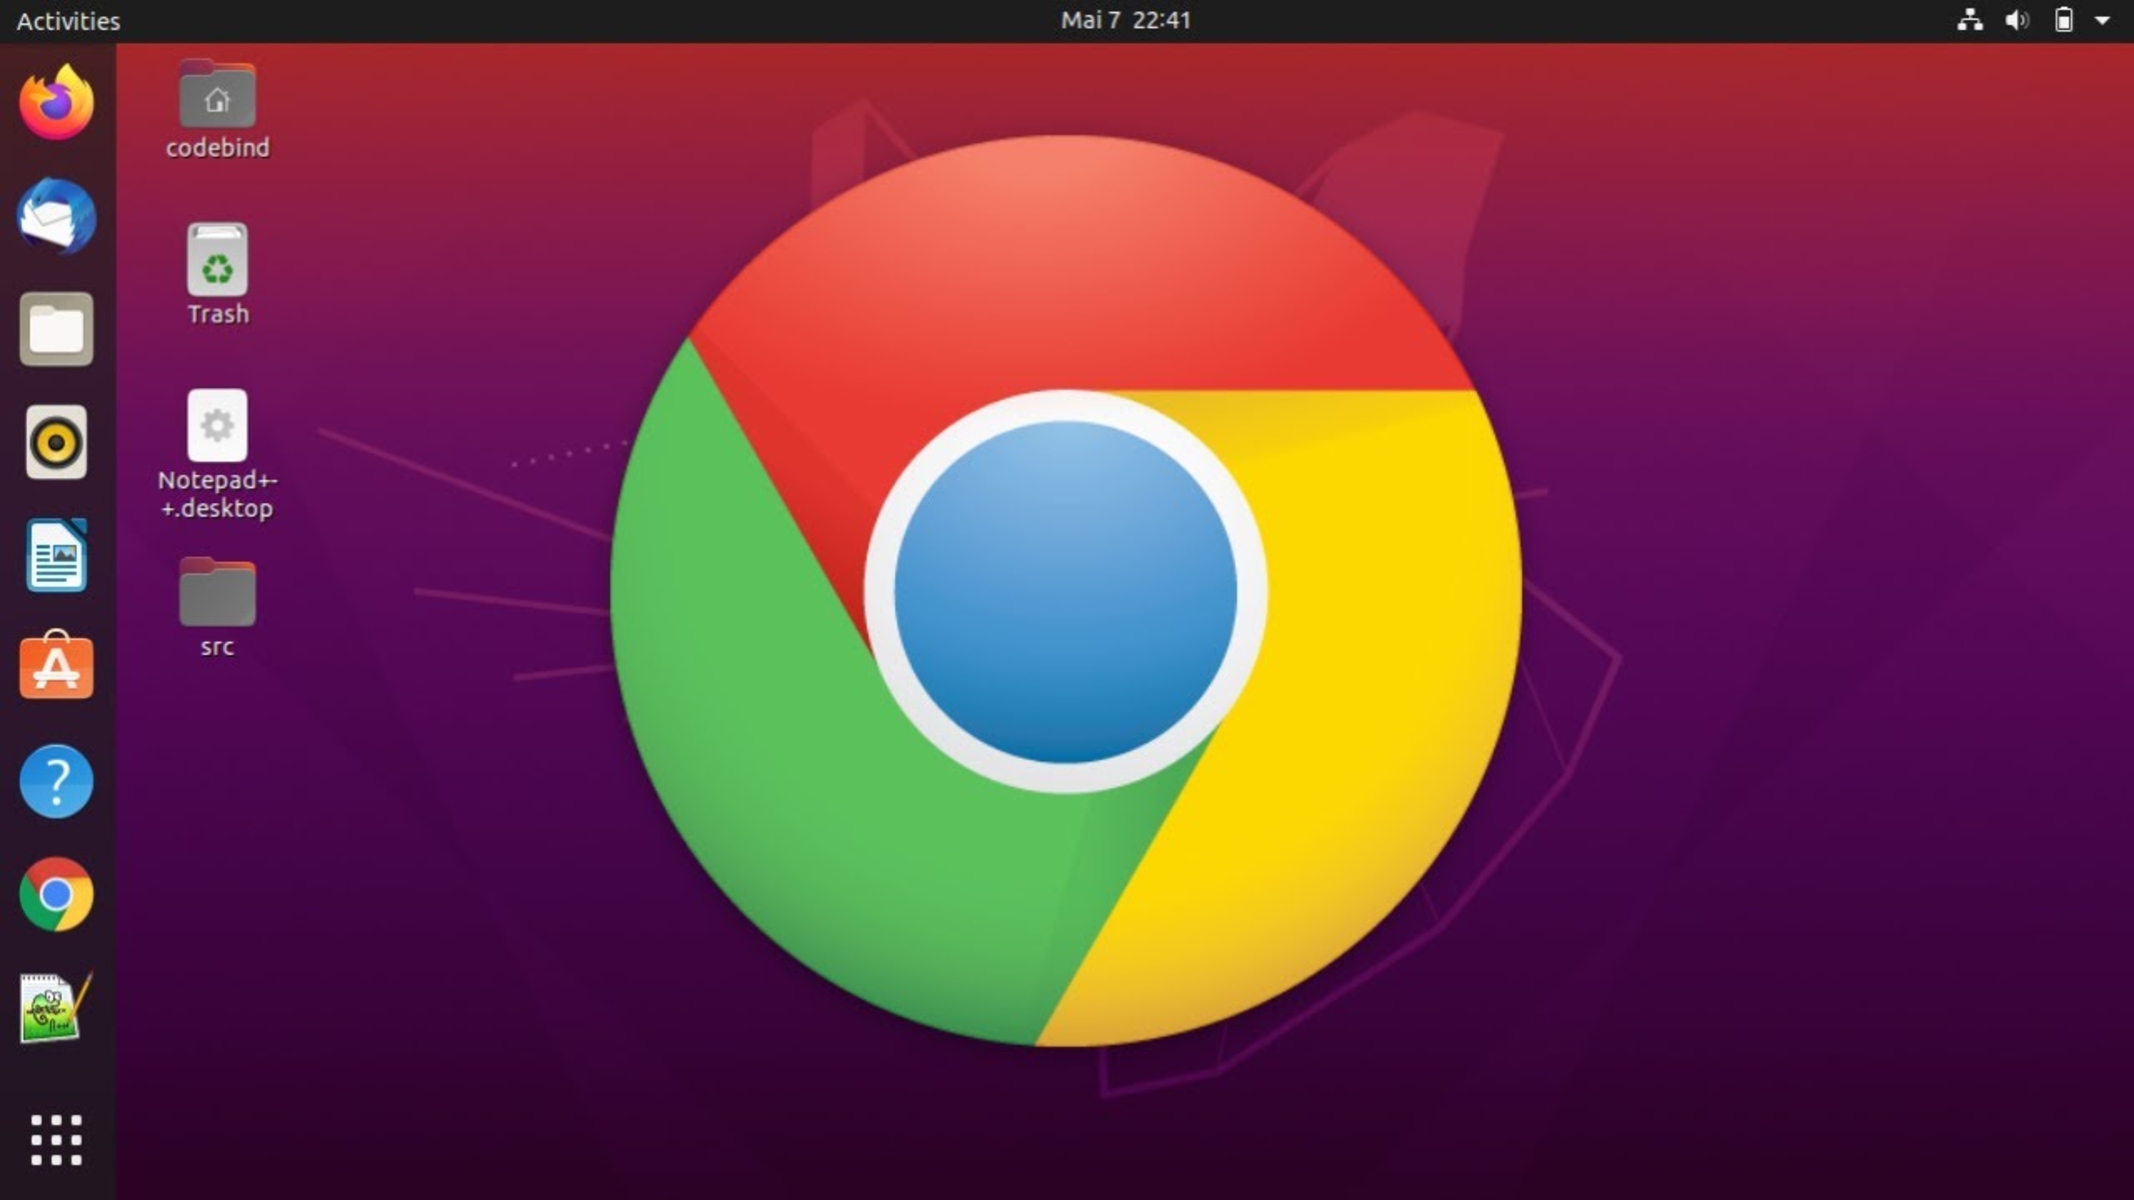
Step 4: Launch Google Chrome
After successfully installing Google Chrome on your Ubuntu system using the terminal, you're now ready to launch the browser and begin exploring the web with its powerful features and seamless user experience.
To launch Google Chrome, you can follow these simple steps:
-
Open the Application Launcher: Click on the "Show Applications" icon located at the bottom of the Ubuntu desktop. This will open the Application Launcher, where you can search for installed applications.
-
Search for Google Chrome: In the Application Launcher, type "Google Chrome" in the search bar. As you type, the search results will dynamically display matching applications. Once "Google Chrome" appears in the search results, click on it to launch the browser.
-
Access Google Chrome from the Terminal: Alternatively, you can launch Google Chrome directly from the terminal by entering the command "google-chrome" and pressing Enter. This method provides a quick way to open the browser without navigating through the graphical user interface.
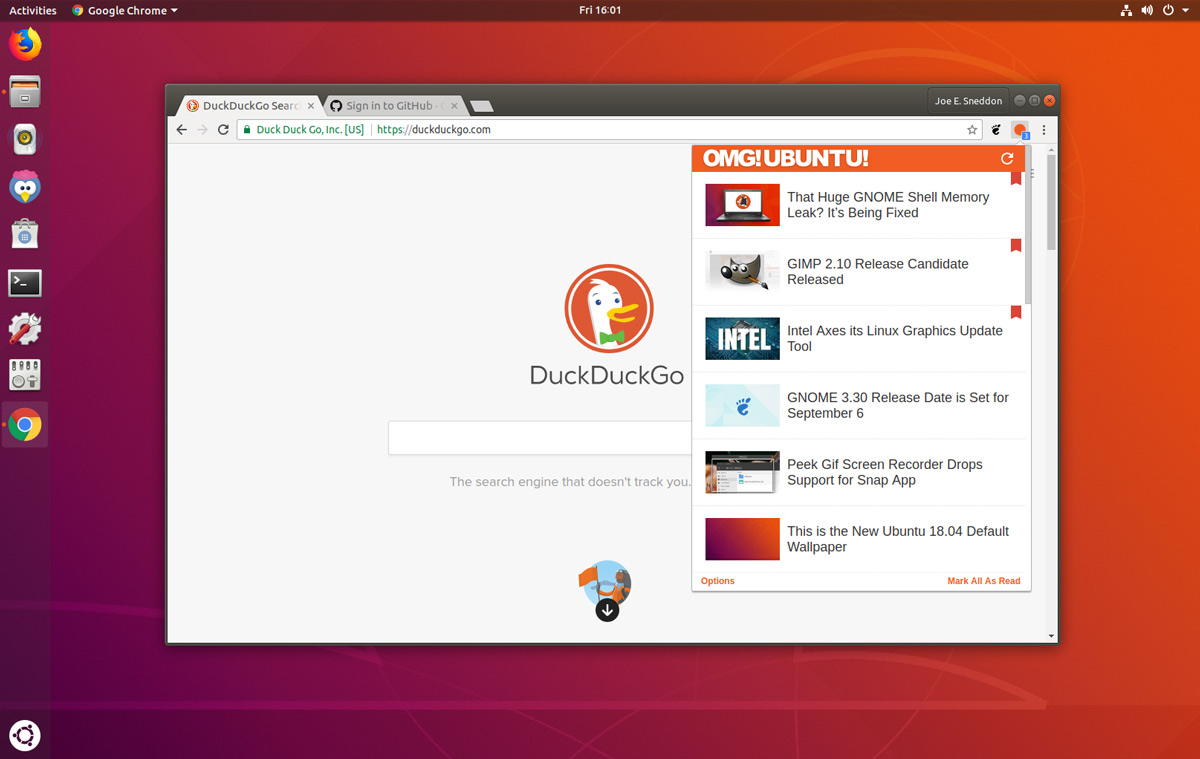
Upon launching Google Chrome, you'll be greeted by its familiar interface, featuring the omnibox for entering web addresses and search queries, as well as access to your bookmarks, extensions, and settings. You can start browsing your favorite websites, accessing web applications, and making use of Chrome's extensive range of extensions to enhance your browsing experience.
Google Chrome's intuitive tab management allows you to open multiple tabs within a single window, making it easy to navigate between different webpages. Additionally, Chrome's built-in security features, such as Safe Browsing and automatic updates, ensure a secure and reliable browsing experience.
With Google Chrome now launched on your Ubuntu system, you have access to a fast, efficient, and feature-rich web browser that seamlessly integrates with the Linux environment. Whether you're engaging in productivity tasks, streaming multimedia content, or conducting research, Google Chrome provides a versatile platform for all your browsing needs.
By following the installation and launch process outlined in this guide, you've successfully integrated Google Chrome into your Ubuntu workflow, enabling you to harness the full potential of this popular web browser within the Linux ecosystem. Enjoy exploring the web with Google Chrome and make the most of its robust capabilities and user-friendly interface.