Introduction
Changing the default browser on your Windows 7 computer can significantly enhance your browsing experience. Whether you prefer the speed of Google Chrome, the versatility of Mozilla Firefox, or the seamless integration of Microsoft Edge, setting your preferred browser as the default option ensures that links and web pages open directly in your chosen application. This simple adjustment can streamline your workflow and make your online activities more efficient.
In this guide, you will learn how to change your default browser on Windows 7. By following these straightforward steps, you can personalize your browsing experience and take full advantage of the features offered by your preferred web browser. Whether you're a casual user or a power user, customizing your default browser can make a noticeable difference in how you interact with the web.
Now, let's dive into the step-by-step process of changing your default browser on Windows 7. Whether you're looking to switch to a different browser or simply want to ensure that your favorite browser is set as the default, this guide will walk you through the process, making it easy and accessible for users of all levels of technical expertise.
Step 1: Open Default Programs
To begin the process of changing your default browser on Windows 7, you'll need to access the Default Programs settings. This can be done through the Control Panel, which provides a centralized location for managing various system settings, including default programs.
Here's how to open Default Programs:
-
Click on the Start Menu: Located at the bottom-left corner of your screen, the Start Menu is the gateway to accessing various features and settings on your Windows 7 computer.
-
Open the Control Panel: Within the Start Menu, you'll find the Control Panel option. Click on it to open the Control Panel window, which serves as a hub for adjusting system settings and configurations.
-
Navigate to "Programs": Within the Control Panel, you'll find a section labeled "Programs." Click on this option to reveal a list of program-related settings and configurations.
-
Select "Default Programs": Within the "Programs" section, you'll find the "Default Programs" option. Click on it to access a range of settings related to default applications, including web browsers, email clients, and more.
By following these steps, you'll successfully open the Default Programs settings, laying the groundwork for the next phase of the process: setting your default browser.
Accessing the Default Programs settings is a crucial initial step in the process of changing your default browser on Windows 7. This centralized location provides a convenient interface for managing default applications, ensuring that you can easily customize your system to align with your preferences and workflow.
With the Default Programs window now open, you're ready to proceed to the next step and set your preferred browser as the default option on your Windows 7 computer. This straightforward process allows you to tailor your browsing experience to suit your individual needs and preferences, enhancing your overall productivity and satisfaction when interacting with the web.
Step 2: Set Your Default Browser
After accessing the Default Programs settings in Windows 7, the next crucial step is to set your preferred browser as the default option. This straightforward process ensures that links and web pages open directly in your chosen browser, streamlining your online activities and enhancing your browsing experience.
Here's how to set your default browser on Windows 7:
-
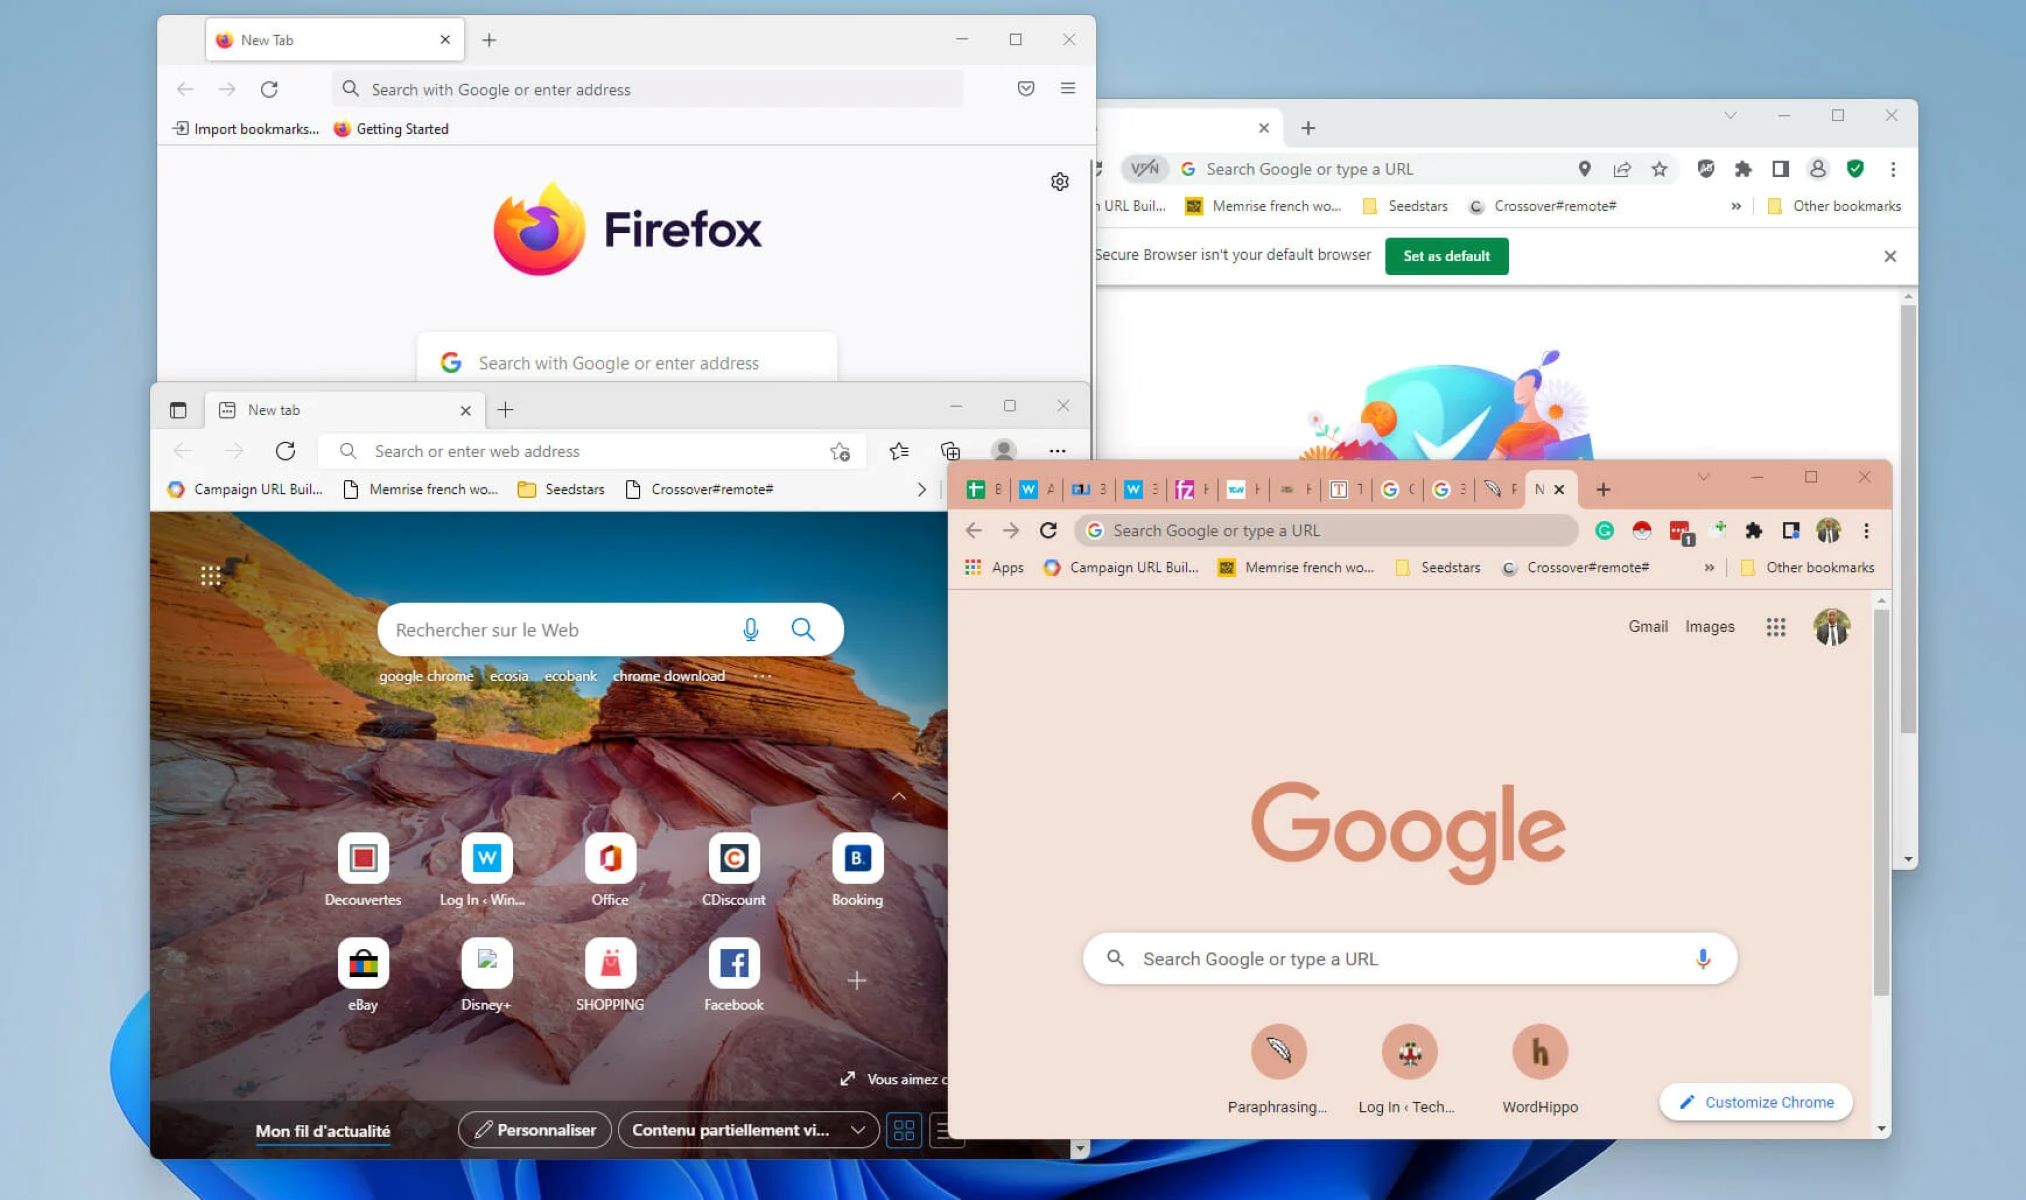
Choose Your Preferred Browser: Before proceeding, ensure that your desired browser is installed on your computer. Whether it's Google Chrome, Mozilla Firefox, Microsoft Edge, or another popular browser, having it installed is the first step in setting it as your default option.
-
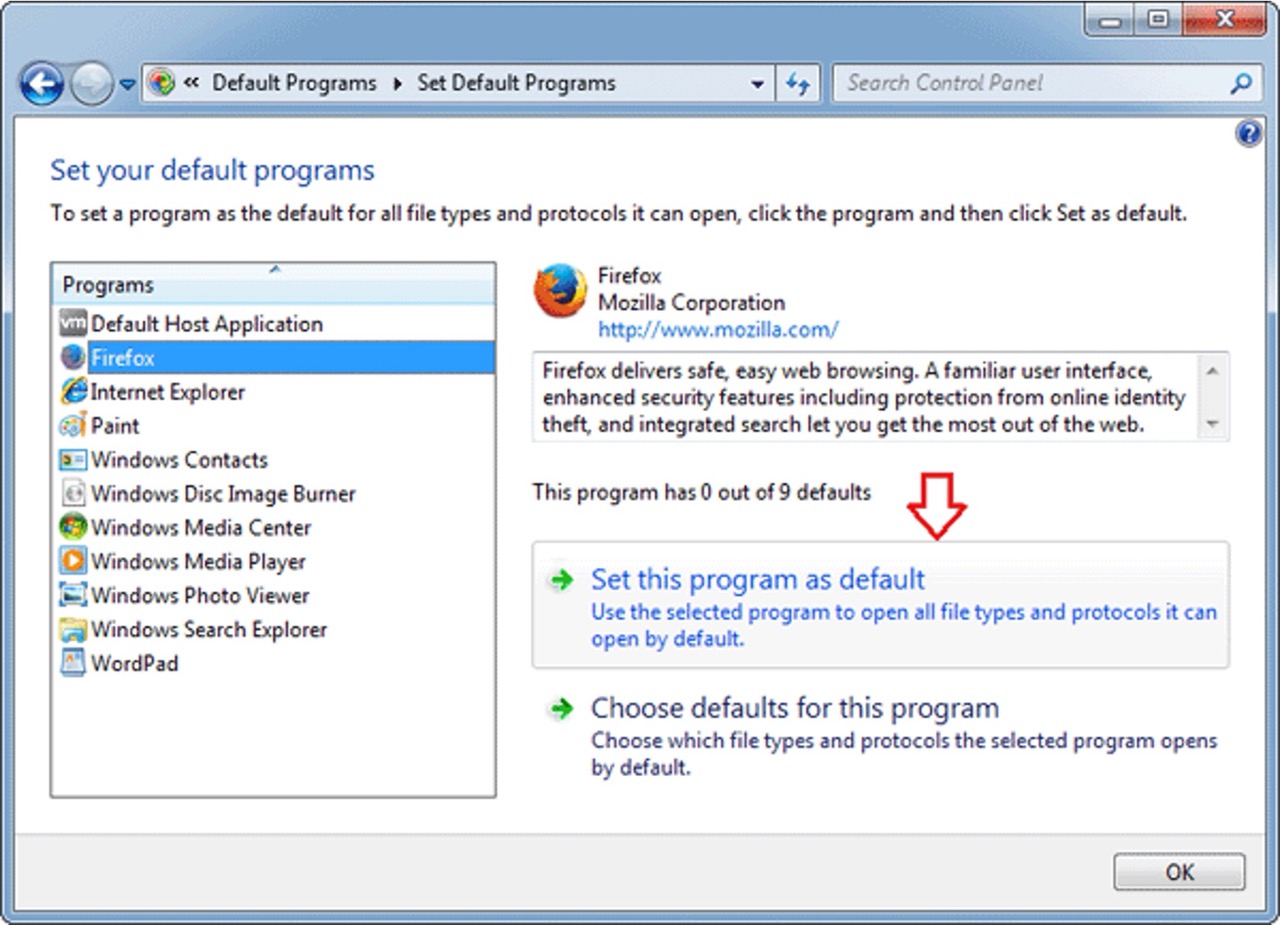
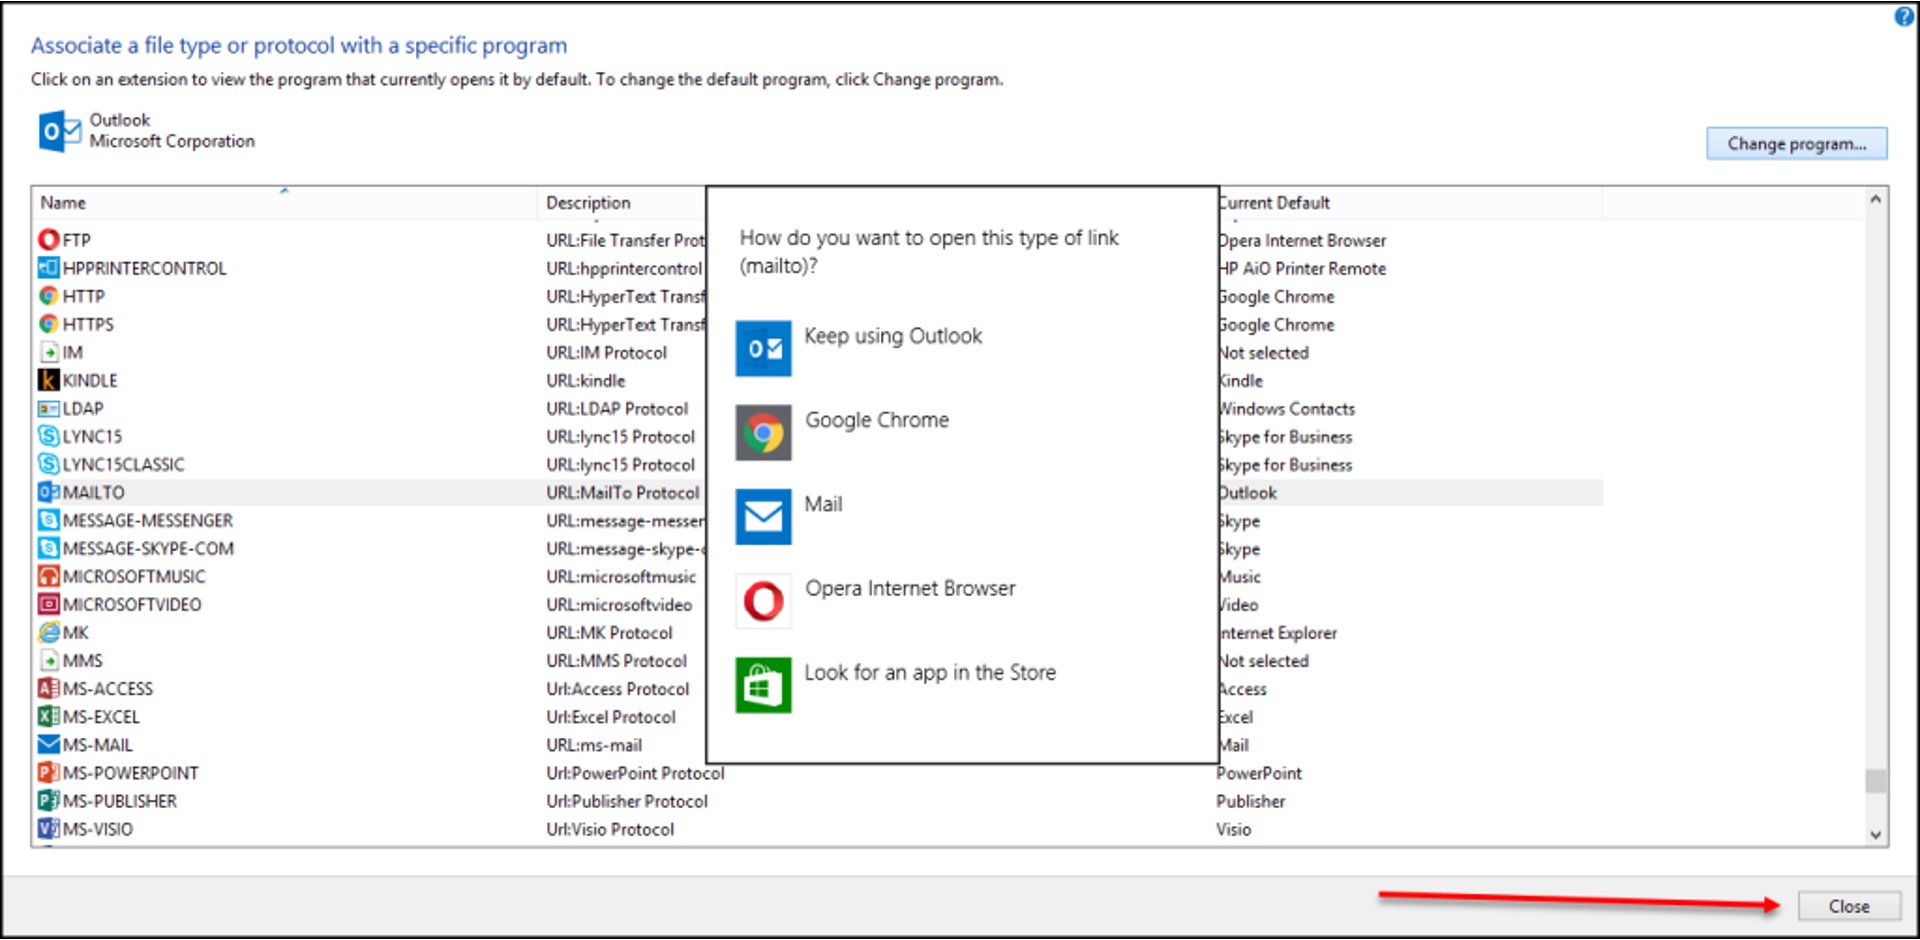
Access "Set Your Default Programs": Within the Default Programs window, you'll find the option to "Set Your Default Programs." Click on this option to proceed to the next phase of the process.
-
Select Your Browser: In the "Set Your Default Programs" window, you'll see a list of installed programs on the left-hand side. Locate your preferred browser in the list and select it to reveal a range of configuration options.
-
Choose "Set this program as default": Within the configuration options for your chosen browser, you'll find the "Set this program as default" button. Click on this option to designate your selected browser as the default option for various file types and protocols.
-
Confirm the Change: Once you've set your preferred browser as the default option, you can close the Default Programs window and proceed to the next step to confirm the change.
Setting your default browser on Windows 7 is a simple yet impactful customization that can significantly improve your browsing experience. By designating your preferred browser as the default option, you ensure that links and web pages open directly in the browser you're most comfortable and familiar with, streamlining your online activities and enhancing your overall productivity.
With your preferred browser now set as the default option on your Windows 7 computer, you're ready to confirm the change and ensure that the adjustment has been successfully applied. This seamless process allows you to tailor your browsing experience to align with your individual preferences, ensuring that you can make the most of the features and capabilities offered by your chosen browser.
By following these steps, you can effortlessly set your default browser on Windows 7, empowering you to personalize your browsing experience and make the most of your preferred web browser's features and functionalities. Whether you're a casual user or a power user, customizing your default browser can make a noticeable difference in how you interact with the web, enhancing your overall satisfaction and efficiency when navigating the online landscape.
Step 3: Confirm the Change
After setting your preferred browser as the default option on your Windows 7 computer, it's essential to confirm that the change has been successfully applied. This simple yet crucial step ensures that your browsing experience aligns with your preferences, allowing you to seamlessly interact with web links and pages using your chosen browser.
To confirm the change and ensure that your default browser has been updated, follow these straightforward steps:
-
Open a Web Link: To verify that your preferred browser is now set as the default option, open a web link from an external source. This could be a link within an email, document, or any other application that triggers the opening of a web page. By doing so, you can observe whether the link opens directly in your chosen browser, confirming that the default setting has been successfully updated.
-
Observe the Browser: As you open the web link, pay attention to the browser that launches to display the web page. If your preferred browser opens automatically to handle the web link, it indicates that the default setting has been successfully applied. This seamless transition demonstrates that your Windows 7 computer now recognizes your chosen browser as the default option for handling web-related activities.
-
Ensure Seamless Functionality: Upon confirming that your preferred browser is handling web links as expected, take a moment to interact with the web page. Navigate through the site, click on various links, and ensure that the browsing experience is seamless and intuitive. By doing so, you can validate that your chosen browser is seamlessly integrated into your online activities, providing a smooth and efficient browsing experience.
By following these steps to confirm the change, you can ensure that your default browser has been successfully updated on your Windows 7 computer. This verification process allows you to validate that your preferred browser is seamlessly integrated into your browsing activities, ensuring that you can make the most of its features and capabilities.
With the change confirmed, you can now enjoy a personalized browsing experience tailored to your preferences, empowering you to navigate the web with ease and efficiency using your preferred browser. Whether you're accessing informative articles, engaging with online multimedia, or conducting research, having your preferred browser set as the default option enhances your overall satisfaction and productivity when interacting with the online landscape.
Conclusion
In conclusion, customizing your default browser on Windows 7 is a simple yet impactful way to personalize your browsing experience and streamline your online activities. By following the step-by-step process outlined in this guide, you can seamlessly set your preferred browser as the default option, ensuring that links and web pages open directly in the browser that best aligns with your individual preferences and workflow.
The ability to choose your default browser empowers you to leverage the unique features and capabilities offered by popular web browsers such as Google Chrome, Mozilla Firefox, Microsoft Edge, and others. Whether you prioritize speed, security, customization options, or seamless integration with other applications, having the freedom to set your preferred browser as the default option allows you to tailor your online interactions to suit your specific needs.
By accessing the Default Programs settings, selecting your preferred browser, and confirming the change, you can ensure that your browsing experience is optimized to align with your preferences. This simple customization can make a noticeable difference in how you navigate the web, enhancing your overall satisfaction and efficiency when interacting with online content, multimedia, and web-based applications.
Furthermore, setting your default browser on Windows 7 is not only about personal preference but also about productivity. By streamlining your online activities and ensuring that web links open directly in your chosen browser, you can save valuable time and seamlessly transition between various online tasks, whether it's accessing informative articles, engaging with multimedia content, or conducting research.
Ultimately, the process of changing your default browser on Windows 7 empowers you to take control of your browsing experience, ensuring that you can make the most of the features and functionalities offered by your preferred web browser. Whether you're a casual user or a power user, customizing your default browser can enhance your overall satisfaction and productivity when navigating the online landscape.
In essence, by following the steps outlined in this guide, you can effortlessly set your default browser on Windows 7, allowing you to enjoy a personalized and efficient browsing experience tailored to your individual preferences and workflow.


