Introduction
Apple Pay is a convenient and secure way to make online purchases using your Apple devices. By integrating Apple Pay with Safari, Apple's web browser, you can streamline the checkout process and enjoy a seamless payment experience. This innovative feature eliminates the need to manually enter credit card details for each transaction, saving time and enhancing security.
In this guide, we will walk you through the process of adding Apple Pay to Safari, allowing you to take advantage of this efficient payment method on your Mac, iPhone, or iPad. Whether you're a seasoned Apple user or new to the world of digital wallets, incorporating Apple Pay into your browsing experience can revolutionize the way you shop online.
With the growing emphasis on digital security and the increasing prevalence of online transactions, Apple Pay offers a layer of protection by utilizing tokenization and biometric authentication. This means that your actual credit card information is never shared with merchants, reducing the risk of unauthorized access to sensitive financial data.
By following the steps outlined in this guide, you can harness the power of Apple Pay within Safari, simplifying your online shopping endeavors and reinforcing your peace of mind. Let's embark on this journey to seamlessly integrate Apple Pay into your browsing routine, unlocking a world of convenience and security at your fingertips.
Step 1: Check Compatibility
Before diving into the process of adding Apple Pay to Safari, it's crucial to ensure that your devices and operating systems are compatible with this feature. Apple Pay integration with Safari is supported on various platforms, including Mac, iPhone, and iPad. Here's how to check the compatibility of your devices:
Mac Compatibility:
- Verify that your Mac is running macOS Sierra or later. To check your macOS version, click on the Apple logo in the top-left corner of your screen, select "About This Mac," and review the version information.
iPhone and iPad Compatibility:
- For iPhone and iPad users, ensure that your device is running iOS 10 or later. To confirm your iOS version, navigate to "Settings," tap on "General," and select "About" to view the software version.
Once you've confirmed the compatibility of your devices and operating systems, you're ready to proceed with the next steps of setting up Apple Pay on your iPhone or iPad and enabling it on your Mac. By ensuring compatibility, you can seamlessly integrate Apple Pay into your browsing experience, paving the way for effortless and secure online transactions.
Ensuring compatibility is the first step toward harnessing the benefits of Apple Pay within Safari. With the foundation in place, you can move forward with confidence, knowing that your devices are equipped to support this innovative payment method. Now, let's move on to the next step of setting up Apple Pay on your iPhone or iPad, bringing you closer to a streamlined and secure online shopping experience.
Step 2: Set Up Apple Pay on iPhone or iPad
Setting up Apple Pay on your iPhone or iPad is a straightforward process that empowers you to make secure and convenient online payments. By following these steps, you can seamlessly integrate Apple Pay into your device, laying the groundwork for effortless transactions within Safari.
-
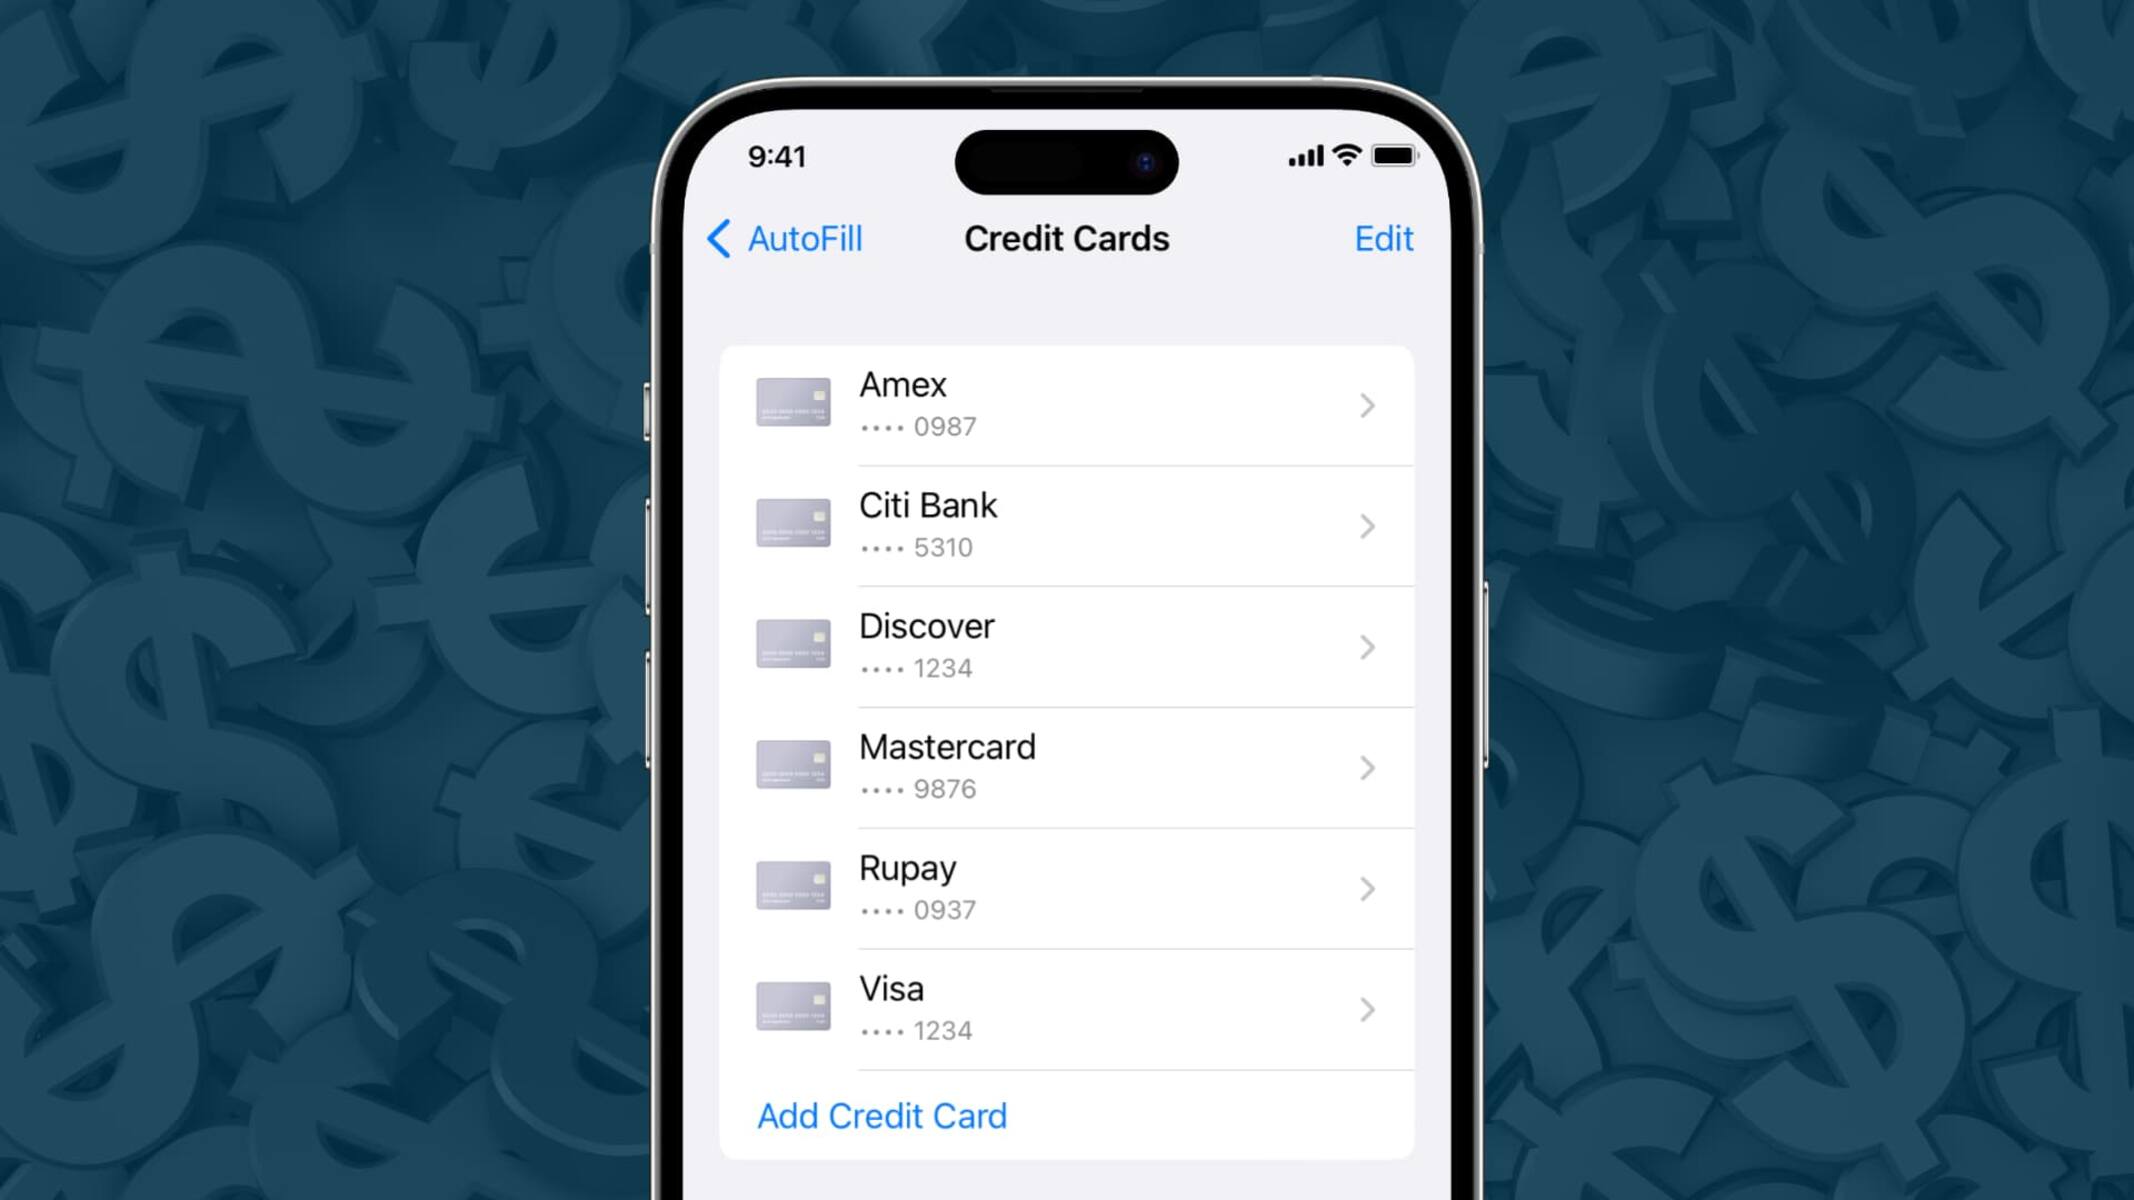
Access the Wallet App: Begin by launching the Wallet app on your iPhone or iPad. This app serves as the central hub for managing your payment methods, including credit and debit cards, as well as Apple Pay.
-
Add a Card: Tap the (+) icon within the Wallet app to initiate the process of adding a new card. You can choose to add a credit or debit card that is already associated with your iTunes account, or opt to add a new card by capturing its details using your device's camera.
-
Verify the Card: After entering the card details, your financial institution may require additional verification. This typically involves receiving a verification code via text, email, or a phone call to confirm your identity and authorize the addition of the card to Apple Pay.
-
Agree to Terms and Conditions: Once the card is verified, you will be prompted to agree to the terms and conditions for using Apple Pay with the added card. Review and accept the terms to proceed.
-
Authentication: Depending on your device model, you may be prompted to authenticate the card addition using Touch ID, Face ID, or your device passcode. This additional layer of security ensures that only authorized users can add cards to Apple Pay.
-
Confirmation: Upon successful authentication, the card will be added to your device's Wallet and will be ready for use with Apple Pay.
By completing these steps, you have successfully set up Apple Pay on your iPhone or iPad, empowering you to make secure and efficient online payments. With Apple Pay integrated into your device, you are now poised to leverage this innovative payment method within Safari, streamlining your online shopping experience and enhancing the security of your transactions.
The seamless integration of Apple Pay with your iPhone or iPad opens the door to a world of convenience, allowing you to make purchases with just a touch or a glance, without the need to manually enter credit card details. As you proceed to the next step of enabling Apple Pay on your Mac, you are one step closer to harnessing the full potential of this cutting-edge payment solution across all your Apple devices.
Step 3: Enable Apple Pay on Mac
Enabling Apple Pay on your Mac extends the seamless payment experience to your desktop or laptop, allowing you to make secure transactions with just a touch or click. By following the steps below, you can integrate Apple Pay into your Mac, enhancing the convenience and security of online purchases.
-
Access System Preferences: Begin by clicking on the Apple logo in the top-left corner of your screen and selecting "System Preferences" from the dropdown menu. This will open the centralized settings hub for your Mac.
-
Select Wallet & Apple Pay: Within the System Preferences window, locate and click on "Wallet & Apple Pay." This section is where you can manage your Apple Pay settings and add payment cards to your Mac.
-
Add a Card: To add a payment card to your Mac, click on the "+" (plus) icon within the Wallet & Apple Pay settings. You will be prompted to enter the card details, including the card number, expiration date, and security code.
-
Verification and Authentication: After entering the card details, your financial institution may require verification. This typically involves receiving a verification code via text, email, or a phone call to confirm the addition of the card to Apple Pay on your Mac. Once verified, you may need to authenticate the addition using Touch ID on Mac models equipped with a Touch Bar, or by entering your Apple ID password.
-
Confirmation: Upon successful verification and authentication, the added card will be available for use with Apple Pay on your Mac.
By enabling Apple Pay on your Mac, you have seamlessly integrated this secure and efficient payment method into your desktop or laptop browsing experience. This integration empowers you to make online purchases with ease, without the need to manually enter credit card details for each transaction. With Apple Pay at your fingertips, you can enjoy a streamlined checkout process and enhanced security, reinforcing your confidence in conducting online transactions.
As you move forward to the next step of adding Apple Pay to Safari, the culmination of these efforts will position you to leverage the full potential of this innovative payment solution across your Apple devices, transforming the way you shop and transact online.
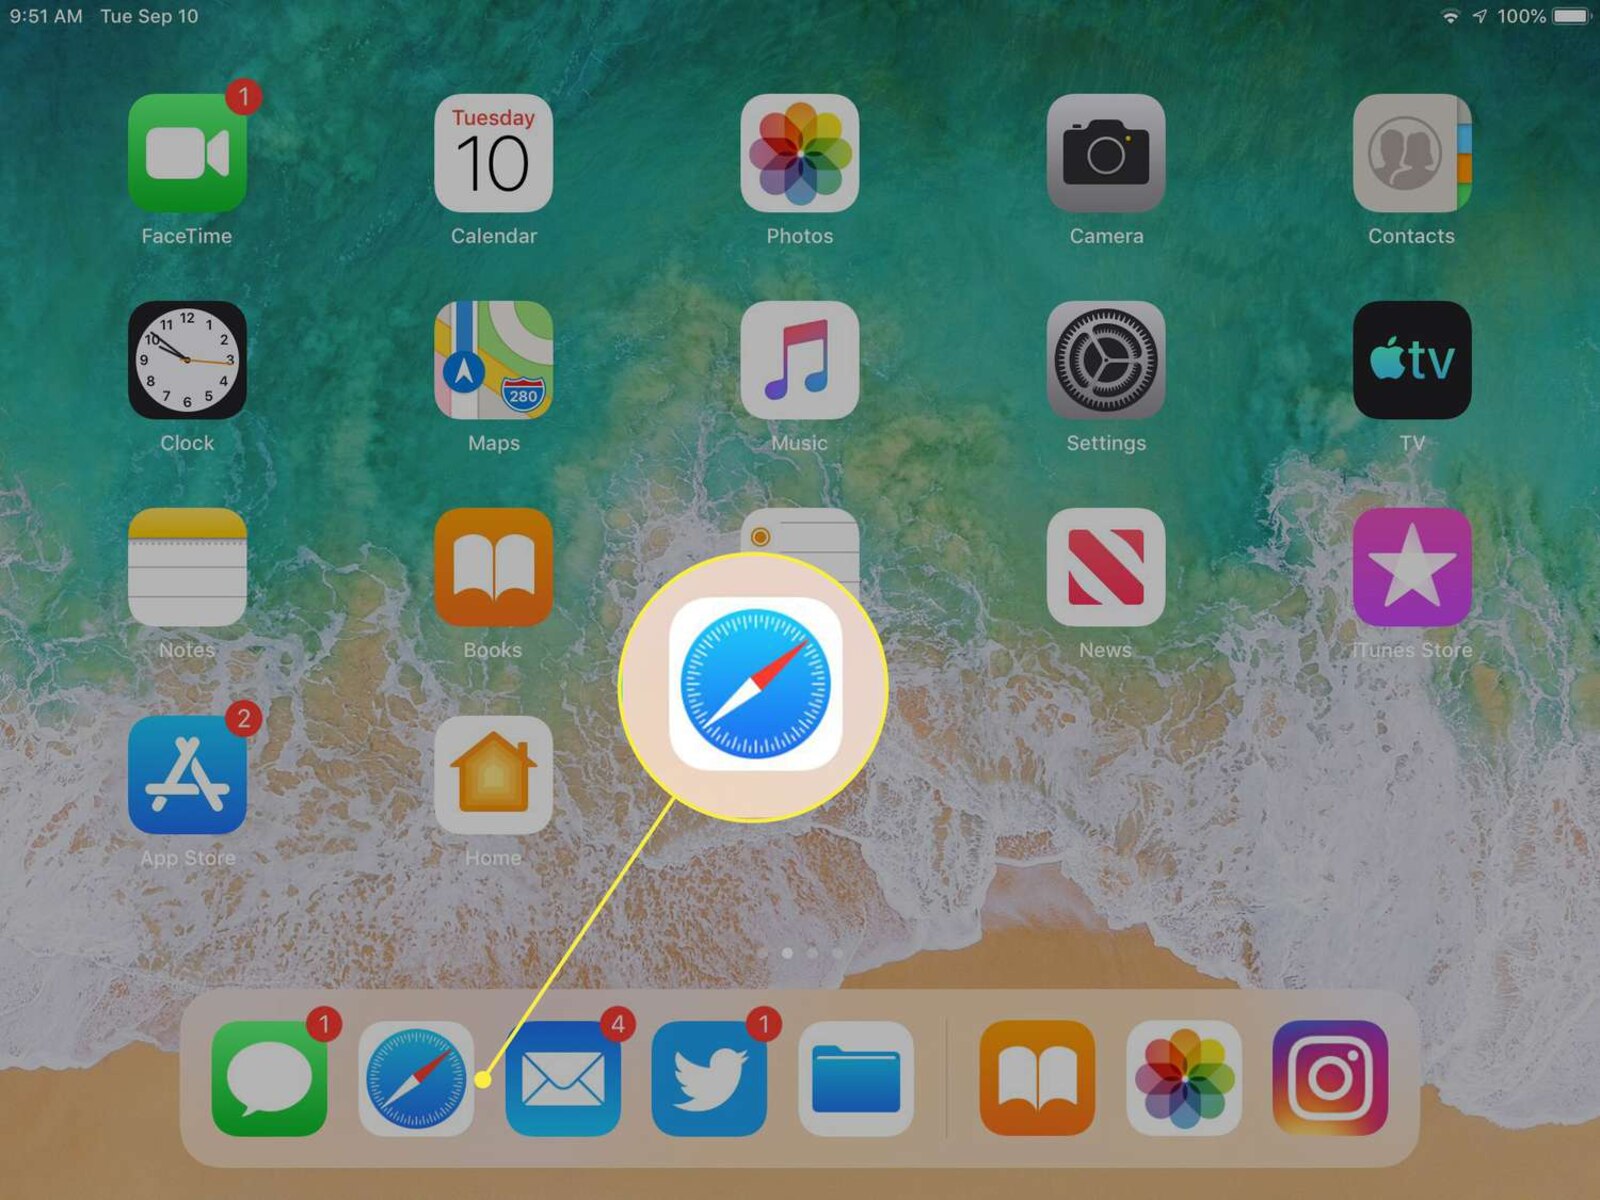
Step 4: Add Apple Pay to Safari
Integrating Apple Pay with Safari brings the convenience of this secure payment method directly to your browsing experience, allowing you to make seamless and secure transactions on websites that support Apple Pay. By adding Apple Pay to Safari, you can streamline the checkout process, eliminating the need to manually enter payment and shipping details for each online purchase.
Here's how to add Apple Pay to Safari on your Mac:
-
Open Safari Preferences: Launch Safari on your Mac and click on "Safari" in the top menu bar. From the dropdown menu, select "Preferences" to access the browser's settings.
-
Navigate to the Privacy Tab: Within the Preferences window, click on the "Privacy" tab located at the top of the window. This section houses various privacy and security settings for Safari.
-
Enable Apple Pay: Scroll down within the Privacy tab until you find the "Apple Pay" option. Check the box next to "Apple Pay" to enable this feature within Safari.
-
Confirm Integration: After enabling Apple Pay, close the Preferences window to save your settings. Safari is now equipped with Apple Pay, allowing you to take advantage of this secure payment method when making online purchases on supported websites.
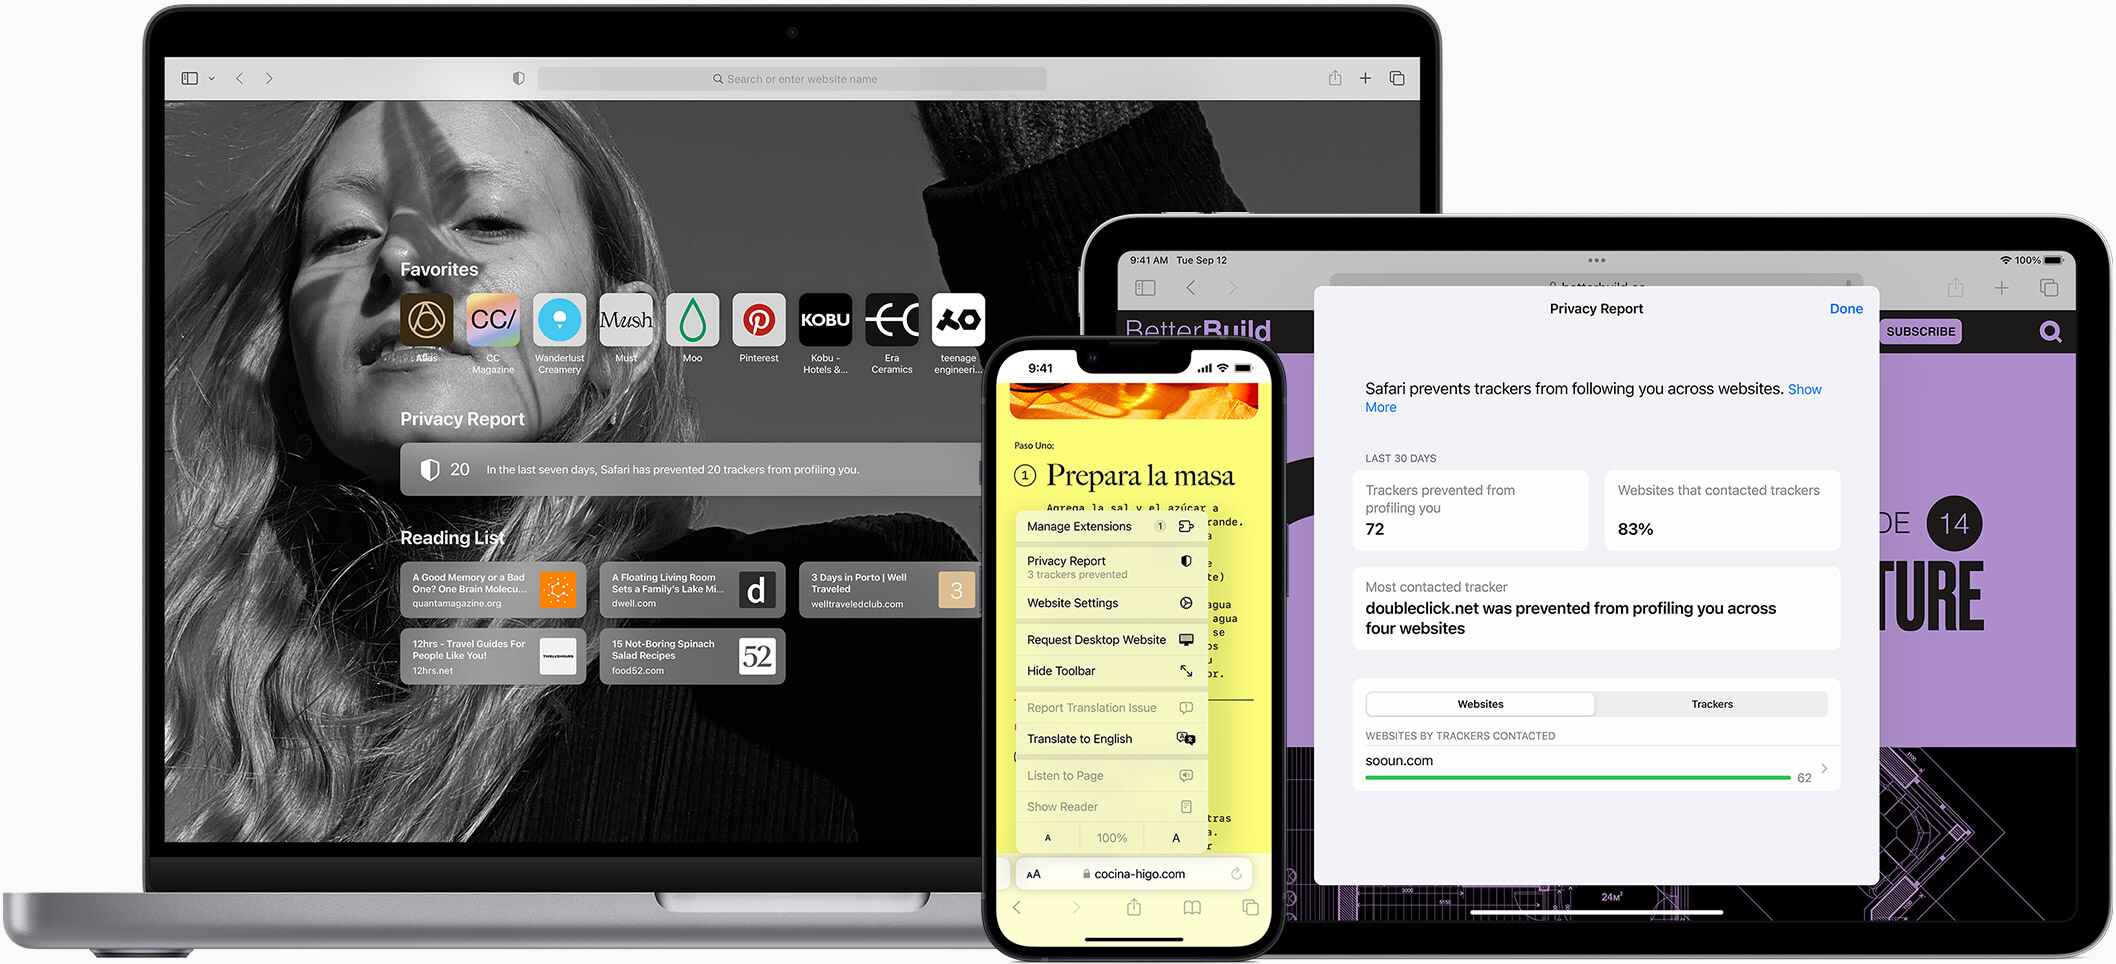
By adding Apple Pay to Safari, you have seamlessly integrated this innovative payment solution into your browsing environment, enhancing the efficiency and security of your online transactions. With Apple Pay enabled in Safari, you can enjoy a frictionless checkout process, where you can complete purchases with just a touch or click, leveraging the tokenization and biometric authentication features for enhanced security.
The integration of Apple Pay with Safari underscores Apple's commitment to providing users with a seamless and secure digital payment experience. As you proceed to the final step of making payments with Apple Pay in Safari, you are poised to experience the full benefits of this integration, revolutionizing the way you shop and transact online.
With Apple Pay now integrated into Safari, you are primed to experience a new level of convenience and security when conducting online transactions. As you move forward to the next step of making payments with Apple Pay in Safari, you are on the brink of unlocking a world of seamless and secure online shopping experiences.
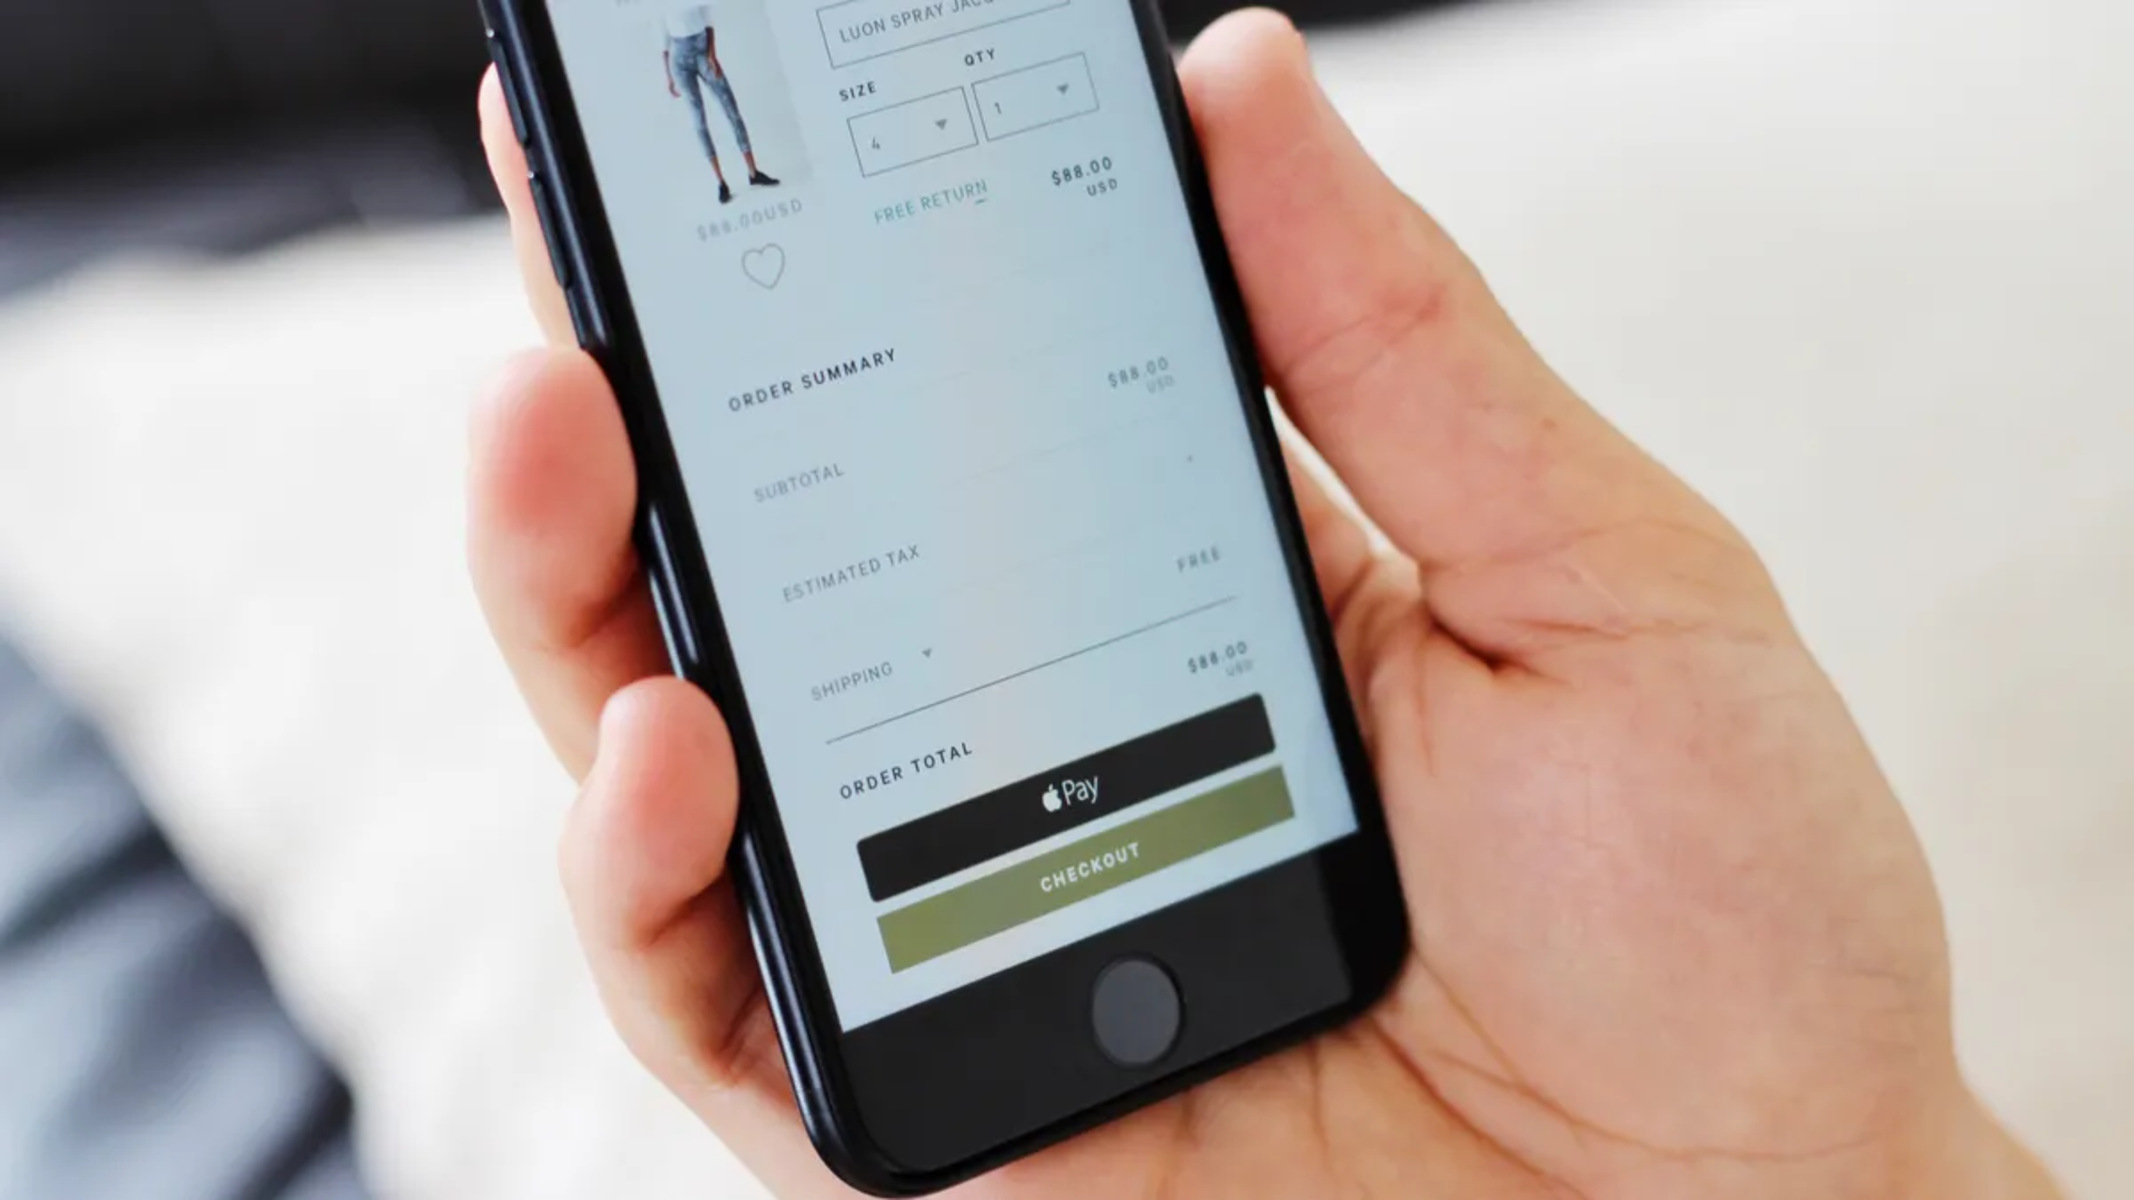
Step 5: Making Payments with Apple Pay in Safari
With Apple Pay seamlessly integrated into Safari, you are now ready to experience the convenience and security of making payments on supported websites using this innovative payment method. When you encounter a checkout page on a website that supports Apple Pay, you can take advantage of this streamlined payment process to complete your purchase with ease. Here's how to make payments with Apple Pay in Safari:
-
Checkout Process: When you're ready to make a purchase on a website that supports Apple Pay, proceed to the checkout page. Look for the Apple Pay button, which may be displayed alongside other payment options.
-
Initiate Payment: Click on the Apple Pay button to initiate the payment process. This action prompts Safari to access the payment card you have added to Apple Pay, eliminating the need to manually enter your card details.
-
Authentication: Depending on your device, you may be prompted to authenticate the transaction using Touch ID, Face ID, or your device passcode. This additional layer of security ensures that only authorized users can authorize payments with Apple Pay.
-
Complete the Transaction: After authenticating the transaction, follow the on-screen prompts to confirm the payment. Once confirmed, the transaction is processed securely, and you will receive a confirmation of your purchase.
By leveraging Apple Pay in Safari, you can enjoy a frictionless checkout experience, where the need to manually input payment and shipping details is eliminated. This not only saves time but also enhances the security of your transactions, as Apple Pay utilizes tokenization and biometric authentication to safeguard your financial information.
The integration of Apple Pay with Safari underscores Apple's commitment to providing users with a seamless and secure digital payment experience. By harnessing the power of Apple Pay within Safari, you can navigate the online shopping landscape with confidence, knowing that your transactions are protected and your checkout process is streamlined.
As you embrace the convenience of making payments with Apple Pay in Safari, you are embracing a new era of digital commerce, where security and efficiency converge to redefine the online shopping experience. With just a touch or click, you can complete your purchases, knowing that Apple Pay and Safari work in harmony to elevate your transactional interactions on the web.
Conclusion
In conclusion, the integration of Apple Pay into Safari represents a significant leap forward in the realm of online payments, offering users a seamless and secure method for completing transactions on the web. By following the steps outlined in this guide, you have embarked on a journey to harness the full potential of Apple Pay, leveraging its innovative features to streamline your online shopping experience across your Mac, iPhone, and iPad.
With Apple Pay seamlessly integrated into Safari, you have unlocked a world of convenience, where the need to manually enter payment and shipping details is replaced by a simple touch or click. This not only saves time but also enhances the security of your transactions, as Apple Pay employs tokenization and biometric authentication to safeguard your financial information.
The compatibility checks, setup process on iPhone or iPad, enabling Apple Pay on Mac, and adding Apple Pay to Safari have collectively positioned you to embrace a new era of digital commerce. The culmination of these efforts empowers you to navigate the online shopping landscape with confidence, knowing that your transactions are protected and your checkout process is streamlined.
As you make payments with Apple Pay in Safari, you are embracing a transformative digital payment experience, where security and efficiency converge to redefine the way you interact with online merchants. The frictionless checkout process, coupled with the robust security measures inherent to Apple Pay, reinforces your peace of mind and elevates your transactional interactions on the web.
By incorporating Apple Pay into your browsing routine, you are not only embracing a more convenient and secure payment method but also aligning with the evolving landscape of digital commerce. As the digital realm continues to shape the way we conduct transactions, the integration of Apple Pay with Safari positions you at the forefront of this digital evolution, where innovation and security intersect to enhance your online shopping endeavors.
In essence, the addition of Apple Pay to Safari marks a pivotal advancement in the realm of digital payments, empowering users to transact with confidence and efficiency. As you embark on your future online shopping endeavors, the seamless integration of Apple Pay within Safari will continue to serve as a cornerstone of convenience and security, revolutionizing the way you engage with merchants on the web.