To learn how to make a robot at home, you need to combine a mechanical structure, control systems, power supply, sensors, and actuators, all orchestrated by software. This guide shows you how to build a simple, affordable obstacle-avoiding robot car without needing advanced coding or engineering skills.
How to make a robot: what you need to know first
Every robot, from a factory arm to a toy car, is built from five core components: a mechanical structure (the body or frame), a control system (the brain), a power supply (battery), sensors (to detect the world), and actuators (motors or wheels). Before you buy a single part, clearly define your robot's purpose and goals, as this will guide component selection and overall design. A robot meant to roam a flat living room floor needs wheels, not legs, and you will need to program a robot to use its sensors for obstacle avoidance. Defining your robot's job first keeps your build focused and affordable, and you can complete a simple version by building a robot in 1 day.
![How To Make A Robot: Ultimate Guide [Updated 2020]](https://robots.net/wp-content/uploads/2019/10/how_to_make_robots-01-383x1024.jpg)
Choosing your robot's brain: Arduino vs Raspberry Pi
Your robot's brain is its microcontroller, and beginners have two excellent options. Arduino is ideal for simpler, real-time control and is programmed using a language based on C/C++. It handles sensor inputs and motor outputs instantly with minimal complexity. Raspberry Pi is suitable for more complex tasks, AI, and Python programming, making it a better choice if you later want to add computer vision or advanced logic. For a first robot that simply bumps into things and turns away, an Arduino is the simpler, more reliable choice.
How to make a robot car for under $100
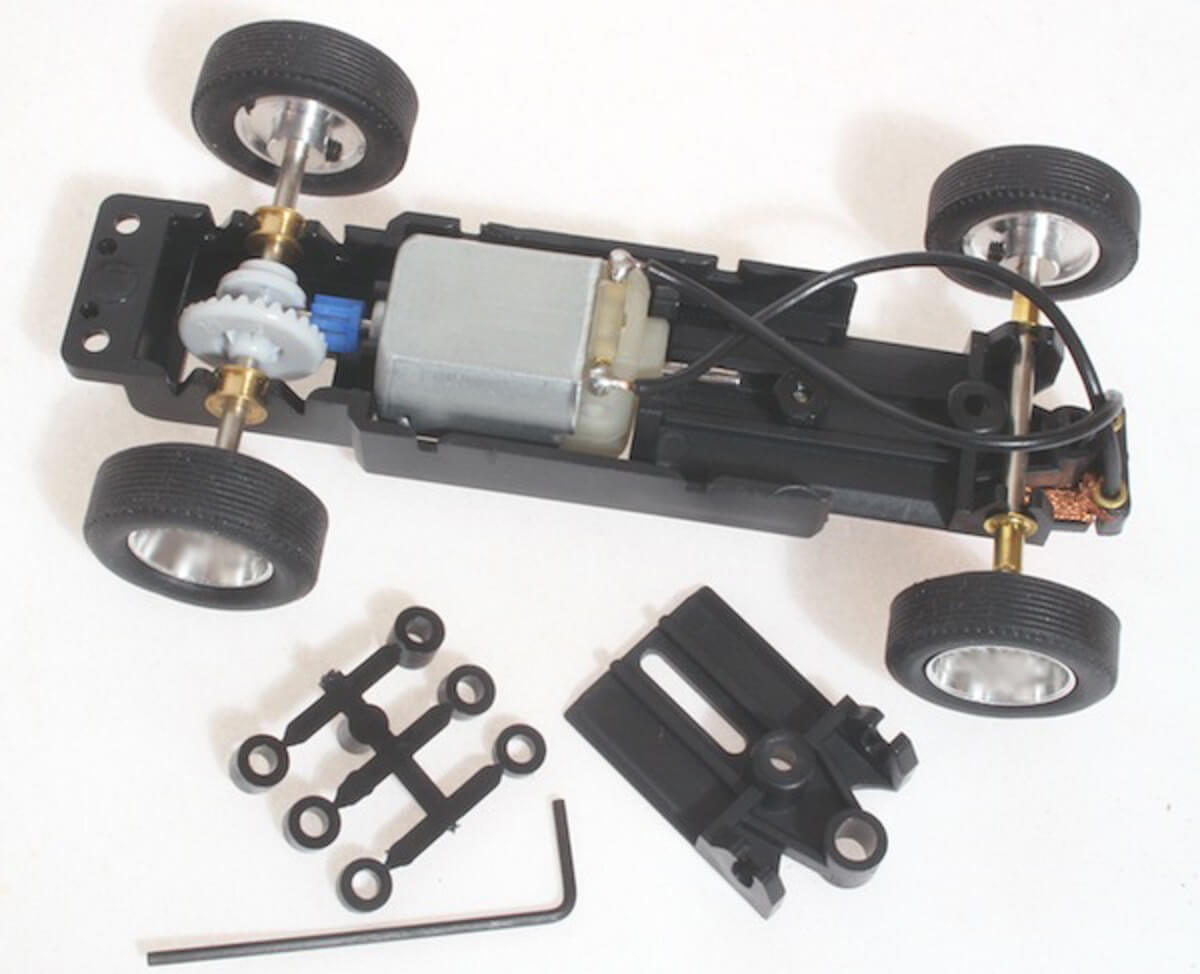
You can build a functional robot car with just five simple components: four wheels, a chassis, two motors, four switches, four paperclips, and a battery to power it all. Start by attaching the four wheels to the chassis. Then mount the two small electrical engines so one motor powers the left-side wheels and the other drives the right-side wheels. This two-motor setup is the foundation of your robot's movement.
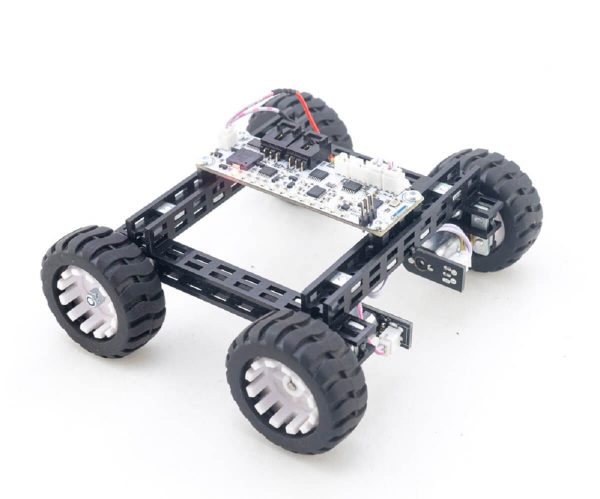
- Attach the four wheels to the chassis, ensuring they spin freely.
- Mount one motor to drive the left-side wheels and the second motor to drive the right-side wheels.
- Secure the battery somewhere on the chassis to provide power.
How to build a self-driving robot with bump sensors
Your robot becomes "self-driving" using a simple paperclip-switch sensor mechanism. Attach one paperclip to each switch so the paperclip moves back and forth when pressed, activating the switch. Mount these switches to the four corners of your chassis, two on the left side and two on the right side. The robot uses differential steering logic: when a sensor on the left corner hits an obstacle, it reverses the left-side wheels while the right-side wheels keep moving forward. This makes the robot turn away from the obstacle. When the turn completes and the right-front sensor hits the wall, it reverses the right wheels, aligning both sides forward again.
Programming your robot: start small and test
To simplify debugging, program and test your robot's code in small, isolated sections (e.g., motors first, then sensors, then logic) rather than writing the entire program at once. For an Arduino, download the free Arduino IDE from the official website, connect your Arduino board via USB, and then select your specific board model and the correct port from the "Tools" menu. Write a short test to spin just the motors forward. Once that works, add code to read a single switch. Only then combine the sensor and motor logic. Testing programs in a simulated environment before deploying them to physical hardware is a recommended practice to safely identify and fix errors and prevent potential damage.
Common beginner mistakes and how to avoid them
Beginners commonly encounter mechanical failures, such as shaky frames or grinding gears, often due to overlooking structural integrity and basic physics principles during design. A flimsy chassis causes misaligned wheels and poor sensor contact. Ensure your frame is rigid and all moving parts are securely fastened. Grinding gears usually mean a motor is mounted crooked or wheels are rubbing against the chassis. Always test your code in simulation first, running untested code on hardware can burn out a motor or drain your battery instantly. Fix the structure before you fix the code, and your robot will run reliably.
\nRelated reading: 5 Best Robotics Kits You Should Try Out Now.