Introduction
Resetting a Transition Network switch to its factory default settings can help resolve various issues, such as forgotten passwords or configuration errors. This process effectively restores the switch to its original state, erasing any custom configurations and passwords. However, it's essential to proceed with caution, as resetting the switch will result in the loss of all current settings. Before initiating the reset, it's crucial to back up any critical configurations to prevent data loss.
In this guide, we will walk you through the step-by-step process of resetting a Transition Network switch to its factory default settings. By following these instructions, you can effectively restore the switch to its original state, allowing for a fresh start in the event of technical issues or the need to reconfigure the device for a new network environment.
Resetting a Transition Network switch is a straightforward procedure, but it requires careful execution to ensure that the switch is successfully restored to its factory default settings. Whether you're a network administrator, an IT professional, or an enthusiast looking to reset your Transition Network switch, this guide will provide you with the necessary steps and precautions to carry out the reset process effectively and securely.
Now, let's delve into the detailed steps to reset a Transition Network switch to its factory default settings. By following these instructions, you can ensure a smooth and successful reset while avoiding potential pitfalls in the process.
Step 1: Gather Necessary Materials
Before initiating the reset process for your Transition Network switch, it’s essential to gather the necessary materials to ensure a smooth and secure procedure. Here’s what you’ll need:
- Transition Network Switch: The switch that requires resetting.
- Power Cable: Ensure that you have the power cable for the switch.
- Pointed Object: A small, pointed object such as a paperclip or pin to press the reset button.
- Access to Documentation: If available, refer to the user manual or online documentation for your specific Transition Network switch model to ensure you have the correct information related to the reset process.
Gathering these materials beforehand will help streamline the reset process and mitigate the risk of encountering any unforeseen obstacles along the way. By having all the necessary items at your disposal, you can proceed with confidence and ensure that the reset is carried out effectively and safely.
Step 2: Locate the Reset Button
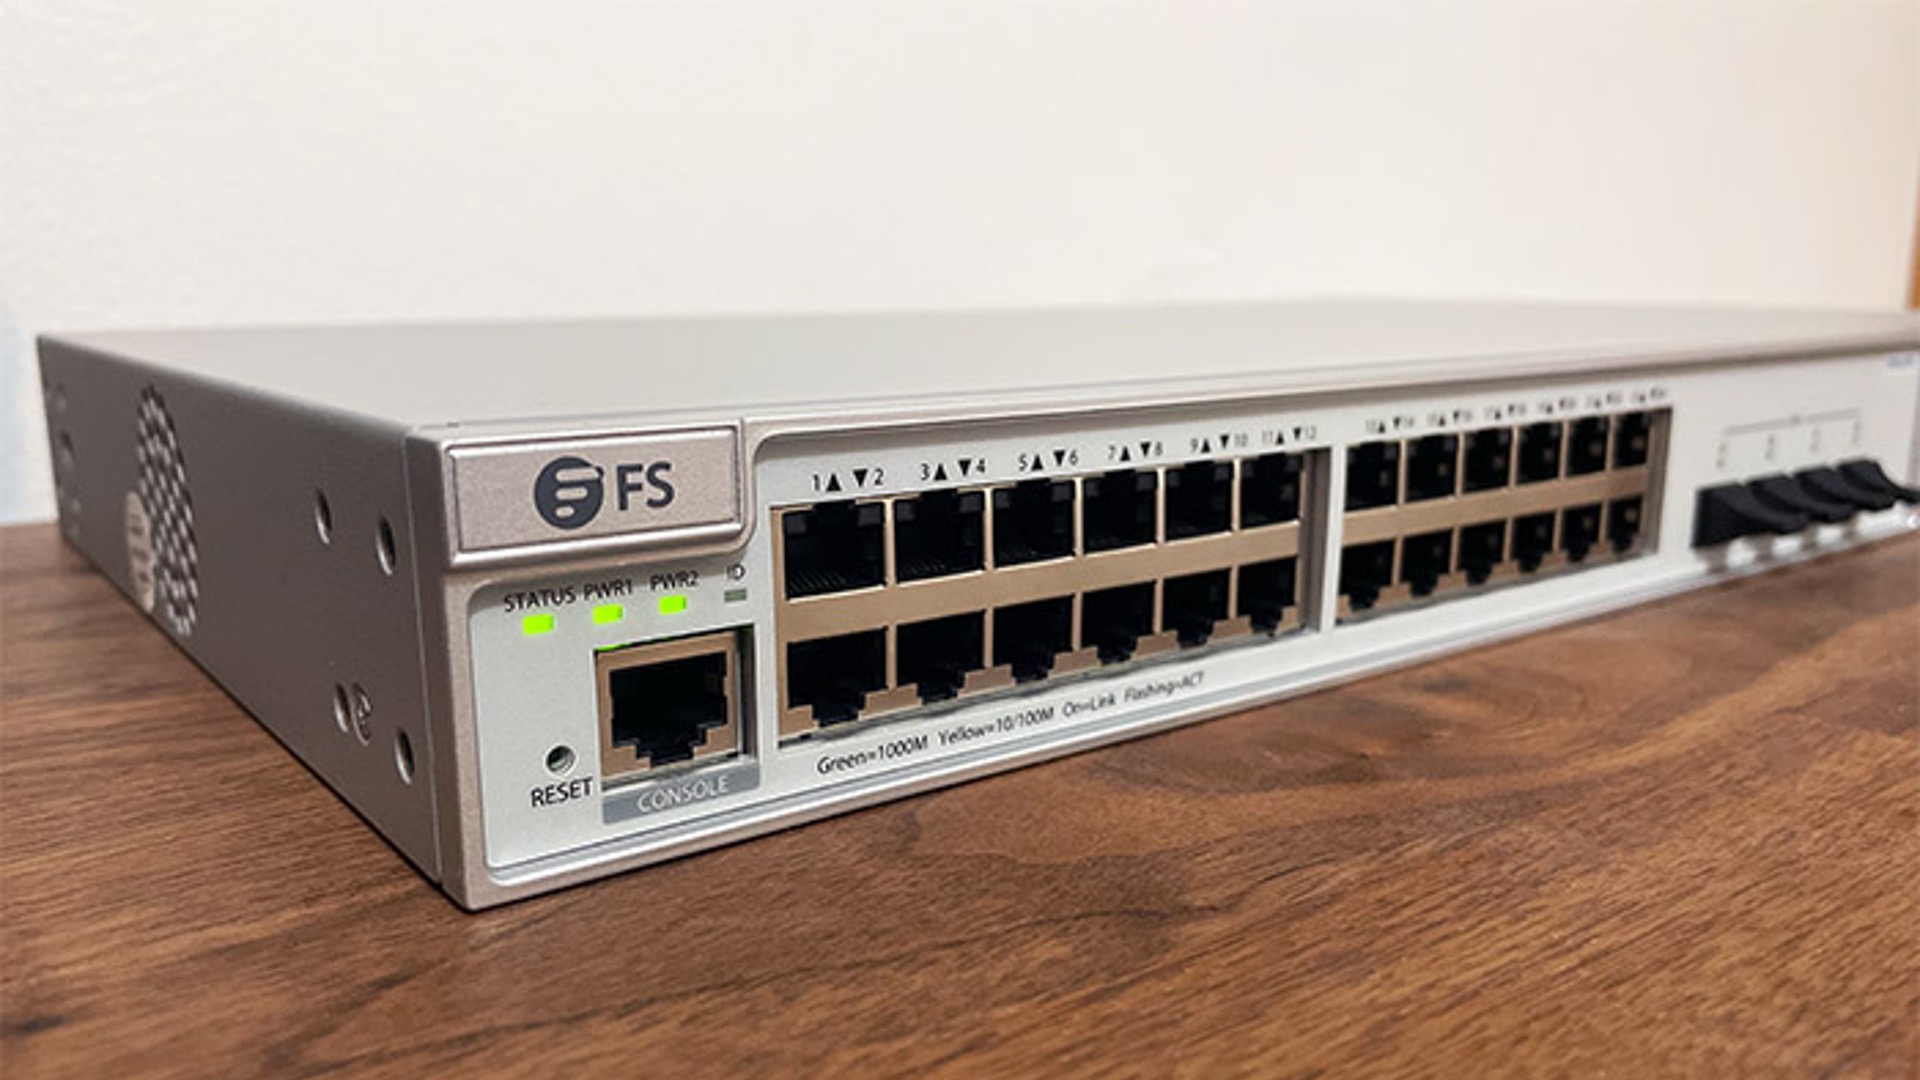
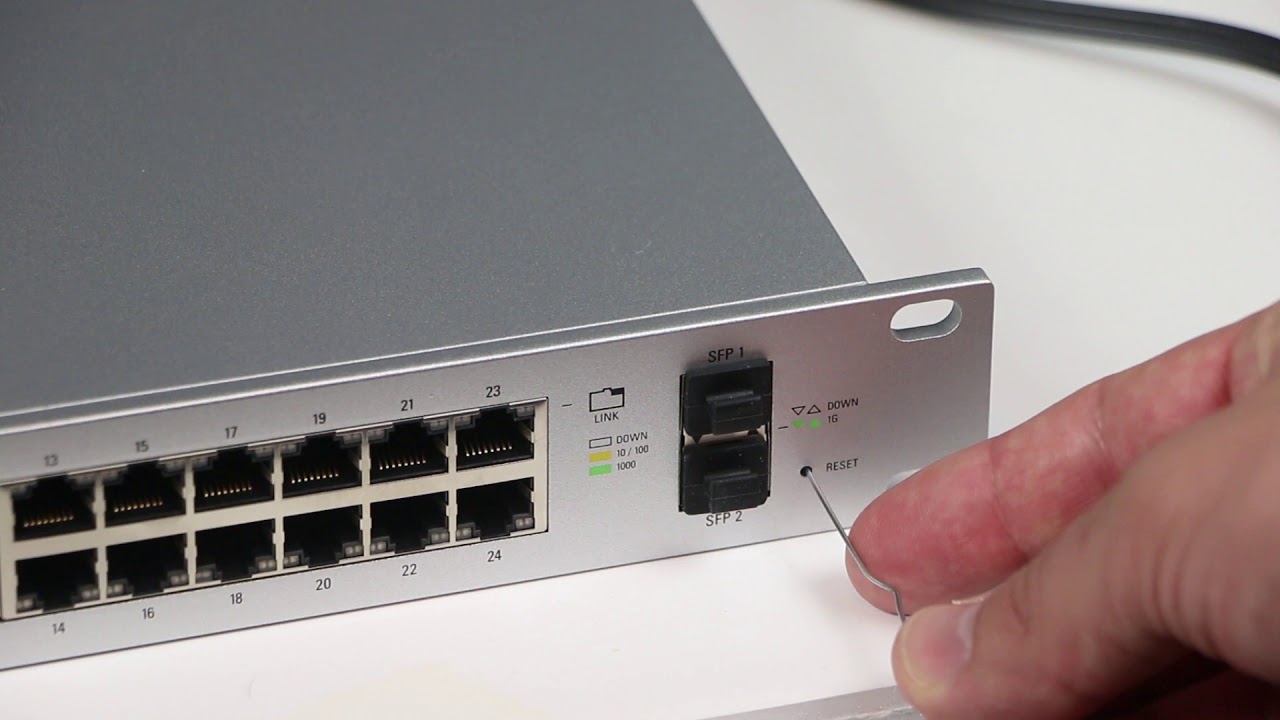
Locating the reset button on your Transition Network switch is a crucial initial step in the reset process. The reset button is typically a small, recessed button located on the switch’s exterior. Here’s how to locate the reset button:
- Refer to the User Manual: If available, consult the user manual or documentation provided with your Transition Network switch. The manual often contains detailed information on the physical layout of the switch, including the location of the reset button.
- Inspect the Switch: Carefully examine the switch’s exterior, looking for a small button that may be labeled as “Reset” or “Factory Reset.” The button is often recessed to prevent accidental activation.
- Online Resources: If the user manual is not readily accessible, consider visiting the official Transition Networks website or relevant online forums for your switch model. You may find visual guides or community discussions that provide insight into locating the reset button.
Once you have successfully located the reset button, take note of its precise position and familiarize yourself with its appearance. This preparation will prove beneficial when it comes time to initiate the reset process, ensuring that you can easily access the button without any confusion or delay.
Step 3: Power Off the Switch
Before proceeding with the reset process, it is crucial to power off the Transition Network switch to ensure safety and prevent any potential data corruption. Here are the steps to power off the switch:
- Disconnect Power Source: Unplug the power cable connected to the switch from the power outlet or power source. Ensure that the switch is completely disconnected from the electrical supply to prevent any electrical hazards during the reset process.
- Allow for Shutdown Time: If the switch was previously powered on, allow it to shut down completely. This will ensure that all internal processes come to a halt before initiating the reset procedure.
- Verify Power Status: Confirm that the switch’s indicator lights and display, if applicable, show no signs of power. This step is essential to guarantee that the switch is entirely powered off before proceeding to the next stage of the reset process.
By following these steps to power off the switch, you can ensure a safe and controlled environment for the subsequent stages of the reset process. Taking the time to power off the switch properly minimizes the risk of potential electrical mishaps and contributes to a smooth and secure reset experience.
Step 4: Press and Hold the Reset Button
Once the Transition Network switch is powered off, the next step in the reset process involves pressing and holding the reset button. Follow these guidelines to execute this step effectively:
- Use a Pointed Object: Take the small, pointed object, such as a paperclip or pin, that you gathered during Step 1. This will be used to press the reset button.
- Locate the Reset Button: Refer back to the location of the reset button identified in Step 2. Ensure that you have a clear understanding of its position and accessibility before proceeding.
- Press and Hold: Using the pointed object, gently press the reset button and hold it down for approximately 10-15 seconds. It’s important to maintain consistent pressure on the button throughout this duration.
- Observe Indicator Lights: While holding the reset button, observe any indicator lights on the switch. Depending on the model, these lights may provide visual feedback to indicate that the reset process is underway.
By pressing and holding the reset button as described, you initiate the restoration of the switch to its factory default settings. This step is critical in ensuring that the switch recognizes the command to reset and prepares for the subsequent stages of the reset process.
Step 5: Power on the Switch While Still Holding the Reset Button
Continuing the reset process, the next step involves powering on the Transition Network switch while still holding down the reset button. Follow these instructions to carry out this crucial stage effectively:
- Reconnect the Power Source: Plug the power cable back into the switch to restore the electrical supply. Ensure that the switch is connected to a stable power source before proceeding.
- Continue Holding the Reset Button: While the switch is powering on, maintain continuous pressure on the reset button using the pointed object. It’s essential to keep the button depressed throughout the power-on sequence.
- Observe the Switch’s Behavior: As the switch powers on, observe its indicator lights and any display, if applicable. The switch’s response during this phase can provide valuable feedback regarding the progression of the reset process.
By following these steps, you enable the switch to enter a state where it recognizes the reset command while undergoing the power-on sequence. This simultaneous action sets the stage for the switch to acknowledge the reset instruction and prepare for the final phase of the reset process.
Step 6: Release the Reset Button
Once the Transition Network switch has been powered on while the reset button is held down, the subsequent step involves releasing the reset button. Follow these guidelines to execute this step effectively:
- Observation Period: After the switch has completed its power-on sequence, continue to observe its indicator lights and any display, if applicable. This allows you to monitor the switch’s response as it initializes following the power-on phase.
- Release the Reset Button: Carefully release the reset button, ensuring that it is no longer depressed. Take caution to avoid accidentally pressing the button again during this process.
- Confirmation of Reset: As the reset button is released, observe the switch for any visual indications or changes in its behavior. These cues can provide insight into whether the reset process has been successfully initiated.
By releasing the reset button as outlined, you finalize the activation of the reset process, allowing the switch to proceed with restoring its settings to the factory defaults. This step marks a critical transition in the reset procedure, setting the stage for the switch to enter a state where it is prepared to be accessed using the default credentials.
Step 7: Access the Switch Using Default Credentials
Following the successful completion of the reset process, the Transition Network switch is now restored to its factory default settings. This enables you to access the switch using the default credentials. Here’s how to proceed:
- Connect to the Switch: Use an Ethernet cable to connect your computer or management device to the switch. Ensure that the connection is secure and that the device is properly linked to the switch.
- Launch a Web Browser: Open a web browser on your connected device and enter the default IP address for the switch in the address bar. The default IP address can typically be found in the switch’s documentation or online resources.
- Enter Default Credentials: When prompted, enter the default username and password for the switch. These credentials are often provided in the switch’s documentation and may vary depending on the specific model.
- Access the Management Interface: Upon successful authentication, you should gain access to the switch’s management interface, allowing you to configure and customize the settings according to your requirements.
By following these steps, you can effectively access the Transition Network switch using the default credentials, facilitating the reconfiguration and customization of the switch to suit your specific network needs. This marks the successful completion of the reset process, enabling you to proceed with the necessary adjustments and configurations to align the switch with your network environment.
Conclusion
Resetting a Transition Network switch to its factory default settings is a fundamental process that allows for the restoration of the switch to its original state. By following the step-by-step guidelines outlined in this guide, you can effectively carry out the reset procedure with confidence and precision. It’s important to emphasize the significance of this process in addressing various technical issues and ensuring a fresh start for the switch within a network environment.
Throughout the reset process, attention to detail and adherence to the outlined steps are crucial to achieving a successful outcome. From gathering the necessary materials to accessing the switch using default credentials, each step plays a pivotal role in the comprehensive reset procedure.
It’s essential to exercise caution and patience when executing the reset process, as any missteps can lead to unintended complications. Additionally, backing up critical configurations before initiating the reset is highly recommended to safeguard important data and settings.
By resetting the Transition Network switch to its factory default settings, you pave the way for reconfiguration and customization tailored to your specific network requirements. This process not only resolves technical issues but also provides a clean slate for optimizing the switch’s performance within your network infrastructure.
Armed with the knowledge and guidance provided in this guide, you are well-equipped to navigate the reset process with confidence, ensuring the seamless restoration of your Transition Network switch to its factory default settings.