Introduction
Connecting a MiFi device to a network switch can significantly expand the reach and functionality of your network. MiFi devices, known for their portability and ability to provide wireless internet access, can be seamlessly integrated into a network infrastructure by linking them to a network switch. This allows for the distribution of the MiFi signal to multiple devices connected to the network switch, enhancing connectivity and productivity in various settings, such as offices, homes, or public spaces.
In this guide, we will walk through the step-by-step process of connecting a MiFi device to a network switch, ensuring that you can harness the full potential of your MiFi device within your network setup. Whether you are seeking to extend internet access to additional devices or improve network coverage in a specific area, integrating a MiFi device with a network switch can offer a flexible and efficient solution.
By following the instructions provided in this guide, you will be able to seamlessly establish a connection between your MiFi device and the network switch, leading to an expanded network infrastructure and improved accessibility for all connected devices. Let's dive into the steps required to successfully connect your MiFi device to a network switch and optimize your network's capabilities.
Step 1: Gather the Necessary Equipment
Before initiating the process of connecting your MiFi device to a network switch, it is essential to gather the required equipment to ensure a smooth and efficient setup. The following items are necessary for this integration:
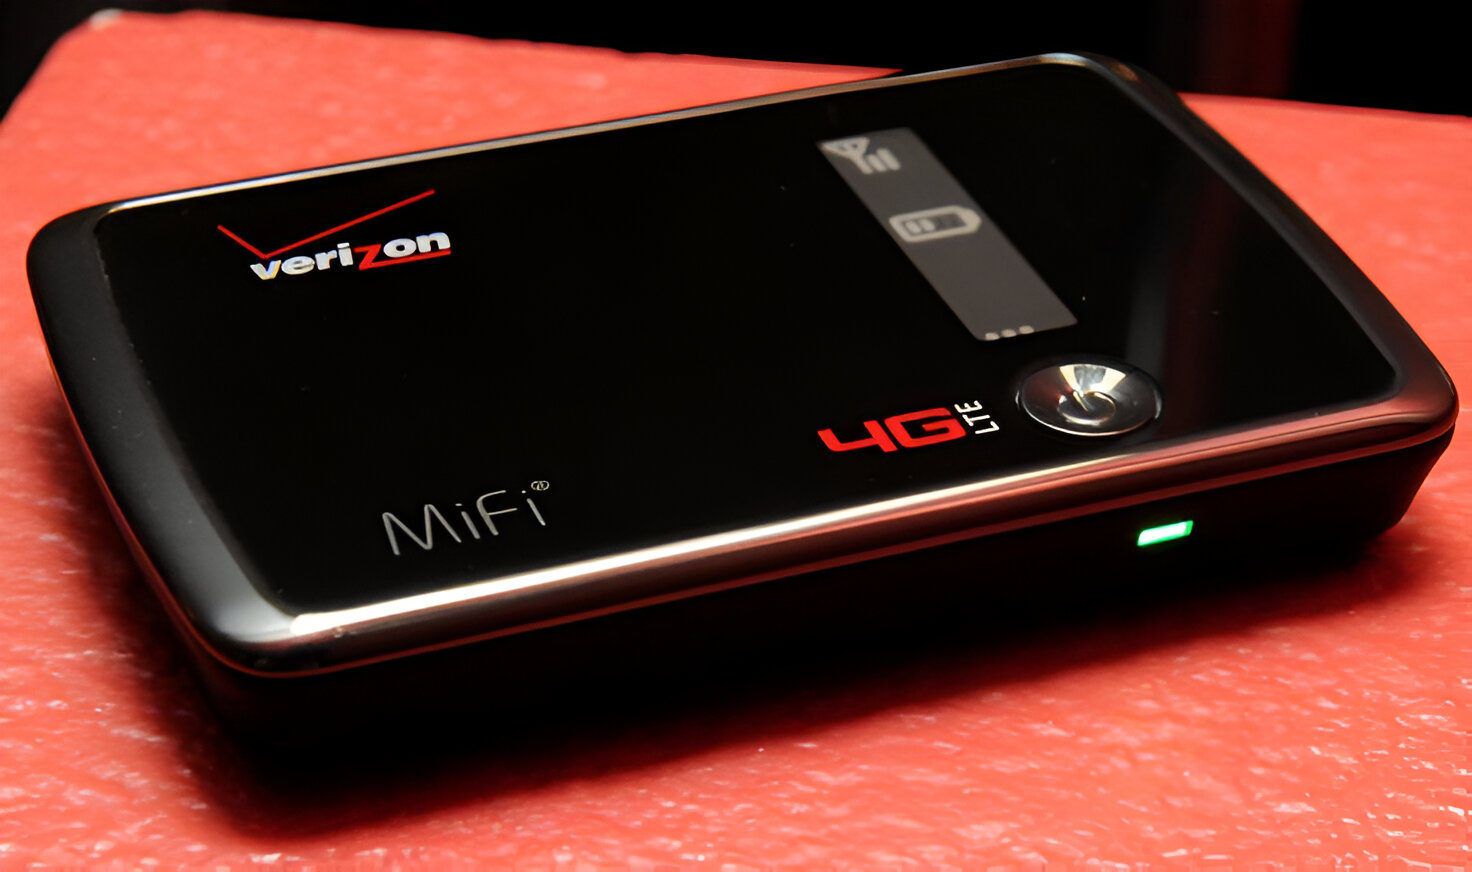
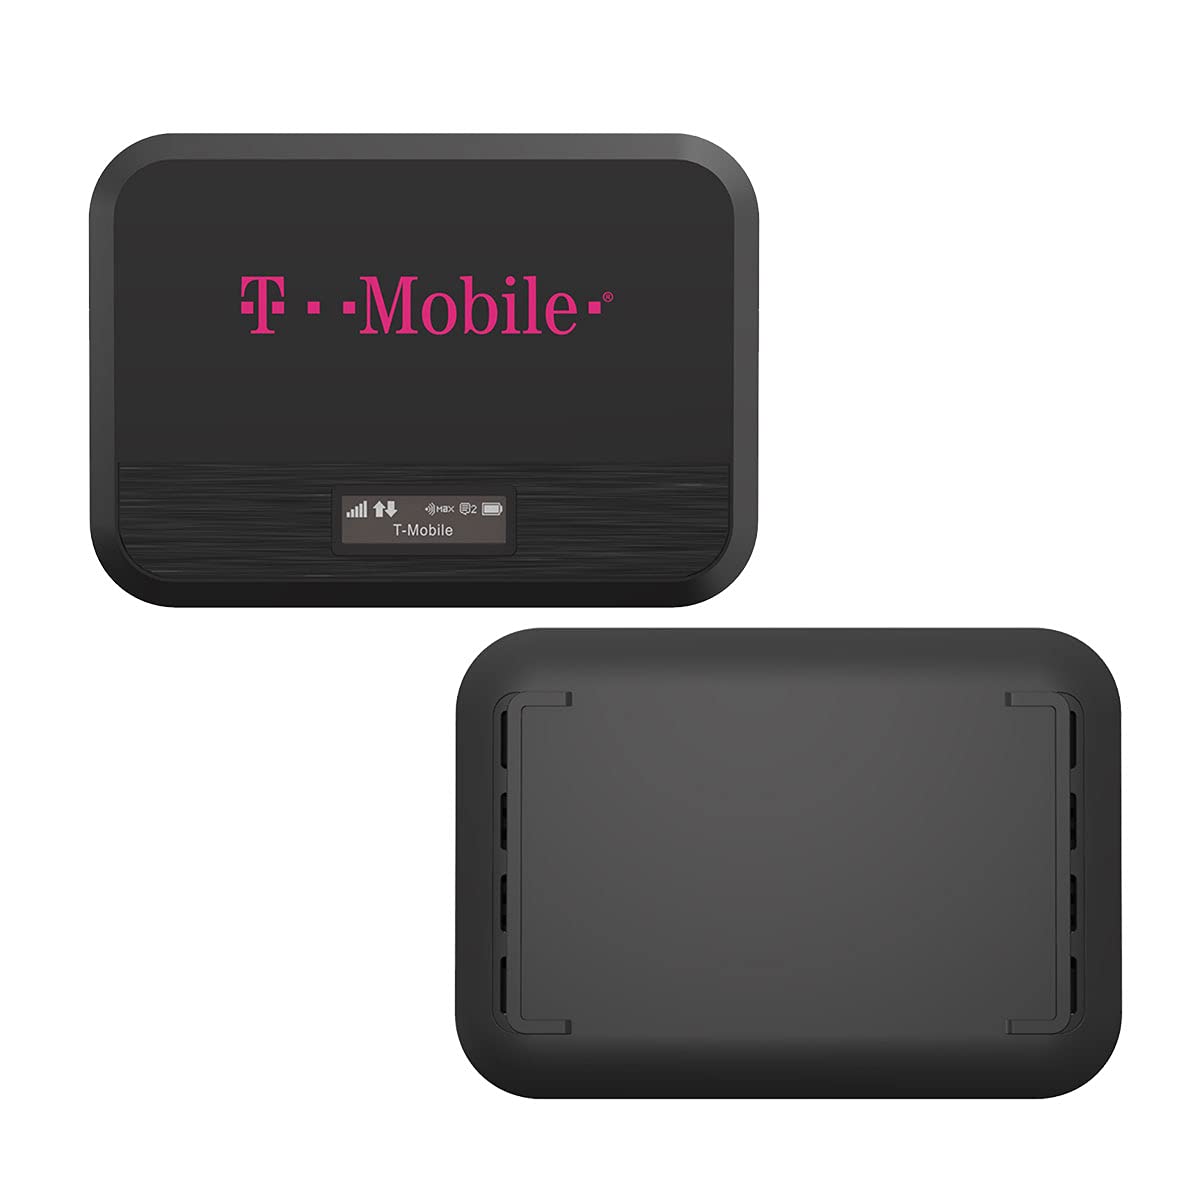
- MiFi Device: The MiFi device serves as the source of wireless internet connectivity and should be fully charged or connected to a power source before proceeding with the setup.
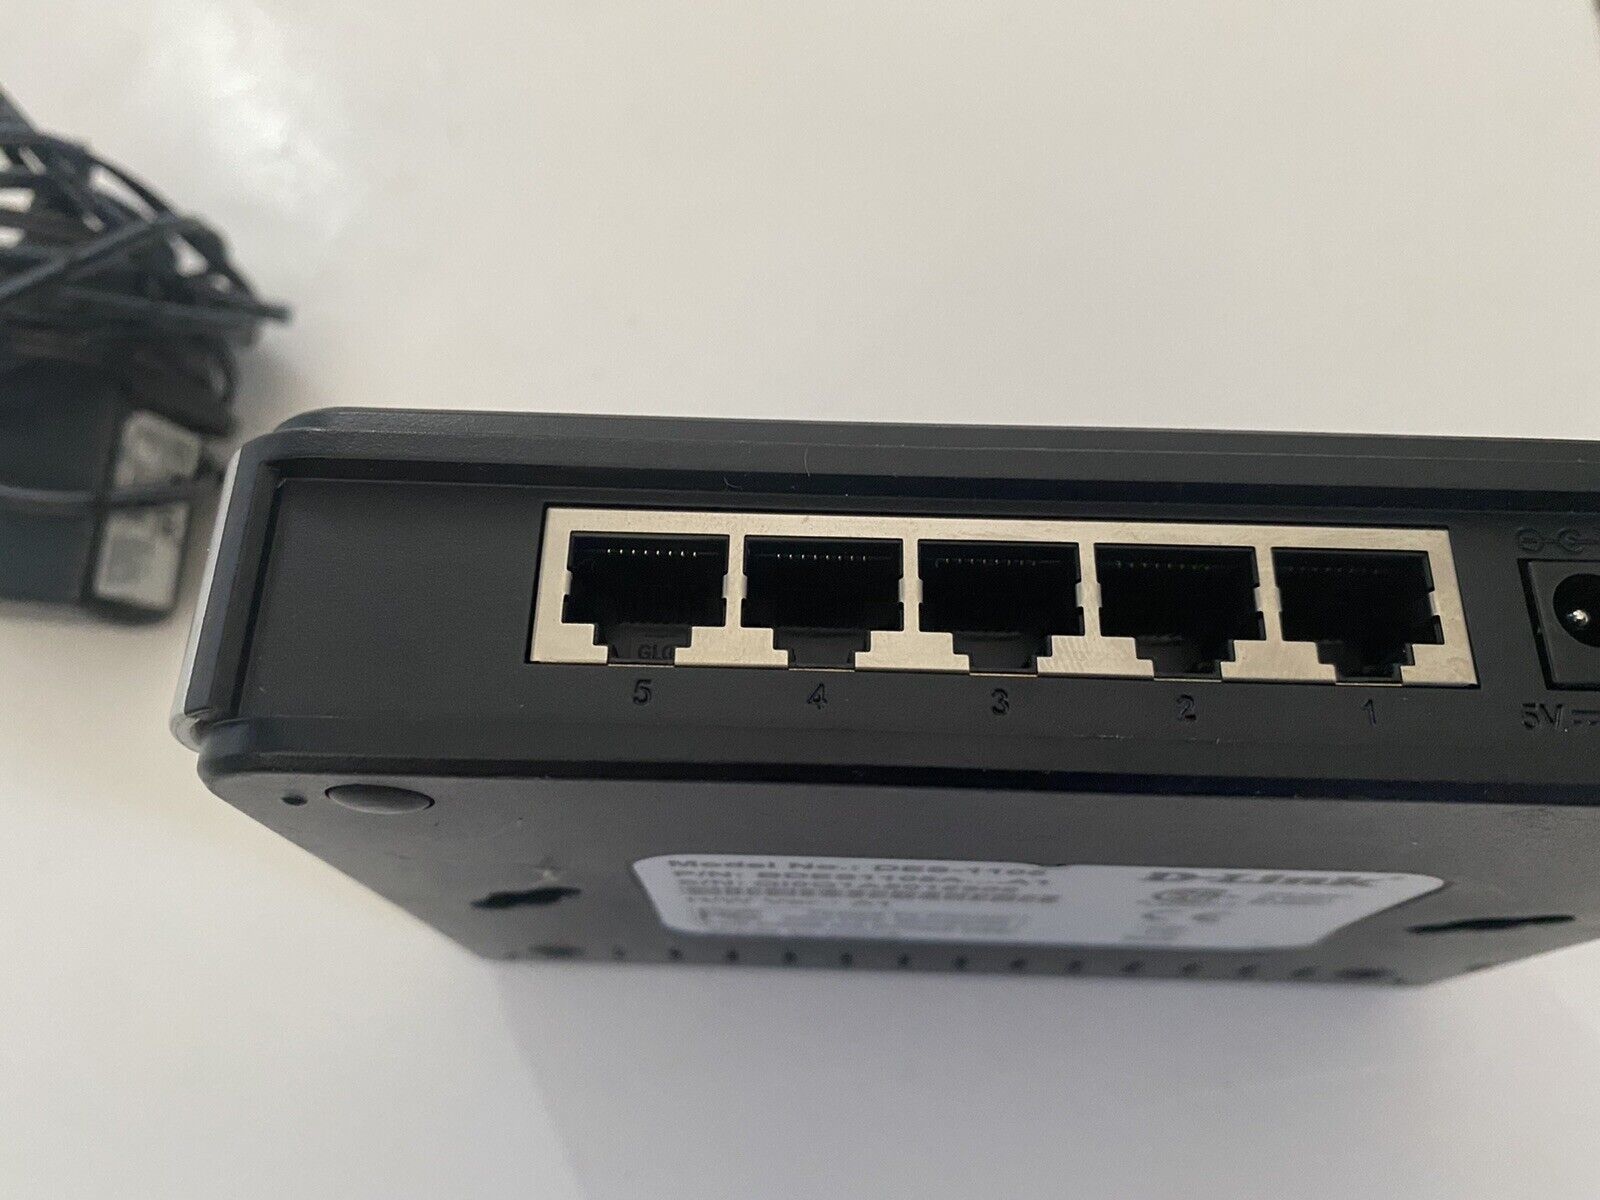
- Network Switch: A network switch, capable of facilitating wired connections between devices, is a fundamental component for integrating the MiFi device into the network infrastructure.
- Ethernet Cable: An Ethernet cable is essential for establishing a physical connection between the MiFi device and the network switch. Ensure that the cable is of sufficient length to accommodate the desired placement of the MiFi device and the network switch.
- Power Adapter: If the network switch requires a power source, ensure that the corresponding power adapter is available and ready for use.
- Connected Devices: Identify the devices that will be connected to the network switch to receive the MiFi signal, as this will determine the positioning and configuration of the network switch.
By ensuring that all the necessary equipment is readily available, you can proceed with the subsequent steps of the integration process without interruptions, ultimately leading to a successful connection between the MiFi device and the network switch.
Step 2: Power on the MiFi Device
Before proceeding with the connection process, it is crucial to ensure that the MiFi device is powered on and functioning optimally. Follow these steps to power on the MiFi device:
- Check the Battery: If the MiFi device is powered by a rechargeable battery, ensure that it is adequately charged. If the device requires external power, connect it to a power source using the provided power adapter.
- Power Button: Locate the power button on the MiFi device and press it to initiate the power-up sequence. Depending on the device model, the power button may need to be held for a few seconds to activate the device.
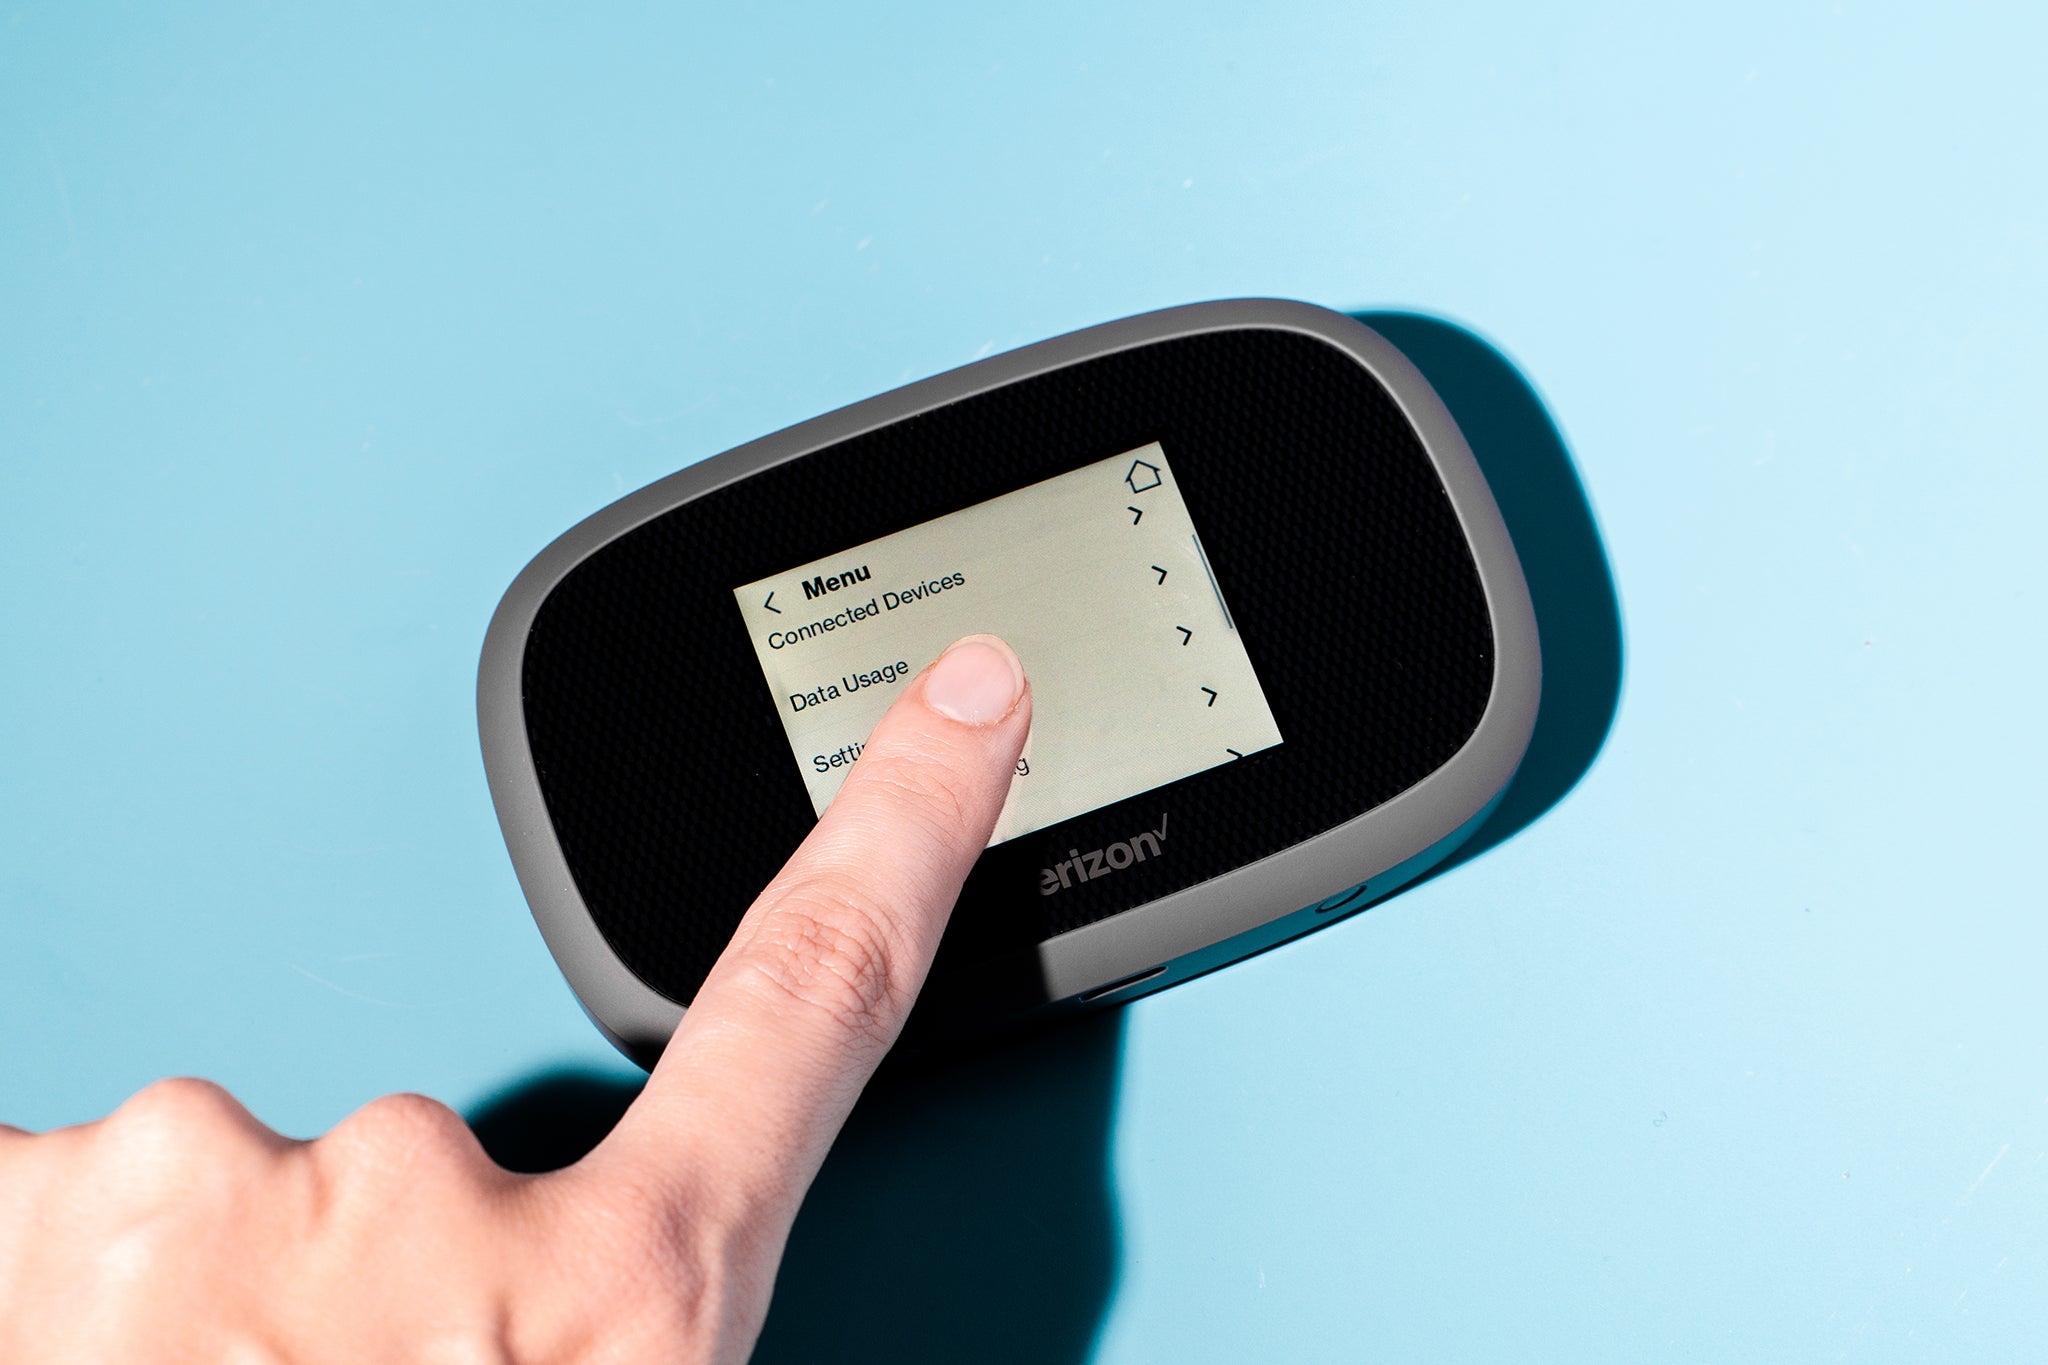
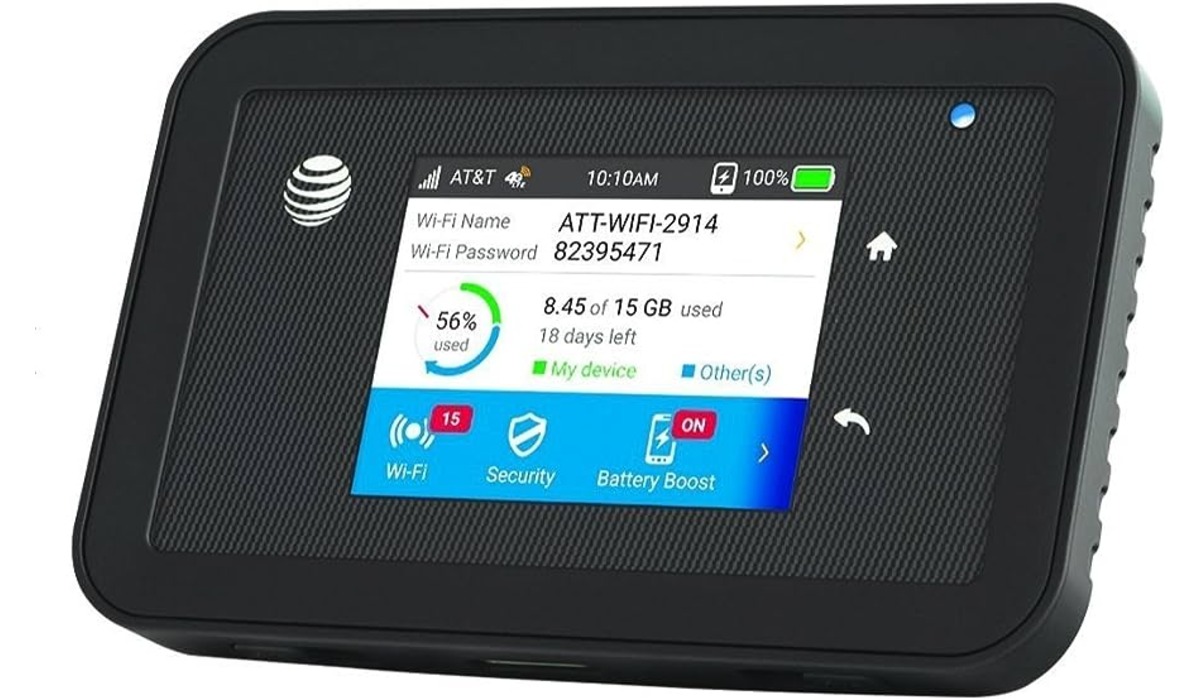
- Indicator Lights: Observe the indicator lights on the MiFi device to confirm that it has powered on successfully. These lights typically indicate power status, network connectivity, and data transmission, providing valuable insights into the device’s operational status.
- Network Signal: Once powered on, ensure that the MiFi device establishes a stable network signal, indicating that it is ready to distribute wireless internet connectivity to the connected devices.
By powering on the MiFi device and verifying its operational status, you can proceed with confidence to the next step of physically connecting it to the network switch, laying the groundwork for an integrated and robust network infrastructure.
Step 3: Connect the MiFi Device to the Network Switch
Once the MiFi device is powered on and ready to distribute wireless internet connectivity, the next crucial step is to establish a physical connection between the MiFi device and the network switch. Follow these steps to seamlessly connect the MiFi device to the network switch:
- Locate Available Ports: Identify an available Ethernet port on the network switch to connect the MiFi device. The ports are typically located on the rear panel of the switch and are labeled for easy identification.
- Insert the Ethernet Cable: Take the Ethernet cable and insert one end into the Ethernet port on the MiFi device. Ensure a secure connection to guarantee stable data transmission between the MiFi device and the network switch.
- Connect to the Network Switch: Take the other end of the Ethernet cable and insert it into the identified available port on the network switch. Once again, ensure a secure connection to establish a reliable link between the MiFi device and the network switch.
- Verify the Connection: After connecting the MiFi device to the network switch, verify that the Ethernet cable is firmly connected at both ends and that the indicator lights on the network switch and the MiFi device indicate a successful physical connection.
By establishing a direct physical connection between the MiFi device and the network switch, you pave the way for the seamless distribution of wireless internet connectivity to the devices connected to the network switch. This integration enables the network switch to relay the MiFi signal to multiple devices, expanding the network’s reach and accessibility.
Step 4: Configure the Network Switch
Configuring the network switch is a crucial step in optimizing the integration of the MiFi device with the existing network infrastructure. By configuring the network switch, you can ensure that the MiFi signal is efficiently distributed to all connected devices. Follow these steps to configure the network switch:
- Access the Switch Interface: Using a computer or a connected device, access the interface of the network switch. This is typically done through a web browser by entering the switch’s IP address in the address bar.
- Log In to the Interface: Enter the required credentials to log in to the switch’s interface. This may include a username and password, which are often provided in the switch’s documentation or can be set up during the initial configuration process.
- Locate Port Settings: Once logged in, navigate to the port settings or configuration section of the switch’s interface. Here, you can manage the specific ports to which devices, including the MiFi device, are connected.
- Assign Port Configuration: Locate the port to which the MiFi device is connected and configure it to facilitate the distribution of the wireless internet signal. This may involve designating the port as an access port and specifying the appropriate VLAN settings to ensure seamless connectivity.
- Save Configuration Changes: After configuring the port settings for the MiFi device, save the changes within the switch’s interface. This ensures that the switch is optimized to relay the MiFi signal effectively to all connected devices.
By configuring the network switch to accommodate the MiFi device, you establish an environment where the wireless internet signal is efficiently distributed, providing reliable connectivity to all devices connected to the network switch. This step is integral to maximizing the benefits of integrating the MiFi device into the network infrastructure.
Step 5: Test the Connection
After completing the physical connection and configuring the network switch to accommodate the MiFi device, it is essential to test the connection to ensure that the integrated setup functions as intended. Follow these steps to effectively test the connection:
- Verify Device Connectivity: Ensure that the devices connected to the network switch, such as computers, smartphones, or other network-enabled devices, can detect and connect to the network. Verify that these devices can access the internet and experience seamless connectivity.
- Check Signal Strength: Assess the signal strength and stability of the wireless internet distributed by the MiFi device through the network switch. Verify that the signal coverage meets the desired range and that connected devices experience consistent connectivity without disruptions.
- Test Data Transfer: Initiate data transfer activities, such as downloading files or streaming media, on devices connected to the network switch. Confirm that data transfer occurs at expected speeds and without interruptions, indicating the successful distribution of the MiFi signal through the network switch.
- Perform Network Diagnostics: Utilize network diagnostic tools or software to assess the performance and stability of the integrated setup. Identify and address any potential network issues, such as latency or connectivity inconsistencies, to optimize the overall network experience.
By thoroughly testing the connection, you can validate the successful integration of the MiFi device with the network switch, ensuring that the distributed wireless internet connectivity meets the desired standards of performance and reliability. This step allows for the identification and resolution of any potential issues, ultimately leading to a robust and efficient network setup.
Conclusion
Connecting a MiFi device to a network switch presents a valuable opportunity to extend wireless internet connectivity to multiple devices within a network infrastructure. By following the outlined steps, you can seamlessly integrate the MiFi device with the network switch, leading to an expanded and versatile network setup. The successful connection and configuration of the MiFi device with the network switch empower you to enhance connectivity and productivity across various environments, including homes, offices, and public spaces.
By gathering the necessary equipment, powering on the MiFi device, establishing a physical connection to the network switch, configuring the switch settings, and thoroughly testing the integrated setup, you can ensure a robust and reliable network environment. The integration of the MiFi device with the network switch enables the seamless distribution of wireless internet connectivity, providing connected devices with enhanced accessibility and performance.
As technology continues to evolve, the ability to integrate and optimize network setups becomes increasingly valuable. The integration of portable and versatile devices, such as MiFi units, with network infrastructure reflects the adaptability and scalability of modern connectivity solutions. By leveraging this integration, you can extend wireless internet access to diverse locations and enhance the overall network experience for users.
Ultimately, the successful connection of a MiFi device to a network switch exemplifies the potential for innovation and efficiency within network setups. Embracing this integration opens doors to enhanced connectivity, improved accessibility, and expanded network capabilities, serving as a testament to the dynamic nature of modern networking solutions.