Introduction
Configuring an Extreme Network switch without a console cable might seem like a daunting task, but with the right guidance, it can be a straightforward process. Extreme Networks offers a range of powerful and versatile switches designed to meet the demands of modern networking environments. These switches provide advanced features and robust performance, making them a popular choice for businesses and organizations.
In this guide, we will walk you through the process of setting up and configuring an Extreme Network switch without the need for a console cable. Whether you're a network administrator, IT professional, or a tech-savvy enthusiast, this step-by-step tutorial will equip you with the knowledge and skills to effectively manage and optimize your network infrastructure.
By leveraging the switch's web interface, you can conveniently access and configure various settings, such as VLAN configurations, port settings, and security parameters. This method not only eliminates the need for a console cable but also offers a user-friendly approach to managing your network switch.
So, if you're ready to dive into the world of Extreme Networks and take control of your network switch configuration without a console cable, let's get started!
Understanding the Extreme Network Switch
Before delving into the configuration process, it’s essential to grasp the fundamental aspects of an Extreme Network switch. These switches are renowned for their robust performance, advanced features, and scalability, making them an ideal choice for businesses of all sizes.
Extreme Network switches are designed to facilitate high-speed data transfer, efficient traffic management, and seamless connectivity within a network infrastructure. They offer a diverse range of models, each tailored to specific networking needs, whether it’s for small offices, large enterprises, or data centers.
The switches boast a variety of essential features, including Power over Ethernet (PoE) support, Quality of Service (QoS) capabilities, advanced security protocols, and intuitive management interfaces. These features empower network administrators to optimize network performance, prioritize critical traffic, and safeguard the network against potential security threats.
Furthermore, Extreme Network switches are built to support modern networking standards such as Gigabit Ethernet and 10 Gigabit Ethernet, ensuring high-speed data transmission and low latency across the network. Whether you’re deploying VoIP systems, video conferencing solutions, or high-bandwidth applications, these switches are engineered to deliver consistent and reliable performance.
Understanding the architecture and capabilities of an Extreme Network switch is crucial for effectively configuring and managing its settings. By familiarizing yourself with the switch’s features and functionalities, you’ll be better equipped to tailor the configuration to suit your specific networking requirements.
Now that we’ve gained insight into the essential characteristics of an Extreme Network switch, let’s proceed to the next step: setting up the network environment for seamless configuration.
Setting Up the Network Environment
Before embarking on the configuration process, it’s imperative to ensure that the network environment is conducive to seamless interaction with the Extreme Network switch. Here are the essential steps to prepare the network environment:
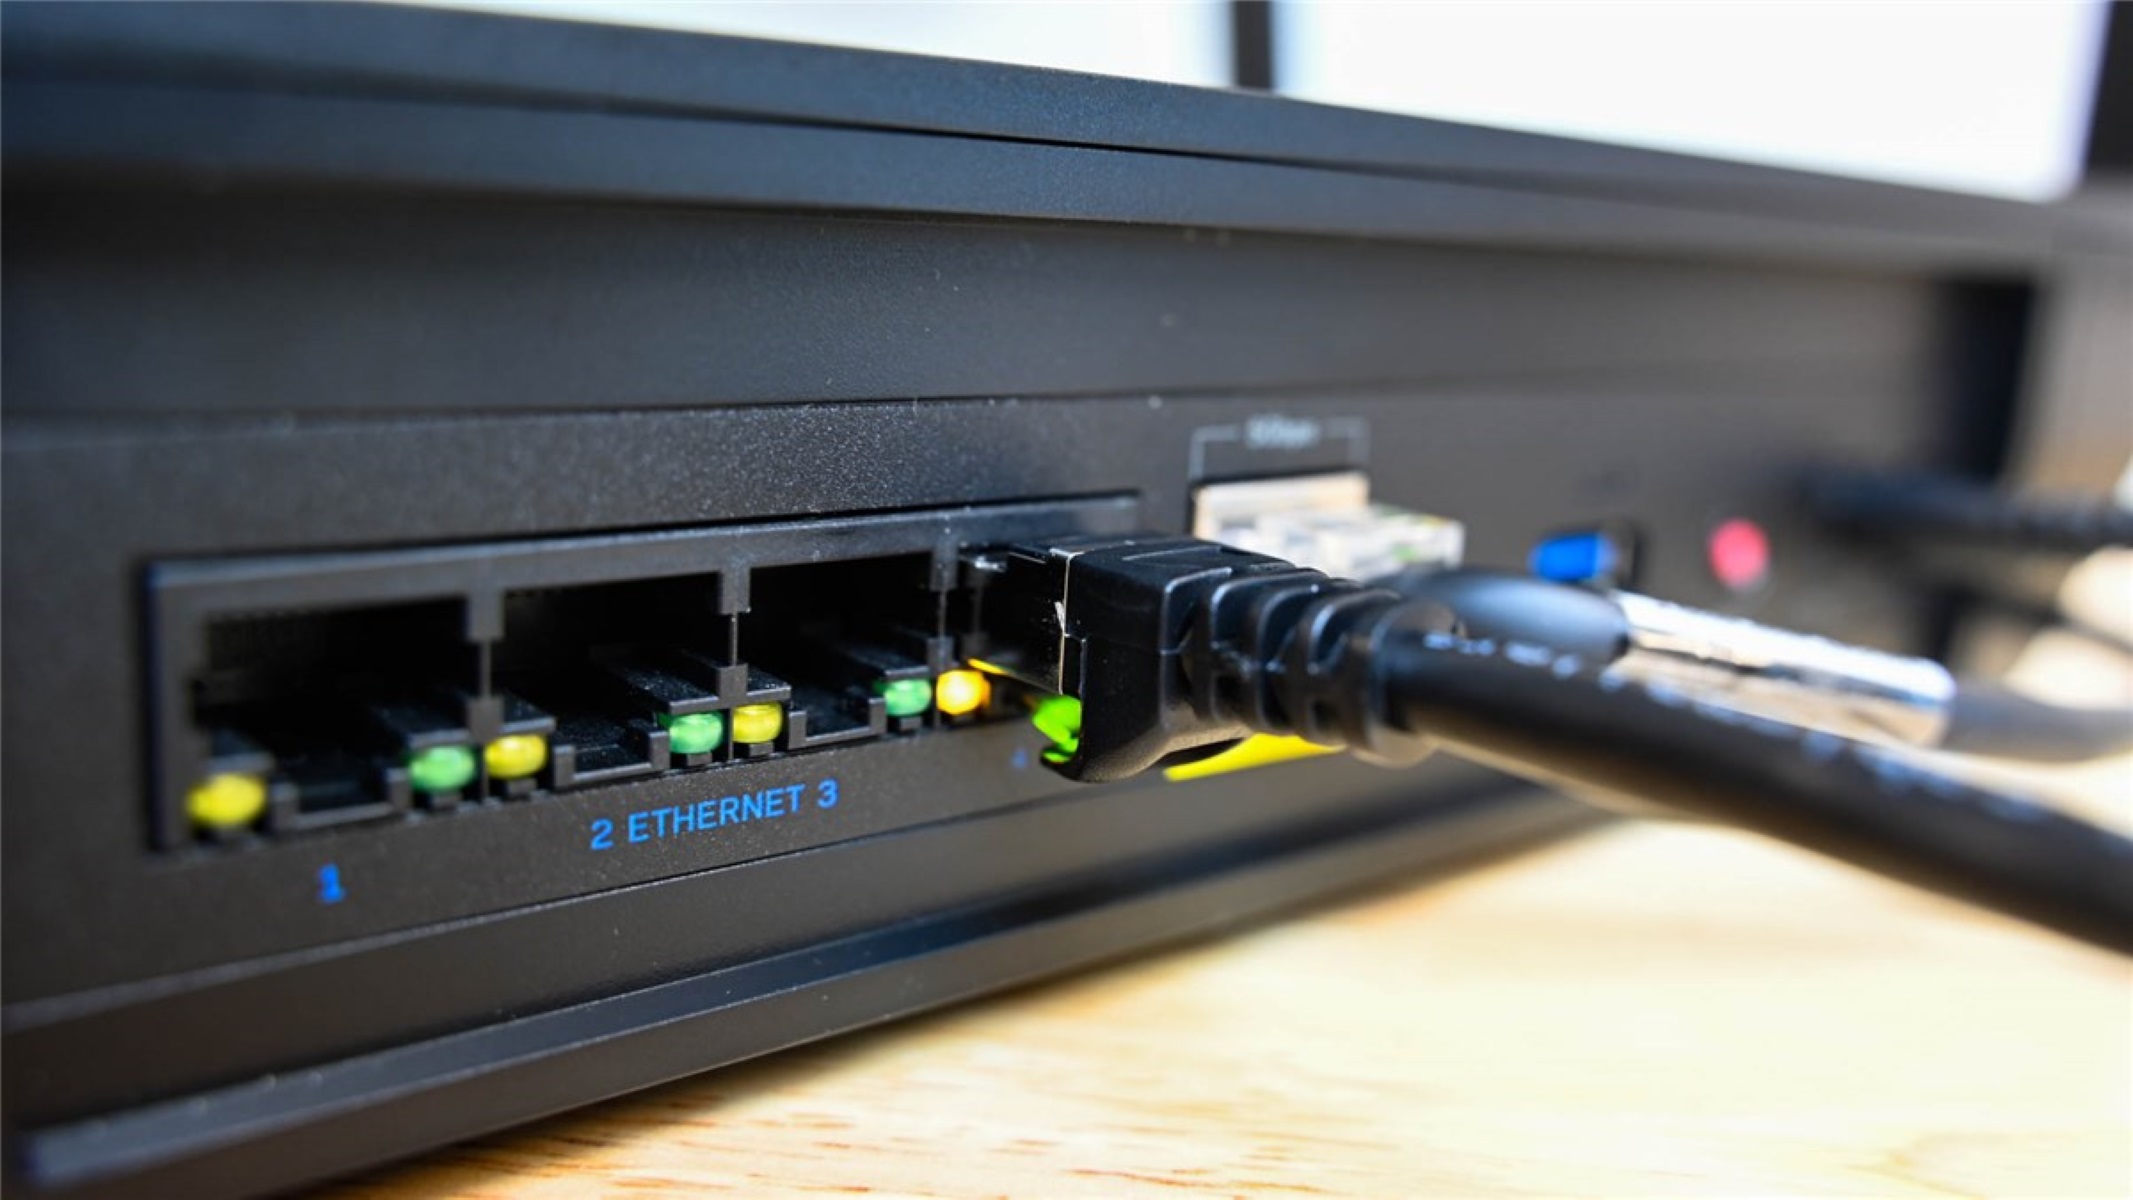
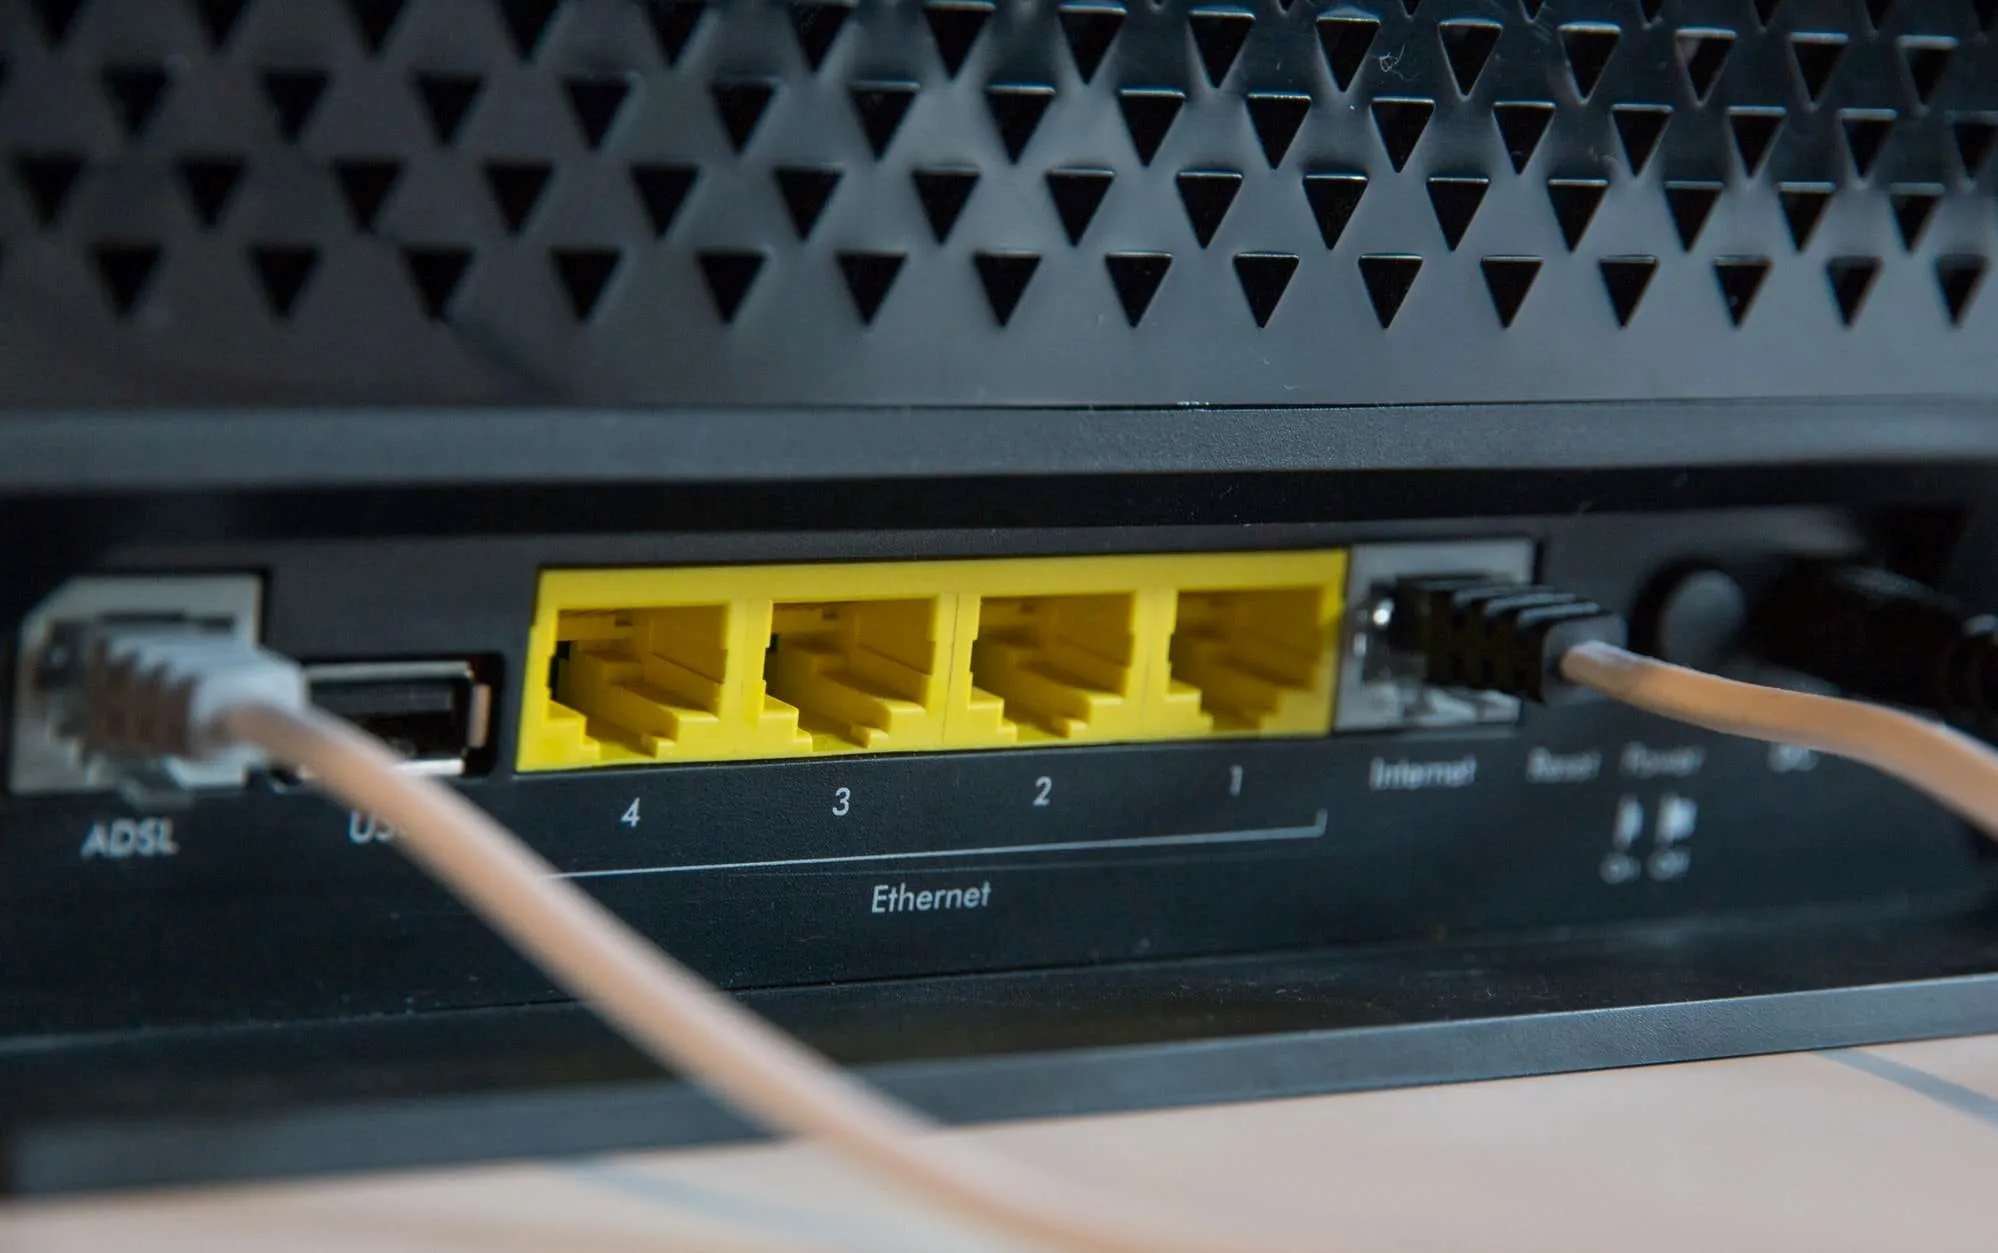
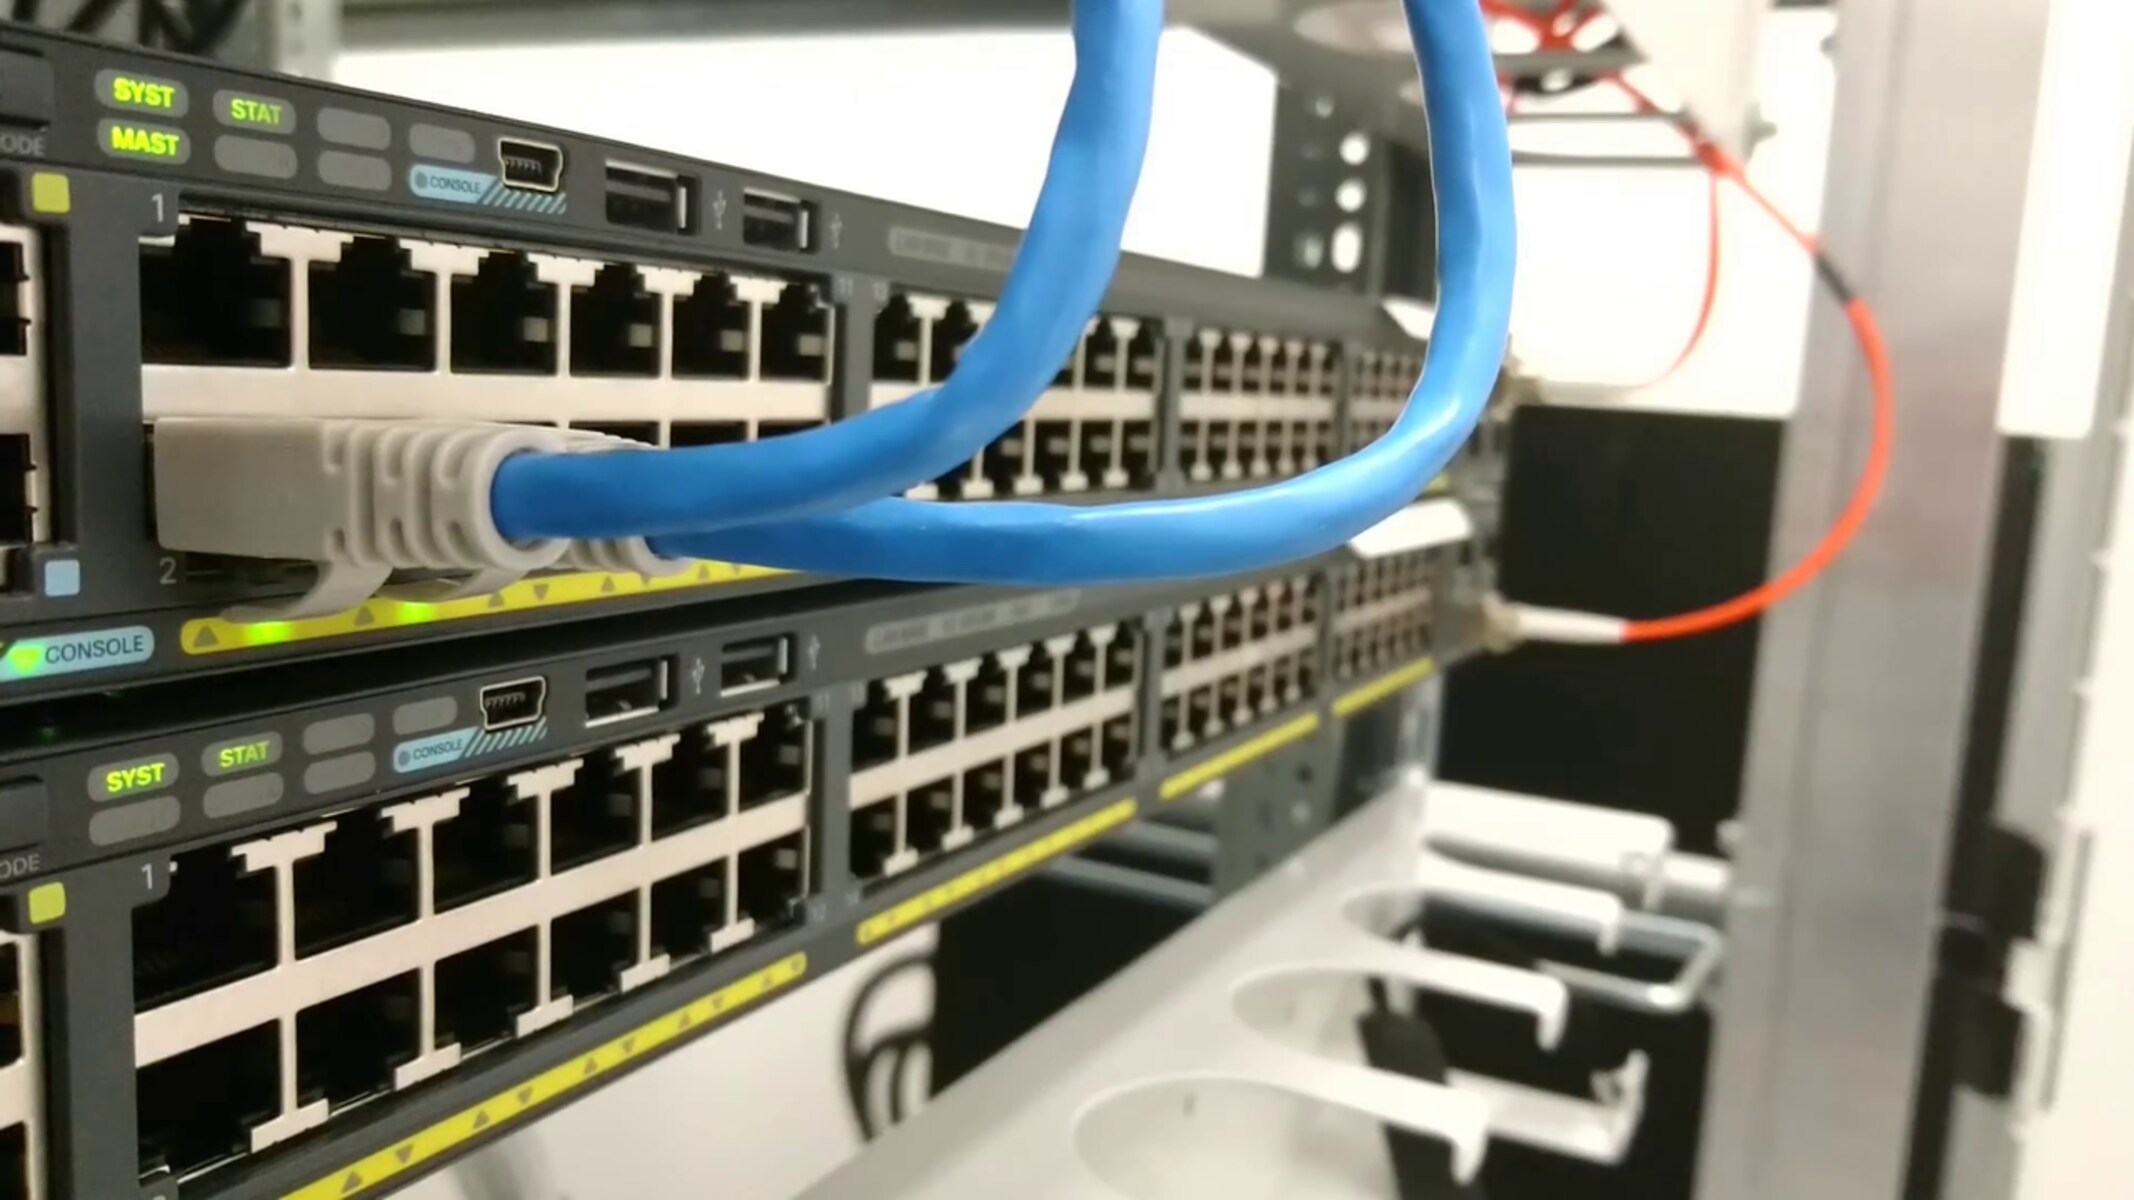
- Physical Connectivity: Begin by physically connecting the switch to the network infrastructure. Ensure that the power supply is connected, and the switch is powered on. Verify that the Ethernet cables are securely plugged into the appropriate ports, establishing the network connectivity.
- IP Address Assignment: Determine the IP address scheme for the switch. This can be achieved by either configuring a static IP address or enabling DHCP to automatically assign an IP address to the switch. Understanding the IP addressing scheme is crucial for accessing the switch’s web interface.
- Network Accessibility: Confirm that the device from which you intend to access the switch’s web interface is on the same network subnet. This ensures that the device can communicate with the switch and facilitates a smooth configuration process.
- Network Security: Prioritize network security by ensuring that the switch is deployed in a secure environment. Implement best practices such as using strong passwords, enabling encryption protocols, and restricting access to authorized personnel to safeguard the network infrastructure.
By meticulously setting up the network environment, you lay a solid foundation for configuring the Extreme Network switch without a console cable. The seamless connectivity and secure network environment are pivotal in ensuring a hassle-free configuration process.
With the network environment primed for interaction with the switch, the next step involves accessing the switch’s web interface to initiate the configuration process.
Accessing the Switch’s Web Interface
One of the key advantages of Extreme Network switches is the accessibility of their web-based management interface, which allows for convenient configuration without the need for a console cable. Here’s how to access the switch’s web interface:
- Identify the IP Address: Determine the IP address assigned to the switch. If DHCP is enabled, the switch’s IP address can be obtained from the DHCP server’s lease table. Alternatively, if a static IP address is configured, refer to the documentation or network settings to retrieve the assigned IP address.
- Open a Web Browser: Using a computer or device connected to the same network as the switch, launch a web browser such as Google Chrome, Mozilla Firefox, or Microsoft Edge.
- Enter the IP Address: In the address bar of the web browser, type the IP address of the switch and press Enter. This directs the browser to the switch’s web interface, initiating the login process.
- Provide Login Credentials: Upon accessing the switch’s IP address, you will be prompted to enter the login credentials. Input the username and password associated with the switch’s management interface. If this is your first time accessing the switch, refer to the documentation for the default login credentials.
- Access the Web Interface: After successfully entering the login credentials, you will gain access to the switch’s web-based management interface. This interface provides a user-friendly dashboard for configuring various settings and parameters of the switch.
By leveraging the switch’s web interface, users can seamlessly navigate through the configuration options, manage port settings, set up VLANs, and implement security measures, all through an intuitive and visually engaging interface.
Now that we’ve successfully accessed the switch’s web interface, the next step is to delve into the process of configuring the switch settings to tailor them to the specific requirements of the network environment.
Configuring the Switch Settings
Once you have accessed the switch’s web interface, you can begin configuring the settings to optimize the switch for your network environment. Here are the essential configurations to consider:
- VLAN Configuration: If your network requires virtual LAN segmentation, navigate to the VLAN configuration section within the switch’s web interface. Here, you can create, modify, or delete VLANs to segregate network traffic and enhance network security and performance.
- Port Settings: Customize the settings for individual switch ports to accommodate specific devices or network requirements. You can configure port speed, duplex mode, and enable or disable Power over Ethernet (PoE) for applicable ports.
- Quality of Service (QoS): Prioritize critical network traffic by configuring QoS settings. This ensures that bandwidth is allocated efficiently, guaranteeing optimal performance for essential applications and services.
- Security Parameters: Implement robust security measures by configuring access control lists (ACLs), port security settings, and enabling encryption protocols. Enhancing the switch’s security parameters fortifies the network against unauthorized access and potential threats.
- Management and Monitoring: Explore the management and monitoring capabilities offered by the switch’s web interface. This includes configuring SNMP settings, enabling logging and monitoring features, and setting up email alerts for critical events.
By meticulously configuring these settings through the switch’s web interface, you can tailor the switch to align with the specific requirements and performance objectives of your network environment. The intuitive interface simplifies the configuration process, empowering network administrators to optimize the switch’s capabilities without the need for a console cable.
With the switch settings configured to suit your network environment, the next crucial step is to ensure that the configurations are saved and applied effectively to the switch’s operation.
Saving and Applying the Configuration
After customizing the switch settings to align with your network requirements, it’s imperative to save and apply the configurations to ensure that the changes take effect. Here’s how to save and apply the configuration on an Extreme Network switch:
- Configuration Persistence: In the switch’s web interface, navigate to the configuration management section. Here, you will find options to save the current configuration. Ensure that the changes made are saved persistently to prevent loss of configuration in the event of a reboot or power cycle.
- Apply Configuration Changes: After saving the configuration, apply the changes to activate the newly configured settings. This step ensures that the switch adopts the modified parameters and operates according to the updated configurations.
- Verification and Testing: Once the configurations have been applied, it’s advisable to verify the functionality of the switch. Test the network connectivity, VLAN segmentation, QoS prioritization, and security measures to confirm that the switch is operating as intended.
By saving and applying the configurations, you solidify the adjustments made to the switch settings, ensuring that the network environment operates optimally and in accordance with the tailored configurations. This step is critical in guaranteeing that the switch functions in alignment with the specific requirements and performance objectives set for the network.
With the configurations successfully saved and applied, you have effectively configured an Extreme Network switch without the need for a console cable, empowering your network infrastructure to deliver efficient and secure connectivity.
Conclusion
Configuring an Extreme Network switch without a console cable offers a streamlined approach to managing network infrastructure. By leveraging the switch’s web interface, network administrators can effectively tailor the switch’s settings to meet the specific requirements of their environment. This user-friendly method eliminates the need for a console cable and provides a visually engaging platform for configuring VLANs, port settings, QoS parameters, and security measures.
Understanding the fundamental aspects of an Extreme Network switch sets the stage for a successful configuration process. These switches are renowned for their robust performance, advanced features, and scalability, making them an ideal choice for businesses of all sizes. With support for modern networking standards and a diverse range of models, Extreme Network switches empower organizations to achieve high-speed data transfer, efficient traffic management, and seamless connectivity within their network infrastructure.
Preparing the network environment is crucial to ensure seamless interaction with the switch. By establishing physical connectivity, determining the IP address scheme, and prioritizing network security, administrators lay a solid foundation for configuring the switch without a console cable.
Accessing the switch’s web interface provides a gateway to the configuration process. By identifying the switch’s IP address and logging into the web-based management interface, administrators can seamlessly navigate through the settings and parameters, optimizing the switch to suit the specific requirements of the network environment.
Configuring essential settings such as VLAN configurations, port settings, QoS parameters, and security measures through the switch’s web interface empowers administrators to tailor the switch’s capabilities. This customization ensures optimal network performance and security without the need for a console cable.
Finally, saving and applying the configurations ensures that the changes take effect, solidifying the adjustments made to the switch settings. This step is crucial in guaranteeing that the switch functions in alignment with the specific requirements and performance objectives set for the network.
By following this guide, you have successfully configured an Extreme Network switch without a console cable, enhancing the efficiency, security, and performance of your network infrastructure.