Introduction
Welcome to our step-by-step guide on how to replace a Cyberpower UPS battery. Your uninterruptible power supply (UPS) is an essential component in keeping your electronic devices running smoothly during power outages or fluctuations. However, over time, the battery in your UPS may deteriorate and need to be replaced in order to maintain its functionality.
Replacing a UPS battery can seem like a daunting task, but fear not! With the right tools, materials, and safety precautions, you can easily replace your Cyberpower UPS battery and ensure uninterrupted power supply for your devices. This guide will walk you through the process, providing you with the necessary information to successfully replace the battery on your own.
Before we begin, it’s important to note that working with batteries involves certain risks, such as electrical shock and chemical exposure. It is essential to follow proper safety precautions to protect yourself and your equipment. By following this guide and exercising caution, you can safely replace the battery in your Cyberpower UPS without any issues.
So, let’s get started! In the following steps, we will guide you through the process of replacing your Cyberpower UPS battery, from disconnecting the UPS from the power source to testing the UPS to ensure it is functioning properly. By the end of this guide, you’ll have a refreshed UPS with a new battery that will keep your devices running smoothly during power interruptions.
Step 1: Gather the necessary tools and materials
Before you begin the process of replacing the battery in your Cyberpower UPS, it’s important to gather all the necessary tools and materials. Having everything prepared beforehand will help streamline the process and ensure that you have everything you need on hand.
Here are the tools and materials you will need:
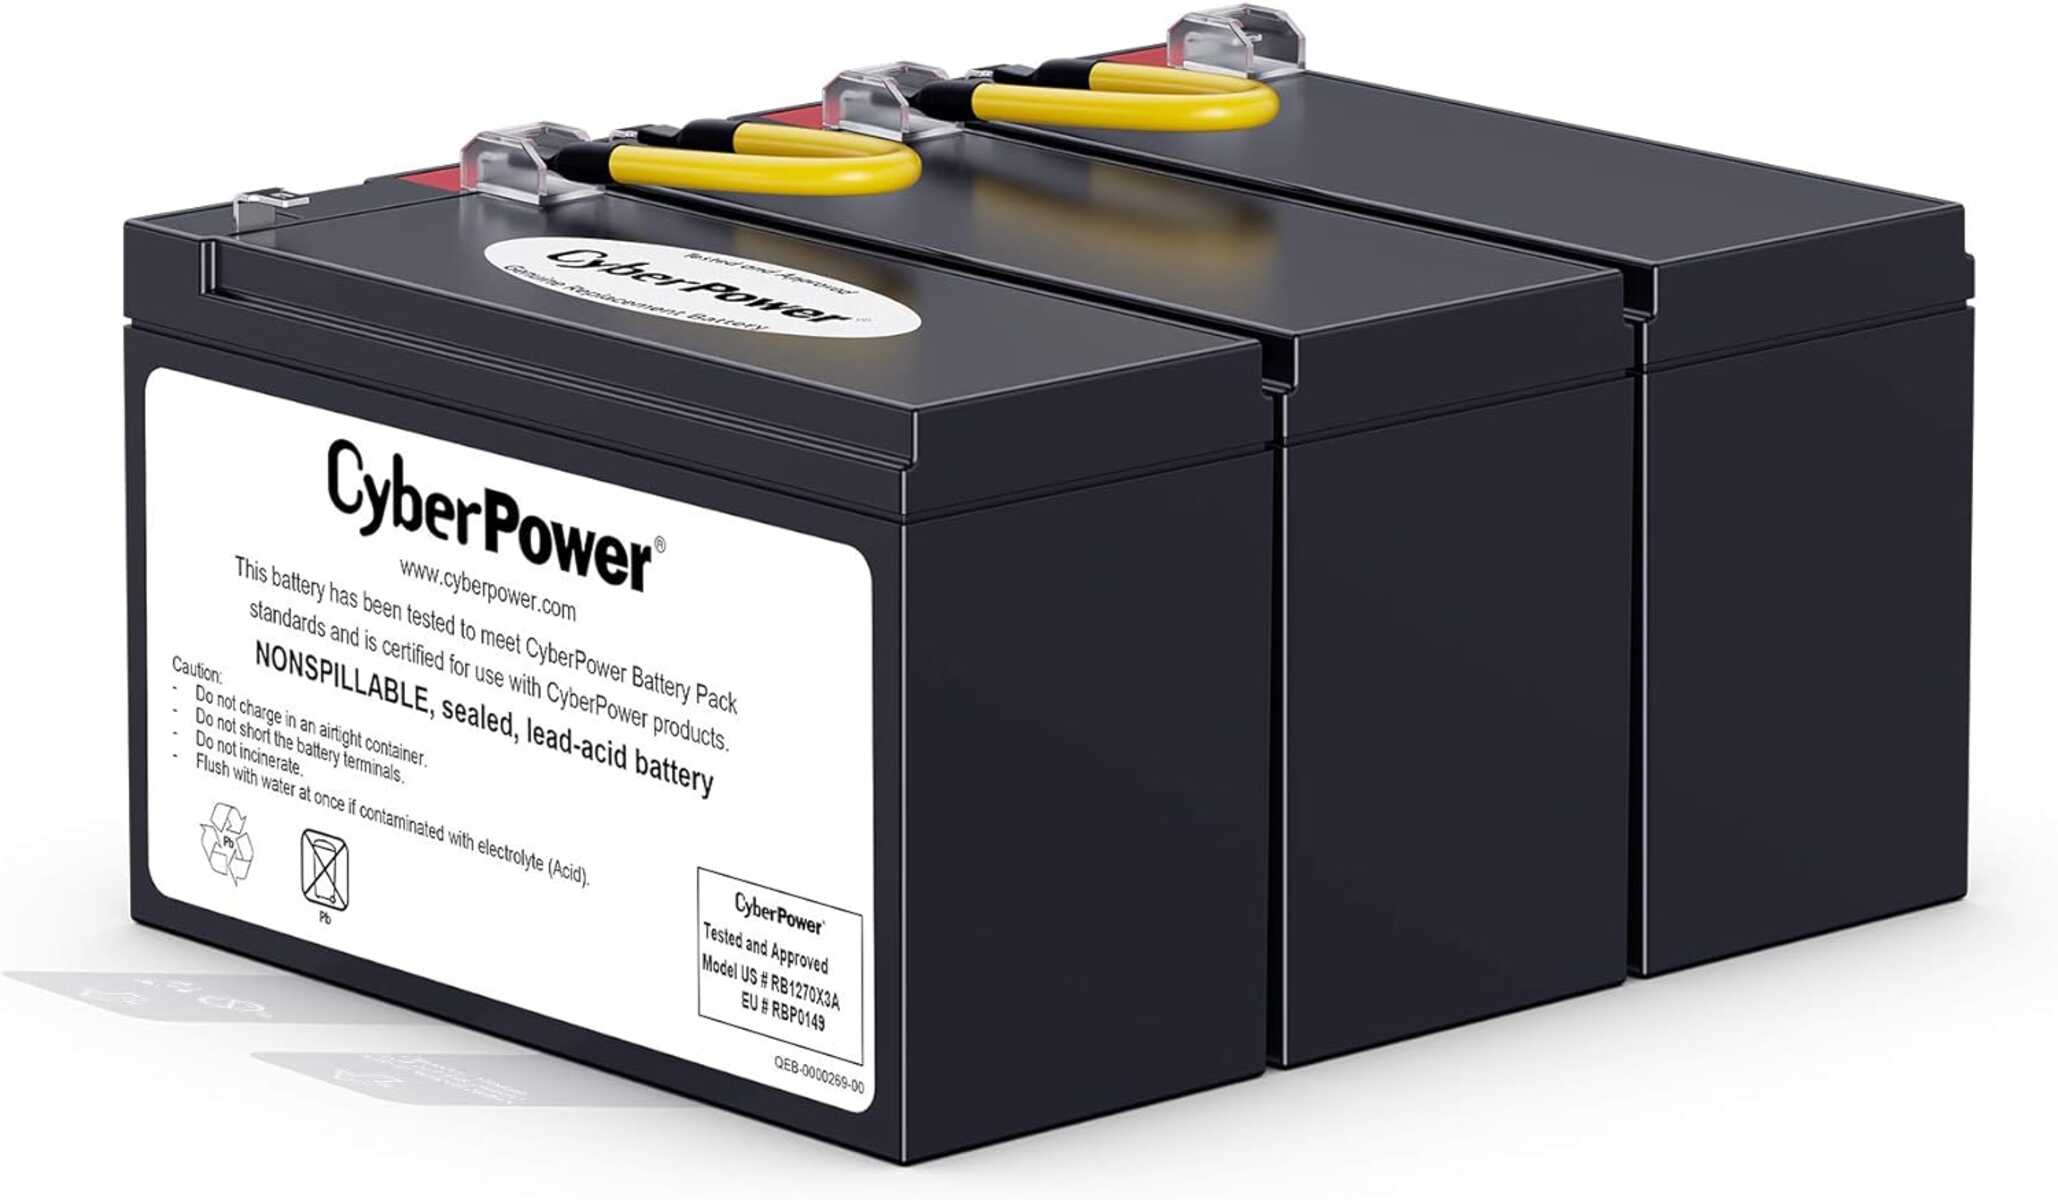
- A replacement battery specifically designed for your Cyberpower UPS model. Make sure to check the specifications of your UPS to ensure compatibility.
- A screwdriver (usually a Phillips-head) to remove screws from the casing.
- Protective gloves to shield your hands from any potential hazards during the battery replacement process.
- Safety goggles to protect your eyes from any debris or accidental splashes.
- A clean, dry cloth to wipe away any dust or dirt from the UPS casing.
- A small, soft brush or compressed air canister to remove any accumulated dust or debris from the internal components of the UPS.
- A notepad and pen to jot down any important information or observations during the process.
Ensure that all the tools and materials are easily accessible and in good working condition. This will help you navigate through the battery replacement process smoothly and efficiently.
By gathering all the necessary tools and materials in advance, you’ll be well-prepared to tackle the battery replacement process for your Cyberpower UPS. In the next step, we’ll discuss important safety precautions to keep in mind before proceeding with the replacement.
Step 2: Safety precautions
Before you begin replacing the battery in your Cyberpower UPS, it’s crucial to prioritize your safety. Working with electrical components and batteries can be hazardous, so it’s essential to take the necessary precautions to protect yourself and prevent any accidents or injuries.
Follow these safety precautions:
- Disconnect the UPS from the power source: Before starting any work, make sure to unplug the UPS from the electrical outlet. This will eliminate the risk of electric shock.
- Wear protective gloves: When handling the battery or any internal components of the UPS, wear protective gloves to shield your hands from any potential chemical exposure or accidents.
- Put on safety goggles: Protect your eyes from debris, battery acid, or accidental splashes by wearing safety goggles. This will prevent eye injuries during the battery replacement process.
- Work in a well-ventilated area: If the battery is old or damaged, it may release potentially harmful gases. Ensure you’re working in a well-ventilated space to minimize any risks.
- Keep a first aid kit nearby: In case of any accidents or injuries, keep a first aid kit within reach. It’s always better to be prepared for any unforeseen circumstances.
- Follow the manufacturer’s instructions: Read and carefully follow the instructions provided by Cyberpower for replacing the UPS battery. Each model may have specific steps and precautions that need to be followed.
By adhering to these safety precautions, you can minimize the risks associated with replacing the battery in your Cyberpower UPS. Safety should always be a top priority when working with electrical equipment, so take the time to prepare and proceed with caution.
Now that you are aware of the safety precautions, it’s time to move on to the next step – disconnecting the UPS from the power source.
Step 3: Disconnect the UPS from the power source
Before you begin the battery replacement process, it’s essential to disconnect your Cyberpower UPS from the power source to ensure your safety. This step will prevent any potential electrical hazards while you work on replacing the battery.
Follow these steps to disconnect the UPS from the power source:
- Locate the power cable: Identify the power cable that is plugged into the electrical outlet and connected to your UPS.
- Unplug the power cable: Firmly grip the power cable and gently pull it out of the electrical outlet. Ensure that there is no tension or resistance while disconnecting, as this could cause damage to the cable or outlet.
- Disconnect any additional cables: In some cases, your UPS may have additional cables connected to devices such as a computer or monitor. Carefully unplug these cables as well, ensuring that all connections are disconnected before proceeding.
Once you have completed these steps, your Cyberpower UPS should be completely disconnected from the power source. This ensures that there is no electricity flowing through the UPS, reducing the risk of electric shock while you work on replacing the battery.
Take a moment to double-check that all cables are properly disconnected and that there is no power supply connected to the UPS. This will ensure your safety and allow you to proceed confidently with the battery replacement process.
Now that you have successfully disconnected your UPS from the power source, it’s time to move on to the next step – removing the outer casing of the UPS.
Step 4: Remove the outer casing of the UPS
Now that you have disconnected your Cyberpower UPS from the power source, it’s time to remove the outer casing. This will give you access to the internal components, including the battery that needs to be replaced.
Follow these steps to remove the outer casing of your UPS:
- Look for screws or latches: Examine the exterior of your UPS and locate any screws or latches that are securing the casing. The number and location of these screws or latches may vary depending on the model of your UPS.
- Use a screwdriver: If your UPS has screws holding the casing together, use a compatible screwdriver to carefully remove the screws. Place the screws in a safe location for easy retrieval when reassembling the unit.
- Detach latches or clips: If your UPS has latches or clips instead of screws, use gentle force or a small tool, such as a flathead screwdriver, to release them. Be cautious not to damage the casing or any internal components while doing so.
- Remove the casing: Once all screws or latches are disengaged, lift or slide the outer casing away from the UPS. Set it aside in a safe place where it won’t be easily knocked over or damaged.
With the outer casing removed, you will now have a clear view of the internal components of your Cyberpower UPS. It’s important to handle these components with care to avoid any damage. Take a moment to familiarize yourself with the layout and positioning of the components, especially the existing battery that you will be replacing.
Keep in mind that the internal components of your UPS may vary in appearance and arrangement based on the model you own. If you are unsure about any specific component or its placement, consult the manufacturer’s documentation or online resources for further guidance.
Now that you have successfully removed the outer casing of your Cyberpower UPS, let’s move on to the next step – locating the old battery.
Step 5: Locate the old battery
Now that you have removed the outer casing of your Cyberpower UPS, it’s time to locate the old battery that needs to be replaced. The battery is an integral component of your UPS and is responsible for providing backup power during outages or fluctuations in the electrical supply.
Follow these steps to locate the old battery in your Cyberpower UPS:
- Examine the internal components: Take a careful look at the internal components of your UPS. Locate the area where the battery is typically positioned. Depending on the model, it may be located at the back, bottom, or side of the UPS.
- Identify the battery connectors: Look for the battery connectors or cables that are attached to the old battery. These connectors connect the battery to the UPS and allow it to power your devices.
- Inspect the battery: Once you have identified the battery, inspect it for any signs of damage, such as leaks, bloating, or corrosion. If the battery shows any of these signs, it is essential to handle it with care and dispose of it properly, following local regulations.
- Document the battery type and information: If possible, make a note of the battery type and any other relevant information, such as the model number or voltage rating. This information will be helpful when purchasing a replacement battery.
By locating the old battery in your Cyberpower UPS, you are one step closer to replacing it with a new one. Take a moment to ensure that you have noted any useful information about the old battery and that you have inspected it for any signs of damage.
Now that you have successfully located the old battery, the next step will guide you through the process of disconnecting it from the UPS.
Step 6: Disconnect the old battery from the UPS
With the old battery located, it’s time to disconnect it from your Cyberpower UPS. Disconnecting the old battery is a crucial step in the replacement process, as it allows you to safely remove it and prepare for the installation of the new battery.
Follow these steps to disconnect the old battery from your Cyberpower UPS:
- Identify the battery terminals: Take a close look at the battery and locate the positive (+) and negative (-) terminals. These terminals are usually marked with corresponding symbols or labels.
- Prepare for the disconnection: Put on your protective gloves to shield your hands from any potential chemical exposure. This will ensure your safety while handling the old battery.
- Disconnect the battery cables: Using a pair of pliers or your fingers, carefully detach the connectors from the battery terminals. Start by removing the negative connector followed by the positive connector.
- Set aside the old battery: Once the connectors are detached, gently lift the old battery out of the UPS and set it aside in a safe location. Avoid placing it near any flammable materials or where it could be easily knocked over.
- Inspect the connectors and cables: Take a moment to inspect the connectors and cables for any signs of damage, such as fraying or corrosion. If any issues are detected, consider replacing them before installing the new battery.
By following these steps, you have successfully disconnected the old battery from your Cyberpower UPS. Now, you can move on to the next step and install the new battery to restore the UPS’s functionality.
Before proceeding with the installation, make sure to handle the old battery with care and dispose of it properly according to local regulations. Battery recycling centers or authorized electronic waste disposal facilities are recommended options for safe disposal.
Now that the old battery has been disconnected, let’s move on to the next step – installing the new battery.
Step 7: Install the new battery
With the old battery disconnected from your Cyberpower UPS, it’s time to install the new battery. Installing the new battery is a crucial step in the replacement process as it ensures that your UPS can continue to provide reliable backup power during outages or fluctuations in the electrical supply.
Follow these steps to install the new battery in your Cyberpower UPS:
- Prepare the new battery: Unpack the new battery and ensure that it is the correct replacement for your Cyberpower UPS model. Confirm that the specifications, such as voltage and capacity, match the requirements provided by the manufacturer.
- Position the new battery: Carefully align the new battery in the designated battery compartment of your UPS. Ensure that the positive (+) and negative (-) terminals on the battery align with the corresponding terminals in the UPS.
- Connect the battery cables: Starting with the positive connector, attach the battery cable to the positive terminal of the new battery. Use your fingers or pliers to secure the connection. Then, connect the negative connector to the negative terminal.
- Ensure secure connections: Double-check that the connections between the battery cables and terminals are secure and snug. Loose connections may cause the battery to function improperly or disconnect during operation.
- Verify proper battery placement: Confirm that the new battery is securely positioned in the battery compartment with no interference or obstructions. Any obstructions can affect the UPS’s airflow and performance.
Once you have completed these steps, you have successfully installed the new battery in your Cyberpower UPS. Ensure that all connections are securely fastened, and the battery is properly positioned in the UPS.
Keep in mind that different UPS models may have unique installation methods, so it’s essential to refer to the manufacturer’s documentation or online resources for specific instructions related to your model.
Now that the new battery is installed, you’re ready to move on to the next step and reassemble the UPS.
Step 8: Reassemble the UPS
With the new battery successfully installed in your Cyberpower UPS, it’s time to reassemble the unit. Reassembling the UPS will not only protect the internal components but also ensure its proper functioning and longevity.
Follow these steps to reassemble your Cyberpower UPS:
- Retrieve the outer casing: Locate the outer casing that you set aside earlier. Ensure that it is clean and free from any debris or dust.
- Align the casing: Align the casing with the UPS, ensuring that the screw holes or latches match up properly.
- If using screws: If your UPS has screws for securing the casing, insert the screws into the designated holes and tighten them gently using a screwdriver. Be careful not to overtighten the screws, as this may damage the casing or strip the threads.
- If using latches or clips: If your UPS uses latches or clips, carefully close and secure them in place, ensuring that all sides are securely fastened.
- Double-check the casing: Once the casing is reattached, give it a gentle shake or wiggle to ensure it is firmly in place.
By following these steps, you have successfully reassembled your Cyberpower UPS with the new battery. The casing should now be securely attached, protecting the internal components and providing a professional and clean appearance.
Before proceeding, visually inspect the UPS to ensure that all connectors and cables are properly secured and that no components are loose or out of place. This will help prevent any potential issues during the subsequent steps.
Now that the UPS is reassembled, it’s time to move on to the next step and test the UPS to ensure it’s functioning as expected.
Step 9: Test the UPS
After reassembling your Cyberpower UPS with the new battery, it’s crucial to test the unit to ensure that it is functioning properly. Testing the UPS will give you peace of mind and ensure that it can provide uninterrupted power supply during outages or fluctuations in the electrical supply.
Follow these steps to test your Cyberpower UPS:
- Reconnect the UPS to the power source: Plug the power cable back into the electrical outlet, ensuring a secure connection.
- Power on the UPS: Turn on the UPS using the power button or switch located on the unit. Allow the UPS to start up, and observe the LED indicators or display to ensure that it is functioning as expected.
- Connect devices to the UPS: Connect any devices or equipment that you want to protect from power interruptions or voltage fluctuations to the UPS outlets or battery backup ports.
- Simulate a power outage: Test the UPS by unplugging it from the electrical outlet. This will simulate a power outage and allow you to evaluate if the UPS can provide sufficient backup power to your connected devices.
- Monitor UPS performance: During the simulated power outage, keep an eye on the UPS’s performance. Check if the connected devices are receiving power and if the UPS holds the charge for the specified duration as mentioned by the manufacturer.
- Recharge the UPS: Once the test is complete or when the power is restored, plug the UPS back into the electrical outlet to recharge the battery. Allow it to charge fully before relying on it for future power outages.
If your Cyberpower UPS passes the test, congratulations! You have successfully replaced the battery and ensured that your UPS is ready to provide backup power when needed. It is recommended to periodically test your UPS to ensure its continued functionality.
If any issues or unexpected behavior arise during the test, refer to the manufacturer’s documentation or contact their support for troubleshooting assistance. They will be able to provide specific guidance and address any concerns you may have.
With the successful testing of your UPS, you can now enjoy the peace of mind knowing that your devices are protected during power outages or fluctuations.
Conclusion
Congratulations on successfully replacing the battery in your Cyberpower UPS! By following the step-by-step guide outlined in this article, you have learned how to safely and effectively replace the battery, ensuring uninterrupted power supply for your devices during outages or fluctuations in the electrical supply.
Throughout the process, we emphasized the importance of safety precautions, such as disconnecting the UPS from the power source, wearing protective gear, and working in a well-ventilated area. These precautions are essential for your well-being and the proper functioning of the UPS.
Gathering the necessary tools and materials beforehand, disconnecting the old battery, and installing the new one were key steps in the replacement process. Carefully reassembling the UPS and thoroughly testing it ensured that it is functioning as expected.
Remember to dispose of the old battery properly, following your local regulations and environmental guidelines for battery disposal.
With a fresh battery in your Cyberpower UPS, it is now ready to provide reliable backup power to your devices, safeguarding them from unexpected power interruptions.
As a responsible user, it is recommended to periodically test your UPS and maintain it in good condition. This includes keeping the battery clean, replacing it when necessary, and following the manufacturer’s instructions for optimal performance.
We hope this guide has been helpful in your journey of replacing the battery in your Cyberpower UPS. With your new battery installed and your knowledge of the process, you can confidently navigate any future battery replacements or maintenance tasks for your UPS.
Thank you for taking the time to read this guide, and we wish you smooth sailing and uninterrupted power with your newly replaced Cyberpower UPS battery!