Introduction
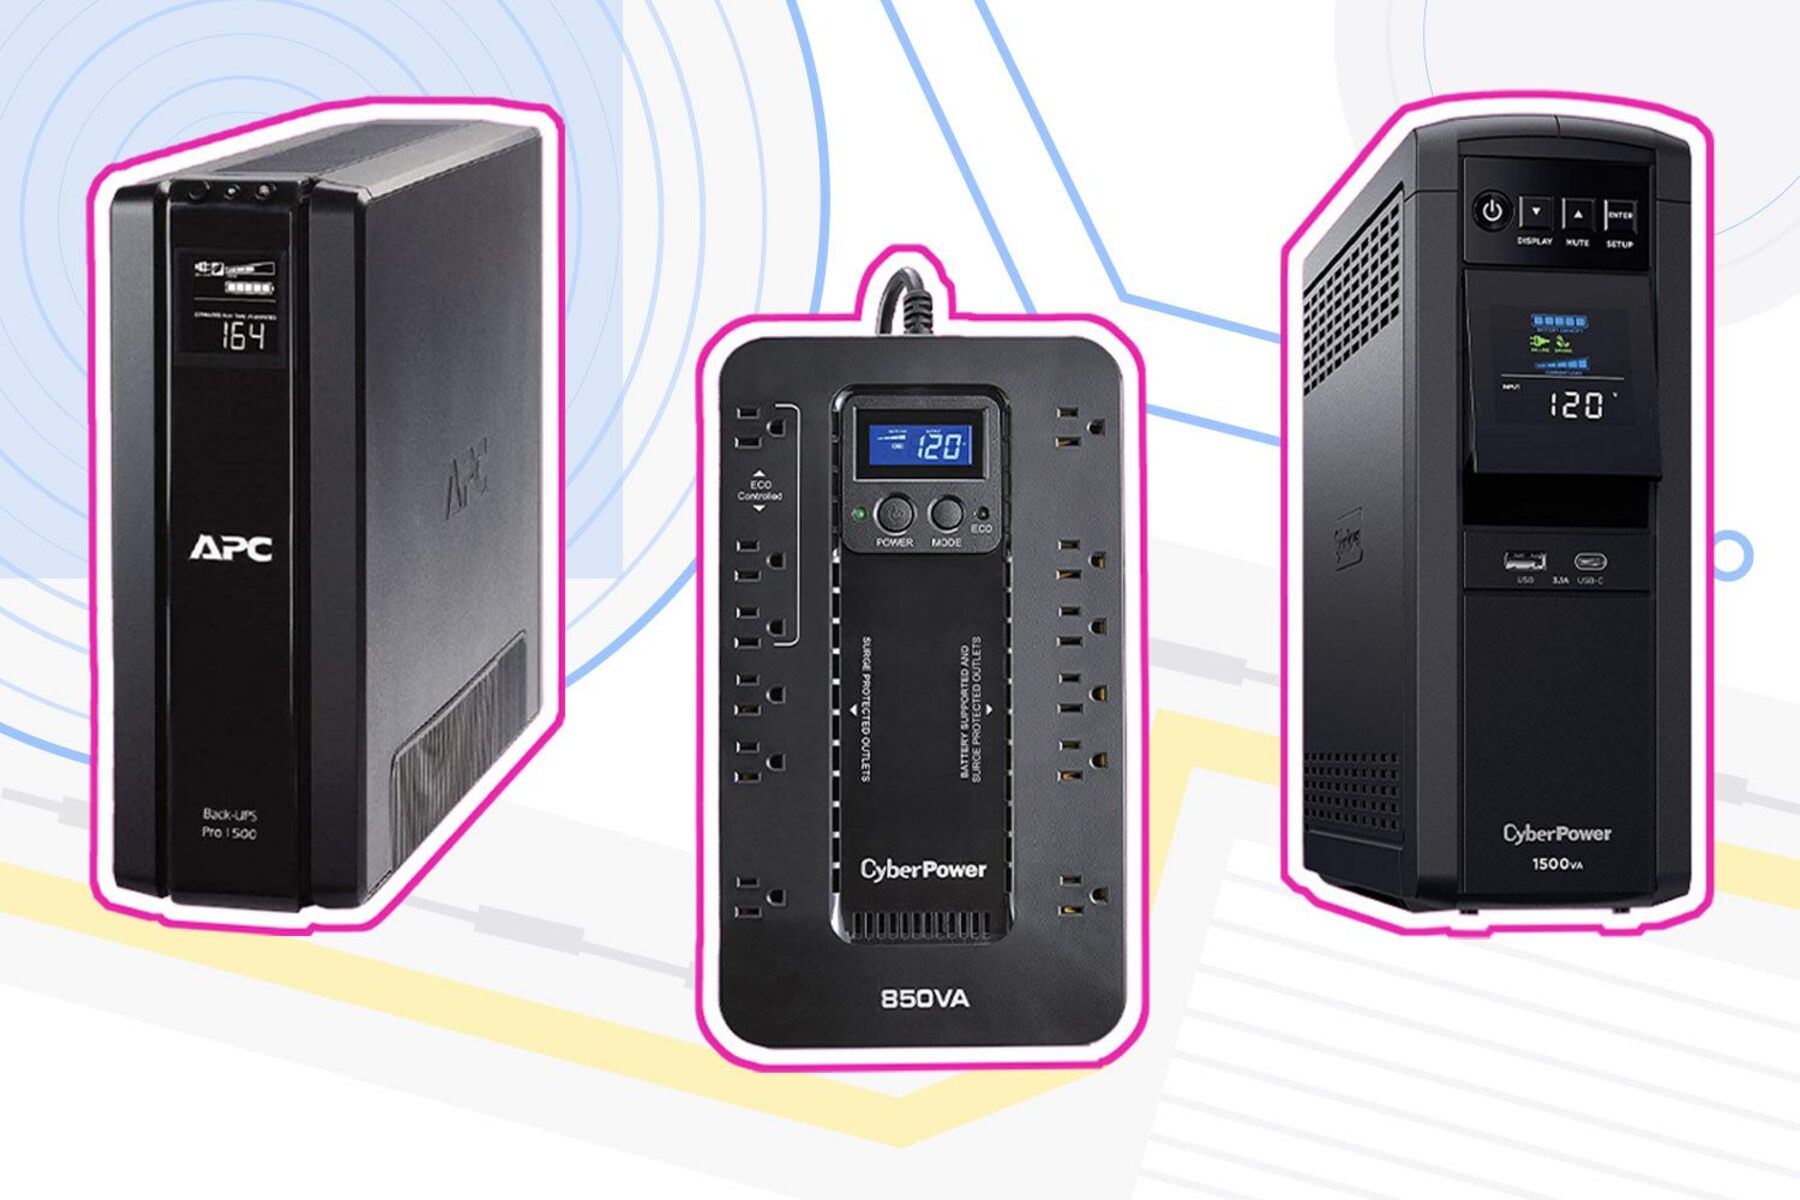
Having a reliable UPS (Uninterruptible Power Supply) battery backup is essential in today’s world where power outages can happen at any time. A UPS battery backup ensures that your electronic devices stay powered, even when the main power supply is disrupted. Whether you want to protect your computer, server, or other valuable electronic equipment, creating your own UPS battery backup can be a cost-effective solution.
In this article, we will guide you through the process of making a UPS battery backup from scratch. We will cover the materials you need, step-by-step instructions, and the installation process. By following these guidelines, you can have peace of mind knowing that your devices will remain operational during power interruptions.
Before we begin, it’s important to note that working with electricity can be dangerous. Make sure to take the necessary precautions, such as wearing protective gear and turning off the power supply, before attempting any electrical work. If you are not confident in your abilities, it’s best to seek professional assistance.
Now, let’s dive into the process of making your own UPS battery backup!
Materials Needed
Before you begin creating your UPS battery backup, gather the following materials:
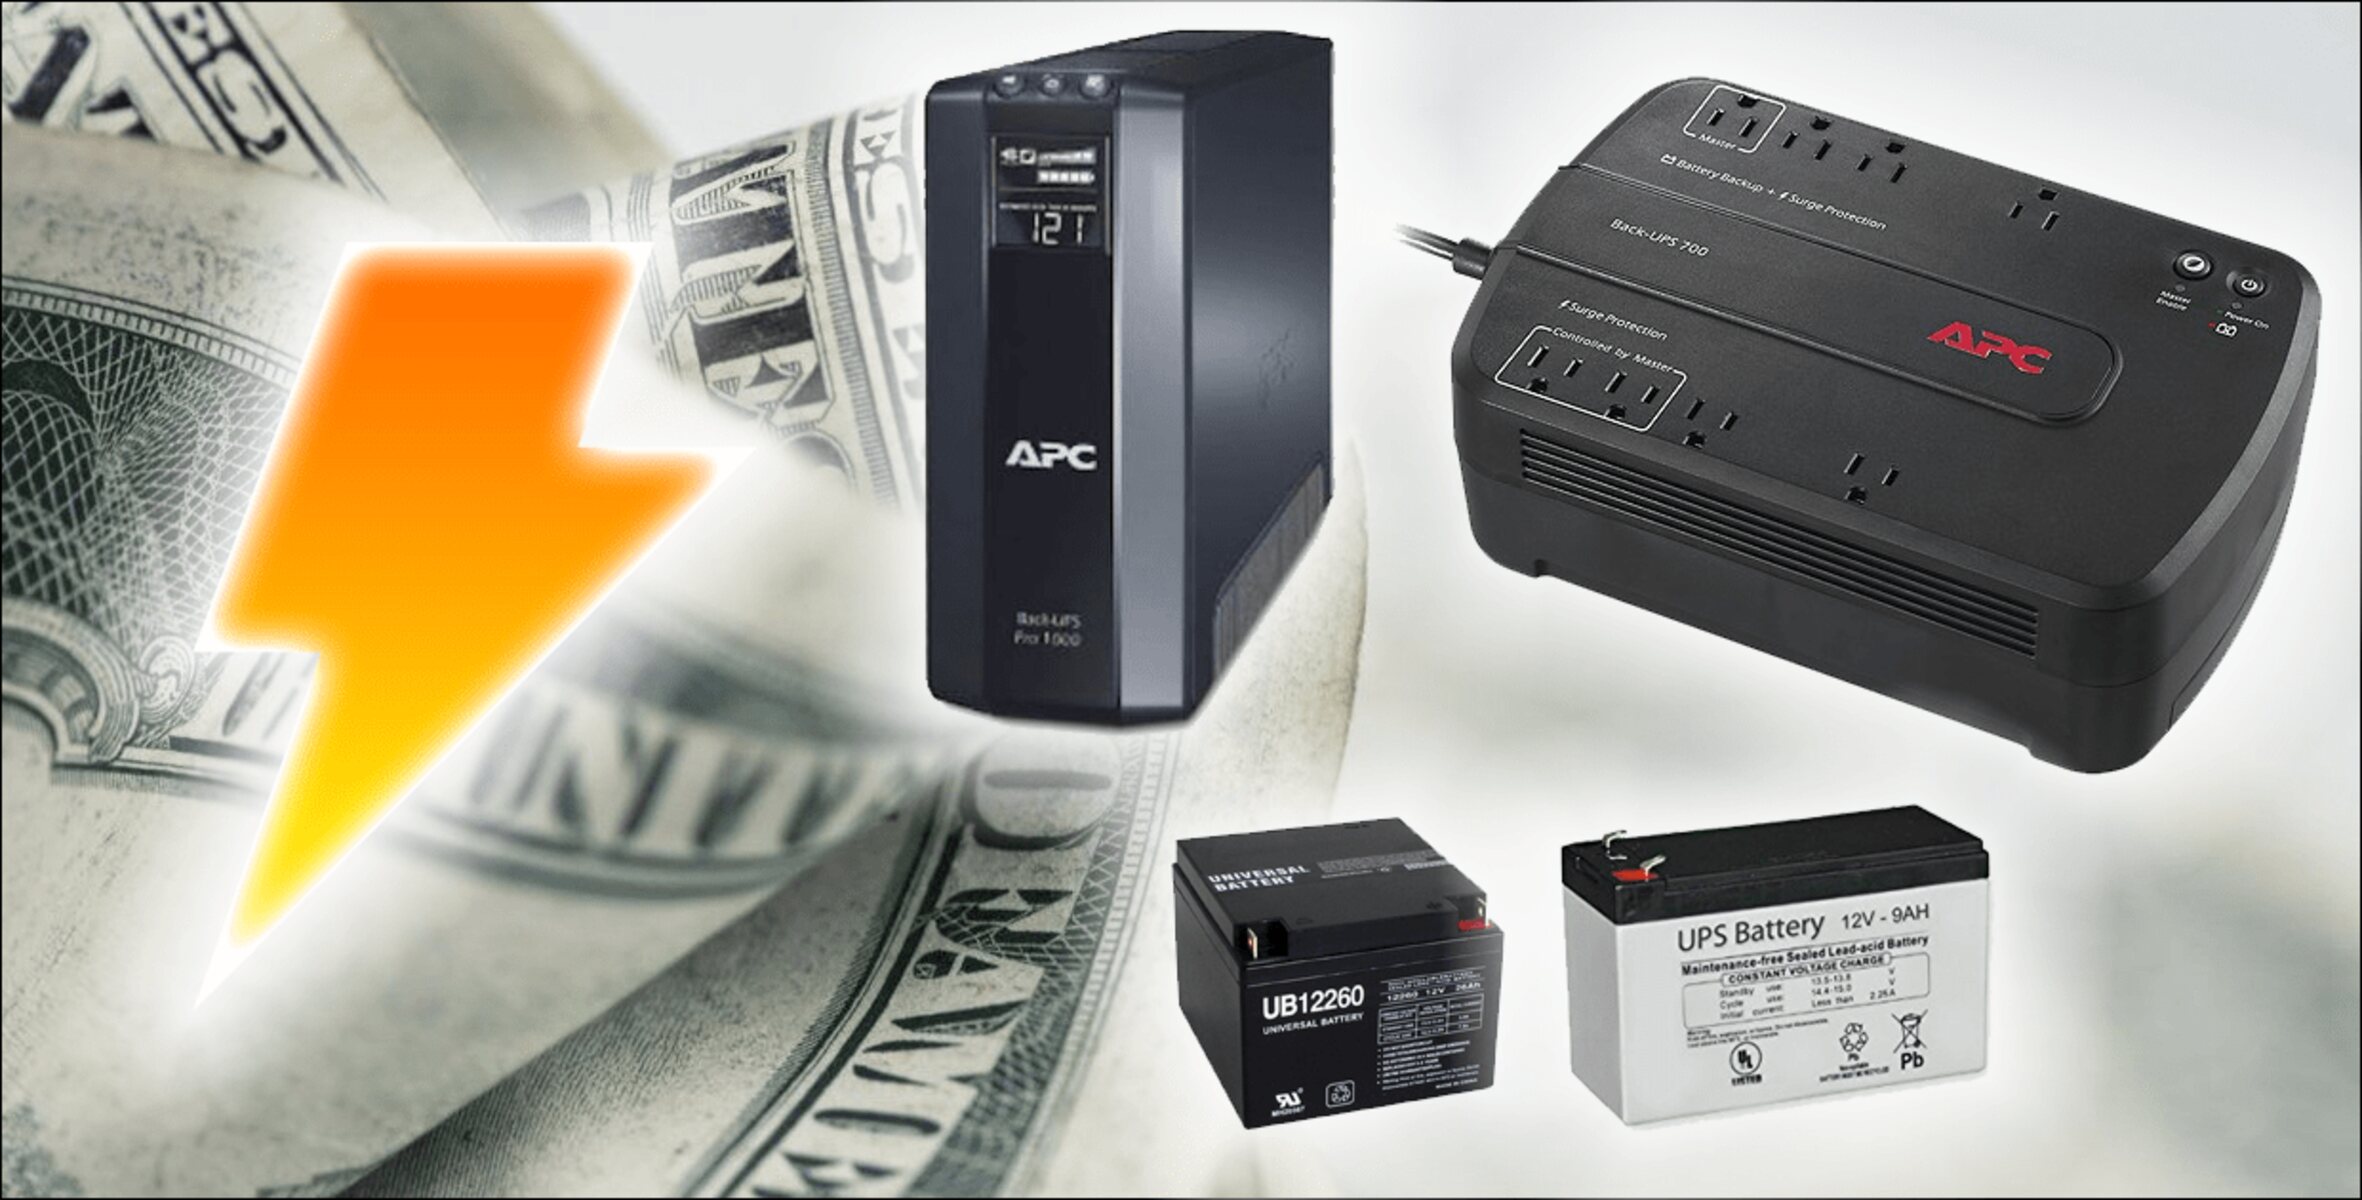
- A high-quality lead-acid battery: Look for a battery with a sufficient capacity to power your devices for the desired duration. It’s recommended to choose a deep cycle battery for longer backup times.
- An inverter: This converts the battery’s DC power to AC power, making it compatible with your electronic devices. Ensure that the inverter’s capacity matches or exceeds the power requirements of your devices.
- A battery charger: A charger is essential for keeping the UPS battery backup charged and ready for use. Opt for a charger that is compatible with your battery and has a charging capacity suitable for your needs.
- Battery cables and connectors: These are required to connect the battery, inverter, and charger together. Ensure that the cables are of the correct gauge to handle the electrical load.
- A power strip or surge protector: This provides multiple outlets for connecting your devices and protects them from power surges.
- Wiring terminals and connectors: These are needed to securely connect the different components of your UPS battery backup system.
- Tools: You’ll need basic tools such as wire cutters, wire strippers, screwdrivers, and a soldering iron to assemble the system.
- Electrical tape and heat shrink tubing: These help insulate the connections and prevent any electrical shorts.
- A sturdy enclosure or case: This provides a protective housing for your UPS battery backup components and ensures safety.
It’s important to choose high-quality components to ensure the reliability and longevity of your UPS battery backup. Familiarize yourself with the specifications and compatibility of each component before making a purchase. By having all the necessary materials ready, you can progress smoothly to the next steps of creating your own UPS battery backup.
Step 1: Choose the Right Battery
The first step in creating your UPS battery backup is selecting the right battery. The battery you choose should be able to provide sufficient power to run your devices during a power outage. Here are some key points to consider when choosing a battery:
- Capacity: Determine the power requirements of your devices and calculate the capacity needed to keep them running for the desired duration. This can help you choose a battery with an appropriate Ampere-hour (Ah) rating.
- Battery Type: The most commonly used battery type for UPS applications is a lead-acid battery. Within lead-acid batteries, there are different variants such as sealed lead-acid (SLA) and gel batteries. Consider your specific requirements and factors like maintenance, cost, and lifespan when selecting the battery type.
- Deep Cycle Battery: For longer backup times, opt for a deep cycle battery. These batteries are designed to withstand repeated deep discharges and provide consistent power output over time.
- Physical Size: Ensure that the battery can fit into the designated enclosure or space where you plan to install the UPS battery backup.
- Charging and Discharging Efficiency: Look for batteries with high charging and discharging efficiency to maximize the utilization of stored power.
- Quality and Reliability: Choose a battery from a reputable manufacturer to ensure reliability and longevity. Read reviews and consider the warranty provided.
Consult the documentation and specifications provided by the battery manufacturer to make an informed decision. It’s also a good idea to consult with an expert if you have specific requirements or need guidance in selecting the right battery for your UPS battery backup.
Once you have chosen the right battery, you can proceed to the next steps of preparing the power supply and connecting the battery to create your own UPS battery backup system.
Step 2: Prepare the Power Supply
Before connecting the battery to your UPS system, it’s essential to prepare the power supply. Here’s what you need to do:
- Power Off: Ensure that all devices connected to the power supply are turned off and unplugged. This will prevent any electrical hazards during the preparation process.
- Disconnect from the Mains: Safely disconnect your electronic devices and the power supply from the mains power source. This will ensure that there is no active power flowing during the setup.
- Confirm Compatibility: Check the power requirements and voltage compatibility of your devices. It’s crucial to ensure that the inverter’s output voltage matches the voltage required by your electronic devices.
- Clean the Power Supply Area: Remove any dust or debris from the area where the power supply components will be placed. A clean environment helps to prevent overheating and improves the overall efficiency of the UPS battery backup system.
- Position the Inverter and Charger: Place the inverter and battery charger in a suitable location, maintaining proper ventilation to prevent overheating. Ensure that there is enough space for easy access and connection of cables.
- Mounting and Wiring: If necessary, mount the inverter and charger securely using screws or mounting brackets. Then, carefully connect the input terminals of the inverter and charger to the power supply using the appropriate cables and connectors. Pay attention to the polarity and ensure tight connections.
- Connection to AC Power: Connect the charger to an AC power outlet that is protected by a circuit breaker or fuse. This will ensure safe and reliable charging of the UPS battery backup system.
Once you have prepared the power supply, you are ready to move on to the next step of connecting the battery, where we will create the core of your UPS battery backup system.
Step 3: Connect the Battery
Now that you have prepared the power supply, it’s time to connect the battery to your UPS system. Follow these steps:
- Ensure Safety: Before connecting the battery, ensure that all power sources are turned off, and take necessary precautions, such as wearing insulated gloves and eye protection.
- Positioning the Battery: Place the battery in a secure and ventilated area, away from flammable materials and direct sunlight. Follow any specific instructions provided by the battery manufacturer.
- Confirm Terminal Polarity: Identify the positive (+) and negative (-) terminals on the battery. Ensure that the polarity matches with the inverter and charger terminals.
- Terminate the Cables: Prepare the battery cables by stripping the insulation from the ends. Attach appropriate battery connectors to the cables, ensuring tight connections.
- Connect the Cables: Connect the positive (+) cable from the battery to the positive (+) terminal on the inverter. Connect the negative (-) cable from the battery to the negative (-) terminal on the inverter.
- Secure the Connections: Once the cables are connected, tighten the terminal screws on the inverter securely. This will ensure a stable connection and prevent any accidental disconnections.
- Monitor Battery Temperature: Some battery systems may require temperature monitoring. If specified, install the temperature sensor provided with the battery and connect it to the designated port on the battery charger or inverter.
Double-check all the connections to ensure they are secure and properly attached. This will prevent any electrical faults or safety hazards. It’s also recommended to use electrical tape or heat shrink tubing to insulate the battery connections and minimize the risk of short circuits.
Remember, each battery system may have specific requirements and procedures for connection. Always refer to the manufacturer’s instructions and guidelines to ensure a safe and proper connection.
With the battery successfully connected, we can now proceed to the next step – testing the UPS battery backup system.
Step 4: Test the UPS Battery Backup
Once you have connected the battery to your UPS system, it’s crucial to test the functionality and effectiveness of the UPS battery backup. Follow these steps to ensure everything is working as intended:
- Verify Power Flow: Turn on the main power supply and check if the battery charger is receiving power. You should see the charging indicator light or meter on the charger indicating that it’s receiving the AC power source.
- Check Battery Charging: Observe the charger to determine if it is supplying the correct charging voltage to the battery. The charger’s specifications should mention the required voltage level.
- Monitor Battery Charging Status: Monitor the battery charger’s indicators to ensure that the battery is charging properly. Typically, there will be an LED indicator or a charging meter indicating the battery’s charging status. Allow the battery to charge fully as per the manufacturer’s recommendation.
- Turn Off the Mains Power: Once the battery is fully charged, disconnect the main power supply to simulate a power outage. Unplug any devices that are connected to the UPS battery backup system to avoid any potential issues.
- Test Battery Backup: Plug in a test device, such as a lamp or a small appliance, to one of the outlets powered by the UPS battery backup system. Turn on the device, and it should receive power from the battery backup. Monitor the device to verify its functionality and the estimated backup time provided by the battery.
- Check Power Restoration: After assessing the backup performance, restore the mains power supply by reconnecting it. Ensure that the battery charger resumes charging the battery and that devices connected to the UPS return to receiving power through the main supply.
During the testing phase, observe any abnormalities, such as excessive heat, sparks, or unusual noises. If you encounter any issues, consult the manufacturer’s documentation, or seek professional assistance for troubleshooting.
Regularly test your UPS battery backup system to ensure that it is functioning correctly and capable of providing reliable power during power outages. This will help you identify any potential issues and ensure the longevity and effectiveness of your UPS battery backup system.
Step 5: Install the UPS Battery Backup
After successfully testing your UPS battery backup system, it’s time to install it in its designated location. Follow these steps for a proper installation:
- Select an Ideal Location: Choose a suitable location for your UPS battery backup system. It should be well-ventilated, dry, and away from extreme temperatures or direct sunlight.
- Mount the Enclosure: If you have an enclosure or case for your UPS system, mount it securely on a wall or a stable surface. Make sure the enclosure is sturdy and can support the weight of the battery and other components.
- Organize Cables: Arrange the cables neatly and use cable ties or clips to secure them. This will prevent tangled cables and make future maintenance easier.
- Ensure Proper Ventilation: Adequate airflow is essential to prevent overheating of the battery and components. Ensure that there is enough space around the UPS system for proper ventilation.
- Provide Labeling: Label the various connections, switches, and controls to make it easier to understand and operate the UPS system. This will come in handy during any maintenance activities or troubleshooting.
- Create a Shutdown Plan: Develop a shutdown plan to ensure a smooth transition to UPS power during a power outage. Inform users about the backup system and the procedures to follow in case of a power outage.
- Regular Maintenance: Establish a maintenance routine for your UPS battery backup system. This can include periodic inspection, testing, and cleaning of components to ensure optimum performance.
Remember to review the manufacturer’s instructions and guidelines for specific installation requirements and recommendations. If you have any doubts or concerns, consult a professional electrician or technician for assistance.
Installing your UPS battery backup system properly ensures its longevity and reliable operation when needed. Once installed, regularly monitor the system and conduct maintenance as recommended by the manufacturer.
Congratulations! You have now completed the process of creating and installing your own UPS battery backup system. Enjoy the peace of mind knowing that your devices will remain powered during unexpected power outages.
Conclusion
Creating your own UPS battery backup is a rewarding project that provides you with a reliable power solution during unexpected outages. By following the steps outlined in this guide, you have learned how to select the right battery, prepare the power supply, connect the battery, test the UPS battery backup, and install it in its designated location.
Remember to prioritize safety throughout the process. Take necessary precautions, such as wearing protective gear and turning off the power supply, before working with electricity. If you are unsure about any step or encounter difficulties, it is best to seek professional assistance.
Having a UPS battery backup system is essential for safeguarding your electronic devices, whether it’s a computer at home or critical server infrastructure for your business. It ensures uninterrupted power supply and protects valuable data and equipment from potential damage due to power interruptions.
Regularly test and maintain your UPS battery backup system to ensure its reliable performance when needed. This includes monitoring battery charging, checking power restoration, and organizing cables for optimal efficiency.
With your self-made UPS battery backup system in place, you can have peace of mind knowing that your devices will stay powered during power outages. Be prepared for any situation and safeguard your essential electronics with your reliable backup power solution.
Remember, each UPS battery backup system may have specific requirements and components. Consult the documentation provided by the manufacturers to ensure proper selection, installation, and maintenance of your system.
Enjoy the benefits of your UPS battery backup system and stay connected even when the main power supply fails!


