Introduction
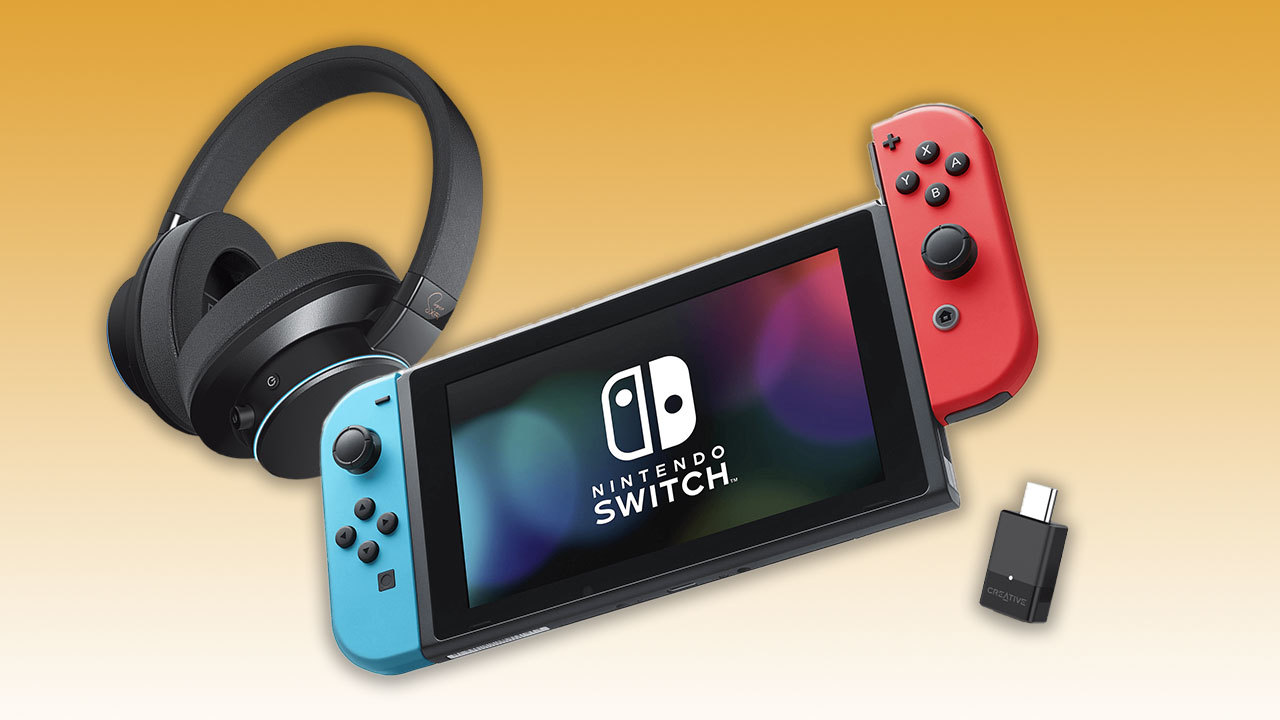
When it comes to gaming, audio is a crucial element that can deeply immerse players in the virtual world. The Nintendo Switch, known for its versatility and portability, offers various options for connecting headsets to elevate the gaming experience. Whether you prefer the convenience of wireless Bluetooth headsets or the reliability of wired ones, the Nintendo Switch provides a seamless way to enjoy high-quality audio while gaming on the go or at home.
In this comprehensive guide, we will explore the different methods of connecting both wired and Bluetooth headsets to your Nintendo Switch. Additionally, we will delve into adjusting audio settings to optimize your gaming experience and troubleshooting common issues that may arise during the setup process. By the end of this guide, you will be equipped with the knowledge and skills to seamlessly integrate your favorite headset with your Nintendo Switch, allowing you to fully immerse yourself in the captivating audio landscapes of your favorite games.
Let's embark on this journey to unlock the full potential of your Nintendo Switch audio capabilities!
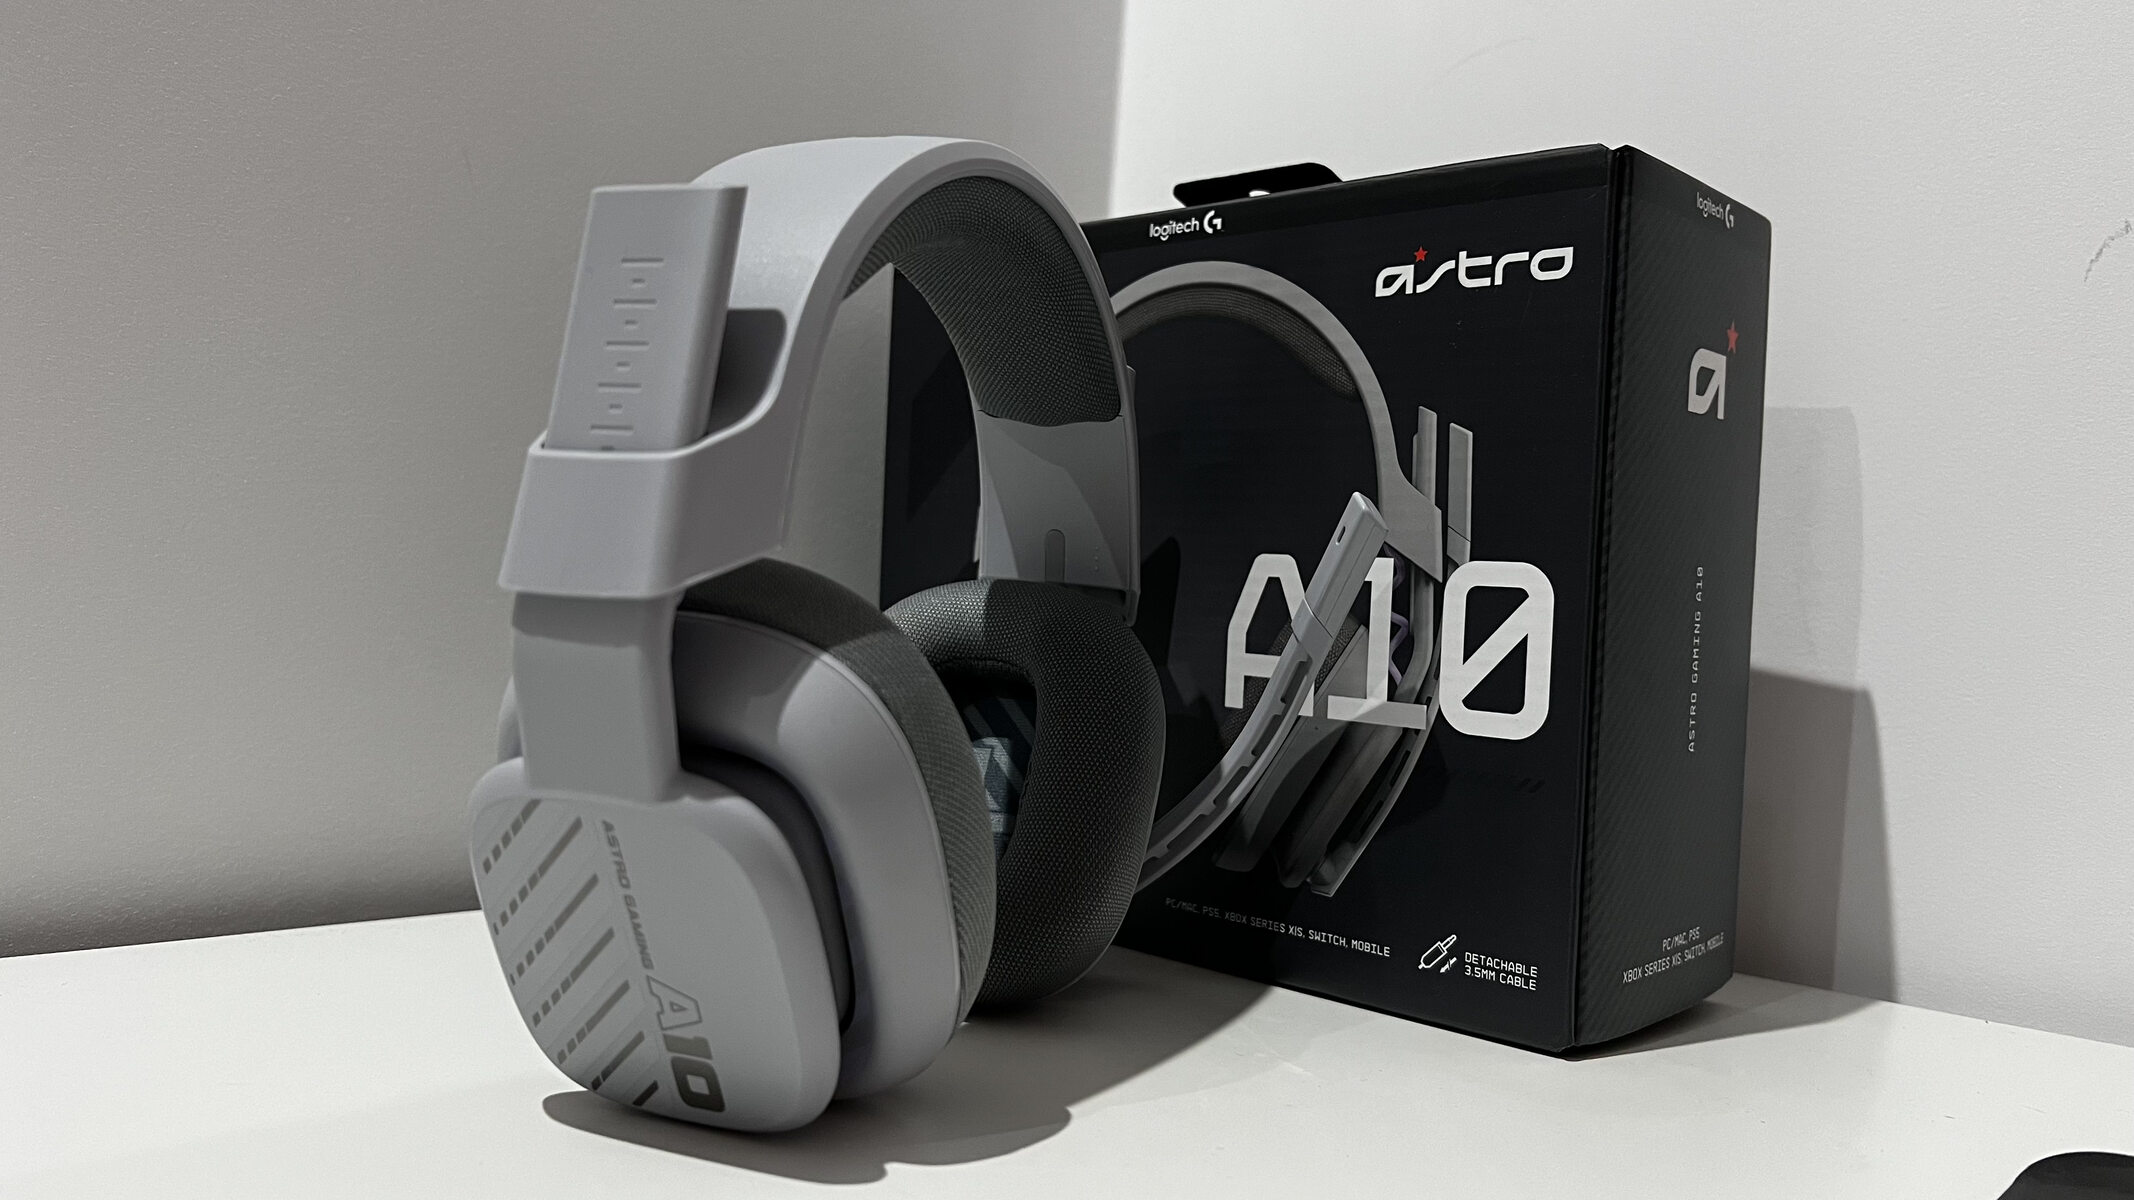
Connecting a Wired Headset
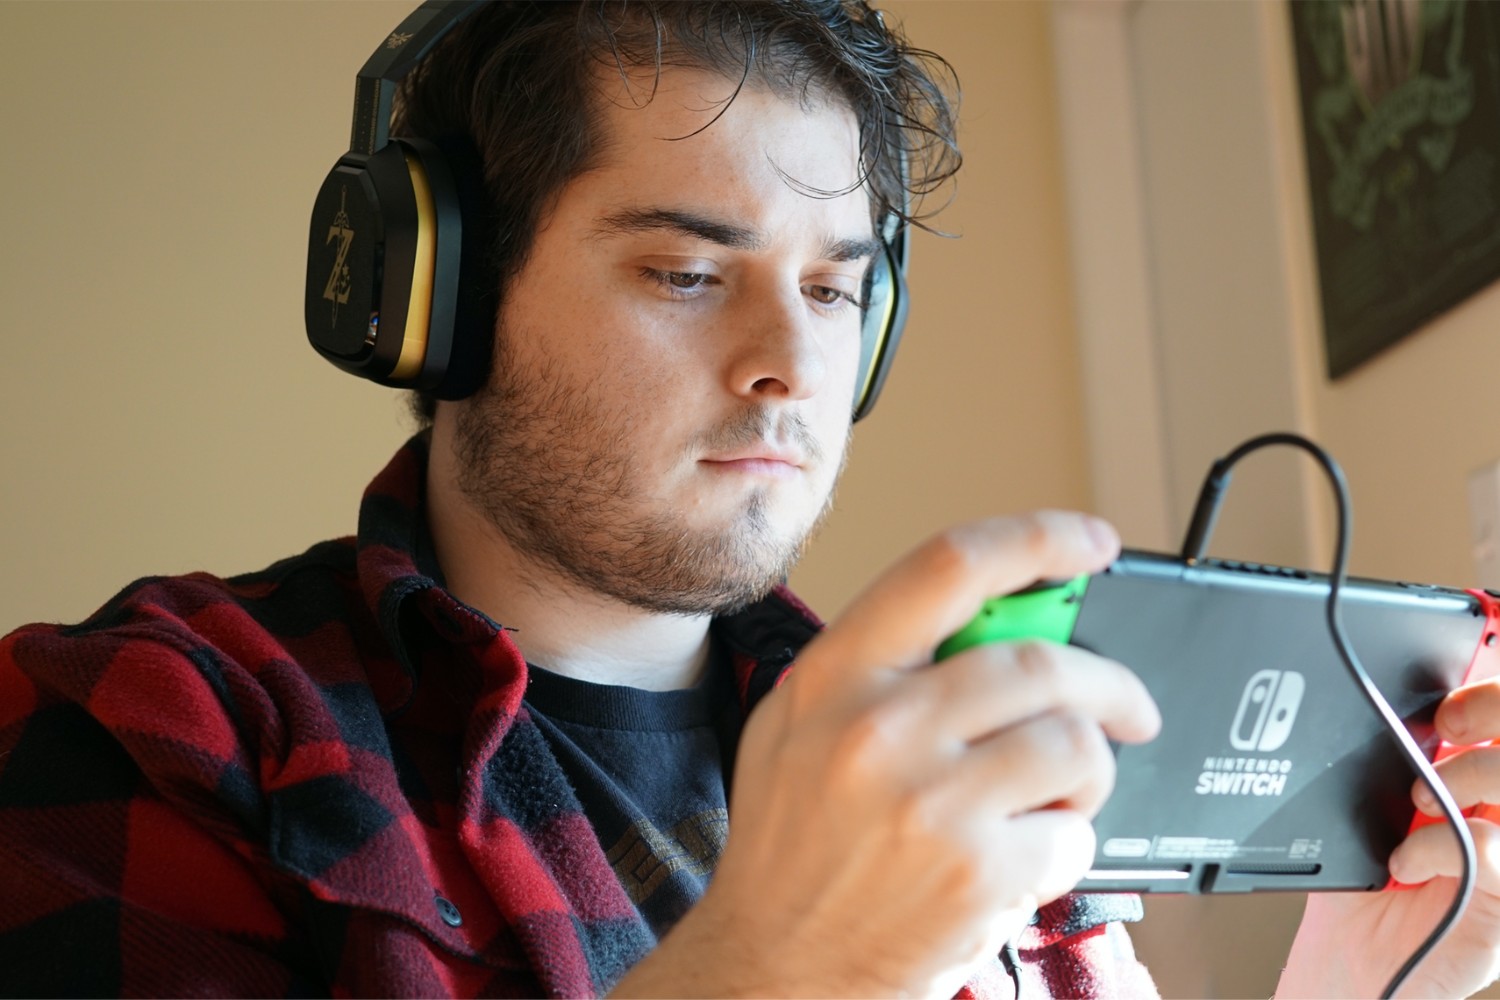
Connecting a wired headset to your Nintendo Switch is a straightforward process that ensures a reliable and lag-free audio experience. To begin, locate the 3.5mm audio jack on the Nintendo Switch console. This jack is typically located on the top of the console, adjacent to the volume buttons. Once you have located the audio jack, follow these simple steps to connect your wired headset:
-
Prepare Your Wired Headset: Ensure that your wired headset is compatible with the 3.5mm audio jack. Most modern wired headsets come with a standard 3.5mm audio connector, making them compatible with the Nintendo Switch.
-
Insert the 3.5mm Connector: Take the 3.5mm audio connector at the end of your wired headset's cable and gently insert it into the 3.5mm audio jack on the Nintendo Switch console. Apply a slight, steady pressure to ensure a secure connection.
-
Adjust Volume and Settings: Once the headset is connected, you can adjust the volume using the dedicated volume buttons on the console. Additionally, you may want to adjust the audio settings within the game or system settings to fine-tune the audio output to your preference.
-
Enjoy Immersive Audio: With your wired headset successfully connected, immerse yourself in the rich audio landscapes of your favorite games. Whether it's the subtle rustling of leaves in a forest or the thunderous roar of an engine, the wired headset will faithfully deliver the audio as intended by the game developers.
By following these simple steps, you can seamlessly connect your wired headset to the Nintendo Switch, ensuring a reliable and immersive audio experience that enhances your gaming adventures. Now that you have mastered the art of connecting a wired headset, let's explore the exciting realm of connecting a Bluetooth headset to your Nintendo Switch for a wireless audio experience.
Connecting a Bluetooth Headset
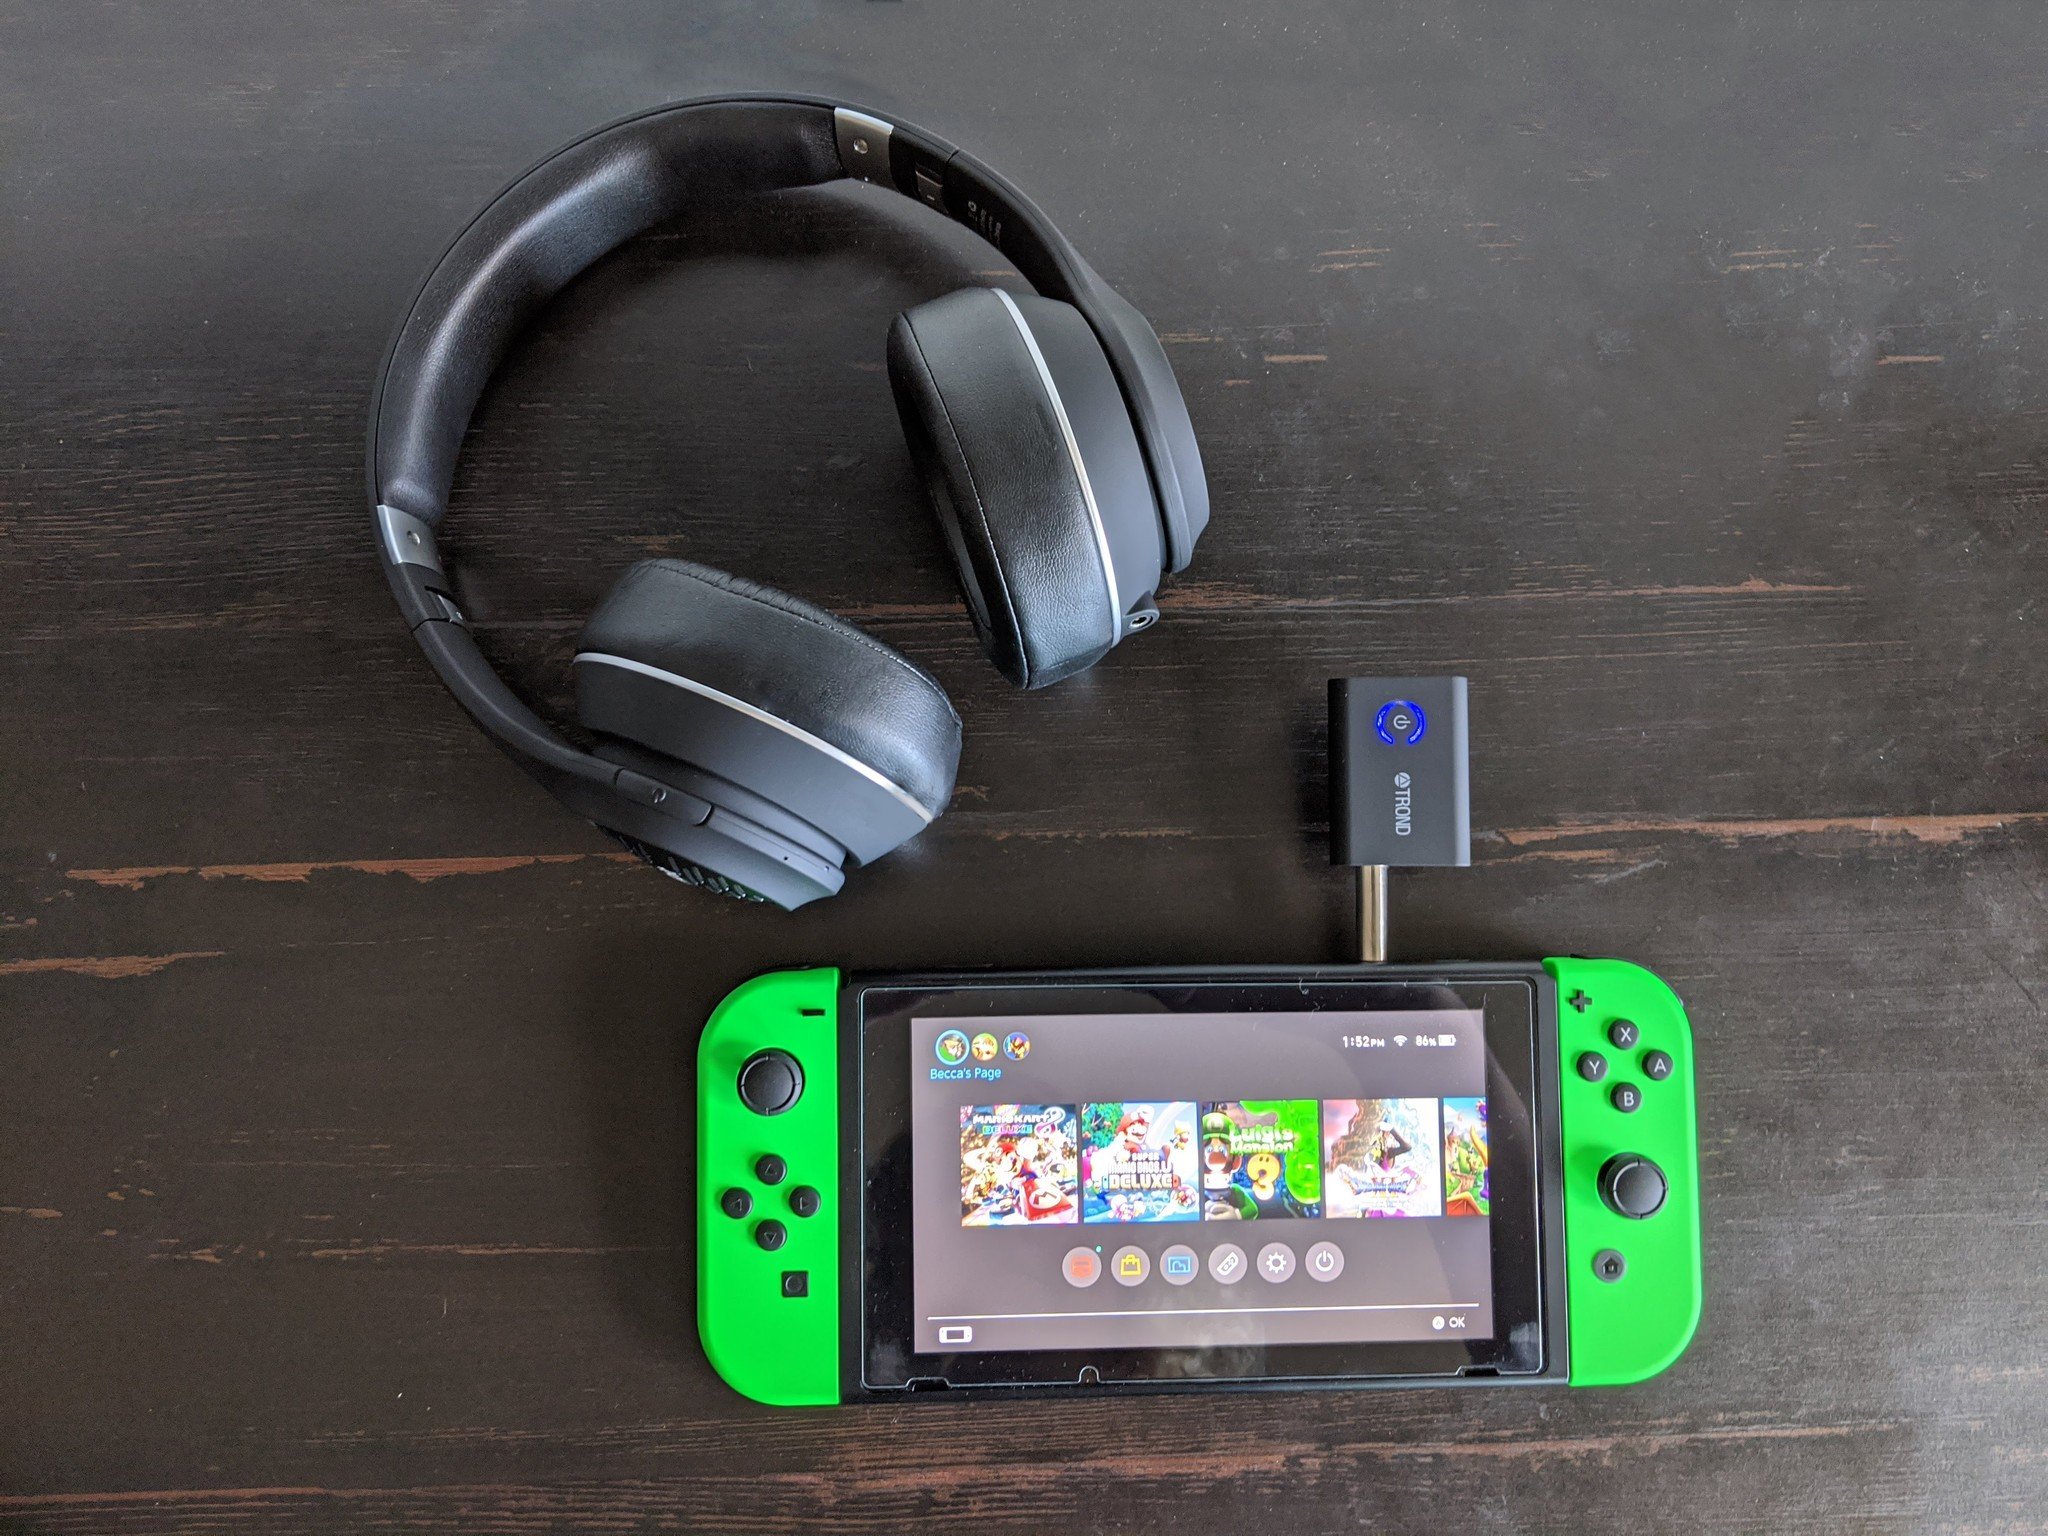
Connecting a Bluetooth headset to your Nintendo Switch offers the freedom of wireless audio without compromising on sound quality. The Nintendo Switch, through its system updates, now supports Bluetooth audio devices, allowing you to seamlessly pair your favorite Bluetooth headset with the console. Here's a detailed guide on how to connect a Bluetooth headset to your Nintendo Switch:
-
Check Bluetooth Compatibility: Ensure that your Bluetooth headset is compatible with the Nintendo Switch. Most modern Bluetooth headsets are designed to work with a wide range of devices, including the Nintendo Switch. However, it's always a good idea to check the compatibility to avoid any potential issues.
-
Access System Settings: Start by turning on your Nintendo Switch and accessing the system settings. From the home screen, navigate to "System Settings" and select "Bluetooth Audio".
-
Pairing Mode: Put your Bluetooth headset into pairing mode. This process may vary depending on the specific model of your headset. Refer to the headset's user manual for instructions on how to activate pairing mode.
-
Search and Connect: Within the "Bluetooth Audio" settings on the Nintendo Switch, select "Pair Device". The console will then search for available Bluetooth devices. Once your headset appears in the list of available devices, select it to initiate the pairing process.
-
Complete Pairing: Follow any on-screen prompts to complete the pairing process. Once successfully paired, your Bluetooth headset will be connected to the Nintendo Switch, allowing you to enjoy wireless audio during your gaming sessions.
-
Adjust Audio Settings: After connecting your Bluetooth headset, you can fine-tune the audio settings to suit your preferences. You can adjust the audio output, including volume levels and in-game audio settings, to optimize your gaming experience.
-
Immerse in Wireless Audio: With your Bluetooth headset successfully connected, experience the freedom of wireless audio as you delve into the captivating worlds of your favorite games. Whether it's the atmospheric soundtrack of an adventure game or the intense sound effects of a fast-paced action game, your Bluetooth headset will deliver an immersive audio experience.
By following these steps, you can seamlessly connect your Bluetooth headset to the Nintendo Switch, unlocking the convenience of wireless audio without compromising on audio quality. This wireless audio solution offers a new level of flexibility, allowing you to enjoy your gaming adventures with enhanced mobility and comfort.
Adjusting Audio Settings
Fine-tuning the audio settings on your Nintendo Switch is essential to ensure an optimal and personalized audio experience. By adjusting these settings, you can tailor the audio output to suit your preferences, whether you prioritize immersive soundscapes, clear communication in multiplayer games, or a balanced audio mix. Here's a detailed exploration of the audio settings available on the Nintendo Switch:
In-Game Audio Settings
Many games on the Nintendo Switch offer in-game audio settings that allow you to customize various audio elements. These settings may include options to adjust the overall volume, individual sound effects, music levels, and dialogue volume. By accessing the in-game audio settings, you can fine-tune the audio mix to your liking, enhancing the overall gaming experience.
System Audio Settings
The Nintendo Switch provides system-level audio settings that enable you to control the global audio output of the console. Within the system settings menu, you can adjust the master volume, headphone volume, and various audio output preferences. Additionally, the system settings allow you to configure audio input settings if you are using a headset with a microphone for in-game communication.
Equalizer Settings
While the Nintendo Switch does not have a built-in equalizer feature, some third-party headsets may offer equalizer settings that allow you to adjust the audio frequencies to your preference. If your headset includes equalizer functionality, you can customize the bass, midrange, and treble levels to achieve a personalized audio profile that complements your gaming experience.
Surround Sound Options
For gamers seeking a more immersive audio experience, the Nintendo Switch supports certain games that offer surround sound capabilities. By enabling surround sound within compatible games, you can experience spatial audio that enhances the sense of depth and directionality, allowing you to pinpoint in-game audio cues with greater accuracy.
Communication Settings
If you engage in multiplayer gaming or online communication while using a headset, it's essential to configure the communication settings to ensure clear and effective voice chat. The Nintendo Switch provides options to adjust the microphone sensitivity, voice chat volume, and other communication-related settings to facilitate seamless interaction with other players.
By leveraging these audio settings, you can tailor the audio output of your Nintendo Switch to align with your unique preferences, ultimately enhancing your gaming experience with immersive soundscapes, clear communication, and personalized audio profiles. Whether you are exploring vast open worlds, engaging in intense multiplayer battles, or immersing yourself in narrative-driven adventures, the ability to adjust audio settings empowers you to create a truly customized gaming audio experience.
Troubleshooting Common Issues
Even with the seamless nature of connecting headsets to the Nintendo Switch, occasional issues may arise that can disrupt your gaming audio experience. By understanding and addressing these common issues, you can ensure that your headset connectivity remains reliable and that you can fully immerse yourself in the captivating audio of your favorite games. Here are some common issues and troubleshooting steps to resolve them:
1. Audio Output Distortion
If you encounter audio distortion, such as crackling, static, or inconsistent sound quality, it may stem from a variety of factors. Begin by checking the physical connection between your headset and the Nintendo Switch. Ensure that the 3.5mm audio jack or Bluetooth connection is secure and free from debris. Additionally, try using a different headset or testing your current headset on another device to isolate the issue.
2. Inconsistent Bluetooth Connectivity
For users experiencing intermittent Bluetooth connectivity with their headsets, it's essential to verify that the headset is within the optimal range of the Nintendo Switch. Bluetooth signals can be affected by interference from other electronic devices or physical obstructions. Consider repositioning yourself closer to the console and minimizing potential sources of interference. Furthermore, ensure that your Bluetooth headset's firmware is up to date to mitigate any known connectivity issues.
3. Mic Input Malfunctions
If your headset includes a microphone for in-game communication, issues with mic input can impede your ability to communicate with other players. First, check the microphone's physical connection and ensure that it is securely plugged into the Nintendo Switch. Verify that the microphone is not muted and that the communication settings within the system settings menu are configured to allow microphone input. If the issue persists, consider testing the headset on another device to determine if the problem is specific to the Nintendo Switch.
4. Firmware and System Updates
Periodically, Nintendo releases system updates that may address known audio-related issues and enhance overall compatibility with headsets. Ensure that your Nintendo Switch is running the latest system software by accessing the system settings and selecting the "System Update" option. Similarly, if your Bluetooth headset offers firmware updates, consider checking the manufacturer's website or app for any available updates that may improve connectivity and audio performance.
By addressing these common issues and following the troubleshooting steps outlined above, you can maintain a seamless and enjoyable audio experience with your Nintendo Switch. Whether you prefer the reliability of a wired headset or the convenience of a Bluetooth connection, troubleshooting potential issues ensures that you can fully immerse yourself in the captivating audio landscapes of your favorite games.