Introduction
Welcome to the ultimate guide for setting up your HyperX headset with your Xbox! Whether you're a seasoned gamer or just starting out, getting your headset connected properly is crucial for an immersive gaming experience. In this comprehensive guide, we'll walk you through the entire process, from unboxing your HyperX headset to adjusting audio settings and troubleshooting any potential issues.
Your gaming headset is more than just a tool for communication; it's your gateway to a world of rich, immersive soundscapes and crystal-clear voice chat. With the right setup, you can elevate your gaming experience to new heights, whether you're exploring vast open worlds, engaging in intense multiplayer battles, or immersing yourself in the latest blockbuster titles.
By following the step-by-step instructions in this guide, you'll be able to seamlessly connect your HyperX headset to your Xbox controller and optimize the audio settings for unparalleled sound quality. We understand that the world of gaming accessories can sometimes feel overwhelming, but rest assured that we've got you covered every step of the way.
So, grab your HyperX headset, power up your Xbox, and get ready to dive into a world of immersive gaming audio. Let's embark on this journey together and ensure that you're equipped with the knowledge and confidence to make the most out of your gaming headset. Whether you're seeking a competitive edge in online matches or simply aiming to fully immerse yourself in your favorite games, the setup process is the crucial first step toward unlocking the full potential of your HyperX headset on your Xbox.
Now, without further ado, let's unbox your HyperX headset and get started on this exciting setup journey!
Step 1: Unboxing and Overview of the HyperX Headset
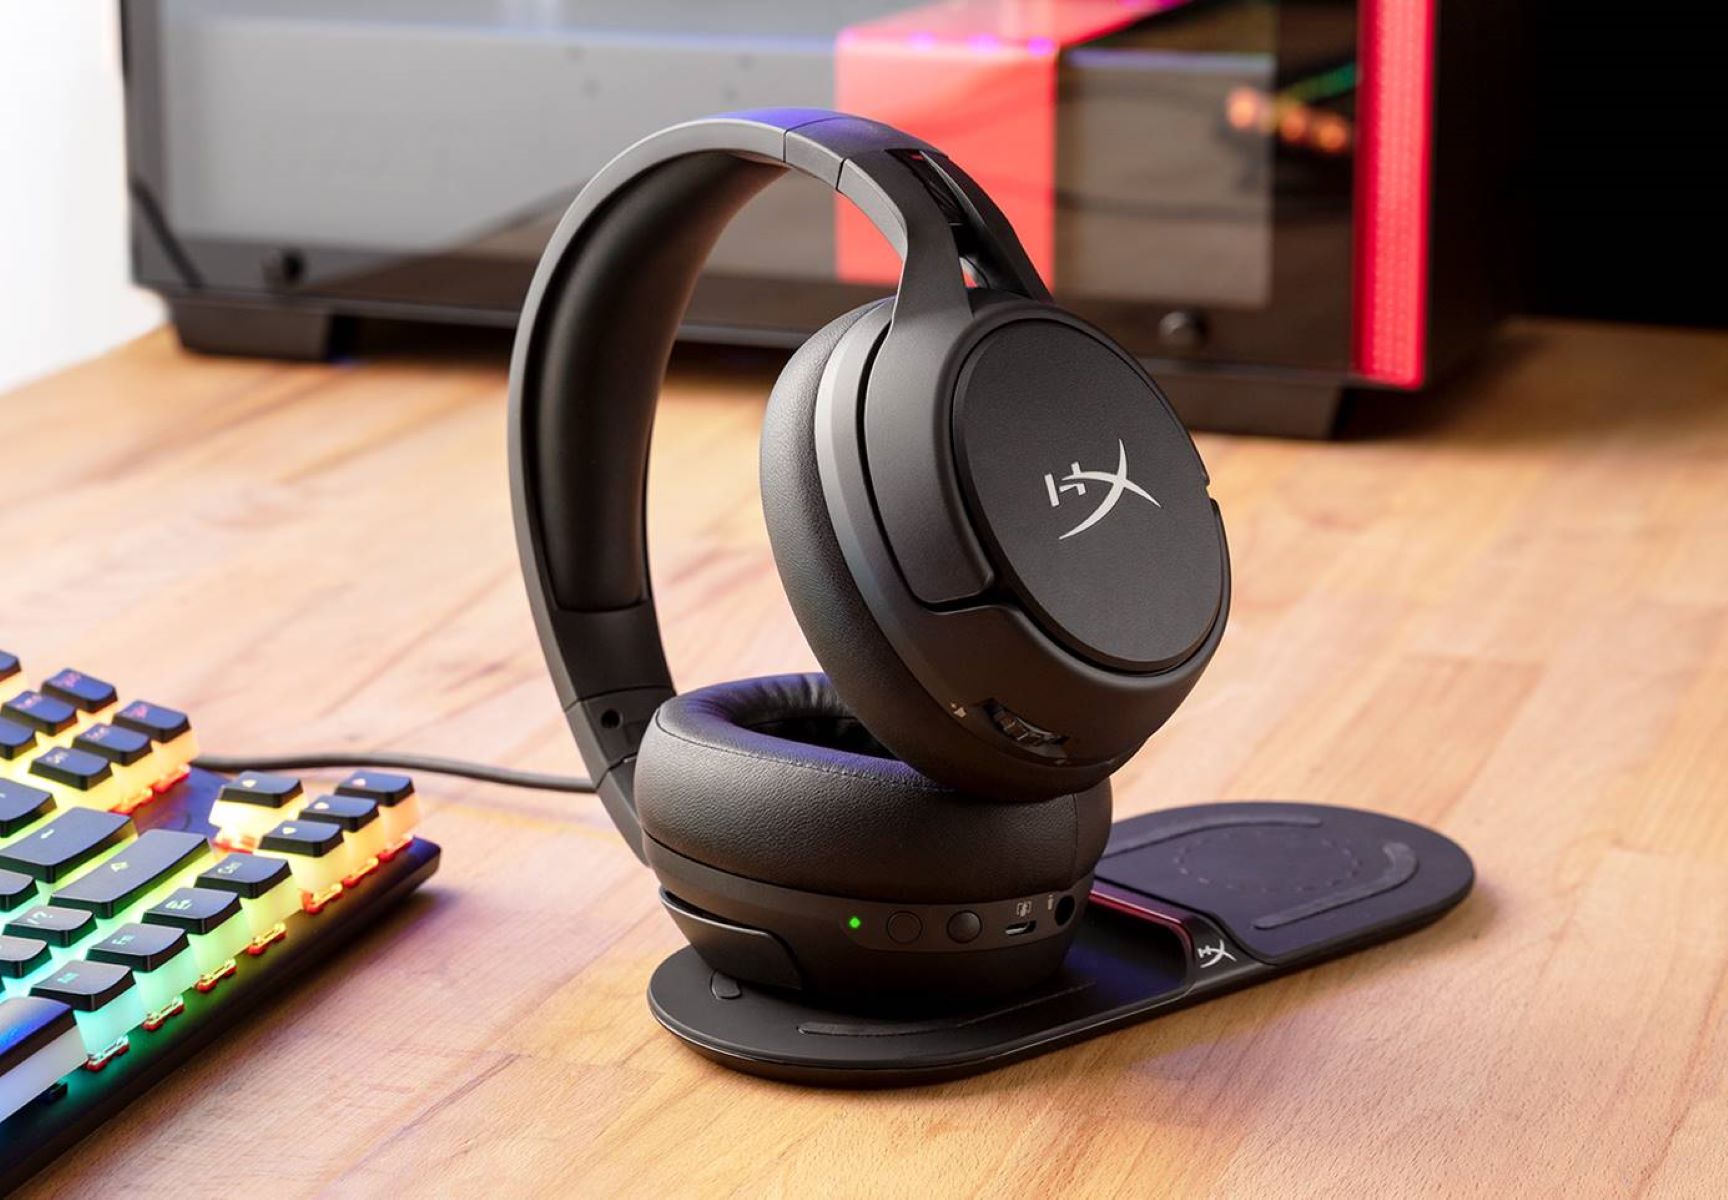
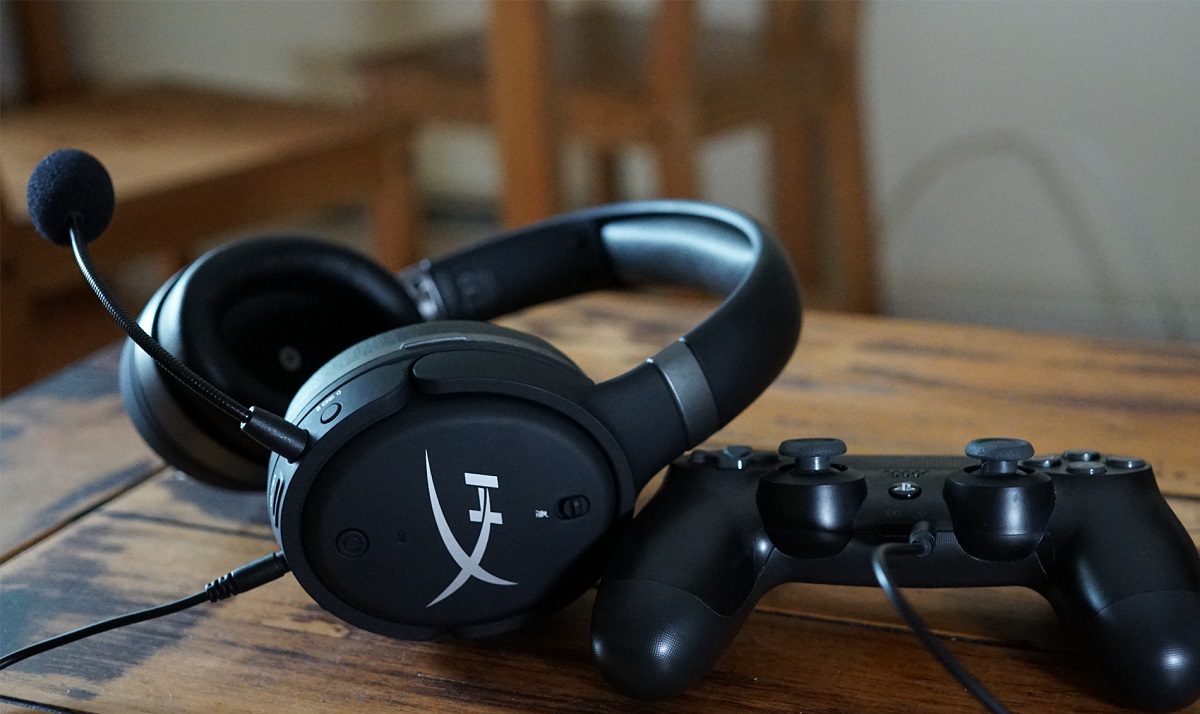
Upon receiving your HyperX headset, the first step is the exhilarating unboxing process. As you carefully open the packaging, you'll be greeted by the sleek and stylish design of the headset. The attention to detail and quality craftsmanship is immediately evident, showcasing HyperX's commitment to delivering a premium gaming audio experience.
The HyperX headset, designed for comfort and performance, features plush memory foam ear cushions that envelop your ears, providing long-lasting comfort during extended gaming sessions. The adjustable steel slider ensures a perfect fit, catering to a variety of head sizes and shapes. The durable aluminum frame not only enhances the headset's overall robustness but also exudes a modern and premium aesthetic.
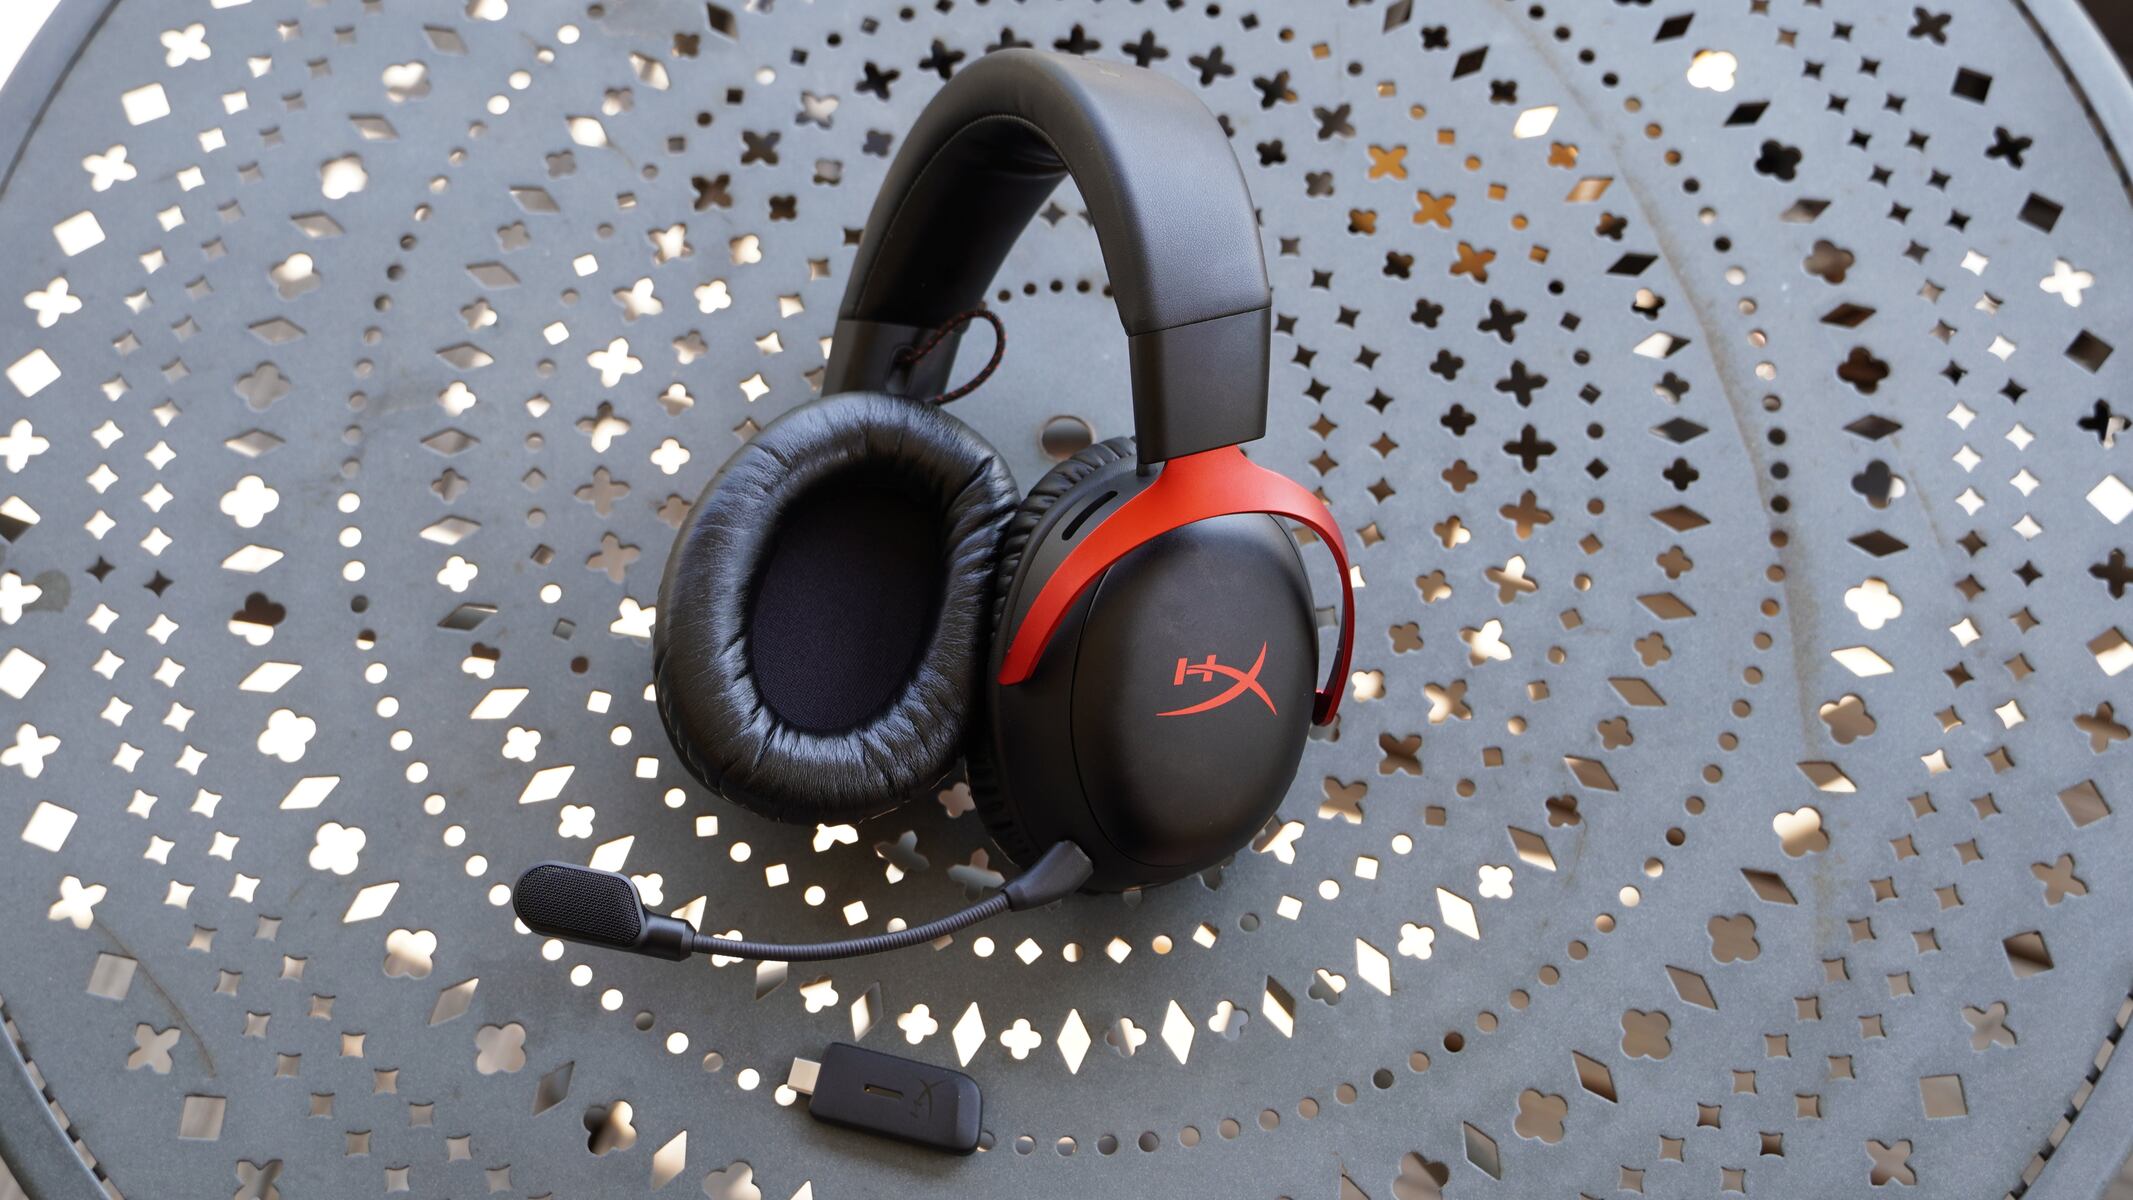
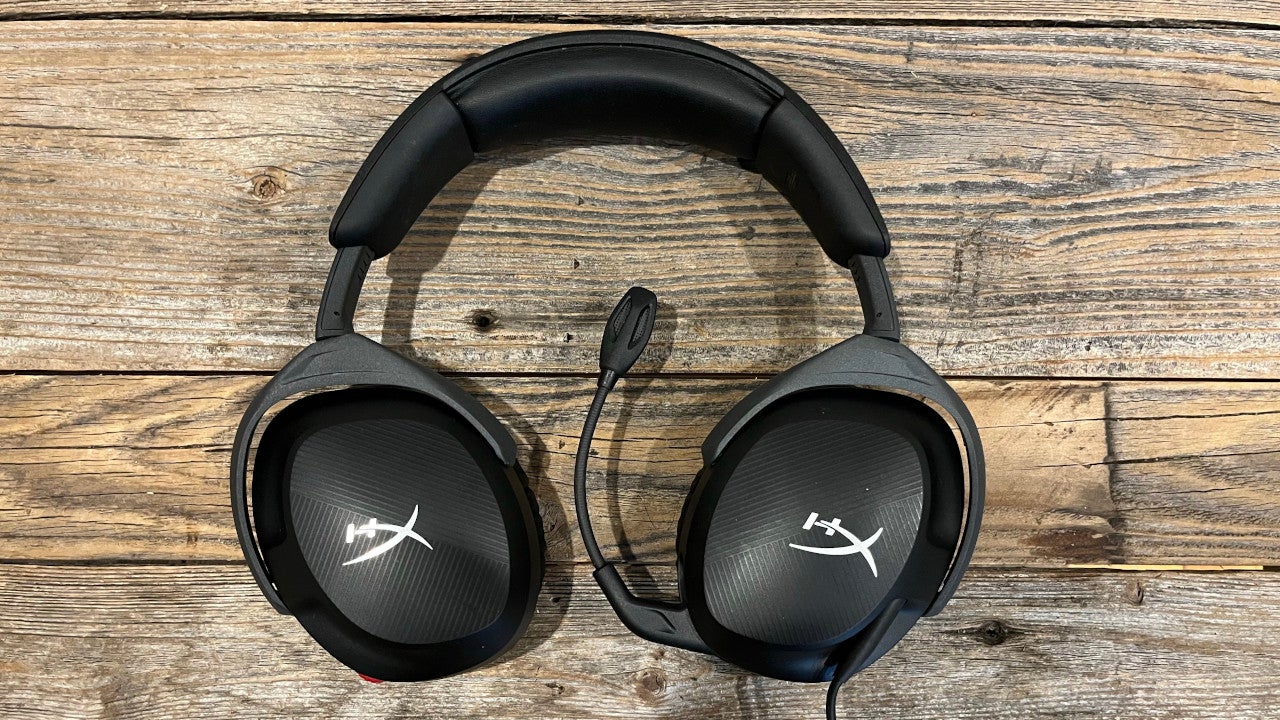
As you delve deeper into the unboxing experience, you'll discover the detachable noise-cancelling microphone, a pivotal component for crystal-clear voice communication during online gaming or virtual meetings. The flexible, swiveling microphone allows for effortless positioning, ensuring that your voice is accurately captured without any background distractions.
Furthermore, the headset's inline audio control features intuitive buttons for adjusting volume and muting the microphone, placing essential functions at your fingertips. This convenient design element allows for seamless audio management without interrupting your gaming experience.
The HyperX headset's versatile connectivity options are also worth noting. Whether you opt for the wired connection via the 3.5mm audio jack or the wireless convenience of a compatible USB adapter, the headset offers flexibility to suit your specific gaming setup and preferences.
In summary, unboxing the HyperX headset reveals a meticulously crafted gaming accessory that seamlessly combines comfort, style, and functionality. With its premium materials, ergonomic design, and versatile connectivity options, the HyperX headset sets the stage for an unparalleled gaming audio experience.
With the unboxing process complete, you're now ready to embark on the next step of connecting your HyperX headset to your Xbox controller. Let's dive into the setup process and ensure that you're fully equipped to unleash the full potential of your gaming headset on your Xbox.
Step 2: Connecting the HyperX Headset to the Xbox Controller
Connecting your HyperX headset to the Xbox controller is a straightforward process that ensures seamless integration for an immersive gaming experience. The first step is to identify the type of Xbox controller you have, as this will determine the specific method of connection.
If you have an Xbox Wireless Controller with a 3.5mm audio jack, the process begins by plugging the headset's 3.5mm audio cable directly into the controller's audio jack. The snug fit ensures a secure connection, allowing for both audio output and microphone input through a single cable. Once connected, the Xbox will automatically recognize the headset, and you'll be ready to experience high-quality audio and clear voice communication.
For those with the Xbox Wireless Controller that features an Xbox Wireless Adapter for Windows, the setup involves connecting the adapter to the Xbox console or PC. Once the adapter is successfully paired with the console or PC, you can then proceed to connect the HyperX headset wirelessly. By following the manufacturer's instructions for pairing the headset with the Xbox Wireless Adapter, you can establish a reliable wireless connection, eliminating the constraints of a physical cable while maintaining exceptional audio quality.
It's important to note that regardless of the connection method, the HyperX headset delivers exceptional audio performance, allowing you to immerse yourself in the rich soundscapes of your favorite games while maintaining clear and precise communication with your teammates during multiplayer sessions.
The seamless integration of the HyperX headset with the Xbox controller underscores the commitment to providing a hassle-free setup process, allowing you to focus on what truly matters – the thrill of gaming. With the headset securely connected to your Xbox controller, you're now poised to explore the next step: optimizing the audio settings on your Xbox to further enhance your gaming experience.
As we transition to the next phase of the setup process, it's important to acknowledge the seamless connectivity and compatibility that the HyperX headset offers, ensuring that you're equipped with the tools to fully immerse yourself in the captivating world of gaming audio. Let's delve into the intricacies of adjusting the audio settings on your Xbox and unlock the full potential of your HyperX headset.
Step 3: Adjusting Audio Settings on the Xbox
Once your HyperX headset is seamlessly connected to your Xbox controller, it's essential to optimize the audio settings to ensure an immersive and finely-tuned gaming experience. The Xbox console offers a range of customizable audio settings that allow you to tailor the sound output to your preferences and gaming environment.
1. Accessing Audio Settings
To begin adjusting the audio settings, navigate to the Xbox dashboard and select the "Settings" option. From there, locate the "Audio" or "Sound" settings menu, which provides access to a variety of audio configuration options.
2. Sound Output Configuration
Within the audio settings, you'll find the option to customize the sound output parameters. This includes adjusting the volume levels, equalizer settings, and spatial audio features. Depending on your gaming preferences, you can fine-tune the audio output to emphasize certain frequencies or enhance spatial awareness, particularly useful for games that rely on positional audio cues.
3. Microphone Configuration
Given the importance of clear voice communication during multiplayer gaming, it's crucial to configure the microphone settings for optimal performance. The Xbox audio settings allow you to adjust microphone sensitivity, background noise suppression, and microphone monitoring levels, ensuring that your voice is transmitted clearly and without interference.
4. Spatial Audio and Surround Sound
For an enhanced audio experience, consider enabling spatial audio and surround sound features if supported by your games and headset. These features create a more immersive audio environment, simulating directional sound and spatial depth, allowing you to pinpoint in-game audio cues with precision.
5. Testing and Calibration
After adjusting the audio settings, it's advisable to test the changes in a gaming environment to ensure that the sound output meets your expectations. Engage in a gaming session that represents your typical usage scenario, allowing you to fine-tune the settings based on real-world audio feedback.
6. Firmware Updates
Additionally, check for firmware updates for both your Xbox console and the HyperX headset. Firmware updates often include audio-related enhancements, bug fixes, and compatibility improvements, ensuring that your gaming audio setup remains optimized and free from potential technical issues.
By carefully adjusting the audio settings on your Xbox, you can unlock the full potential of your HyperX headset, immersing yourself in rich, high-fidelity audio while maintaining clear and precise voice communication. The ability to tailor the audio output to your preferences and gaming environment ensures that every gaming session becomes a captivating and immersive experience, allowing you to fully appreciate the audio intricacies of your favorite games.
Step 4: Testing the Headset and Troubleshooting Tips
After completing the setup process and optimizing the audio settings, it's essential to thoroughly test your HyperX headset to ensure that it's delivering the expected audio performance and microphone functionality. Testing the headset allows you to validate the seamless integration with your Xbox controller and identify any potential issues that may require troubleshooting. Additionally, familiarizing yourself with troubleshooting tips equips you with the knowledge to address common headset-related challenges effectively.
Testing Audio Output
To begin the testing phase, launch a game or multimedia content that showcases a range of audio elements, including music, dialogue, and environmental sound effects. By immersing yourself in diverse audio scenarios, you can assess the headset's ability to reproduce nuanced soundscapes accurately. Pay close attention to the clarity, depth, and positional accuracy of the audio, ensuring that the headset delivers a captivating and immersive auditory experience.
Microphone Testing
Engage in a voice chat session or utilize the Xbox's built-in microphone testing feature to evaluate the performance of the HyperX headset's microphone. Speak clearly and observe whether your voice is transmitted with clarity and minimal background noise. Testing the microphone ensures that your voice communication during gaming sessions remains crystal clear, fostering effective teamwork and communication with fellow gamers.
Troubleshooting Tips
In the event of potential issues with the headset, it's beneficial to be familiar with troubleshooting tips that can swiftly resolve common challenges. Some troubleshooting measures may include:
-
Firmware Updates: Ensure that both the Xbox controller and the HyperX headset have the latest firmware updates installed. Firmware updates often address compatibility issues and introduce performance enhancements.
-
Connection Stability: Verify the stability of the headset's connection to the Xbox controller. Ensure that the audio cable or wireless connection is secure and free from interference.
-
Audio Settings Verification: Double-check the audio settings on the Xbox to confirm that the output configuration aligns with your preferences and the headset's capabilities.
-
Microphone Sensitivity Adjustment: If encountering microphone sensitivity issues, adjust the microphone sensitivity settings on the Xbox to optimize voice input.
By conducting thorough testing and being equipped with effective troubleshooting tips, you can ensure that your HyperX headset seamlessly integrates with your Xbox, delivering exceptional audio performance and reliable microphone functionality. The ability to identify and address potential issues empowers you to maintain an optimal gaming audio experience, allowing you to fully immerse yourself in the captivating world of gaming without interruptions or technical setbacks.
Conclusion
In conclusion, the process of setting up your HyperX headset with your Xbox has been an enriching journey, culminating in a seamless integration of premium gaming audio into your gaming environment. From the exhilarating unboxing experience to the meticulous connection to your Xbox controller and the fine-tuning of audio settings, every step has been geared toward elevating your gaming experience to new heights.
By unboxing the HyperX headset, you were introduced to a meticulously crafted gaming accessory that seamlessly combines comfort, style, and functionality. The premium materials, ergonomic design, and versatile connectivity options set the stage for an unparalleled gaming audio experience. The attention to detail and quality craftsmanship showcased HyperX's commitment to delivering a premium gaming audio experience, ensuring that you're equipped with a headset that not only looks stunning but also delivers exceptional comfort and performance.
Connecting the HyperX headset to your Xbox controller was a straightforward process, underscoring the seamless integration and compatibility that the headset offers. Whether through a wired connection or the convenience of wireless connectivity, the HyperX headset ensures that you're equipped with the tools to fully immerse yourself in the captivating world of gaming audio. This pivotal step laid the foundation for a hassle-free gaming audio setup, allowing you to focus on what truly matters – the thrill of gaming.
Optimizing the audio settings on your Xbox further enhanced your gaming experience, allowing you to tailor the sound output to your preferences and gaming environment. The customizable audio settings, including sound output configuration, microphone adjustments, and spatial audio features, provided the flexibility to create a captivating and personalized audio environment. By carefully adjusting these settings, you unlocked the full potential of your HyperX headset, immersing yourself in rich, high-fidelity audio while maintaining clear and precise voice communication.
Thoroughly testing the HyperX headset and familiarizing yourself with troubleshooting tips empowered you to address potential challenges effectively, ensuring that your gaming audio experience remains seamless and uninterrupted. By validating the seamless integration with your Xbox controller and identifying any potential issues, you've equipped yourself with the knowledge and confidence to maintain an optimal gaming audio experience.
In essence, the setup process has not only provided you with a premium gaming audio solution but has also empowered you to fully immerse yourself in the captivating world of gaming audio, allowing you to appreciate the audio intricacies of your favorite games. With your HyperX headset seamlessly integrated with your Xbox, you're now poised to embark on countless gaming adventures, fully equipped with the immersive audio experience that the setup process has meticulously crafted for you.