Introduction
The Moto G Stylus has garnered attention for its impressive features, including a built-in stylus, large display, and robust performance. However, some users may find the absence of a physical back button to be a drawback. Navigating through apps and menus without a dedicated back button can be inconvenient and disrupt the user experience. Fortunately, there's a solution to this dilemma: adding a back button to the Moto G Stylus.
In this guide, we will delve into the significance of a back button and explore the process of integrating this essential feature into the Moto G Stylus. Whether you're a tech enthusiast seeking to customize your device or a user looking to streamline navigation, this comprehensive guide will equip you with the knowledge and steps needed to enhance your Moto G Stylus with a practical and user-friendly back button.
Join us as we embark on this journey to elevate the functionality of the Moto G Stylus and empower users with a seamless and intuitive mobile experience. Let's explore the world of customization and optimization, unlocking the full potential of this remarkable device.
Understanding the Moto G Stylus
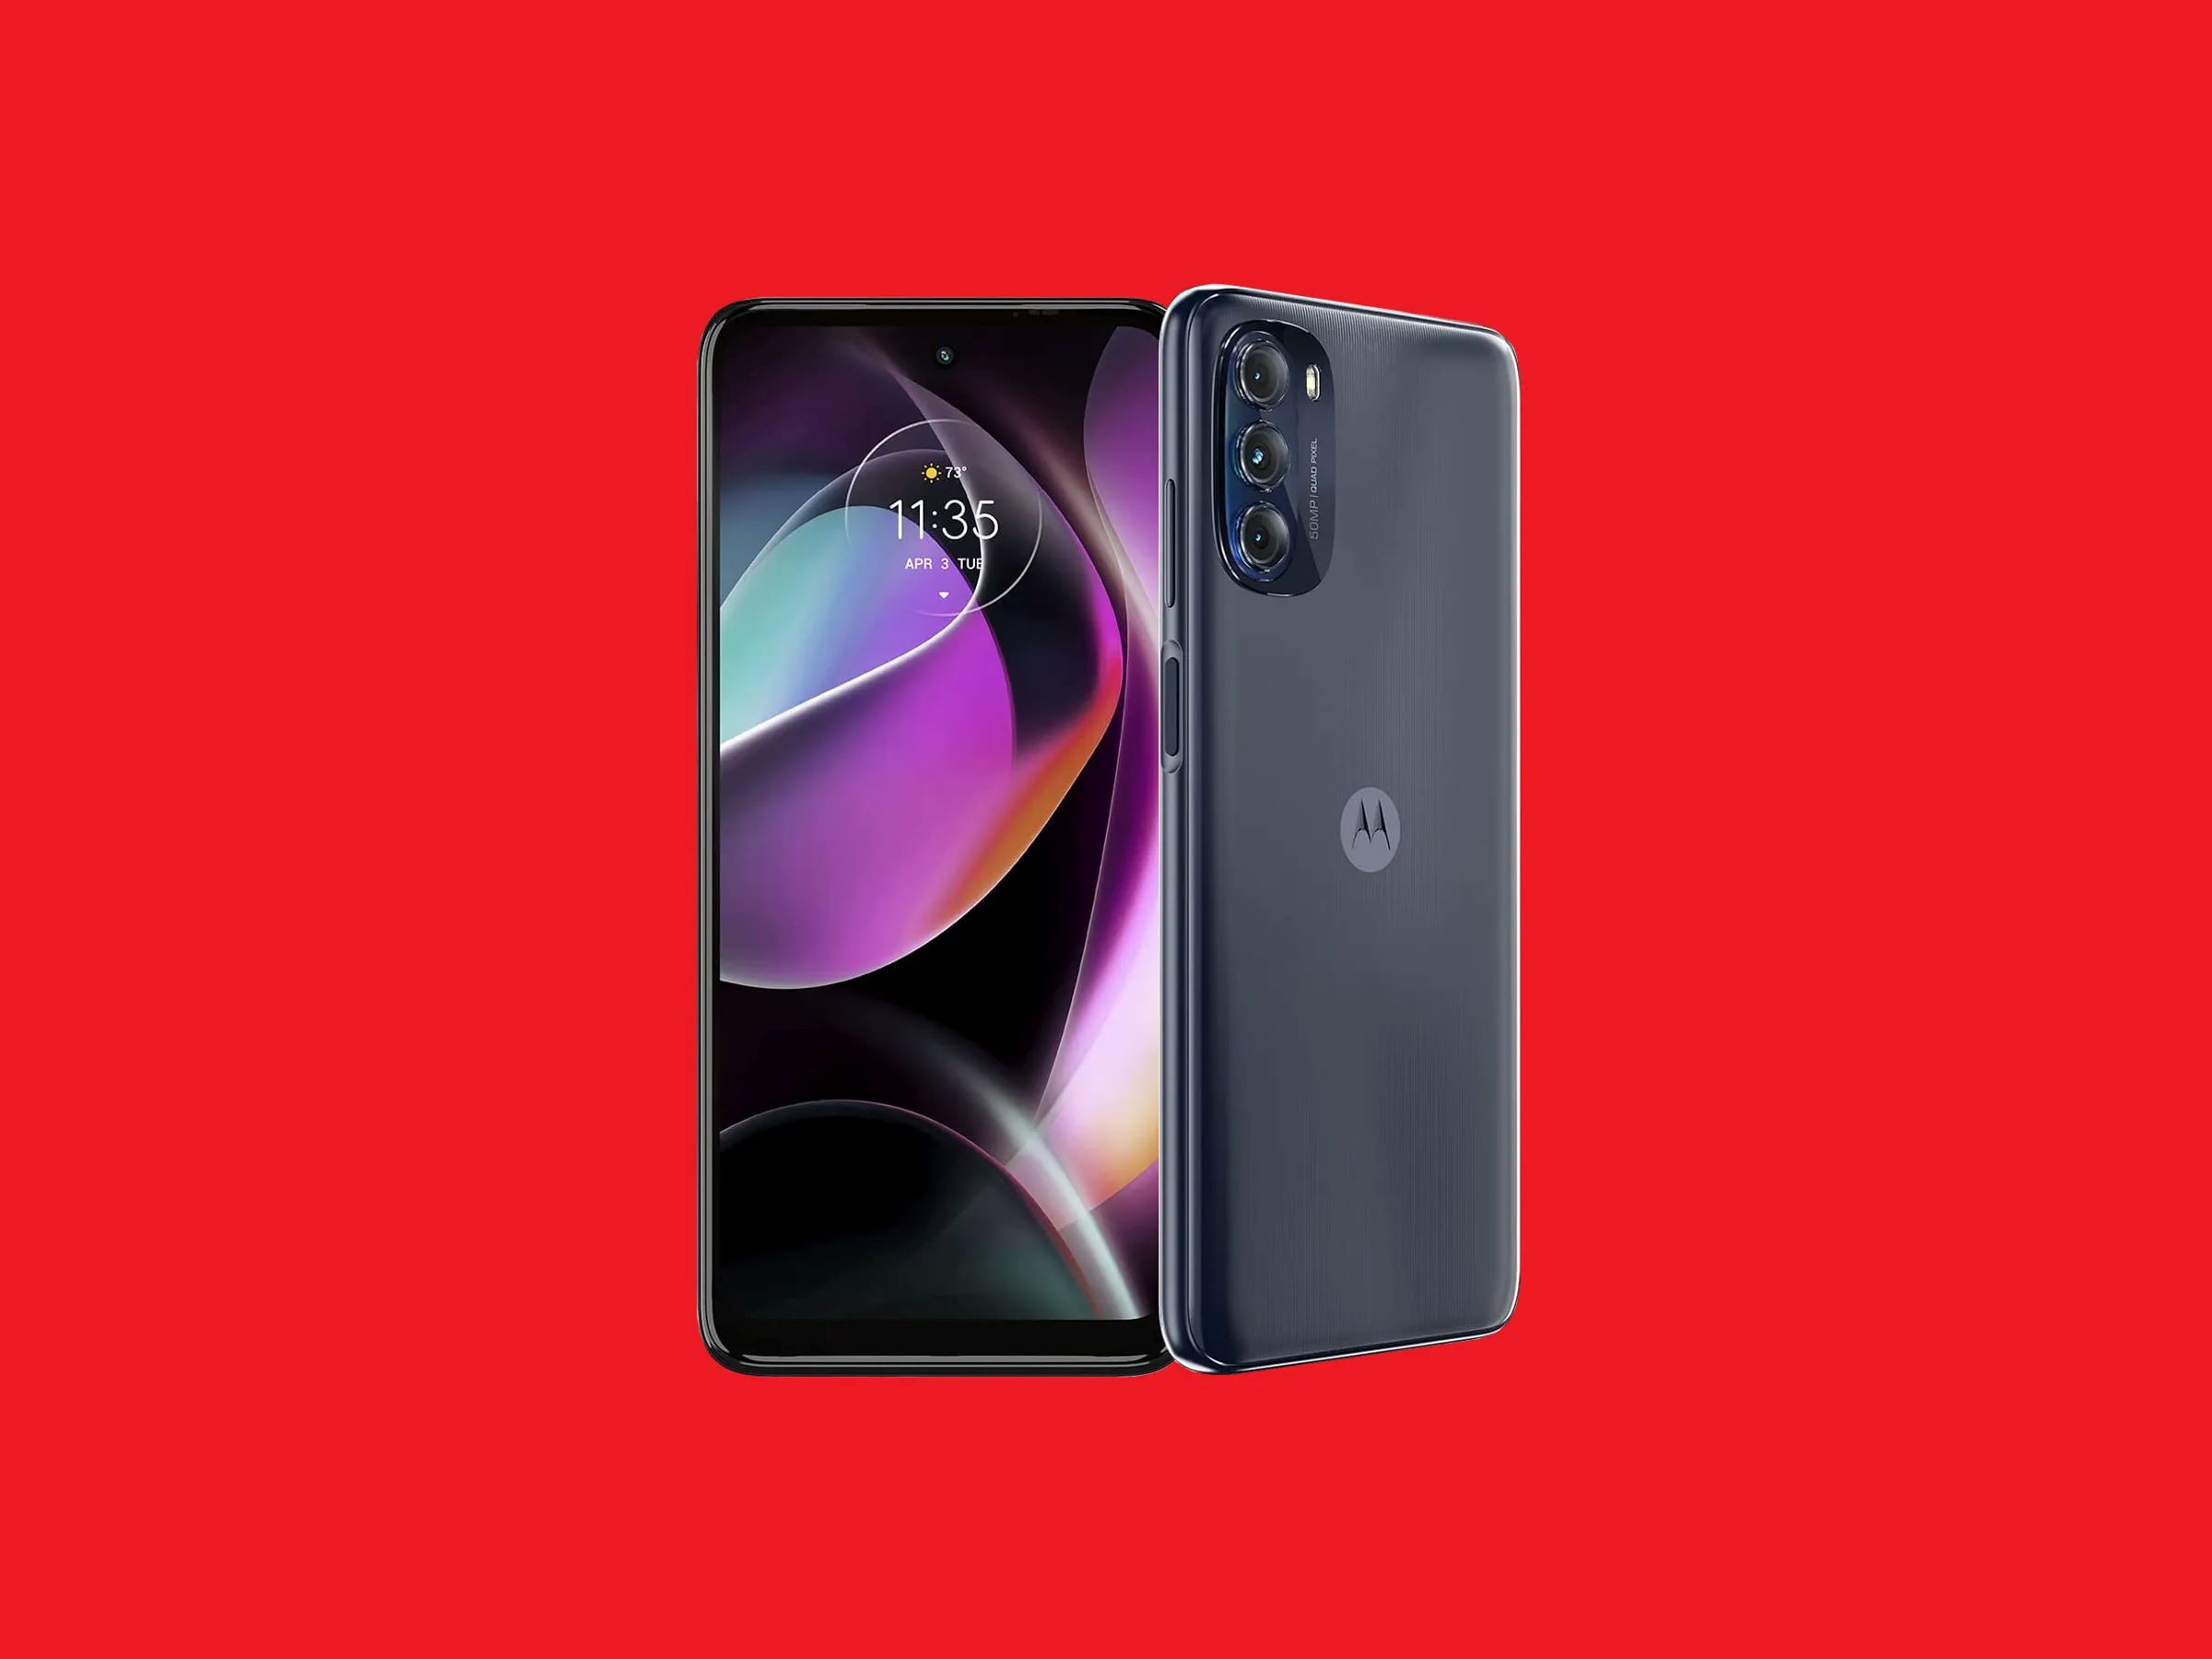
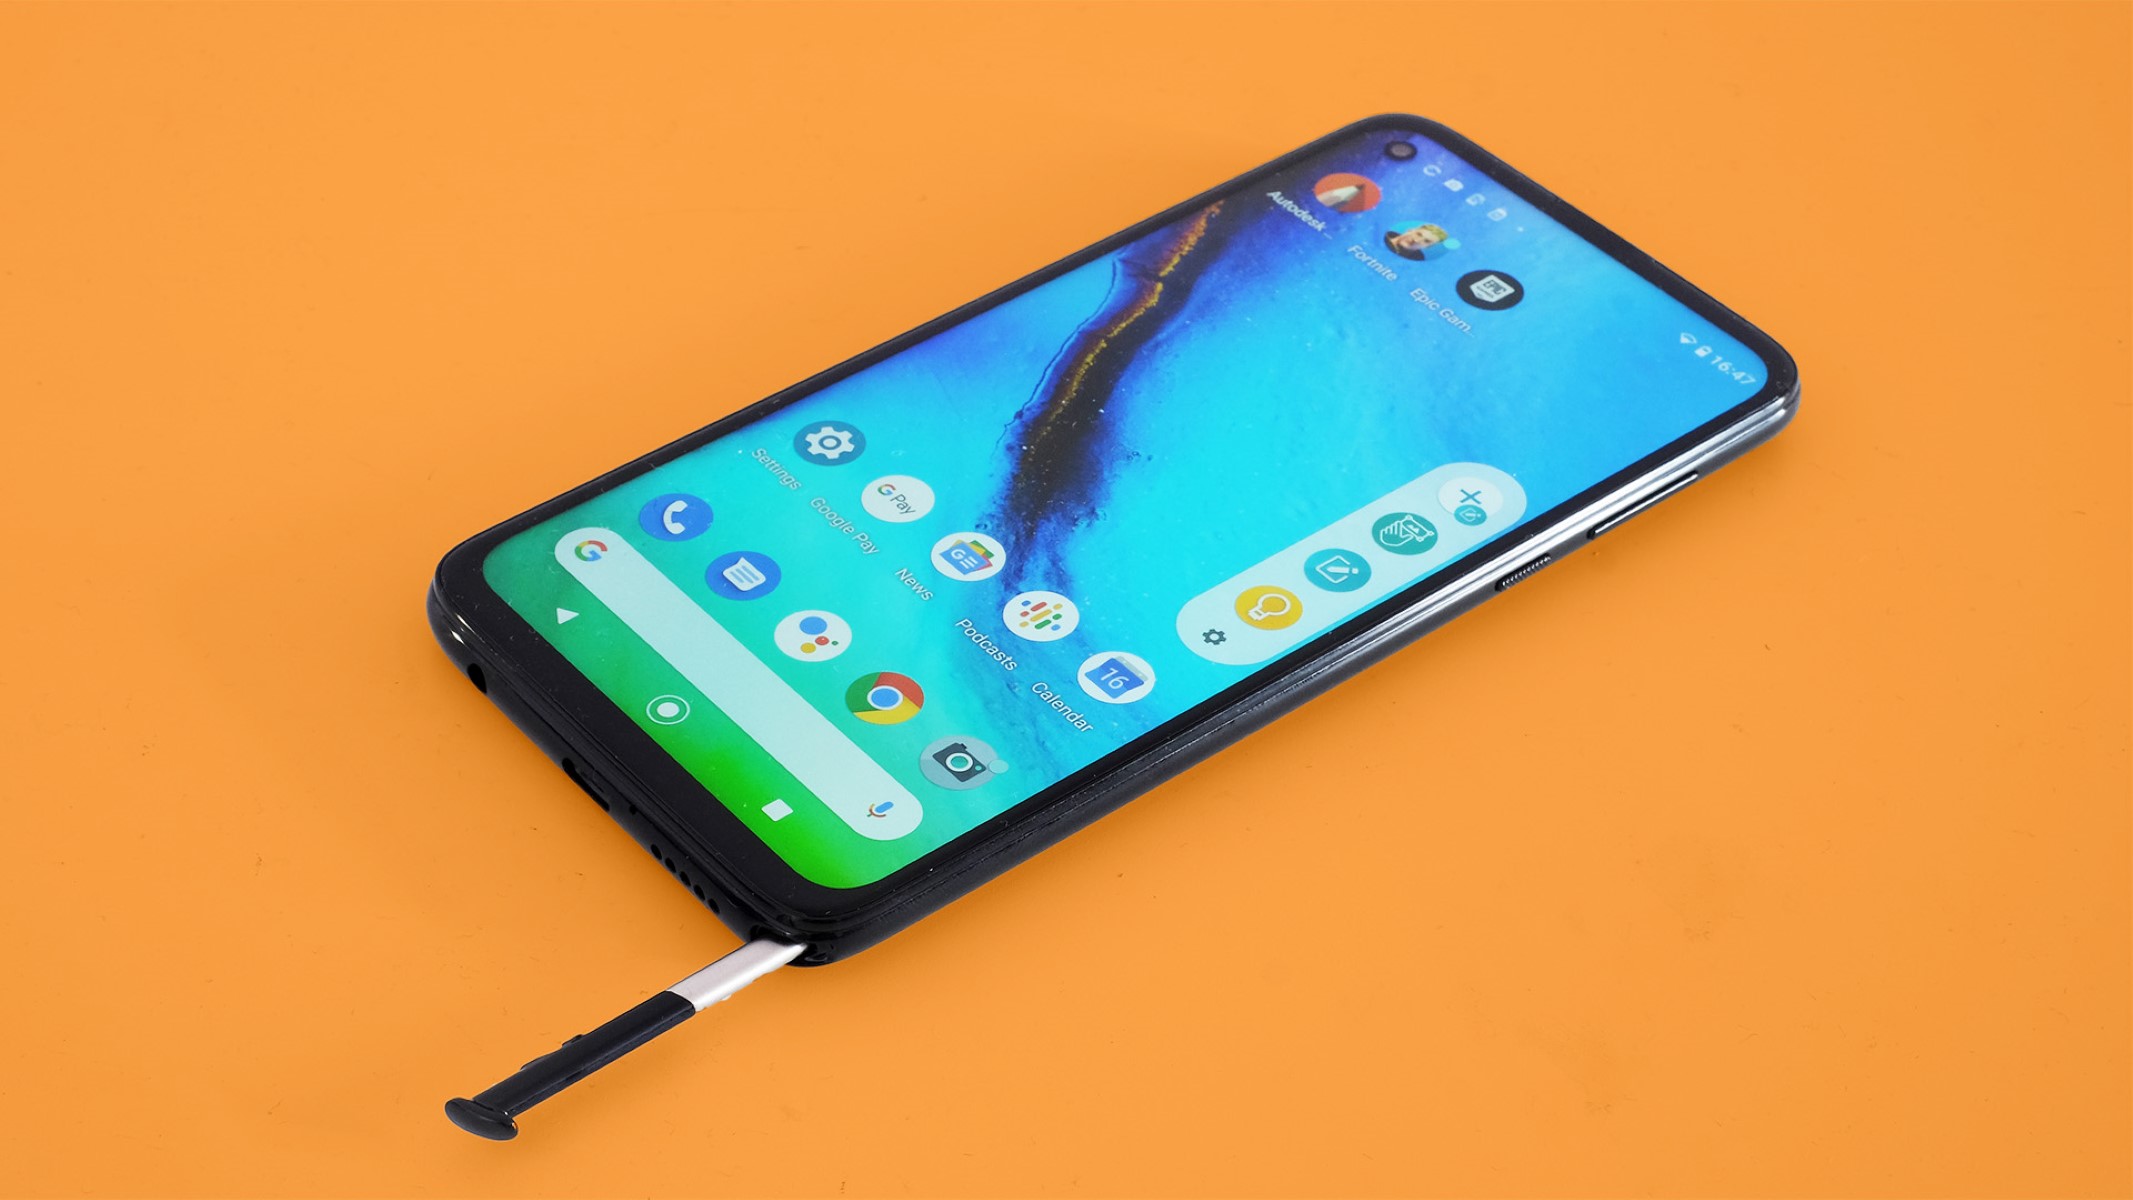
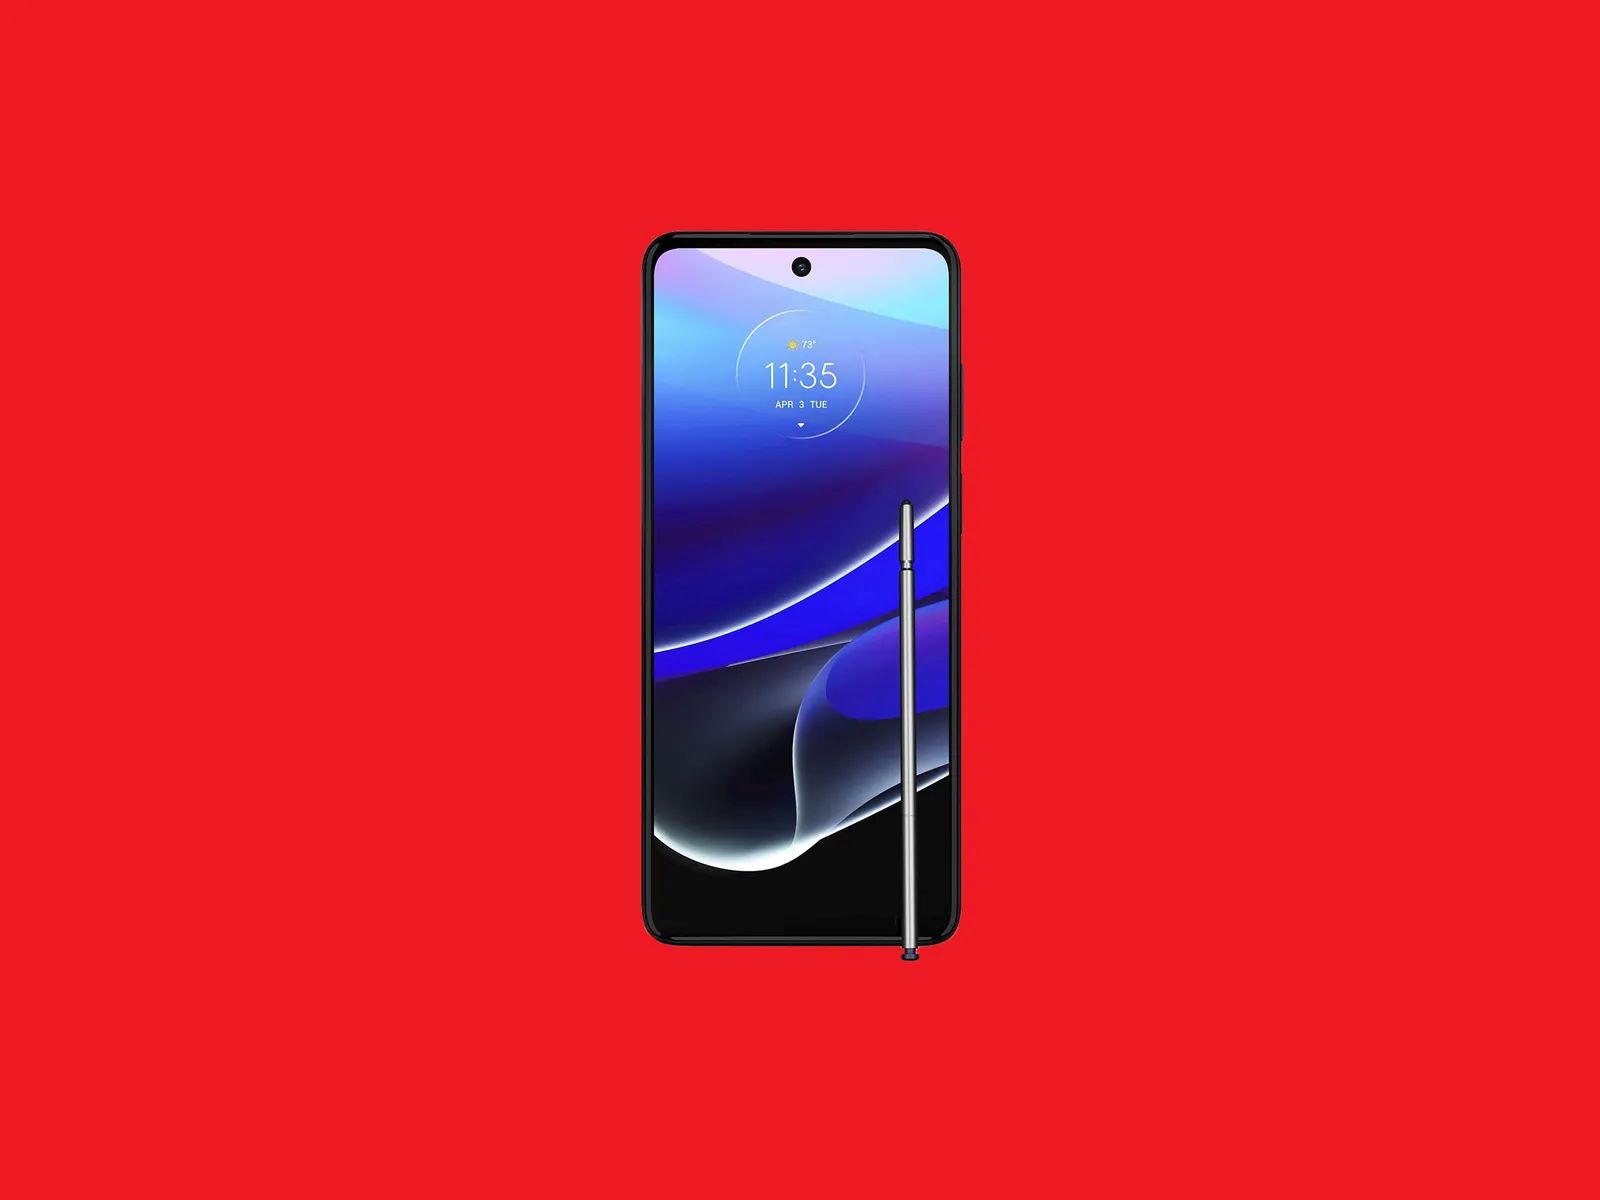
The Moto G Stylus, a part of Motorola’s renowned G series, is a standout device that combines style, functionality, and innovation. Boasting a 6.4-inch Max Vision display and a built-in stylus, this smartphone caters to users who value creativity and productivity. Its powerful Snapdragon processor and impressive battery life further solidify its position as a versatile and reliable device.
One of the distinguishing features of the Moto G Stylus is its emphasis on creativity and productivity. The integrated stylus offers a unique way to interact with the device, allowing users to jot down notes, sketch, and navigate the interface with precision. Additionally, the expansive display provides an immersive canvas for multimedia consumption, gaming, and multitasking.
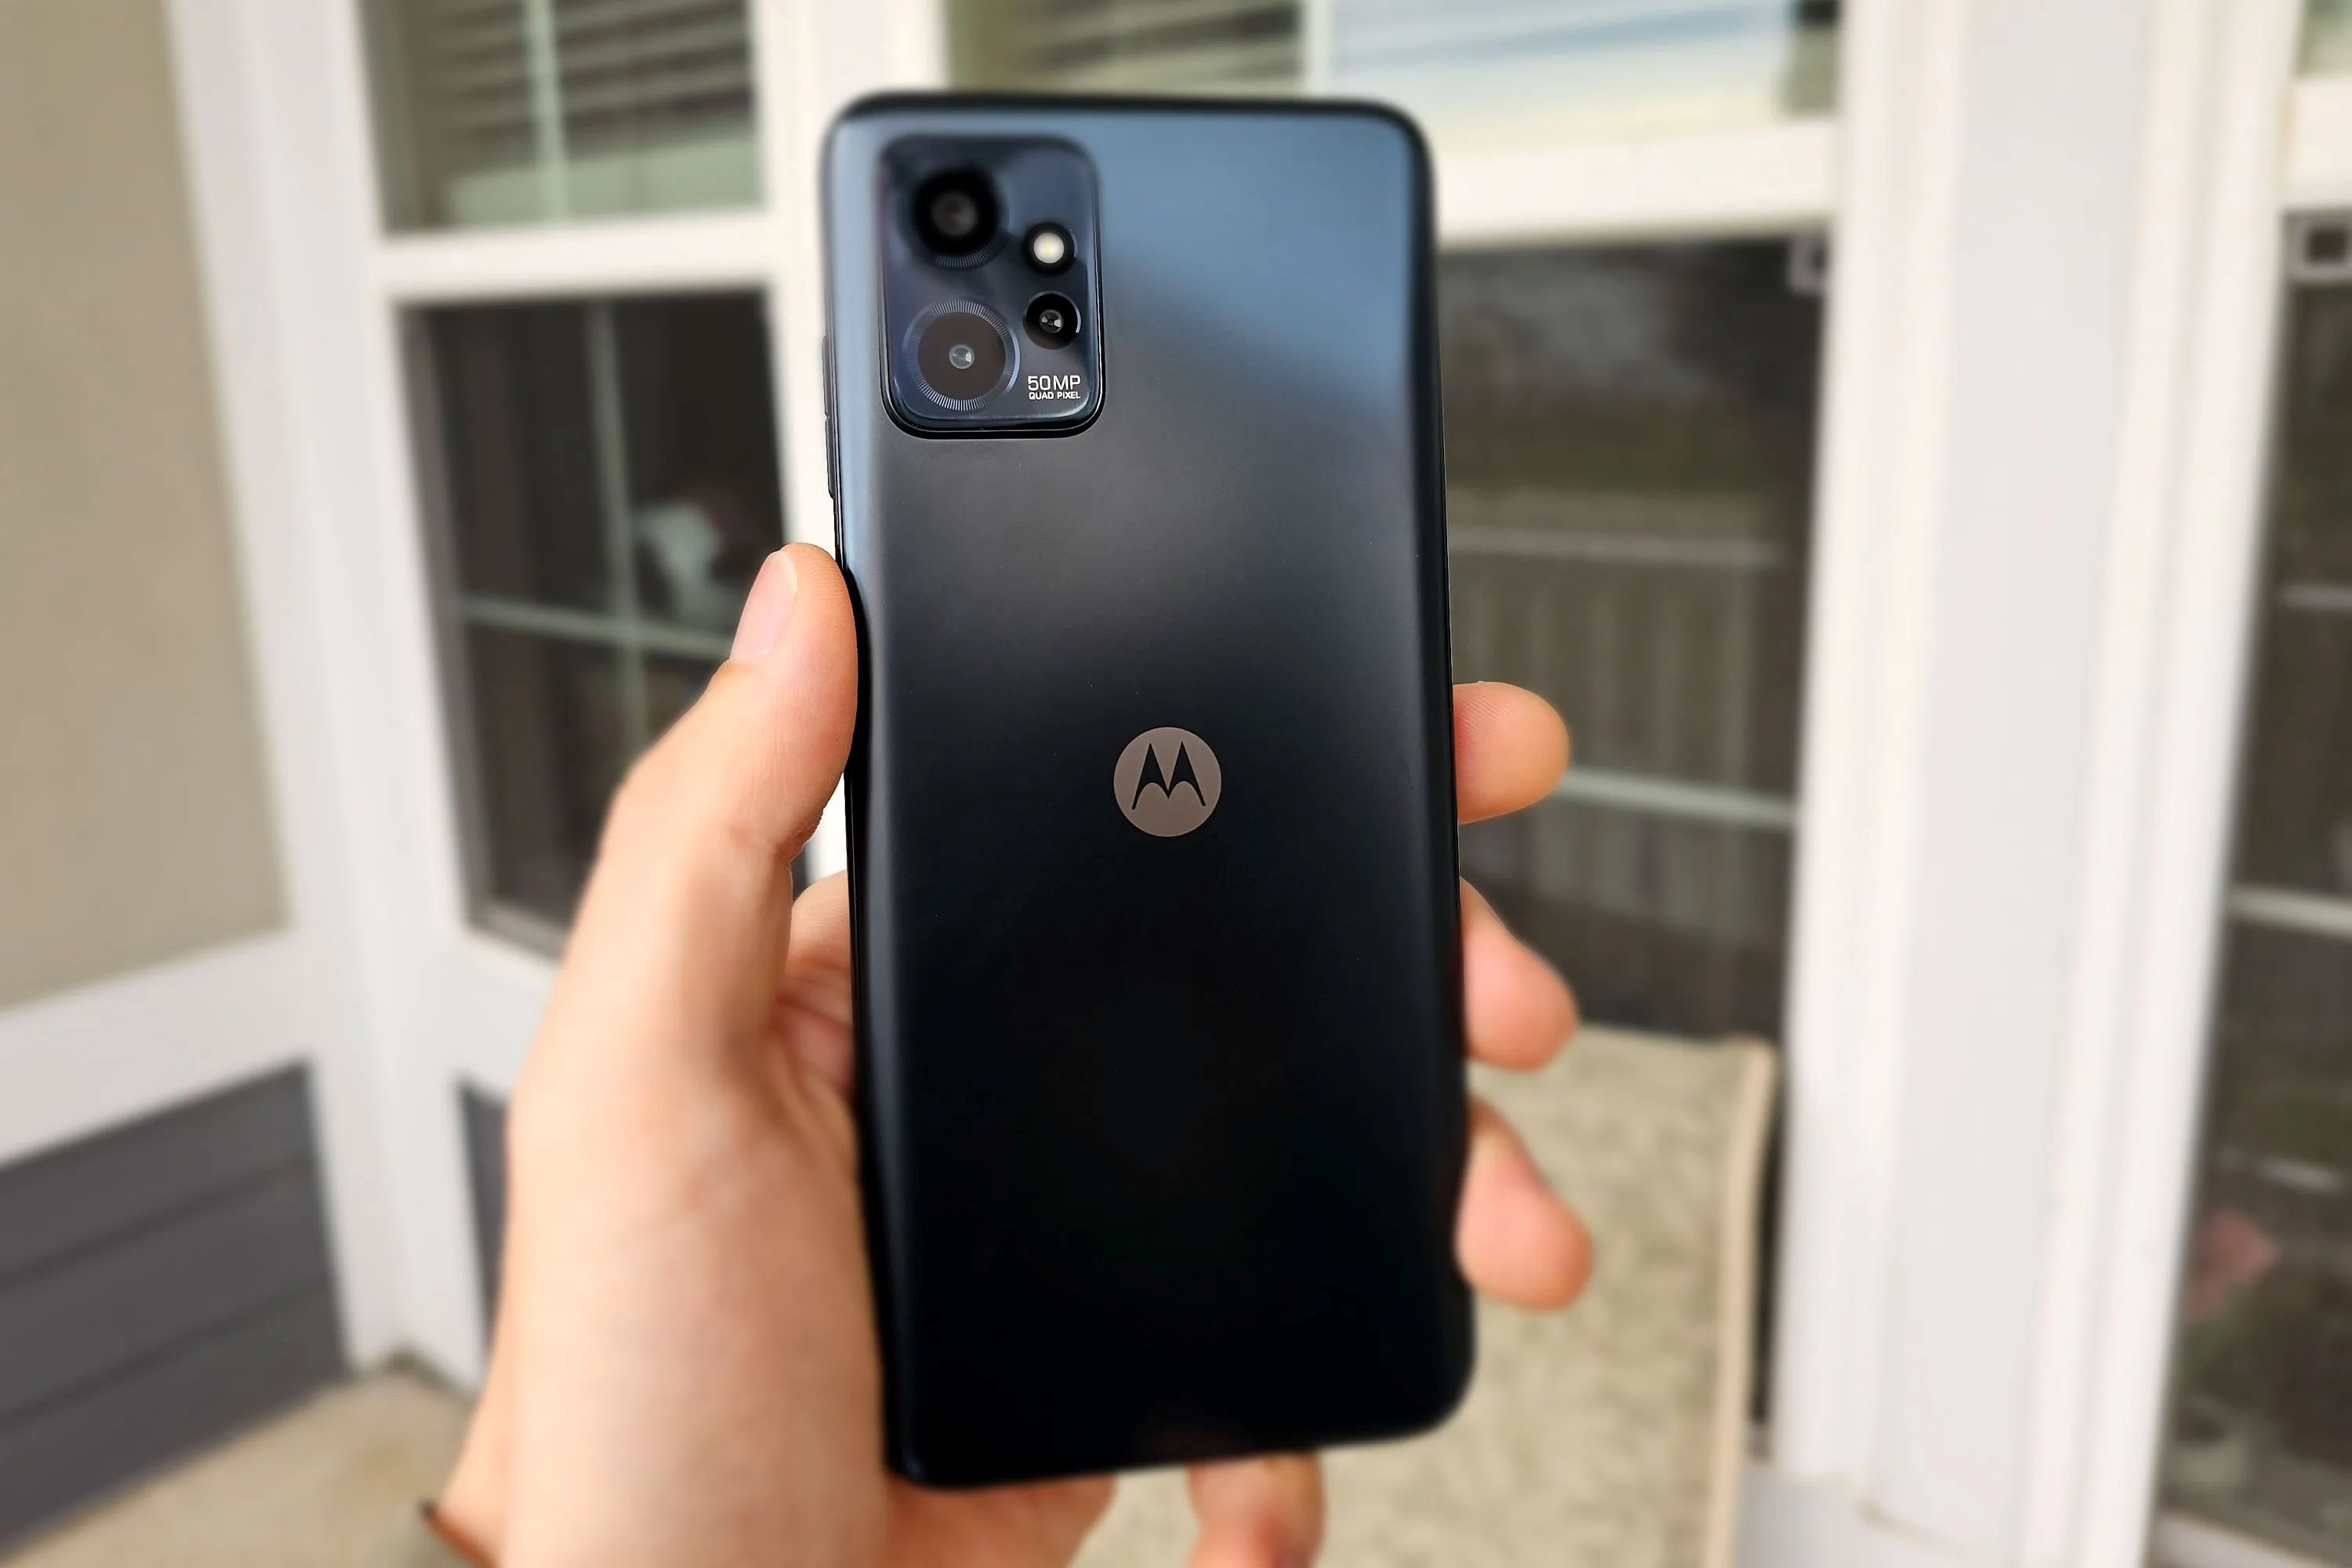
Furthermore, the Moto G Stylus excels in the realm of photography, equipped with a versatile quad-camera system that captures stunning images in various scenarios. Whether it’s wide-angle landscapes, detailed close-ups, or captivating portraits, this device empowers users to unleash their creativity and capture life’s moments with exceptional clarity and depth.
Understanding the Moto G Stylus entails recognizing its commitment to user experience, performance, and versatility. From its sleek design to its robust features, this device embodies Motorola’s dedication to delivering a compelling mobile experience. As we delve deeper into enhancing the Moto G Stylus with a back button, it’s essential to acknowledge its existing strengths and capabilities, setting the stage for a seamless integration that complements its overall functionality.
The Importance of a Back Button
A back button plays a pivotal role in the user interface of a smartphone, facilitating seamless navigation and enhancing user experience. In the context of the Moto G Stylus, the absence of a physical back button can lead to inefficiencies in app navigation and menu traversal. Understanding the significance of a back button sheds light on its impact on user interaction and the overall usability of the device.
First and foremost, a back button serves as a fundamental tool for intuitive navigation. It allows users to effortlessly retreat to the previous screen or step within an app, eliminating the need to rely solely on on-screen gestures or menu options. This convenience is particularly valuable during one-handed usage, as it minimizes the need for complex gestures and enhances accessibility.
Moreover, a back button contributes to the coherence and consistency of the user experience. By providing a standardized method for returning to the previous context, it promotes familiarity and predictability, essential elements in ensuring a user-friendly interface. Consistent navigation patterns foster a sense of control and confidence among users, ultimately enhancing their overall satisfaction with the device.
Additionally, the presence of a physical back button can mitigate the risk of accidental input or unintended actions. In contrast to relying solely on touch-based gestures, a dedicated back button offers a tactile and distinct means of navigation, reducing the likelihood of inadvertent interactions and enhancing precision in user input.
Recognizing the importance of a back button in the context of the Moto G Stylus underscores the value it brings to the overall usability and user experience. As we explore the process of integrating a back button into this device, it’s imperative to acknowledge the pivotal role it plays in streamlining navigation, promoting consistency, and empowering users with an intuitive and efficient interface.
Adding a Back Button to Moto G Stylus
While the Moto G Stylus may not feature a physical back button out of the box, there are practical and effective methods to integrate this essential functionality into the device. By leveraging the flexibility and customization options inherent in the Android operating system, users can enhance their Moto G Stylus with a dedicated back button, elevating the overall user experience and streamlining navigation.
One of the primary approaches to adding a back button to the Moto G Stylus involves utilizing third-party applications specifically designed to create virtual navigation buttons. These applications offer a range of customization options, allowing users to configure and position the back button according to their preferences. Additionally, they often provide the flexibility to customize the appearance and behavior of the virtual button, catering to individual user preferences.
Another method involves leveraging the accessibility features within the device’s settings to create a software-based back button. By exploring the accessibility settings, users can enable functionalities such as “Accessibility Menu” or “Assistant Menu,” which offer virtual navigation options, including a back button, that can be accessed from any screen. This approach provides a system-level solution for integrating a back button without the need for third-party applications.
Furthermore, for users who prefer a hardware-based solution, there are accessories available, such as Bluetooth-enabled physical buttons or stylus attachments with integrated back button functionality, that can be seamlessly paired with the Moto G Stylus, providing a tactile and dedicated means of navigating backward within apps and menus.
By exploring these methods and options, users can tailor their Moto G Stylus to accommodate a dedicated back button, enhancing its usability and ensuring a more intuitive and efficient interaction with the device. As we delve into the step-by-step guide for adding a back button to the Moto G Stylus, it’s essential to recognize the diversity of approaches available, empowering users to customize their device according to their preferences and usage patterns.
Step-by-Step Guide to Adding a Back Button
Integrating a back button into your Moto G Stylus involves a straightforward process that offers flexibility and customization to suit your preferences. Whether you opt for a software-based solution or a hardware accessory, the following step-by-step guide will walk you through the process of adding a back button to your device.
1. Exploring Third-Party Applications
If you prefer a virtual back button, explore the Google Play Store for third-party applications that offer customizable virtual navigation buttons. Download and install a reputable application that aligns with your preferences and requirements.
2. Configuring the Virtual Back Button
Once the application is installed, launch it and follow the on-screen instructions to configure the virtual back button. Customize its appearance, position, and behavior according to your desired layout and functionality. Test the button to ensure it aligns with your navigation needs.
3. Utilizing Accessibility Features
Alternatively, navigate to the “Accessibility” settings on your Moto G Stylus and explore features such as “Accessibility Menu” or “Assistant Menu.” Enable the relevant functionality that provides virtual navigation buttons, including the back button, accessible from any screen on the device.
4. Exploring Hardware Accessories
If you prefer a hardware-based solution, consider exploring Bluetooth-enabled physical buttons or stylus attachments with integrated back button functionality. Purchase a compatible accessory and follow the manufacturer’s instructions to pair and configure the hardware with your Moto G Stylus.
5. Testing and Customizing
After implementing the chosen method, thoroughly test the functionality of the back button to ensure it aligns with your navigation preferences. Customize its behavior and positioning as needed, ensuring that it seamlessly integrates into your interaction with the Moto G Stylus.
By following these step-by-step instructions, you can effectively add a back button to your Moto G Stylus, enhancing its usability and providing a tailored navigation solution that complements your usage patterns and preferences.
Conclusion
Enhancing the Moto G Stylus with a back button presents an opportunity to personalize and optimize the device to better suit your navigation preferences and usage habits. By understanding the significance of a back button and exploring the diverse methods for integrating this functionality, users can elevate their overall experience with the device, fostering efficiency and convenience.
Throughout this guide, we’ve delved into the intrinsic value of a back button, highlighting its role in promoting intuitive navigation, ensuring consistency in user experience, and mitigating the risk of inadvertent interactions. The absence of a physical back button on the Moto G Stylus does not limit users; rather, it invites them to explore alternative solutions that align with their individual preferences and needs.
Whether through the utilization of third-party applications to create virtual navigation buttons, leveraging accessibility features for system-level solutions, or exploring hardware accessories, the process of adding a back button to the Moto G Stylus offers a diverse range of options to cater to different user preferences and technological inclinations.
As technology continues to evolve, customization and personalization have become integral aspects of the user experience. Empowering users to tailor their devices according to their unique requirements fosters a sense of ownership and satisfaction, ultimately enhancing the value derived from their technological investments.
By embracing the process of integrating a back button into the Moto G Stylus, users can unlock the full potential of their device, streamlining navigation and elevating the overall user experience. This journey toward customization exemplifies the adaptability and versatility of modern smartphones, emphasizing the user’s ability to shape their device to align with their preferences and habits.
As you embark on the endeavor to enhance your Moto G Stylus with a back button, may this guide serve as a valuable resource, empowering you to navigate the process with confidence and creativity. Embrace the opportunity to personalize your device, and revel in the seamless and intuitive interaction that awaits as you integrate this essential functionality into your Moto G Stylus.