Introduction
Welcome to the guide on how to download Yosemite OS X! Yosemite OS X is a popular operating system developed by Apple, known for its sleek design, improved performance, and a range of exciting features. Whether you’re looking to upgrade your current OS or simply experience the latest advancements in technology, this step-by-step guide will help you seamlessly download and install Yosemite OS X.
Yosemite OS X offers a host of enhancements, including a refined user interface, updated applications, and improved security features. With its seamless integration with Apple’s ecosystem, you’ll be able to enjoy a seamless experience across your devices, from MacBooks to iPhones and iPads. Additionally, Yosemite OS X provides enhanced compatibility with the latest software updates and applications, ensuring that you stay up to date with the latest advancements.
In order to successfully download and install Yosemite OS X, it’s important to ensure that your device meets the necessary system requirements. Additionally, it’s crucial to back up your data to prevent any loss during the installation process. By following the steps outlined in this guide, you’ll be able to successfully download and install Yosemite OS X, allowing you to take advantage of its innovative features and improved performance.
So, if you’re ready to embark on the journey of installing Yosemite OS X, let’s get started! In the following sections, we will walk you through each step, from checking system requirements to completing the installation process. By the end of this guide, you’ll be enjoying all that Yosemite OS X has to offer.
Step 1: Check System Requirements
Before you begin the process of downloading Yosemite OS X, it’s important to verify that your Mac meets the required system specifications. By ensuring that your device is compatible, you can avoid any potential issues during the installation process.
To check the system requirements for Yosemite OS X, follow these steps:
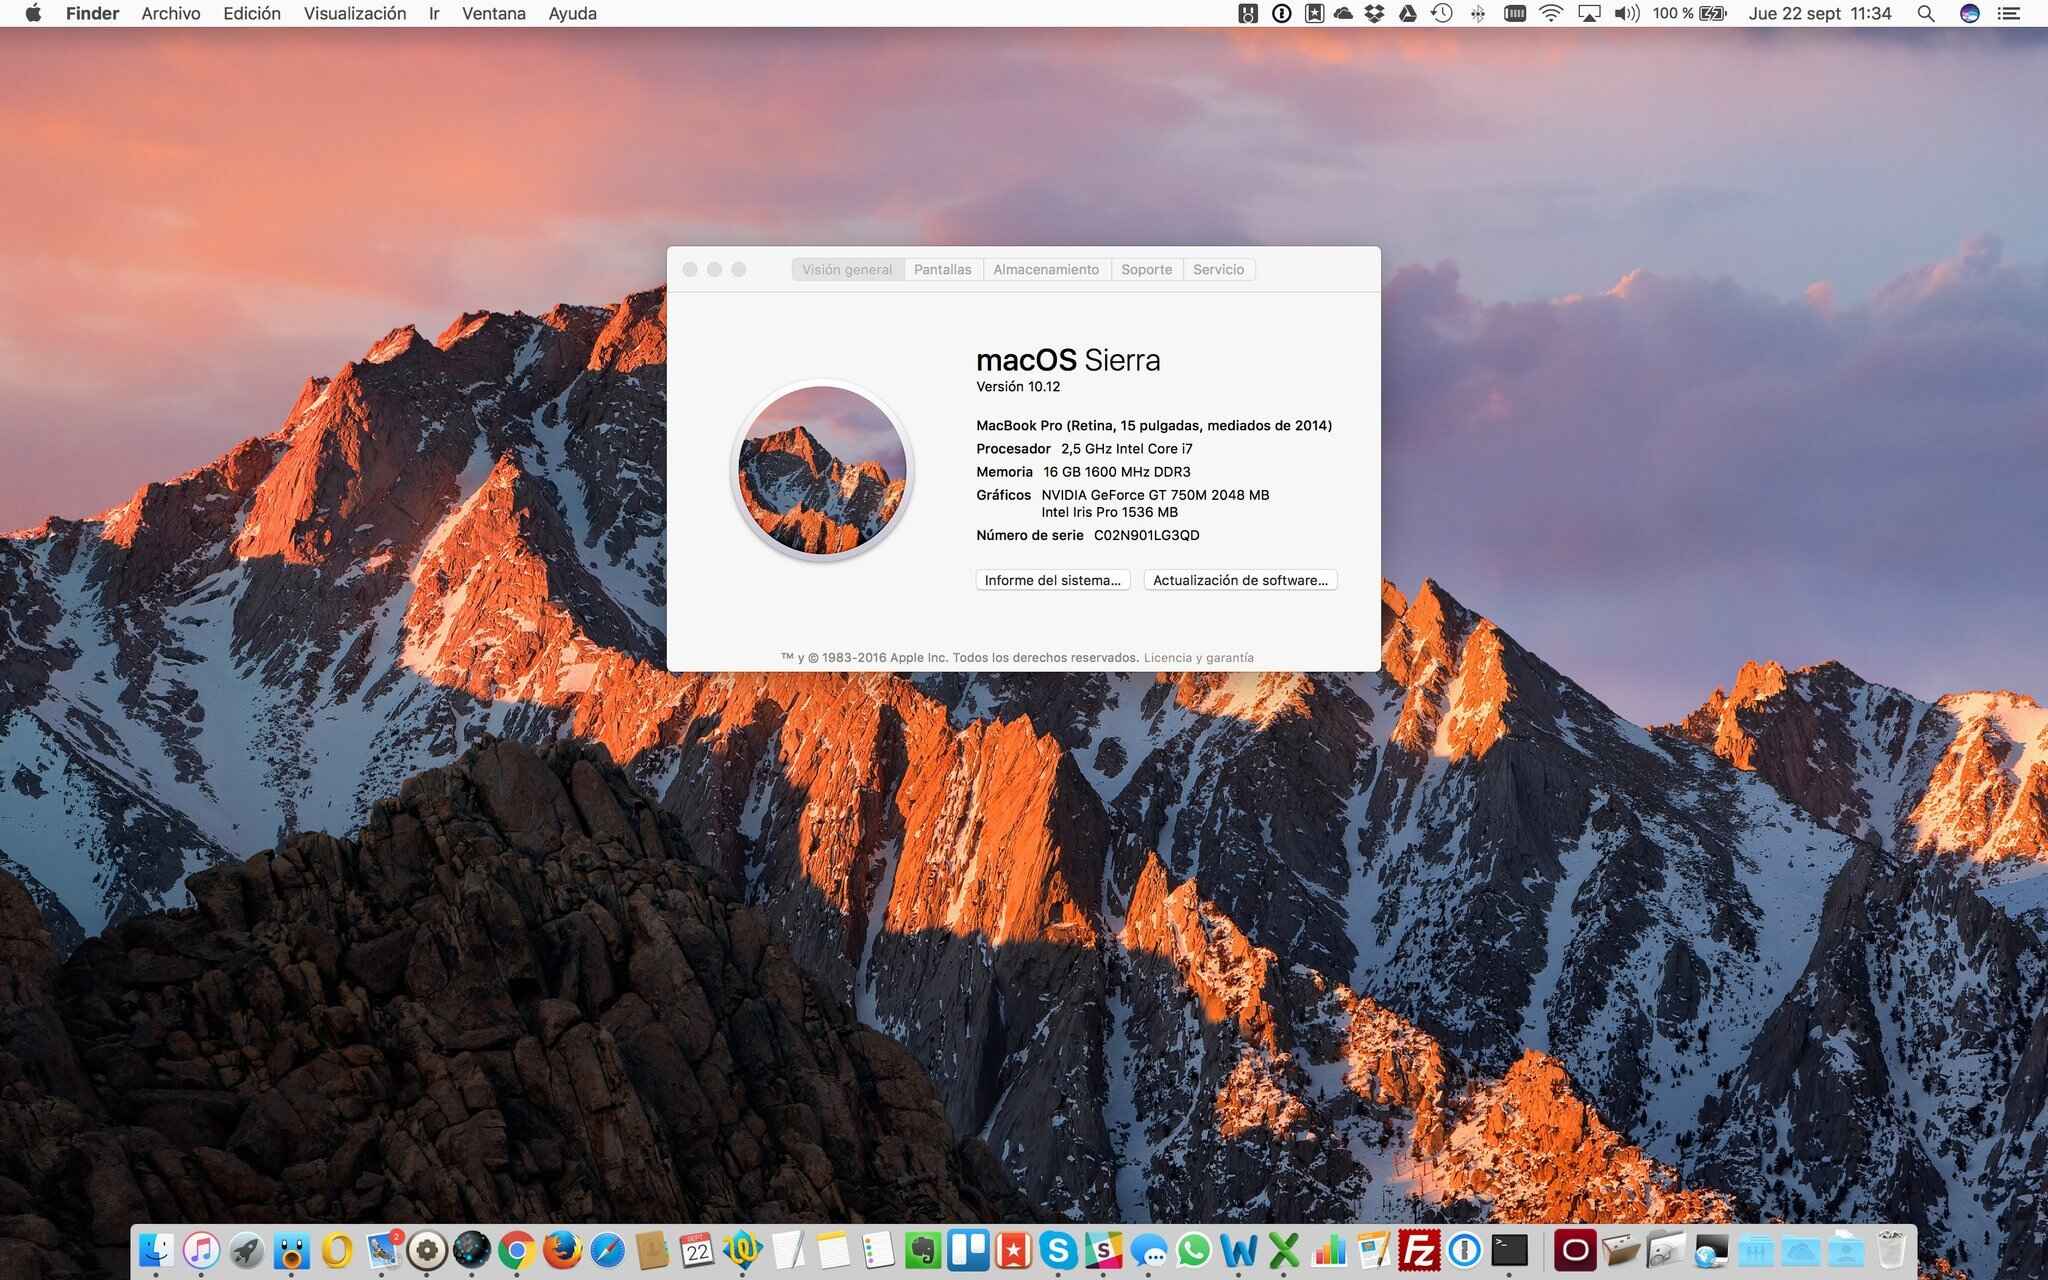
- Click on the Apple menu in the top left corner of your screen.
- Select “About This Mac” from the drop-down menu.
- A window will appear, displaying information about your Mac.
- Check the “Overview” tab to see the version of the operating system you’re currently running.
- Click on the “System Report” button to open the System Information window.
- In the left-hand menu, click on “Hardware” to expand the section.
- Scroll down to find the “Model Identifier” and make note of it.
- Visit the Apple website or do a quick online search to find the minimum system requirements for Yosemite OS X.
- Compare your Mac’s specifications, including the model identifier, with the minimum requirements.
By going through this process, you’ll be able to determine whether your Mac is compatible with Yosemite OS X. It’s important to meet or exceed the minimum system requirements to ensure optimal performance and functionality.
If your Mac meets the necessary requirements, you’re ready to move on to the next step. However, if your device falls short of the specifications, you may need to consider upgrading certain components or purchasing a new Mac that supports Yosemite OS X.
Once you have confirmed that your Mac is compatible, you can proceed with confidence knowing that you have the necessary foundation to successfully download and install Yosemite OS X.
Step 2: Back Up Your Data
Before proceeding with any major software installation, it is highly recommended to back up your data. This precautionary step ensures that your important files, documents, and media are safe and secure throughout the process.
To efficiently back up your data, follow these simple steps:
- Connect an external hard drive or use a cloud storage service to store your backups.
- Open the “Time Machine” application on your Mac. If you don’t have it already, you can find it in the “Applications” folder or by searching for it in Spotlight.
- Click on the “Select Backup Disk” option and choose the external hard drive or cloud storage service as your backup destination.
- Once your backup destination is selected, click “Back Up Now” to begin the backup process.
- It may take some time to complete the backup, depending on the amount of data you have. Stay connected until the process is finished.
- Once the backup is complete, make sure to verify that all your important files and data are successfully backed up.
Backing up your data ensures that you have a copy of your files in case anything goes wrong during the installation of Yosemite OS X. It provides an extra layer of security and peace of mind, allowing you to restore your data quickly and easily.
In addition to Time Machine, you can also manually back up specific files and folders by copying them to an external storage device or uploading them to a cloud service like iCloud or Dropbox.
Remember, accidents can happen, and it’s always better to be safe than sorry. Taking the time to back up your data is a crucial step in preparing for the installation of Yosemite OS X.
Step 3: Open the App Store
Now that you’ve checked your system requirements and backed up your data, it’s time to open the App Store to begin the process of downloading Yosemite OS X.
Follow these steps to access the App Store:
- Click on the Apple menu in the top left corner of your screen.
- Select “App Store” from the drop-down menu.
- The App Store window will open, showcasing various applications and updates.
By launching the App Store, you gain access to a wide range of applications, including Yosemite OS X. The App Store serves as Apple’s official platform for downloading and installing software, ensuring a secure and reliable process.
Once you’re in the App Store, you’ll have the opportunity to explore the different categories and recommendations. You can also search for specific software, including Yosemite OS X, by using the search bar located at the top right corner of the App Store window.
It’s important to note that you will need an Apple ID to download software from the App Store. If you don’t have an Apple ID, you can easily create one by clicking on “Sign In” and selecting “Create Apple ID.”
With the App Store opened and your Apple ID ready, you’re now poised to find and download Yosemite OS X. In the next step, we will guide you through the process of searching for Yosemite OS X and initiating the download.
Step 4: Search for Yosemite OS X
With the App Store open and your Apple ID ready, it’s time to search for Yosemite OS X and initiate the download process. Follow the steps below to find Yosemite OS X:
- In the App Store window, locate the search bar at the top right corner.
- Type “Yosemite OS X” into the search bar.
- Press Enter or click on the magnifying glass icon to begin the search.
The search results will display a list of relevant applications and updates, including Yosemite OS X. Look for the official Yosemite OS X listing, usually titled “OS X Yosemite,” and click on it to access the details page.
On the Yosemite OS X details page, you will find information about the operating system, including its features, size, and compatibility. Take a few moments to review this information to ensure that Yosemite OS X meets your requirements and preferences.
If you’re ready to proceed with the download, click on the “Download” or “Get” button. Depending on your internet connection speed, the download time may vary. It’s important to have a stable internet connection to avoid any interruptions during the download process.
During the download, you can monitor the progress in the “Purchases” or “Updates” section of the App Store. Once the download is complete, you’re ready to move on to the next step: installing Yosemite OS X.
Remember, downloading Yosemite OS X from the official App Store guarantees the authenticity and integrity of the software, providing a secure and reliable installation process.
In the next step, we will guide you through the process of waiting for the download to complete.
Step 5: Click “Download”
After searching for Yosemite OS X in the App Store, it’s time to initiate the download. By clicking the “Download” button, you’ll start the process of acquiring the Yosemite OS X installation files onto your Mac. Follow the steps below to initiate the download:
- On the Yosemite OS X details page in the App Store, locate the “Download” or “Get” button.
- Click on the button to start the download process.
- A progress bar or circle will appear, indicating the download status.
It’s important to ensure that you have a stable internet connection during the download process, as a weak or intermittent connection may result in a failed download. Depending on the speed of your internet connection, the download time may vary. Be patient as the files are being transferred to your Mac.
While the download is in progress, avoid interrupting or closing the App Store. Leaving the App Store open during the download ensures a smooth and uninterrupted process. You can keep track of the download progress in the “Purchases” or “Updates” section of the App Store.
Once the download is complete, you’re one step closer to experiencing Yosemite OS X’s new features and enhancements. In the next step, we will guide you through the waiting process as the download completes.
As you wait for the download to finish, take the time to familiarize yourself with the exciting features and improvements that Yosemite OS X has to offer. This way, you’ll be ready to explore and make the most of the new operating system once the installation process is complete.
Step 6: Wait for the Download to Complete
Now that you’ve clicked the “Download” button for Yosemite OS X, you need to wait for the download to complete. The time it takes to download the software will depend on your internet connection speed and the size of the files. Here are a few tips to make the waiting process more efficient:
- Ensure that your Mac remains connected to a stable and reliable internet connection. This will prevent any interruptions or pauses in the download.
- Avoid unnecessary internet activity such as streaming videos or downloading large files. These activities can slow down the download speed and prolong the waiting time.
- Keep the App Store open and visible on your screen. This will allow you to monitor the progress of the download and ensure that it continues smoothly.
While waiting for the download to complete, you can take this time to prepare your Mac for the installation process. Ensure that you have enough free disk space available and that all other programs and files are closed.
Additionally, you can use this opportunity to research and familiarize yourself with the new features and improvements that Yosemite OS X offers. By understanding what to expect from the new operating system, you’ll be better equipped to navigate and utilize its functionalities once the installation is complete.
As the download progresses, you may see an estimated time remaining or a progress bar indicating how much of the software has been downloaded. The download speed will depend on factors such as your internet connection, the server load, and the overall traffic on the network.
Patience is key during this step. Avoid interrupting the download or closing the App Store until the process is complete. Once the Yosemite OS X download is finished, you can move on to the next step: installing the operating system onto your Mac.
By following these guidelines and patiently waiting for the download to complete, you’ll soon be able to enjoy all the features and benefits of Yosemite OS X on your Mac.
Step 7: Install Yosemite OS X
After the download of Yosemite OS X is complete, it’s time to move on to the final step: installing the operating system onto your Mac. Follow the steps below to install Yosemite OS X:
- Once the download is finished, you will be prompted to continue with the installation process. Click on the “Install” button to begin.
- Read and review the software license agreement, then click on the “Agree” button to proceed.
- Next, you will need to select the destination where you want to install Yosemite OS X. Choose your main hard drive, typically labeled “Macintosh HD,” and click on the “Install” button.
- The installation process will begin, and a progress bar will indicate the status of the installation.
- Depending on the speed of your Mac and the complexity of the installation, this process may take some time. It’s essential to be patient and refrain from interrupting the process.
- Once the installation is complete, your Mac will automatically restart, and you will be greeted with the Setup Assistant screen.
- Follow the on-screen prompts to set up your Mac with Yosemite OS X. This includes selecting your language, setting up your Wi-Fi network, and signing in with your Apple ID.
- Proceed through the on-screen instructions to customize your settings, create a user account, and migrate your data from a backup if desired.
- After completing the setup process, you will be directed to the Yosemite OS X desktop, and you can begin exploring and using the operating system.
Congratulations! You have successfully installed Yosemite OS X on your Mac. Take some time to familiarize yourself with the new features and enhancements it offers. Explore the redesigned user interface, updated applications, and improved performance that Yosemite OS X provides.
Remember to reinstall any applications and restore your data from your backup to ensure a seamless transition to Yosemite OS X. With this new operating system, you can enjoy the latest advancements and take full advantage of the Apple ecosystem.
Should you encounter any issues or have any questions during the installation process, refer to Apple’s official support resources or consult with an Apple-certified professional for further assistance.
With Yosemite OS X successfully installed, you’re ready to experience the power and innovation of Apple’s latest operating system. Enjoy exploring and making the most of your Mac with Yosemite OS X’s enhanced features and improved performance!
Conclusion
Congratulations! You have reached the end of this guide on how to download and install Yosemite OS X. By following the step-by-step instructions outlined in this guide, you have successfully obtained and installed the latest operating system for your Mac.
Yosemite OS X brings a host of exciting features, improved performance, and a refreshed user interface. With its seamless integration across Apple devices, you can enjoy a cohesive and enhanced experience across your MacBook, iPhone, and iPad.
Throughout this guide, you learned how to check your Mac’s system requirements, back up your data, open the App Store, search for Yosemite OS X, click the “Download” button, wait for the download to complete, and finally install Yosemite OS X.
Remember to be patient and attentive during each step, ensuring a smooth installation process. Taking the time to properly prepare your device and backup your data contributes to a successful and hassle-free upgrade.
Now that Yosemite OS X is installed on your Mac, take the opportunity to explore its features, customize your settings, and maximize your productivity. The operating system offers improved performance, a refined user interface, and compatibility with the latest software updates and applications.
If you encounter any difficulties or have any questions along the way, don’t hesitate to consult Apple’s official support resources or reach out to an Apple-certified professional for assistance.
Thank you for choosing this guide to help you download and install Yosemite OS X. We hope you enjoy the benefits and features of the new operating system and have a seamless and enjoyable experience on your Mac!