Introduction
Are you wondering how to download videos to your Eclipse MP3 player? Look no further! In this guide, we will provide you with step-by-step instructions on how to successfully download videos and transfer them to your Eclipse MP3 player.
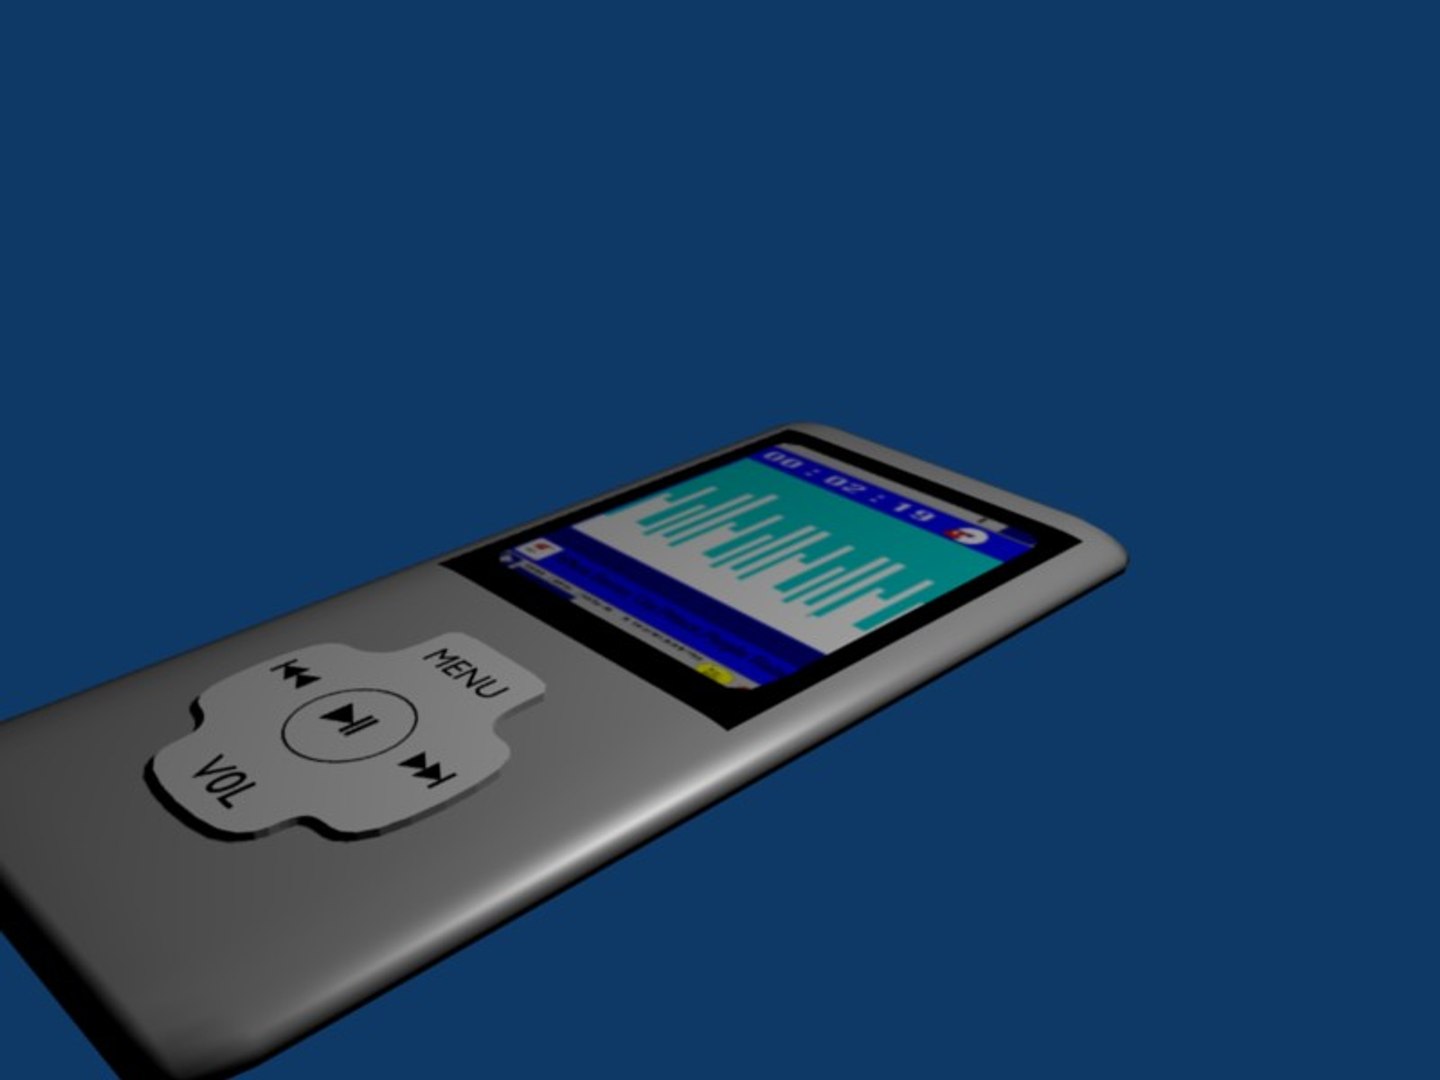
The Eclipse MP3 player is a popular portable media player that allows you to enjoy music, videos, and photos on the go. While it may not have a large amount of internal storage, you can still enjoy your favorite videos by converting them to a compatible format and transferring them to your Eclipse MP3 player.
Downloading videos to your Eclipse MP3 player opens up a whole new world of entertainment possibilities. You can watch your favorite music videos, movies, or even educational content wherever you go. Whether you’re on a long flight, commuting to work, or just relaxing at home, having videos on your Eclipse MP3 player ensures that you never miss out on your preferred visual content.
In this guide, we will walk you through the process of downloading videos to your Eclipse MP3 player. We will cover everything from connecting your MP3 player to your computer, to selecting the right video converter software and transferring the videos to your device.
Don’t worry if you’re not tech-savvy – we’ll break down each step and provide clear instructions to ensure a smooth and hassle-free experience. So let’s get started and make your Eclipse MP3 player the ultimate portable multimedia device!
Step 1: Connect your Eclipse MP3 player to your computer
The first step in downloading videos to your Eclipse MP3 player is to establish a connection between your device and your computer. This allows you to transfer the converted videos to your MP3 player seamlessly. Follow the instructions below to connect your Eclipse MP3 player to your computer:
- Locate the USB cable that came with your Eclipse MP3 player.
- Plug one end of the USB cable into the USB port on your computer.
- Take the other end of the USB cable and insert it into the USB port on your Eclipse MP3 player.
- Once the connection is established, your computer will recognize the MP3 player and may prompt you with a notification.
It’s important to ensure that your Eclipse MP3 player is powered on before connecting it to your computer. Some MP3 players may have a power button or switch. Refer to the user manual for your specific model if you’re unsure how to turn it on.
If your computer does not recognize the Eclipse MP3 player, try using a different USB port on your computer. Additionally, make sure that both ends of the USB cable are securely connected.
Establishing a stable connection between your Eclipse MP3 player and your computer is crucial in order to transfer the converted videos successfully. Once the connection is established, you can proceed to the next step of the video downloading process.
Step 2: Locate and download a video converter software
In order to download videos and play them on your Eclipse MP3 player, you’ll need to convert the videos into a format that is compatible with your device. To do this, you will need to locate and download a video converter software. Follow the steps below to find and download a reliable video converter:
- Start by researching different video converter software options. There are a variety of video converter programs available online, both free and paid. Look for a software that is reputable, user-friendly, and supports the format conversion you require.
- Visit trusted software download websites or the official websites of video converter developers. Some popular video converter programs include Freemake Video Converter, Any Video Converter, and HandBrake.
- Read user reviews and ratings to get an idea of the software’s performance and reliability. Look for positive feedback, ease of use, and compatibility with your operating system (Windows, macOS, etc.).
- Once you have chosen a video converter software, go to the official website or the reliable software download website to download the program.
- Click on the download link and follow the on-screen instructions to download the software onto your computer.
It’s important to note that when downloading software, you should always be cautious and ensure that you’re using trusted sources to minimize any risk of malware or viruses. Stick to reputable websites to ensure a safe and secure download.
By locating and downloading a trustworthy video converter software, you’re one step closer to being able to convert and transfer videos to your Eclipse MP3 player. In the next step, we’ll guide you through the process of installing the video converter software on your computer.
Step 3: Install the video converter software on your computer
Now that you’ve downloaded a video converter software for your Eclipse MP3 player, the next step is to install it on your computer. Follow the steps below to successfully install the video converter software:
- Locate the downloaded setup file of the video converter software on your computer. It is usually located in the “Downloads” folder, but it may vary depending on your browser settings.
- Double-click on the setup file to start the installation process.
- Read and review the software’s terms and conditions or end-user license agreement (EULA) if prompted. It is essential to understand and agree to the terms before proceeding.
- Follow the on-screen instructions provided by the installer. Typically, you’ll be prompted to choose an installation location and select any additional options or features you want to include.
- Once you’ve made your selections, click on the “Install” or “Next” button to begin the installation process.
- Wait for the installation to complete. The duration may vary depending on the software and your computer’s performance.
- Once the installation is finished, you may be prompted to restart your computer. If prompted, save any unsaved work and proceed with the restart.
It’s important to note that during the installation process, you may be presented with additional software offers or optional settings. Carefully review each step, and uncheck any boxes for software or settings that you don’t want to include.
After successfully installing the video converter software, you’re ready to move on to the next step of the process. We’ll guide you through opening the video converter software and importing the video in the next step.
Step 4: Open the video converter software and import the video
With the video converter software installed on your computer, it’s time to open the program and import the video that you want to convert for your Eclipse MP3 player. Follow the steps below to open the software and import the video:
- Locate the shortcut or icon of the video converter software on your desktop or in your Start menu. Double-click on it to launch the program.
- Once the video converter software is open, you’ll typically see a user-friendly interface with various options and tabs.
- Click on the “Import” or “Add Files” button within the software to browse your computer and locate the video file that you want to convert for the Eclipse MP3 player.
- Navigate to the folder or directory where your video file is stored and select it. You can select multiple videos if you want to convert them simultaneously.
- After selecting the video(s), click on the “Open” or “Import” button to import the selected video(s) into the software.
Depending on the video converter software you’re using, you may have additional options for customization. These options might include selecting the output folder, adjusting the video settings, or choosing the desired format for the converted video. Take some time to explore these options and make any necessary adjustments.
It’s worth mentioning that the exact steps and options may vary slightly depending on the video converter software you’re using. If you’re unsure about any specific steps, refer to the software’s user manual or the help section within the program.
Once you have successfully imported the video into the video converter software, you’re ready to move on to the next step: choosing the output format and converting the video. We’ll guide you through this process in the upcoming step.
Step 5: Choose the output format and convert the video
Now that you have imported the video into the video converter software, the next step is to choose the desired output format and convert the video for your Eclipse MP3 player. Follow the instructions below to select the output format and convert the video:
- Look for the “Output” or “Convert” option within the video converter software. This is where you’ll find the settings related to the output format.
- Click on the “Output” or “Convert” option to open the settings panel.
- Within the settings panel, you should see a list of available output formats. Look for the format that is compatible with your Eclipse MP3 player. Commonly supported formats include MP4, AVI, or WMV.
- Select the desired output format by clicking on it. Some video converter software may also provide additional customization options, such as adjusting the video quality, resolution, or bitrate. You can make these adjustments according to your preferences.
- Once you have selected the output format and made any necessary adjustments, click on the “Convert” or “Start” button to begin the conversion process.
- The video converter software will now convert the imported video into the chosen output format. The progress of the conversion will be displayed within the program. The duration of the conversion process may vary depending on the size and duration of the video.
- Once the conversion is complete, the video converter software will notify you or display a message indicating that the conversion was successful.
It’s important to note that some video converter software programs may allow you to convert multiple videos simultaneously, while others may only convert one video at a time. Be sure to check the capabilities of your chosen software and adjust your workflow accordingly.
With the video successfully converted into the desired format, you’re now ready for the final step of the process: transferring the converted video to your Eclipse MP3 player. We’ll guide you through this process in the next step.
Step 6: Transfer the converted video to your Eclipse MP3 player
After successfully converting the video into the compatible format for your Eclipse MP3 player, the final step is to transfer the converted video from your computer to your MP3 player. To do this, follow the steps below:
- Ensure that your Eclipse MP3 player is still connected to your computer via the USB cable.
- Open the file explorer or file manager on your computer and navigate to the location where the converted video is saved.
- Locate the converted video file and select it by clicking on it once.
- Right-click on the selected video and choose the “Copy” option from the context menu. Alternatively, you can press “Ctrl + C” on your keyboard to copy the video.
- Next, go to the folder or directory representing your Eclipse MP3 player. It is usually displayed as a removable storage device or a named drive in the file explorer.
- Open the folder representing your Eclipse MP3 player and locate the appropriate destination for video files. This might be a designated video folder or a general media folder.
- Right-click inside the destination folder and choose the “Paste” option from the context menu. Alternatively, you can press “Ctrl + V” on your keyboard to paste the video into the folder.
- The video file will now be transferred from your computer to your Eclipse MP3 player. The duration of the transfer process will depend on the size of the video file and the speed of your USB connection.
- Once the transfer is complete, safely disconnect your Eclipse MP3 player from your computer by right-clicking on it in the file explorer and choosing the “Eject” or “Safely Remove” option.
After safely ejecting your Eclipse MP3 player, you can disconnect the USB cable from your computer. Your converted video is now ready to be played on your Eclipse MP3 player.
It’s important to note that the specific steps and options may vary slightly depending on your operating system and the file manager you’re using. If you encounter any difficulties, refer to the user manual of your Eclipse MP3 player or reach out to the manufacturer’s support for guidance.
Congratulations! You have successfully downloaded and transferred a video to your Eclipse MP3 player. Enjoy watching your favorite videos on the go!
Conclusion
Downloading videos to your Eclipse MP3 player opens up a whole new world of entertainment possibilities. With the step-by-step guide provided in this article, you have learned how to successfully download, convert, and transfer videos to your Eclipse MP3 player. Now, you can enjoy your favorite movies, music videos, or educational content on the go.
Throughout this guide, we have covered the essential steps to complete the process. You have learned how to connect your Eclipse MP3 player to your computer, locate and download a reliable video converter software, install it on your computer, open the software, import the video, choose the output format, convert the video, and finally, transfer the converted video to your Eclipse MP3 player.
Remember, it’s important to ensure that the video converter software you choose supports the compatible format for your MP3 player. Additionally, always use trusted sources when downloading software to ensure a safe and secure experience.
We hope that this guide has provided you with the necessary knowledge and confidence to download videos to your Eclipse MP3 player. Whether you’re traveling, relaxing, or simply enjoying your leisure time, having videos on your MP3 player enhances your entertainment experience.
So, what are you waiting for? Start exploring the world of video entertainment on your Eclipse MP3 player today! Enjoy your favorite videos wherever you go, and make the most out of your portable multimedia device.