Introduction
Welcome to the world of Sims 4 Studio on Mac! If you’re a fan of The Sims 4 game, you probably know how exciting it is to create custom content and modify the game to your heart’s desire. Sims 4 Studio is a powerful tool that allows you to do just that. However, as a Mac user, you may be wondering how to download Sims 4 Studio and get started with your customization journey.
In this article, we will take you through a step-by-step guide on how to download Sims 4 Studio on your Mac. We understand that it can be confusing and challenging for some, but don’t worry. By the end of this article, you will have all the information you need to embark on your Sims 4 Studio adventure.
Before we dive into the downloading process, it’s essential to note that Sims 4 Studio is not an officially supported software for macOS. However, with the right tools and a bit of technical know-how, you can still enjoy the benefits of this fantastic tool on your Mac.
So, if you’re ready to take your Sims 4 gameplay to the next level and create stunning custom content, let’s get started with the downloading process!
Step 1: Check System Requirements
Before you begin the Sims 4 Studio download process, it’s crucial to ensure that your Mac meets the necessary system requirements. This step is important to ensure a smooth installation and optimal performance of the software. Here are the minimum system requirements for Sims 4 Studio:
- Operating System: macOS X 10.7 Lion or later
- Processor: Intel Core 2 Duo or higher
- RAM: 2GB or more
- Storage: At least 500MB of free disk space
Make sure to check your Mac’s specifications against these requirements to ensure compatibility. If your system meets these requirements, you’re ready to move on to the next step!
If your Mac does not meet the minimum system requirements, you may need to consider upgrading your hardware or checking for alternative customization options compatible with your system. Upgrading your RAM or storage can significantly improve performance, especially when dealing with resource-intensive tasks such as creating custom content.
It’s also a good idea to ensure that you have enough free disk space to accommodate the Sims 4 Studio installation. Having ample storage will prevent any issues during the download and installation process.
Once you’ve confirmed that your Mac meets the system requirements, you’re ready to proceed to the next step: downloading the Java Development Kit (JDK). This toolkit is essential for running Sims 4 Studio on your Mac. Don’t worry; we’ll guide you through the process in the next section!
Step 2: Download Java Development Kit (JDK)
In order to run Sims 4 Studio on your Mac, you will need to have Java Development Kit (JDK) installed. The JDK provides the necessary tools and libraries for running Java-based applications, including Sims 4 Studio. Here’s how you can download JDK:
- Visit the official Oracle website (www.oracle.com) and navigate to the Java SE Development Kit downloads page.
- Choose the version of JDK that is compatible with your Mac’s operating system. Make sure to select the most recent stable version available.
- Click on the download link for your chosen JDK version. You may be prompted to create an Oracle account if you don’t have one already.
- Once the download is complete, locate the downloaded JDK installer file on your Mac. It is usually in the Downloads folder, but you can check your browser’s default download location if needed.
- Double-click on the JDK installer file to start the installation process. Follow the on-screen instructions to complete the installation.
- After the installation is finished, verify that JDK is properly installed by opening a Terminal window (Finder > Applications > Utilities > Terminal) and entering the command
javac -version. If you see the JDK version information printed in the Terminal, it means that JDK is successfully installed.
Once you have successfully downloaded and installed JDK on your Mac, you have taken a significant step towards running Sims 4 Studio. Now, you’re ready to proceed to the next step: installing the Mono Framework. We’ll guide you through the process in the following section!
Step 3: Install Mono Framework
The next step in the Sims 4 Studio installation process is to install the Mono Framework on your Mac. Mono is an open-source framework that allows you to run .NET applications on non-Windows platforms, including macOS. Here’s how you can install the Mono Framework:
- Visit the official Mono Framework website (www.mono-project.com).
- Navigate to the Downloads section of the website and choose the macOS version of the Mono Framework.
- Click on the download link for the Mono Framework. The download will start automatically.
- Once the download is complete, locate the downloaded Mono Framework installation package on your Mac. It is usually in the Downloads folder.
- Double-click on the Mono Framework installer file to start the installation process. Follow the on-screen instructions to complete the installation.
- After the installation is finished, restart your Mac to ensure that the changes take effect.
Once you have installed the Mono Framework on your Mac, you have successfully set up the necessary environment for running Sims 4 Studio. Now, you’re ready to move on to the next step: downloading and installing Sims 4 Studio itself. We’ll guide you through the process in the following section!
Step 4: Download and Install Sims 4 Studio
Now that you have Java Development Kit (JDK) and the Mono Framework installed on your Mac, you’re ready to download and install Sims 4 Studio. Follow the steps below to get started:
- Open your preferred web browser and visit the official Sims 4 Studio website.
- Navigate to the Downloads section of the website.
- Look for the download link that corresponds to the macOS version of Sims 4 Studio.
- Click on the download link to begin the download. The file size may vary, so it may take some time depending on your internet connection.
- Once the download is complete, locate the downloaded Sims 4 Studio installation package on your Mac. It is usually in the Downloads folder, but you can check your browser’s default download location if needed.
- Double-click on the Sims 4 Studio installer file to start the installation process.
- Follow the on-screen instructions to complete the installation. Make sure to review the license agreement and choose the desired installation settings.
- Once the installation is finished, you can optionally create a shortcut for Sims 4 Studio on your desktop or in the Applications folder for easy access.
After successfully installing Sims 4 Studio on your Mac, you’re just one step away from unleashing your creativity and customizing your Sims 4 game. Let’s move on to the final step: launching Sims 4 Studio!
Step 5: Launch Sims 4 Studio
With Sims 4 Studio successfully installed on your Mac, it’s time to launch the application and start creating custom content for your Sims 4 game. Follow the steps below to get started:
- Locate the Sims 4 Studio application on your Mac. You can find it in the Applications folder or on your desktop if you created a shortcut during the installation.
- Double-click on the Sims 4 Studio icon to launch the application.
- Wait for Sims 4 Studio to load. This may take a few moments, depending on your Mac’s performance and the size of your custom content library.
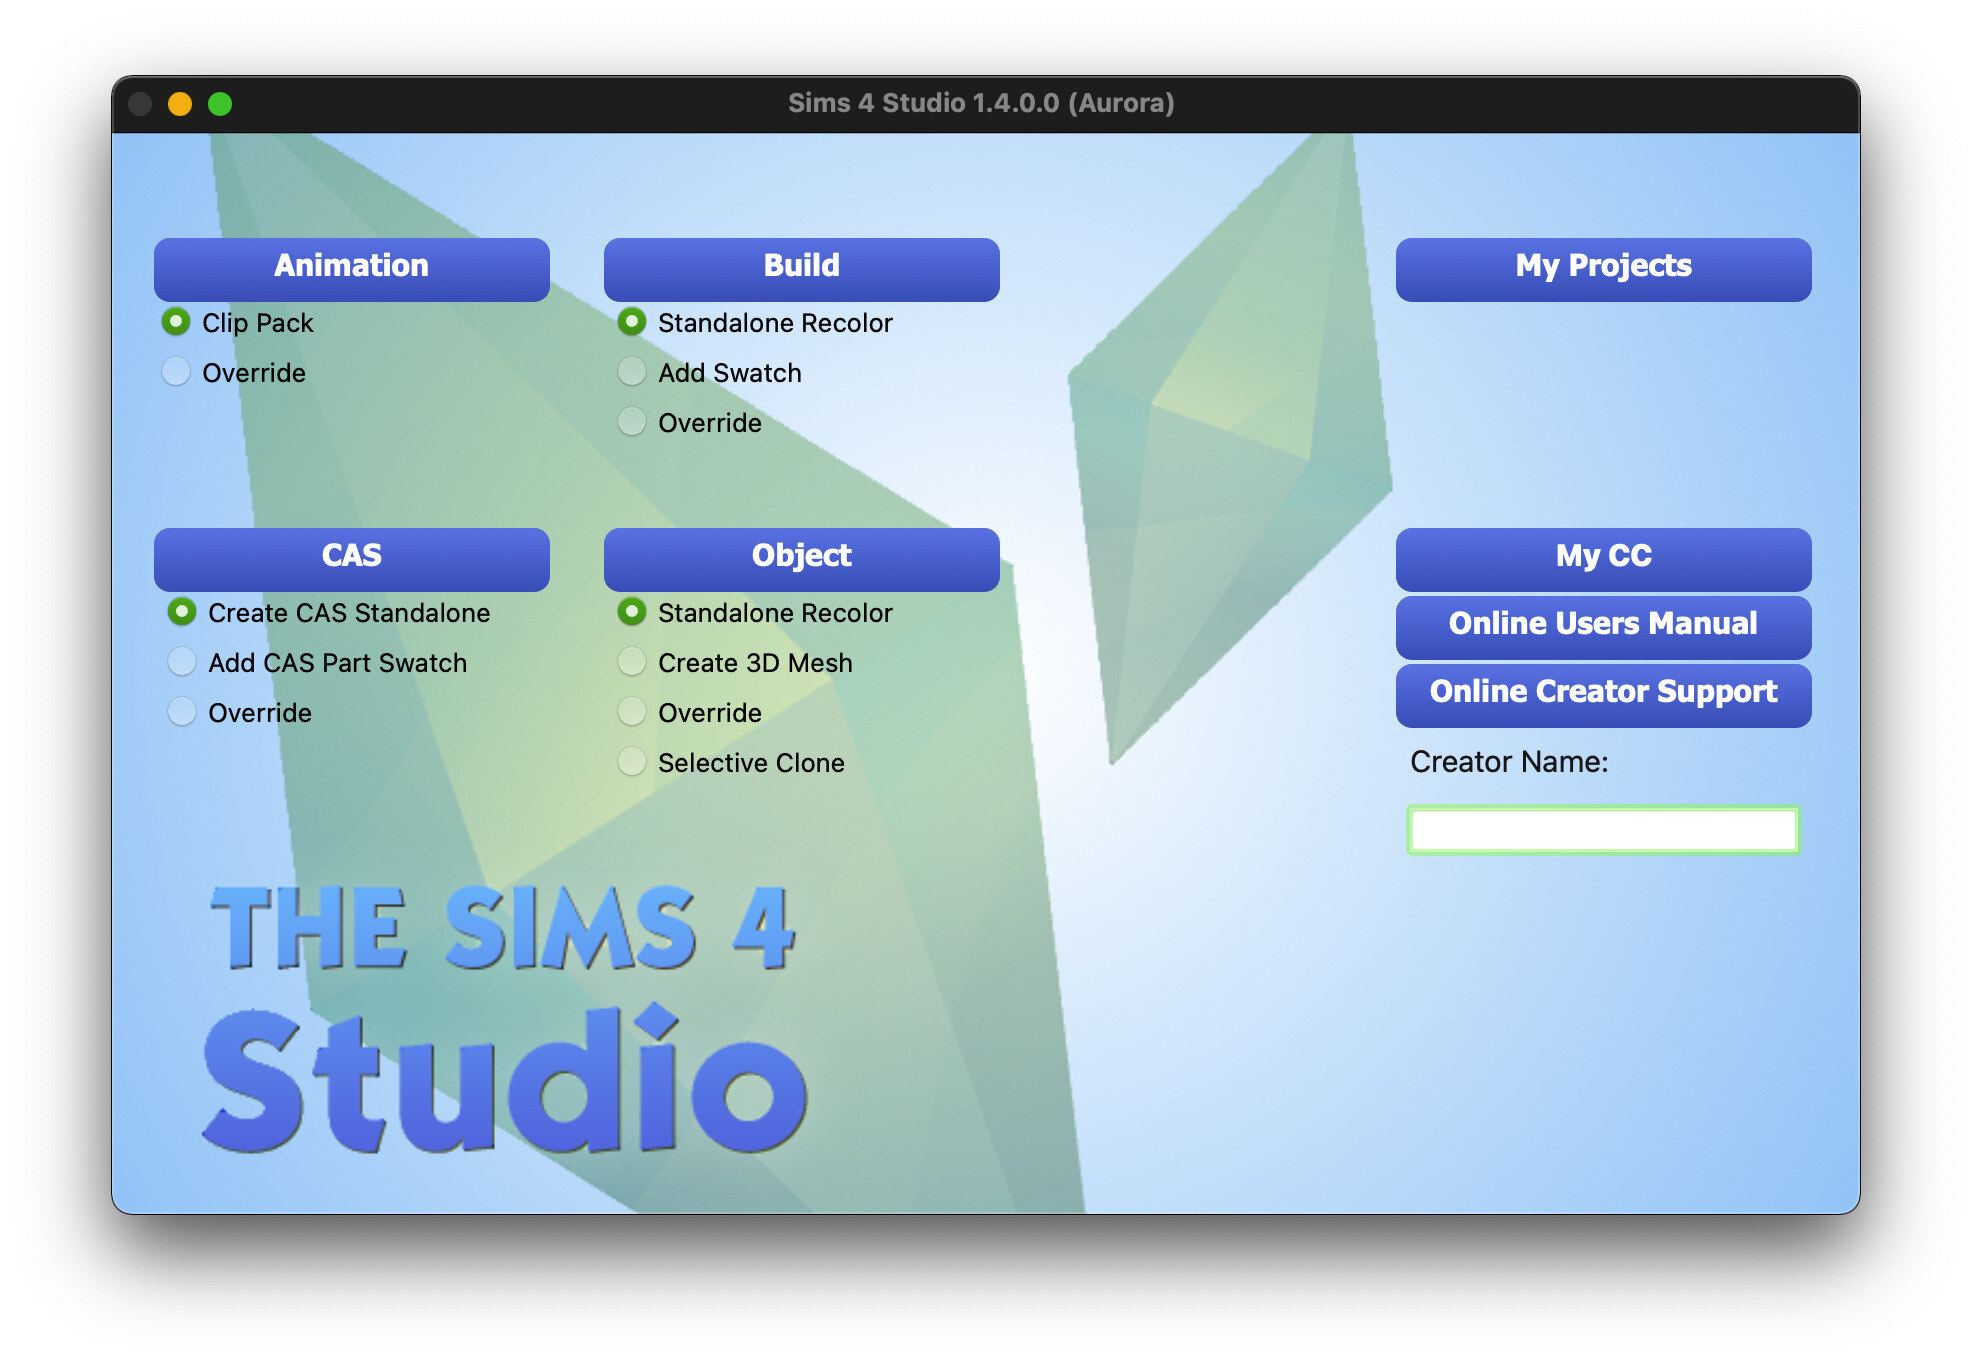
- Once Sims 4 Studio is fully launched, you will be greeted with the main interface. Take some time to familiarize yourself with the various tools and options available.
- Start unleashing your creativity by exploring the different features of Sims 4 Studio. You can create custom clothing, objects, hairstyles, and much more.
- Remember to save your work regularly to avoid losing any progress. Sims 4 Studio has an auto-save feature, but it’s always a good idea to save manually as well.
Congratulations! You have successfully launched Sims 4 Studio on your Mac. Now it’s time to let your imagination run wild and create amazing custom content for your Sims 4 game. Enjoy the process and have fun experimenting with all the possibilities that Sims 4 Studio provides!
Conclusion
Congratulations on successfully downloading Sims 4 Studio on your Mac! We hope that this step-by-step guide has helped you navigate the installation process and get started with creating custom content for your Sims 4 game. While it may require a little extra effort for Mac users, the rewarding experience of customizing and personalizing your game makes it well worth it.
Throughout this guide, we covered essential steps such as checking system requirements, downloading Java Development Kit (JDK) and the Mono Framework, and finally installing and launching Sims 4 Studio. By following these steps, you have set the stage for limitless creativity and customization options with your Sims 4 gameplay.
Remember to explore the various features and tools that Sims 4 Studio offers. From creating custom clothing and objects to designing unique hairstyles and much more, this powerful tool opens up a world of possibilities for players who enjoy adding their personal touch to the game.
Don’t hesitate to experiment and let your imagination run wild. Sims 4 Studio provides a platform for endless creativity, and the only limit is your own imagination. So, unleash your inner designer and enjoy the process of bringing your ideas to life within the Sims universe.
We hope you find this guide helpful in your Sims 4 Studio journey. Have fun creating, and may your Sims 4 gaming experience be enriched by the custom content you create with Sims 4 Studio on your Mac!