Introduction
Welcome to our guide on how to download your Student Aid Report (SAR) from the Free Application for Federal Student Aid (FAFSA). The SAR is an essential document that provides you with valuable information about your eligibility for federal financial aid programs.
Applying for financial aid can be a complex process, but the FAFSA makes it easier for students to access the financial support they need to pursue their education. Once you have submitted your FAFSA, you will receive your SAR, which contains a summary of the information you provided and your Expected Family Contribution (EFC).
Being able to download your SAR is crucial as it allows you to review the details of your application, ensure accuracy, and make any necessary corrections. Additionally, having a digital copy of your SAR makes it easier to share the information with colleges, scholarship providers, and other entities that require it.
Throughout this guide, we will walk you step-by-step through the process of accessing and downloading your SAR so that you can have it readily available for your financial aid journey. Let’s get started with Step 1: Fill out the FAFSA.
Step 1: Fill out the FAFSA
The first step in obtaining your SAR is completing the Free Application for Federal Student Aid (FAFSA). The FAFSA is an online form that collects information about your financial situation and helps determine your eligibility for federal student aid programs, such as grants, loans, and work-study opportunities.
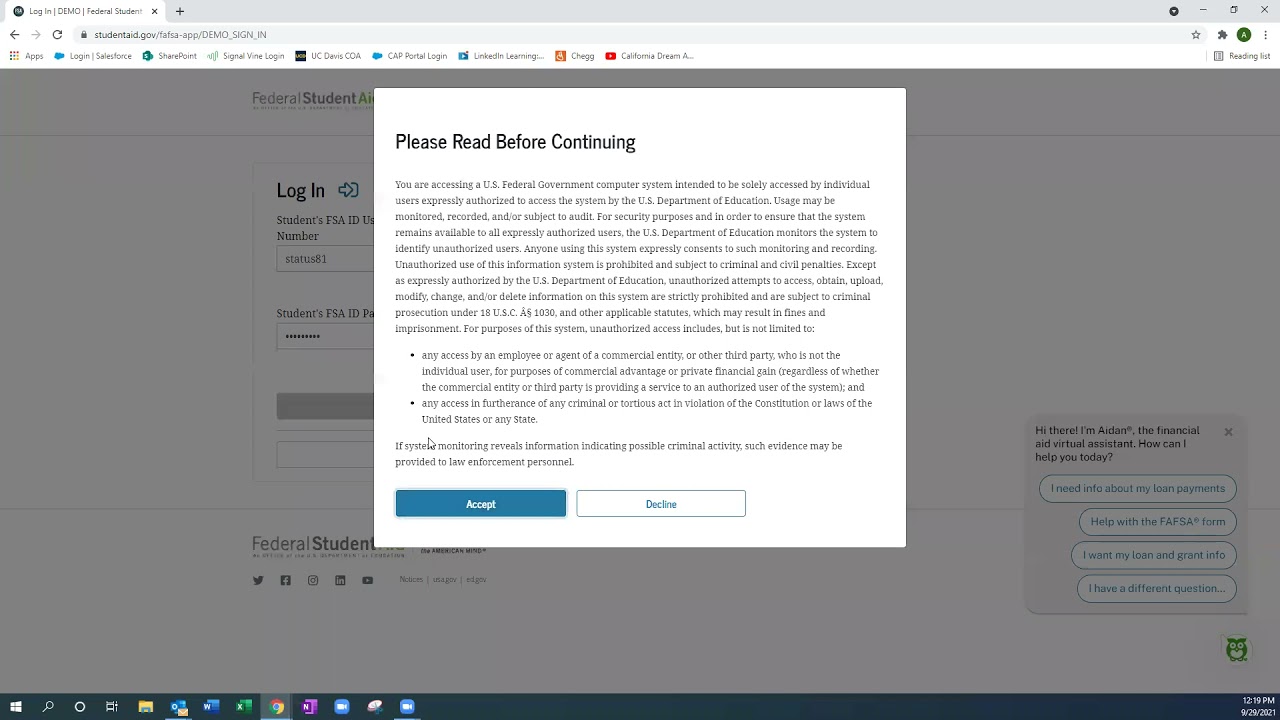
To begin the process, visit the official FAFSA website at fafsa.ed.gov. Create an account using your personal information and choose a secure username and password. Make sure to keep this login information in a safe place, as you will need it throughout the financial aid application process.
The FAFSA consists of several sections that require you to input your personal and financial details. Be prepared to provide information such as your Social Security number, driver’s license number (if applicable), tax return information, and details about your household income and assets.
It’s essential to be accurate and honest when filling out the FAFSA. Any discrepancies or false information could lead to delays in processing your application or even result in the denial of financial aid. Take your time to carefully review each section, and double-check that the information you provide is correct before submitting your application.
Once you have completed all the required sections, review your application one final time to ensure accuracy. Then, click on the submit button to send your FAFSA for processing.
After submitting your FAFSA, you will receive a confirmation email indicating that your application has been successfully submitted. The email will also provide you with an estimated processing time for your application. It’s important to remember that the processing time can vary, so be patient while waiting for your SAR to be generated.
With Step 1 complete, you’re on your way to obtaining your SAR. In the next step, we will discuss how to receive your EFC and SAR.
Step 2: Receive your EFC and SAR
After you have submitted your FAFSA, the next step is to receive your Expected Family Contribution (EFC) and Student Aid Report (SAR). These two documents are crucial for understanding your eligibility for federal financial aid.
1. Expected Family Contribution (EFC): Your EFC is a measure of how much you and your family are expected to contribute towards your education expenses. It takes into account factors such as income, assets, family size, and the number of family members attending college. The EFC is determined by the information you provided on the FAFSA and is expressed as a dollar amount. Remember, the lower your EFC, the higher your eligibility for need-based financial aid.
2. Student Aid Report (SAR): The SAR is a summary of the information you provided on the FAFSA. It includes your EFC, as well as a record of all the data you entered on the application. The SAR is also used to confirm the accuracy of your FAFSA and allows you to make any necessary corrections. It’s important to carefully review your SAR for any errors or missing information.
To receive your EFC and SAR, you will need to wait for the processing time indicated in the confirmation email you received after submitting your FAFSA. Normally, it takes about 3 to 5 days for the FAFSA to be processed if you completed it online and provided all the necessary information accurately.
Once your FAFSA has been processed, you will receive an email notification containing a direct link to your SAR. Click on the link to access your SAR, which will be available as a PDF document. You will also have the option to view your SAR online if you prefer not to download it.
It’s important to note that if there are any issues or missing information on your FAFSA, you may be selected for a process called verification. This means you will need to provide additional documentation or clarify certain details. If selected for verification, promptly follow the instructions provided and submit the required documents to ensure the processing of your financial aid application.
Now that you know how to receive your EFC and SAR, let’s proceed to Step 3, where we will discuss how to access your SAR online.
Step 3: Accessing your SAR
Once your SAR is available, it’s important to know how to access it so that you can review the information and make any necessary corrections. Fortunately, accessing your SAR is a straightforward process.
1. Open your email: Look for the email notification from the Federal Student Aid office that contains the link to access your SAR. If you can’t find the email, check your spam folder or search your inbox using keywords such as “Student Aid Report” or “FAFSA.”
2. Click on the link: Open the email and click on the link provided to access your SAR. The link will direct you to the official FAFSA website or a secure portal where your SAR is stored.
3. Login to your account: You may be required to log in to your FAFSA account using your username and password. If you don’t have an account, you can create one using the instructions provided on the website.
4. Locate your SAR: Once you are logged in, navigate to the section where your SAR is located. Depending on the platform, you may find your SAR under a tab or menu item labeled “View SAR” or “Documents.” Click on the appropriate option to access your SAR.
5. Review your SAR: Your SAR will be displayed on the screen, and you will have the option to either view it online or download it as a PDF file. Take the time to carefully review your SAR, paying close attention to your personal and financial information, as well as your EFC. Note any discrepancies or errors that need to be addressed.
6. Make corrections, if necessary: If you identify any errors or missing information on your SAR, you can make corrections directly on the document or in the online form. Follow the instructions provided on the website to complete the necessary corrections and updates.
7. Save your changes: After making any necessary corrections, remember to save your changes to ensure that the updated information is reflected in your SAR. You may also want to keep a copy of the corrected SAR for your records.
By following these steps, you will be able to access your SAR and review the information it contains. In Step 4, we will discuss how to download your SAR in PDF format.
Step 4: Downloading SAR in PDF Format
Downloading your SAR in PDF format is a convenient way to have a digital copy of your Student Aid Report that can be easily saved and shared. Follow the steps below to download your SAR:
1. Access your SAR: Follow the instructions provided in Step 3 to access your SAR document through the official FAFSA website or the designated portal.
2. View your SAR: Once you have accessed your SAR, review the document to ensure all the information is accurate and up to date. It’s important to double-check your personal details, financial information, and the Expected Family Contribution (EFC) mentioned in the report.
3. Click on the download option: Look for the download button or link associated with your SAR. This option is usually located on the screen where you are viewing your SAR online. Click on it to initiate the download process.
4. Choose the PDF format: When prompted, select the PDF format as the preferred file type for the download. This will ensure that your SAR is saved in a format that can be easily opened and viewed on computers and mobile devices.
5. Save the file: Select the location on your device where you want to save the downloaded SAR PDF file. Choose a location that is easily accessible and where you can locate the document whenever needed. It’s recommended to create a separate folder or directory specifically for your financial aid documents for easy organization.
6. Verify the download: Once the file is saved, navigate to the chosen location and open the downloaded SAR PDF to ensure it has been successfully saved and is accessible. Confirm that the document contains all the necessary information and reflects any changes or corrections made as needed.
With your SAR now downloaded in PDF format, you have a convenient digital copy that you can refer to whenever necessary. Make sure to store the file in a secure location and back it up to avoid any potential loss of important financial aid information.
Now that you have successfully downloaded your SAR, you’re ready to move on to Step 5 where we will discuss how to save and print your SAR for future reference.
Step 5: Saving and Printing your SAR
Once you have downloaded your Student Aid Report (SAR) in PDF format, it’s important to save and print a physical copy for future reference. This will ensure that you have a hard copy of your financial aid information that can be easily accessed when needed. Follow these steps to save and print your SAR:
1. Choose a secure location to save your SAR: Before proceeding with printing, decide on a location on your computer or device where you want to save the SAR file. Create a dedicated folder or directory specifically for your financial aid documents to keep them organized and easily accessible.
2. Rename the file if desired: Consider renaming the SAR file to something that is easily recognizable and meaningful to you. This can help you quickly identify the document when searching for it in the future.
3. Save the SAR in the chosen location: Drag and drop the downloaded SAR PDF file into the designated folder or directory you created. Alternatively, you can use the “Save As” function in your PDF viewer to save the file to the desired location.
4. Verify the saved file: Open the saved SAR PDF file to make sure it has been successfully saved and is accessible. Check that all the information, including your personal details, financial information, and Expected Family Contribution (EFC), is accurately displayed in the document.
5. Print a hard copy: If you prefer to have a physical copy of your SAR, select the print option from the PDF viewer. Adjust the print settings, such as the number of copies and paper orientation, as needed. Make sure your printer is properly set up and loaded with paper before initiating the printing process.
6. Review the printed copy: Once the SAR has been printed, carefully review the hard copy to ensure that all information is clear and legible. Check for any printing errors or issues that may have occurred during the printing process. Note any discrepancies or errors that need to be addressed.
7. Store the printed copy in a secure place: Find a safe and easily accessible place to store the printed copy of your SAR. Consider keeping it with other important financial documents, such as tax returns and financial aid award letters. This will ensure that you can refer to it whenever needed.
By following these steps, you will have successfully saved and printed a hard copy of your SAR. This will serve as a valuable resource throughout your financial aid journey and provide you with a physical record of your eligibility and financial information.
Now that you have completed all the steps, you are well-equipped to navigate the FAFSA process and access your SAR with ease. Remember to keep your SAR and other financial aid documents organized and readily available to ensure a smooth financial aid experience.
Conclusion
Obtaining and downloading your Student Aid Report (SAR) from the Free Application for Federal Student Aid (FAFSA) is a crucial step in the financial aid process. The SAR provides valuable information about your eligibility for federal financial aid programs and serves as a record of the information you provided on the FAFSA.
In this guide, we have outlined the step-by-step process of accessing, downloading, saving, and printing your SAR. By following these steps, you can ensure that you have a digital and physical copy of your SAR that can be easily reviewed, shared, and referred to throughout your financial aid journey.
Remember to carefully review your SAR for accuracy and make any necessary corrections. If you identify any errors or missing information, promptly address them to ensure that your financial aid eligibility is correctly assessed.
Additionally, it’s important to store your SAR and other financial aid documents in a secure and organized manner. Keep them in a designated folder or directory on your computer or device, and consider making backup copies to avoid any potential data loss.
Having your SAR readily available will be beneficial for various purposes, such as sharing it with colleges, scholarship providers, and other organizations that require it for verification or award purposes.
Lastly, remember that the financial aid process can be complex, but the FAFSA is designed to simplify the application and access to financial support. If you require further assistance or have specific questions about your SAR or financial aid application, reach out to the financial aid office at your educational institution for guidance.
With the information and steps provided in this guide, you are now equipped to successfully navigate the process of obtaining and downloading your SAR. We wish you the best of luck in your educational pursuits and hope that this guide has been helpful in your journey to access the financial aid you need.