Introduction
Are you an avid gamer who loves capturing those epic moments while playing on your Xbox? Perhaps you’ve taken some stunning snapshots using the Xbox’s built-in screenshot feature and want to save them for posterity. In this guide, we’ll walk you through the step-by-step process of downloading pictures on your Xbox and accessing them on your device.
With the advancement of technology, the Xbox console allows you to capture and store screenshots of your gaming adventures. Whether it’s a stunning landscape, a triumphant victory, or a hilarious glitch, these pictures can evoke a sense of pride and nostalgia. By following a few simple steps, you can transfer these pictures to your preferred device, such as a computer or smartphone, so that you can show them off, share them with friends, or even use them as wallpapers.
In this article, we will guide you through the process of downloading pictures from your Xbox using the Capture Gallery feature. The Capture Gallery is the built-in Xbox application that allows you to view, manage, and share your screenshots and game clips. We’ll show you how to sign in to your Xbox account, access the Capture Gallery, select the picture you want to download, and finally, how to transfer it to your device.
So, if you’re ready to relive your most memorable gaming moments and showcase your gaming skills through pictures, let’s dive into the step-by-step process of downloading pictures on your Xbox and accessing them on your device.
What You’ll Need
Before you start downloading pictures on your Xbox, there are a few things you’ll need to ensure a smooth and hassle-free process. Here’s a checklist of what you’ll need:
- Xbox Console: You will need an Xbox console, such as Xbox One, Xbox Series X, or Xbox Series S. Make sure your console is powered on and connected to the internet.
- Xbox Account: Ensure that you have a valid Xbox account. If you don’t have one, you can create a new account easily by following the sign-up process on the Xbox website or directly on your console.
- Screenshots or Pictures: You should have some saved screenshots or pictures on your Xbox console that you want to download.
- Device: You will need a device to access your Xbox account and download the pictures. This can be a computer, laptop, smartphone, or tablet with an internet connection.
- USB Drive (Optional): If you prefer to transfer the downloaded pictures directly to a USB drive rather than using an online cloud service, make sure you have a compatible USB drive available.
Once you have gathered all the necessary items from the checklist, you’re ready to move on to the next steps. Keep in mind that the process may vary slightly depending on the Xbox console model you have and the version of the Xbox software you’re using. But don’t worry, we’ll provide general instructions that should cover most scenarios.
Now that you’re well-prepared with the required items, let’s proceed to the step-by-step process of downloading pictures on your Xbox and accessing them on your device.
Step 1: Sign in to Your Xbox Account
The first step to download pictures on your Xbox is to sign in to your Xbox account. Follow these steps to sign in to your account:
- Ensure that your Xbox console is turned on and connected to the internet.
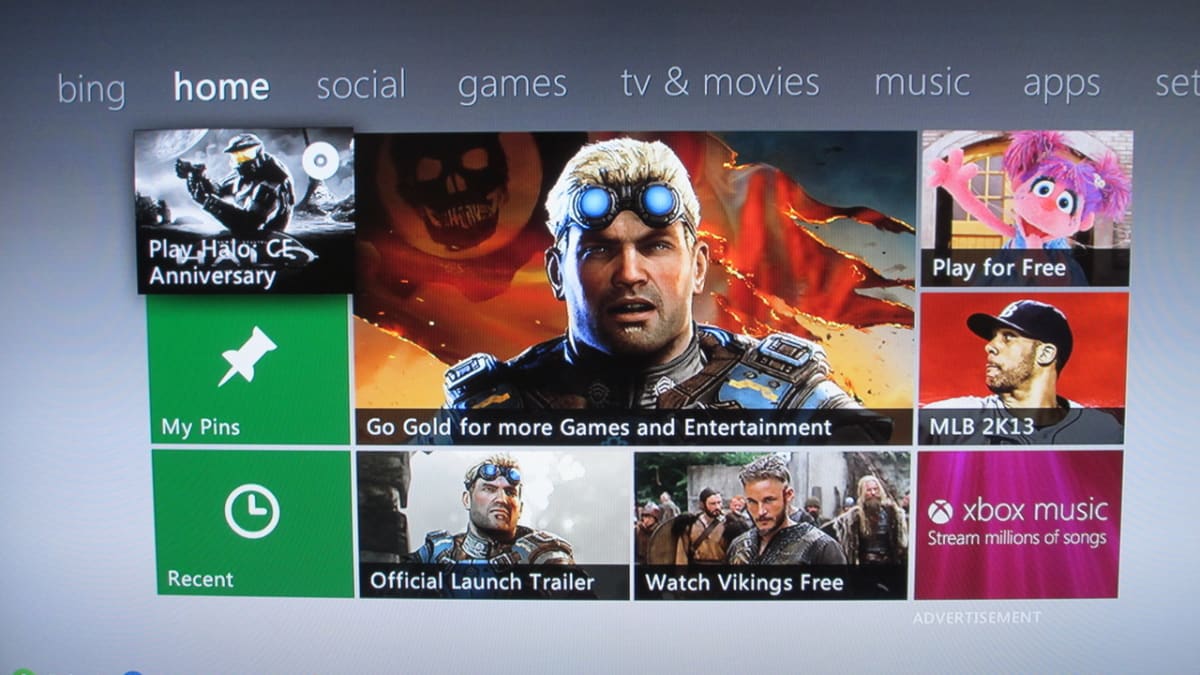
- Using your controller, navigate to the “Sign In” option on the Xbox dashboard. You can find it either at the top or in the side menu, depending on your console’s interface.
- Choose the sign-in method that suits you best. You can sign in with your Xbox Live gamertag or with the Microsoft account associated with your Xbox.
- If you’re signing in for the first time, follow the on-screen instructions to create a new account or link an existing account.
- Enter your email address and password associated with your Xbox account.
- If you have enabled two-factor authentication for added security, enter the verification code when prompted.
- Once you’ve successfully signed in, you’ll be taken to the Xbox dashboard where you can access various features and settings.
Signing in to your Xbox account is crucial as it allows you to access your saved pictures and screenshots in the Capture Gallery, along with other Xbox features and services. It also ensures that you have the necessary permissions to download and manage the pictures effectively.
Now that you’re signed in to your Xbox account, let’s move on to the next step and access the Capture Gallery.
Step 2: Access the Capture Gallery
Once you’re signed in to your Xbox account, the next step is to access the Capture Gallery, where you can find all your saved screenshots and pictures. Follow these steps to access the Capture Gallery:
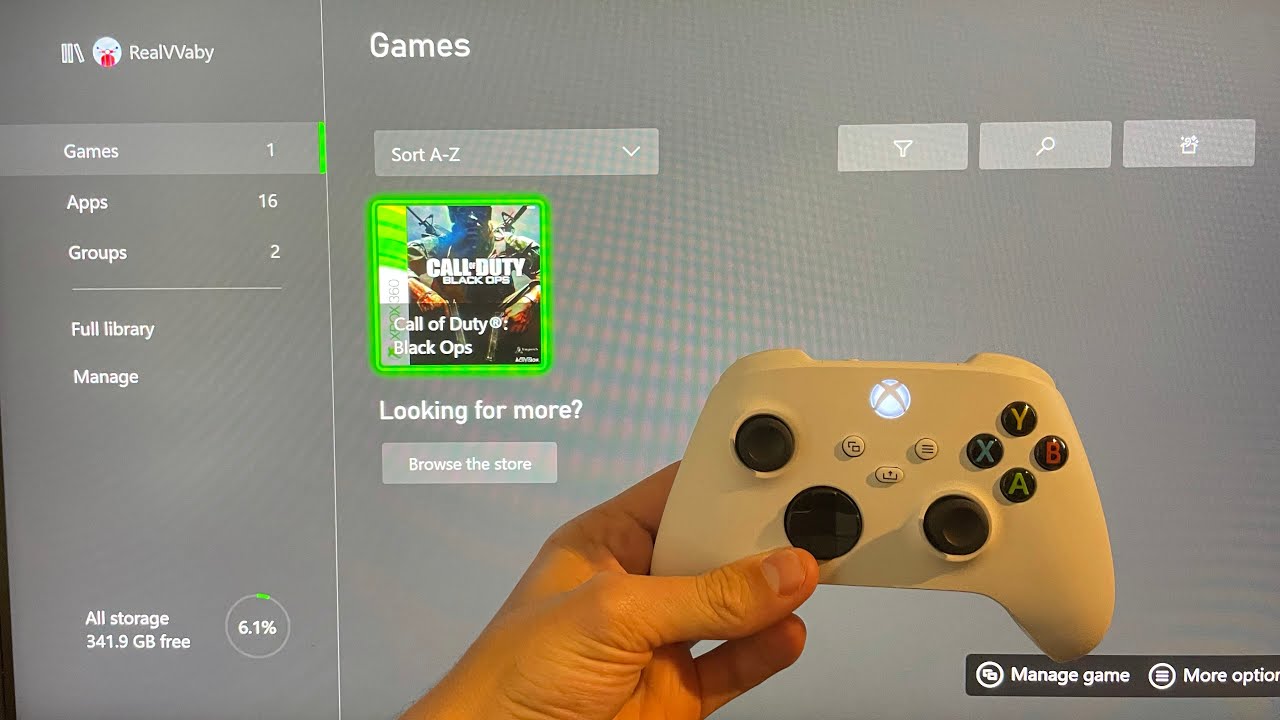
- From the Xbox dashboard, navigate to the main menu or home screen of your console.
- Look for the “GameDVR” or “Capture Gallery” option. The location may vary depending on your Xbox console model and software version.
- Once you’ve located the Capture Gallery, select it and press the A button on your controller to open it.
- Within the Capture Gallery, you’ll see a collection of your captured screenshots and pictures. You can scroll through them using the directional pad or thumbstick on your controller.
The Capture Gallery is where all your saved pictures from gaming sessions are stored. It serves as a centralized hub for managing and accessing your screenshots, making it easy to find the picture you want to download.
In addition to screenshots, the Capture Gallery may also include other types of captured content, such as recorded game clips. To specifically view your screenshots, look for options like “Screenshots” or “Images” within the Capture Gallery menu.
Now that you’ve successfully accessed the Capture Gallery, let’s move on to the next step and learn how to select the picture you want to download.
Step 3: Select the Picture
After accessing the Capture Gallery, the next step is to select the specific picture you want to download. Follow these steps to select a picture from the Capture Gallery:
- Using the directional pad or thumbstick on your controller, navigate through the screenshots and pictures in the Capture Gallery.
- Highlight the picture you want to download by moving the selection cursor over it.
- To view the selected picture in full screen or see more details, press the A button on your controller. This will open the selected picture in a larger view.
- Take a moment to ensure that you have selected the correct picture. If you want to change the selection, use the directional pad or thumbstick to navigate to a different picture.
Selecting the appropriate picture is essential before proceeding to the next steps. Make sure you choose the picture that you want to download and transfer to your device. You can use the picture’s thumbnail, title, or a quick preview to help you identify the desired one.
It’s worth mentioning that you can select multiple pictures if you wish to download more than one at a time. Simply follow the same steps for each picture you want to include in the download process.
Now that you’ve selected the picture you want to download, we can move on to the next step and learn how to actually download it onto your device.
Step 4: Download the Picture
After selecting the picture you want to download from the Capture Gallery, it’s time to proceed with the actual downloading process. Follow these steps to download the picture on your Xbox:
- With the selected picture still displayed in full screen, look for the options menu. It is usually represented by an icon or button on the screen, typically located at the bottom or side of the picture.
- Press the button or select the icon associated with downloading. It is often labeled as “Download,” “Save,” or represented by a down arrow symbol.
- Depending on your Xbox console and software version, you may be prompted to choose the location or destination for the downloaded picture. This could be your Xbox’s internal storage, an external storage device, or a cloud storage service linked to your Xbox account.
- Select the desired location for the picture’s download. If you’re unsure, consider choosing an external storage device or a cloud service for easy access on your device.
- Confirm the download by following the on-screen instructions. This may involve confirming any space limitations, signing in to a cloud service, or verifying the download process.
- Wait for the download to complete. The time taken for the download will depend on the size of the picture and the speed of your internet connection.
Once the download is complete, you have successfully saved the selected picture from your Xbox. The picture is now ready to be accessed on the device or storage medium you chose during the download process.
It’s worth noting that the download process may slightly differ depending on the specific Xbox console model and software version you’re using. However, the general steps provided above should help you navigate through the download process effectively.
Now that you have successfully downloaded the picture, let’s move on to the final step and learn how to access the downloaded picture on your device.
Step 5: Access the Picture on Your Device
Once you have downloaded the picture from your Xbox, the final step is to access and view it on your chosen device. Follow these steps to access the downloaded picture on your device:
- If you downloaded the picture directly to your Xbox’s internal storage, you can access it from the “Files” or “Media” section on your console. Navigate to the appropriate location and look for the downloaded picture.
- If you transferred the picture to an external storage device such as a USB drive, connect the USB drive to your device (e.g., computer, laptop, or smartphone).
- Open the file explorer or file management app on your device and navigate to the location where the picture is saved (either on the internal storage or the connected external storage device).
- Locate the downloaded picture in the respective folder or directory. You can usually identify it by its title, thumbnail, or file extension.
- Click or tap on the picture to open and view it. Depending on the device and the installed apps or software, the picture may open in the default image viewer or a specific photo app of your choice.
Once you have accessed the downloaded picture on your device, you can enjoy it, share it with others, set it as your wallpaper, or use it for any other purpose you desire. You now have the freedom to showcase your gaming achievements and relive those precious gaming moments whenever you want.
Keep in mind that the accessibility of the downloaded picture depends on the compatibility of the file format and the software or apps installed on your device. In case you encounter any issues, make sure your device supports the file format of the downloaded picture or consider using a third-party app or software to open and view it.
Congratulations! You have successfully accessed and viewed the downloaded picture on your device. Now you can fully enjoy and share your favorite gaming memories wherever you go.
Conclusion
In this guide, we have walked you through the step-by-step process of downloading pictures on your Xbox and accessing them on your device. By following these simple instructions, you can easily transfer your cherished gaming moments and screenshots to your computer, laptop, smartphone, or tablet.
We started by emphasizing the importance of having the necessary items, such as an Xbox console, a valid Xbox account, and the screenshots or pictures you want to download. Then, we guided you through the steps of signing in to your Xbox account and accessing the Capture Gallery, where all your captured pictures are stored.
Next, we explained how to select the specific picture you want to download, ensuring that you have the right one before proceeding. We then provided instructions for the actual downloading process, allowing you to save the selected picture onto your device or preferred storage medium.
Finally, we concluded by explaining how to access the downloaded picture on your device, whether it be through the Xbox’s internal storage or an external storage device. We encouraged you to use the appropriate file management apps or software to easily locate and view the pictures.
Now that you’ve learned how to download and access pictures on your Xbox, you can relive your most memorable gaming moments whenever you want. Show off your achievements, share your favorite screenshots with friends, or use them as wallpapers to personalize your devices.
Remember, the process may vary slightly based on the specific Xbox console model and software version you have, but the general principles are the same. With these steps in mind, you can confidently download and enjoy your gaming pictures on any compatible device.
Happy gaming, and have fun sharing your epic gaming moments with the world!