Introduction
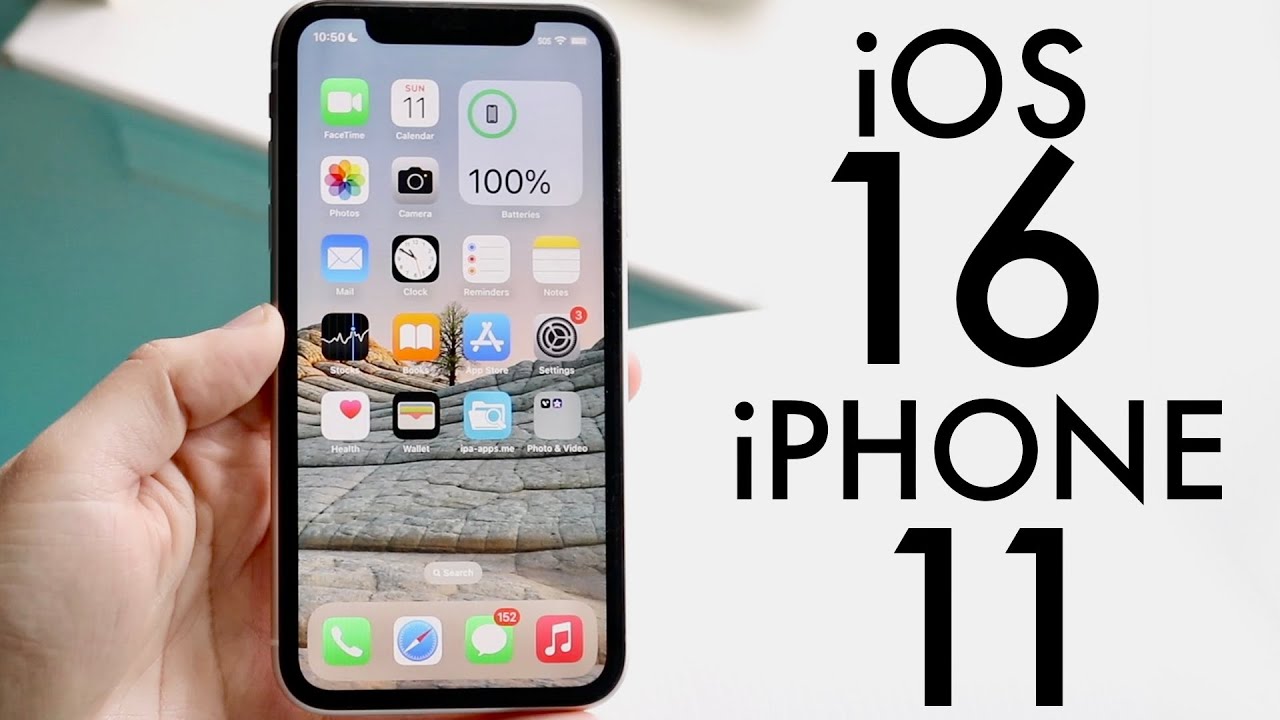
Are you excited about the latest iOS 16 release and can’t wait to experience all the new features on your trusty iPhone 11? Well, you’re in luck! In this article, we’ll guide you through the step-by-step process of downloading and installing iOS 16 on your iPhone 11, so you can enjoy all the exciting enhancements brought by Apple’s latest software update.
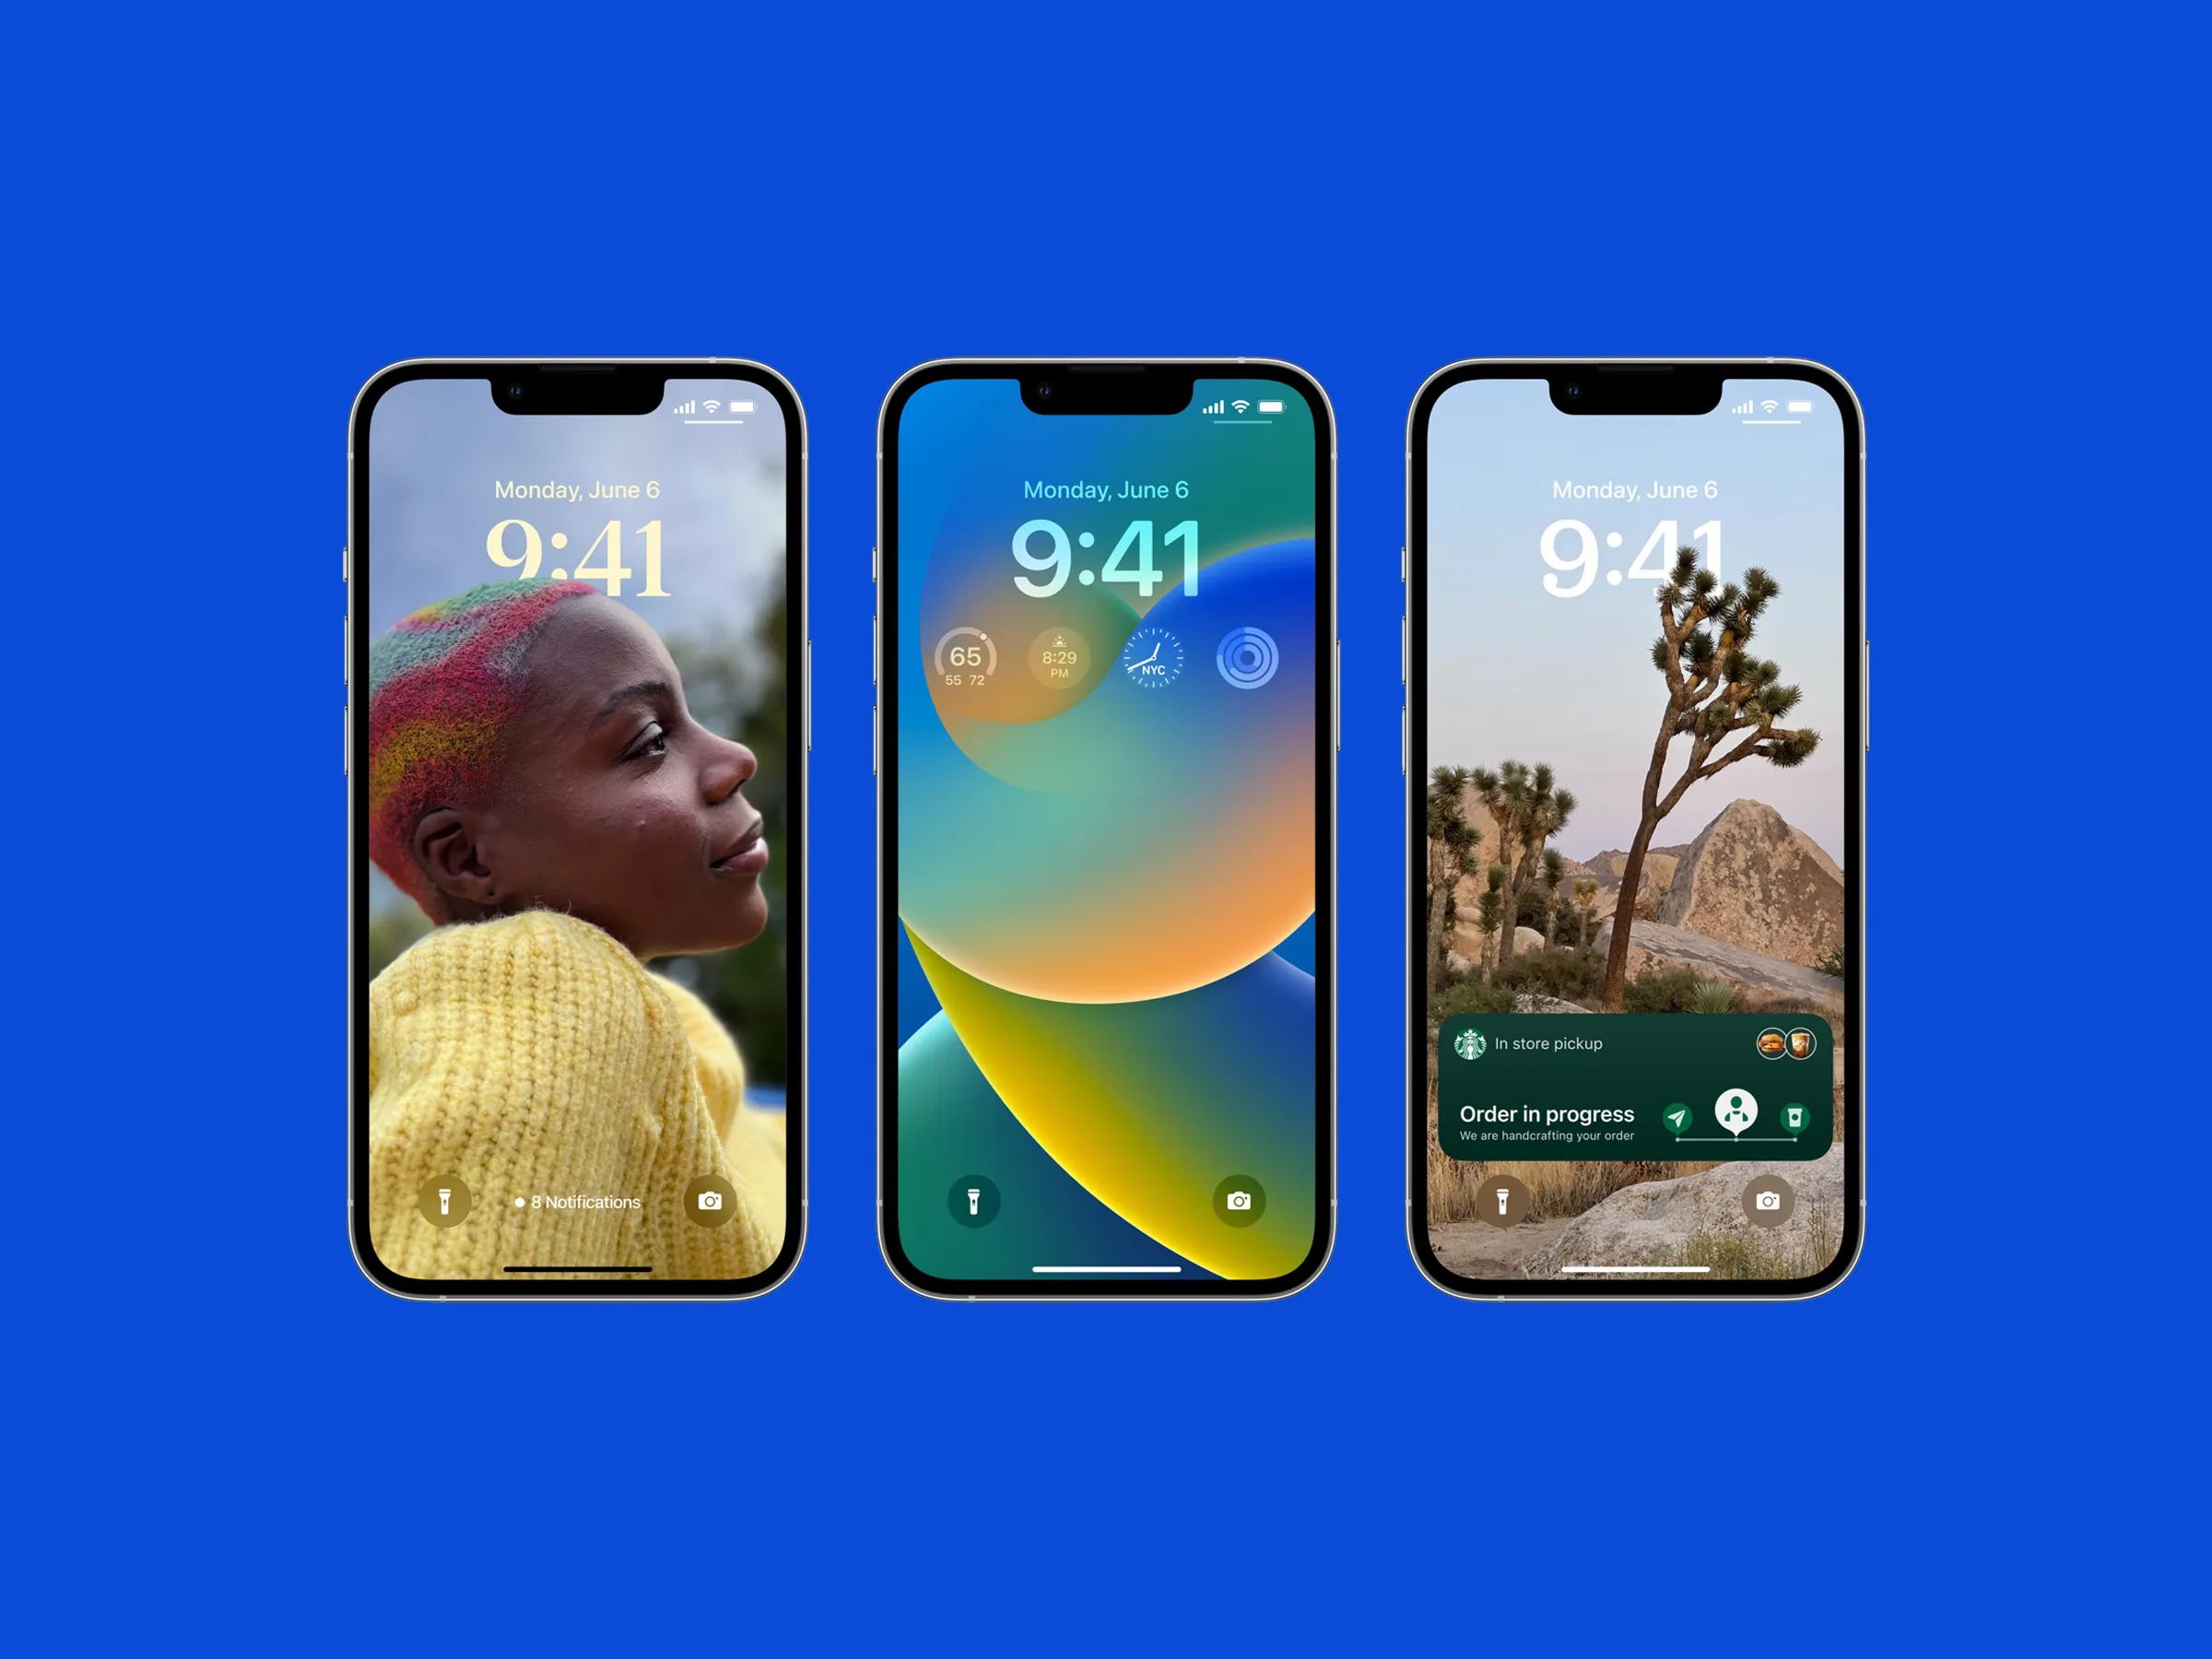
With every new iOS release, Apple brings a host of innovative features and improvements to enhance the user experience. iOS 16 is no exception, offering a range of exciting new capabilities, from a redesigned home screen to advanced privacy features and enhanced app functionalities.
Before diving into the installation process, it’s essential to ensure that your iPhone 11 is compatible with iOS 16. Apple typically supports older devices for a certain number of years, but it’s always a good idea to double-check to avoid any compatibility issues.
Once you’ve confirmed your device’s compatibility, the next crucial step is backing up your iPhone 11. This step is vital to protect your data and settings in case anything goes wrong during the installation process. It’s better to be safe than sorry, so make sure you have a recent backup stored either on iCloud or your computer.
Now that your device is backed up and ready, it’s time to connect to a stable Wi-Fi network. A stable internet connection ensures a smooth and uninterrupted download and installation process for iOS 16. Make sure you have a reliable Wi-Fi connection to avoid any potential disruptions.
In the next sections of this guide, we’ll dive into the nitty-gritty details of downloading and installing the iOS 16 update on your iPhone 11. Don’t worry; it’s a straightforward process that doesn’t require any technical expertise. So, let’s get started and make your iPhone 11 shine with all the exciting features of iOS 16!
Step 1: Check Device Compatibility
Before diving into the installation process, it’s crucial to ensure that your iPhone 11 is compatible with iOS 16. Not all devices are eligible for every iOS update, as Apple typically supports older devices for a certain number of years.
To check if your iPhone 11 can be upgraded to iOS 16, follow these simple steps:
- Open the Settings app on your iPhone 11.
- Scroll down and tap on “General”.
- Tap on “Software Update”.
Once you’re on the Software Update screen, your device will automatically check for any available updates. If you see a message that says “iOS 16 is available for download”, congratulations! Your iPhone 11 is compatible with the latest iOS release.
If you don’t see the iOS 16 update, it means that your device is not compatible. In this case, you can continue using your current iOS version or consider upgrading your device to a newer model that supports iOS 16.
Keep in mind that even if your iPhone 11 is compatible with iOS 16, it’s always a good idea to evaluate the readiness of your device. Older devices may not be able to handle the new software’s performance and may experience slower speeds or other issues.
Now that you’ve checked the compatibility of your iPhone 11, it’s time to move on to the next step: backing up your device. This step is essential to protect your data and ensure that you can easily restore your iPhone if anything goes wrong during the installation process.
Step 2: Backup Your Device
Before proceeding with any software update, it’s vital to back up your iPhone 11. Backing up your device ensures that your data, settings, and applications are safely stored in case anything goes wrong during the iOS 16 installation process.
Apple provides two primary methods for backing up your iPhone 11: iCloud and iTunes. Let’s explore how to back up your device using each of these options:
Using iCloud:
- Connect your iPhone 11 to a stable Wi-Fi network.
- Open the Settings app on your iPhone 11.
- Tap on your Apple ID/name at the top of the Settings menu.
- Tap on “iCloud”.
- Scroll down and tap on “iCloud Backup”.
- Tap on “Back Up Now” to initiate the backup process.
- Ensure that the backup is complete by going to Settings > Apple ID > iCloud > iCloud Storage > Manage Storage. Your backup should appear with the current date and time.
Using iTunes:
- Connect your iPhone 11 to your computer using a USB cable.
- Open iTunes (or Finder if you’re using macOS Catalina or later).
- Select your iPhone 11 when it appears in iTunes or Finder.
- In the Summary tab, under the “Backups” section, click on “Back Up Now”.
- Wait for the backup process to complete. You can monitor the progress in the iTunes or Finder window.
- Confirm that the backup was successful by going to Preferences > Devices (or Devices in Finder) and checking for the latest backup with the current date and time.
Regardless of the backup method you choose, it’s essential to ensure that the backup is complete and up-to-date. Once you’ve successfully backed up your iPhone 11, you can proceed with confidence to the next steps of the iOS 16 installation process.
Now that your device is securely backed up, it’s time to move on to the next step: connecting to a stable Wi-Fi network. This step ensures a smooth and uninterrupted download of the iOS 16 update.
Step 3: Connect to a Stable Wi-Fi Network
Before downloading and installing iOS 16 on your iPhone 11, it’s crucial to connect to a stable Wi-Fi network. A stable internet connection ensures a smooth and uninterrupted download and installation process. Here’s how you can connect to a stable Wi-Fi network:
- Unlock your iPhone 11 and open the Settings app.
- Tap on “Wi-Fi” in the list of options.
- Make sure the Wi-Fi toggle switch is turned on.
- Your iPhone 11 will scan for available Wi-Fi networks in your vicinity.
- Select the desired Wi-Fi network from the list.
- If the Wi-Fi network is password-protected, enter the password when prompted.
- Wait for your iPhone 11 to connect to the Wi-Fi network.
- A checkmark will appear next to the chosen network, indicating a successful connection.
It’s important to choose a stable Wi-Fi network with a reliable and fast connection. Avoid public networks or networks with weak signals, as they may result in a slower download or interruptions during the installation process.
Additionally, it’s recommended to keep your iPhone 11 connected to the Wi-Fi network during the entire iOS 16 download and installation process. This will ensure a consistent and uninterrupted data transfer, minimizing the risk of any errors or disruptions.
Once you’ve successfully connected to a stable Wi-Fi network, you’re ready to proceed with downloading the iOS 16 update onto your iPhone 11. In the next step, we’ll guide you through the download process, so you can start enjoying the exciting features of iOS 16.
Step 4: Download the iOS 16 Update
After ensuring that your iPhone 11 is compatible with iOS 16, backing up your device, and connecting to a stable Wi-Fi network, it’s time to download the iOS 16 update. Follow the steps below to download iOS 16 onto your iPhone 11:
- Open the Settings app on your iPhone 11.
- Tap on “General”.
- Scroll down and tap on “Software Update”.
- Your iPhone 11 will now check for available updates.
- If iOS 16 is available, tap on “Download and Install”.
- Depending on your internet connection and the size of the update, the download process may take some time. Ensure that your iPhone 11 remains connected to Wi-Fi and has sufficient battery power.
- Once the download is complete, tap on “Install Now”.
- Your iPhone 11 will now begin the installation process. During this time, you may see the Apple logo and a progress bar on your screen.
- Do not disconnect your iPhone 11 from the Wi-Fi network or power source until the installation is complete.
- After the installation is finished, your iPhone 11 will restart, and you’ll be greeted with the setup screen for iOS 16.
It’s important to note that the download and installation process may take some time, depending on various factors such as your internet speed and the size of the update. Ensure that you have enough battery power or keep your iPhone 11 connected to a power source while downloading and installing iOS 16.
During the installation process, it’s normal to see the Apple logo and a progress bar. This indicates that the update is being installed on your device. Avoid interrupting the installation or turning off your iPhone 11 until the process is complete.
Once the installation is finished, your iPhone 11 will be running on the latest iOS 16 update. In the next step, we’ll guide you through the initial setup and show you how to enjoy the new features that iOS 16 has to offer.
Step 5: Install iOS 16 on Your iPhone 11
Congratulations! You’ve successfully downloaded the iOS 16 update onto your iPhone 11. Now it’s time to install the update and start enjoying all the new features that iOS 16 has to offer. Follow the steps below to complete the installation process:
- Once your iPhone 11 has restarted after the download, you’ll be prompted with the iOS 16 setup screen.
- Swipe across the screen to begin the setup process.
- You’ll be asked to choose your language and region. Select your preferred options and tap “Continue”.
- Next, you’ll have the option to set up your iPhone as new or restore from a backup.
- If you backed up your device before installing iOS 16, you can choose to restore from that backup. Tap on “Restore from iCloud Backup” or “Restore from iTunes Backup” and follow the on-screen instructions.
- If you prefer to start fresh, you can set up your iPhone 11 as new. Follow the on-screen prompts to sign in with your Apple ID, set up Face ID or Touch ID, and customize your settings.
- Once you’ve completed the setup process, your iPhone 11 will be ready to use with the latest iOS 16.
During the setup process, you’ll have the opportunity to explore the new features and settings introduced in iOS 16. Take your time to familiarize yourself with the changes and customize your device according to your preferences.
Remember to take advantage of the updated Control Center, redesigned home screen widgets, enhanced privacy features, and the multitude of other improvements that iOS 16 brings to your iPhone 11.
Congratulations once again on successfully installing iOS 16 on your iPhone 11! Now you can fully enjoy the enhanced functionality and exciting features that iOS 16 has to offer.
Step 6: Set Up and Enjoy iOS 16 Features
Now that you’ve installed iOS 16 on your iPhone 11, it’s time to delve into the exciting features and make the most out of Apple’s latest software update. Here are some steps to get you started:
- Explore the redesigned home screen: Take advantage of the updated widgets and App Library to personalize your home screen and improve productivity.
- Enhance your privacy settings: iOS 16 introduces new privacy features, such as App Privacy Report and Mail Privacy Protection. Navigate to Settings > Privacy to manage your app permissions and safeguard your data.
- Enjoy improved FaceTime capabilities: iOS 16 introduces FaceTime enhancements, including spatial audio, SharePlay for shared media experiences, and Portrait mode support. Start a video call and explore these new features.
- Try out Focus mode: Focus mode allows you to customize your notifications based on your chosen activities or time of day. Set up a Focus mode that suits your needs by going to Settings > Focus.
- Discover the updated Photos app: The Photos app in iOS 16 offers new Memories features, a redesigned interface, and enhanced editing capabilities. Explore these enhancements and take your photo editing skills to the next level.
- Utilize Quick Notes: With Quick Notes, you can create notes on the go by simply swiping up from the bottom corner of your screen with your Apple Pencil or your finger. Give it a try and streamline your note-taking process.
- Take advantage of Siri enhancements: iOS 16 introduces Siri improvements, including on-device speech recognition and offline support for certain requests. Interact with Siri and discover how it can assist you in various tasks.
- Check out the revamped Weather app: iOS 16 brings a visually appealing and informative redesign to the Weather app. Explore the new features, such as the animated backgrounds and more detailed weather data.
These are just a few highlights of the exciting features iOS 16 has to offer. Take your time to navigate through your iPhone 11 and discover everything this update has in store for you.
Remember to stay updated with future iOS 16 software updates, as Apple continuously introduces bug fixes, performance improvements, and additional features to enhance your user experience.
Enjoy your updated iPhone 11, and have fun exploring all the amazing features and enhancements that iOS 16 has to offer!
Conclusion
Congratulations on successfully downloading and installing iOS 16 on your iPhone 11! You’ve navigated through the compatibility check, backed up your device, connected to a stable Wi-Fi network, downloaded the update, installed it on your device, and explored the exciting new features.
iOS 16 brings a range of enhancements and improvements that can enhance your overall iPhone 11 experience. From the redesigned home screen and improved privacy settings to powerful updates to apps like FaceTime, Photos, and Siri, there’s a lot to discover and enjoy.
Remember to take your time to personalize your home screen, customize your settings, and explore the various features and capabilities introduced with iOS 16. Don’t hesitate to experiment with widgets, try out Quick Notes, and make use of the enhanced privacy controls.
Also, it’s crucial to stay updated with future iOS 16 software updates. These updates, released by Apple, bring bug fixes, performance improvements, and additional features to optimize your iPhone 11’s performance and security.
By following the steps outlined in this guide, you’ve taken the necessary actions to ensure a smooth and successful installation of iOS 16 on your iPhone 11. We hope this guide has provided you with a clear understanding of the installation process and helped you make the most out of iOS 16’s exciting features.
Now it’s time to enjoy all that iOS 16 has to offer and continue to make the most out of your iPhone 11. Whether you’re using it for work or play, this software update can enhance your overall user experience and take your iPhone 11 to new heights.
Thank you for following this guide, and we wish you a fantastic journey with iOS 16 on your iPhone 11!


