Introduction
Downloading files is a common task that we do on our computers or servers. One popular tool for making file downloads is cURL, a command-line tool and library that supports various protocols, such as HTTP, FTP, and more. In this article, we will explore how to download a file using cURL.
Whether you are a developer, system administrator, or someone who needs to grab files from the internet, knowing how to use cURL can be incredibly useful. It is available for major operating systems like Windows, macOS, and Linux, making it versatile and accessible.
In this tutorial, we will walk you through the steps to install cURL, open a terminal or command prompt, and use cURL to download files. We will also cover how to specify the file name and destination folder, as well as how to monitor the download progress.
By the end of this tutorial, you will have a solid understanding of how to use cURL to download files efficiently and effectively. So, let’s dive in and get started with the installation and usage of cURL!
Prerequisites
Before we proceed with downloading files using cURL, there are a few prerequisites that need to be met. Here’s what you’ll need:
- A computer or server with internet connectivity: To download files using cURL, you’ll need a device that is connected to the internet. Whether it’s a desktop computer, laptop, or server, make sure it has an active internet connection.
- cURL installed on your system: If you haven’t already installed cURL, you’ll need to do so before proceeding. cURL is available for major operating systems, including Windows, macOS, and Linux. You can download the latest version of cURL from the official website or use a package manager on your specific operating system to install it.
- Basic knowledge of the command line: cURL is a command-line tool, which means you’ll be running commands in a terminal or command prompt. It’s helpful to have some familiarity with the command line interface and basic commands such as navigating directories and executing commands.
Once you have these prerequisites in place, you’re ready to move on to the next steps. If you’re missing any of these prerequisites, take the time to set them up before proceeding with the rest of the tutorial.
Step 1: Install cURL
The first step to download files using cURL is to ensure that it is installed on your system. Follow the appropriate instructions based on your operating system:
- Windows: If you’re using Windows, you can download the cURL installer from the official cURL website (https://curl.se/windows/). Choose the version that matches your system architecture (32-bit or 64-bit), and run the installer. The installer will guide you through the installation process, allowing you to customize the installation location if desired.
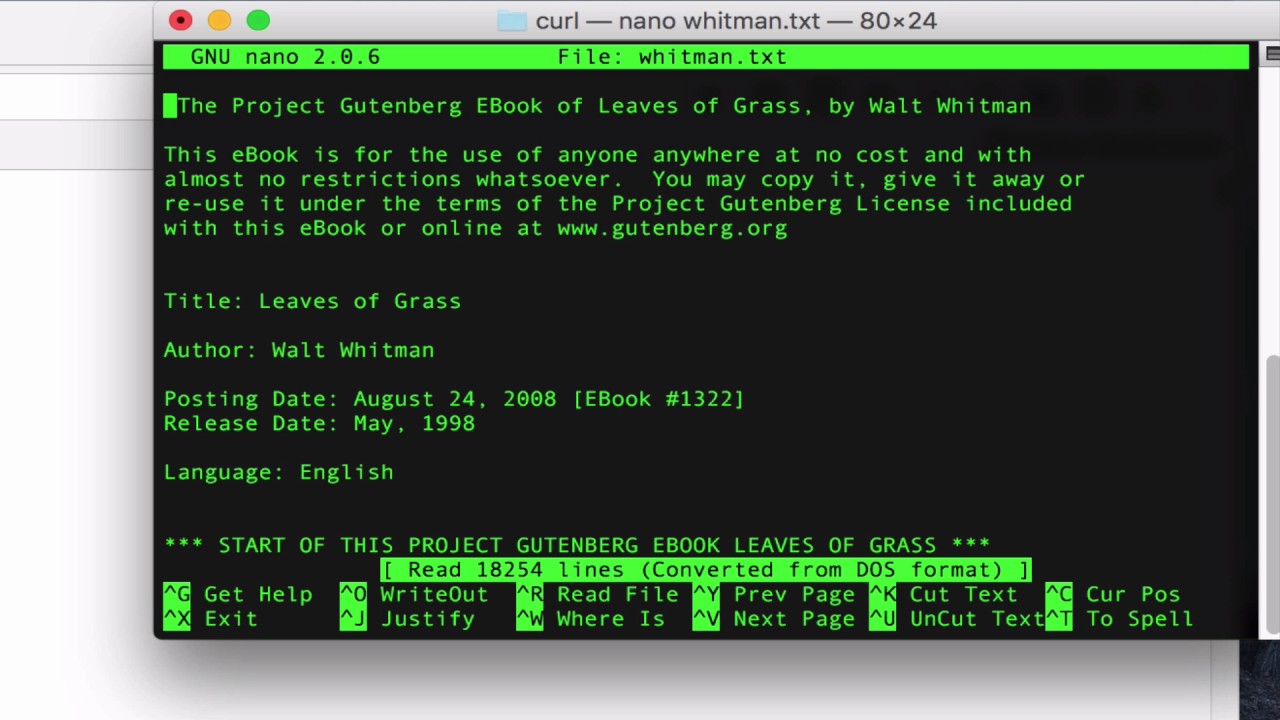
- macOS: If you’re using macOS, cURL is already pre-installed on your system. Open the Terminal application (found in the Utilities folder), and you’re ready to start using cURL right away.
- Linux: On most Linux distributions, cURL is readily available in the package manager. Open your terminal and run the following command to install cURL:
sudo apt-get install curl
Once the installation is complete, you can proceed to the next step.
It’s important to note that cURL is a powerful tool with many features and options. The installation process may vary slightly depending on your specific operating system, so refer to the documentation or support resources for your particular platform if you encounter any issues.
With cURL successfully installed on your system, you’re now ready to start using it to download files. In the following steps, we will guide you through the process of downloading files using cURL, regardless of your operating system.
Step 2: Open Terminal or Command Prompt
Now that you have cURL installed on your system, the next step is to open the terminal or command prompt. This is the interface where you will execute the cURL commands to download files.
The process of opening the terminal or command prompt varies depending on your operating system:
- Windows: To open the command prompt, press the Windows key + R to open the Run dialog box. Type “cmd” and press Enter. This will launch the command prompt.
- macOS: To open the terminal, press Command + Space to open Spotlight Search. Type “terminal” and press Enter. The terminal application will open.
- Linux: To open the terminal, you can typically find it in the applications menu, or you can use the keyboard shortcut Ctrl + Alt + T.
Once you have the terminal or command prompt open, you’re ready to start using cURL to download files.
Keep in mind that the terminal or command prompt allows you to execute various commands, not just cURL. It’s a powerful tool that gives you direct access to the underlying operating system. Make sure to exercise caution while using the terminal, as executing incorrect commands can have unintended consequences.
With the terminal or command prompt open, you’re now prepared to move on to the next step: using cURL to download files.
Step 3: Use cURL to Download a File
Now that you have cURL installed and the terminal or command prompt open, you can begin using cURL to download files. The basic syntax for downloading a file with cURL is as follows:
curl [options] [URL]
Let’s break down the command:
- curl: This is the cURL command itself. By typing “curl” followed by a space, you’re telling the terminal or command prompt that you want to use cURL for the next command.
- [options]: These are additional options you can include to customize the behavior of the cURL command. For example, you can specify to follow redirects, set a user agent, or limit the download speed. We’ll cover some common options in later steps.
- [URL]: This is the URL of the file you want to download. Simply replace [URL] with the actual URL of the file you wish to download.
Here’s an example of how to use cURL to download a file:
curl https://example.com/file.txt
In this example, cURL will download the file located at “https://example.com/file.txt” and save it to your current directory.
Note that the file you’re downloading doesn’t have to be a text file; cURL supports downloading various file types, including images, videos, and archives.
Now that you understand the basic syntax of using cURL to download a file, you can start using it to retrieve files from the internet. However, keep in mind that by default, cURL will only display the downloaded content in the terminal. If you want to save the file to your local machine, you’ll need to specify the destination folder and filename, which we’ll cover in the next step.
Step 4: Specify File Name and Destination Folder
When using cURL to download a file, you have the option to specify the desired file name and destination folder for the downloaded file. This allows you to organize and easily locate the downloaded file on your system.
To specify the file name and destination folder, you can use the -o option followed by the desired file name and location. Here’s the updated syntax:
curl [options] [URL] -o [destination/filename]
Let’s break down the updated command:
- curl: This is the cURL command itself, as before.
- [options]: These are the additional options, if needed.
- [URL]: This is the URL of the file you want to download.
- -o: This is the option to specify the output file. The
-ooption must be followed by the desired destination and file name. - [destination/filename]: This is the path and file name where you want the downloaded file to be saved.
Here’s an example to illustrate how to use the -o option:
curl https://example.com/file.txt -o ~/Documents/file.txt
In this example, cURL will download the file located at “https://example.com/file.txt” and save it to the specified destination folder. The file will be named “file.txt” and will be saved in the “Documents” folder under the user’s home directory.
By specifying the file name and destination folder, you have control over where and how the downloaded file is saved. This allows you to easily find and access the file later on.
Now that you know how to specify the file name and destination folder when using cURL, you can customize the output location of your downloaded files to suit your needs.
Step 5: Monitor Download Progress
When downloading large files, it can be helpful to monitor the progress of the download to ensure that it is running smoothly. cURL provides options to display the progress of the download, giving you visibility into the status and estimated completion time.
To monitor the download progress with cURL, you can use the -# option, which displays a progress bar during the download. Here’s the updated syntax:
curl [options] [URL] -o [destination/filename] -#
Let’s break down the updated command:
- curl: This is the cURL command itself, as before.
- [options]: These are the additional options, if needed.
- [URL]: This is the URL of the file you want to download.
- -o: This is the option to specify the output file, as discussed in the previous step.
- [destination/filename]: This is the path and file name where you want the downloaded file to be saved, as discussed in the previous step.
- -#: This is the option that enables the progress bar to display during the download.
Here’s an example to illustrate how to use the -# option:
curl https://example.com/large_file.zip -o ~/Downloads/large_file.zip -#
In this example, cURL will download the file located at “https://example.com/large_file.zip” and save it to the specified destination folder. The progress of the download will be displayed with a progress bar.
With the progress bar, you can visually monitor the download and estimate the time remaining for completion. This can be particularly useful for large files, allowing you to track the progress and ensure that the download is running smoothly.
Now that you know how to monitor the download progress using cURL, you can download files with confidence and stay informed throughout the process.
Conclusion
Congratulations! You have learned how to download files using cURL, a powerful and versatile command-line tool. By following the steps outlined in this tutorial, you can efficiently retrieve files from the internet and save them to your local machine.
We began by ensuring that cURL was installed on your system and that you had the necessary prerequisites, such as an active internet connection and basic knowledge of the command line interface. We then walked through the process of opening the terminal or command prompt to execute cURL commands.
Using the simple syntax of the cURL command, we demonstrated how to download files by specifying the file’s URL. We also covered how to customize the behavior of cURL by including additional options and how to save the downloaded file to a specified destination folder and file name.
Furthermore, we explored the option to monitor the download progress by using the -# option, which displays a progress bar during the download, giving you real-time visibility into the status and estimated completion time.
With these skills in your toolbox, you can now leverage cURL to efficiently download files from the internet for various purposes, such as development, system administration, or personal use.
Remember, cURL is a versatile tool that supports a wide range of protocols and offers various options for customization. Take some time to explore the additional options and capabilities of cURL to further enhance your file downloading experiences.
Now that you have successfully completed this tutorial on using cURL to download files, you are well-equipped to embark on your file downloading journey. Happy downloading!