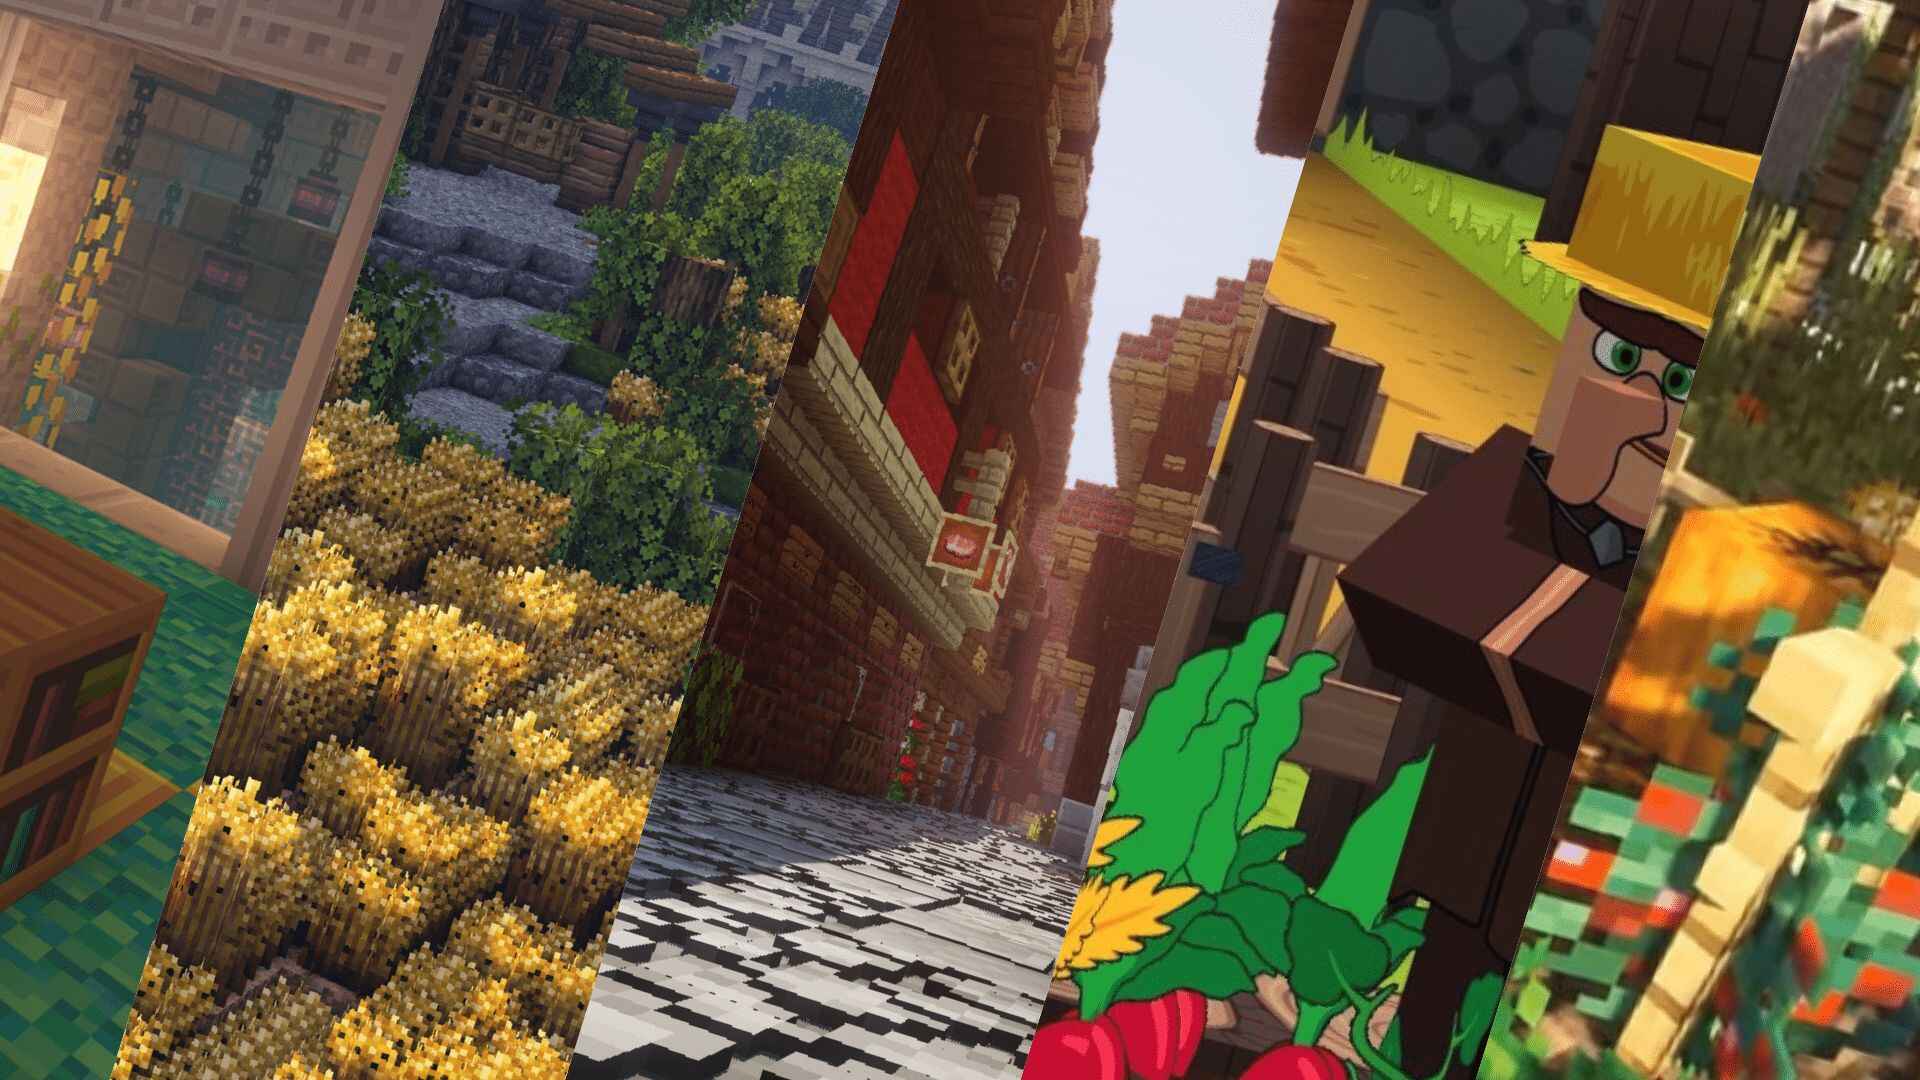
Welcome to the Wonderful World of Minecraft Texture Packs!
If you love Minecraft as much as we do, you may have found yourself wanting to add a personal touch to your gameplay. One of the best ways to do this is by creating your own texture pack. But where do you start? Fear not, fellow gamers! In this article, we will guide you through the process of making a texture pack for Minecraft, creating customized graphics that will bring your gameplay experience to a whole new level.
Key Takeaways:
- Creating a texture pack allows you to personalize the look and feel of Minecraft.
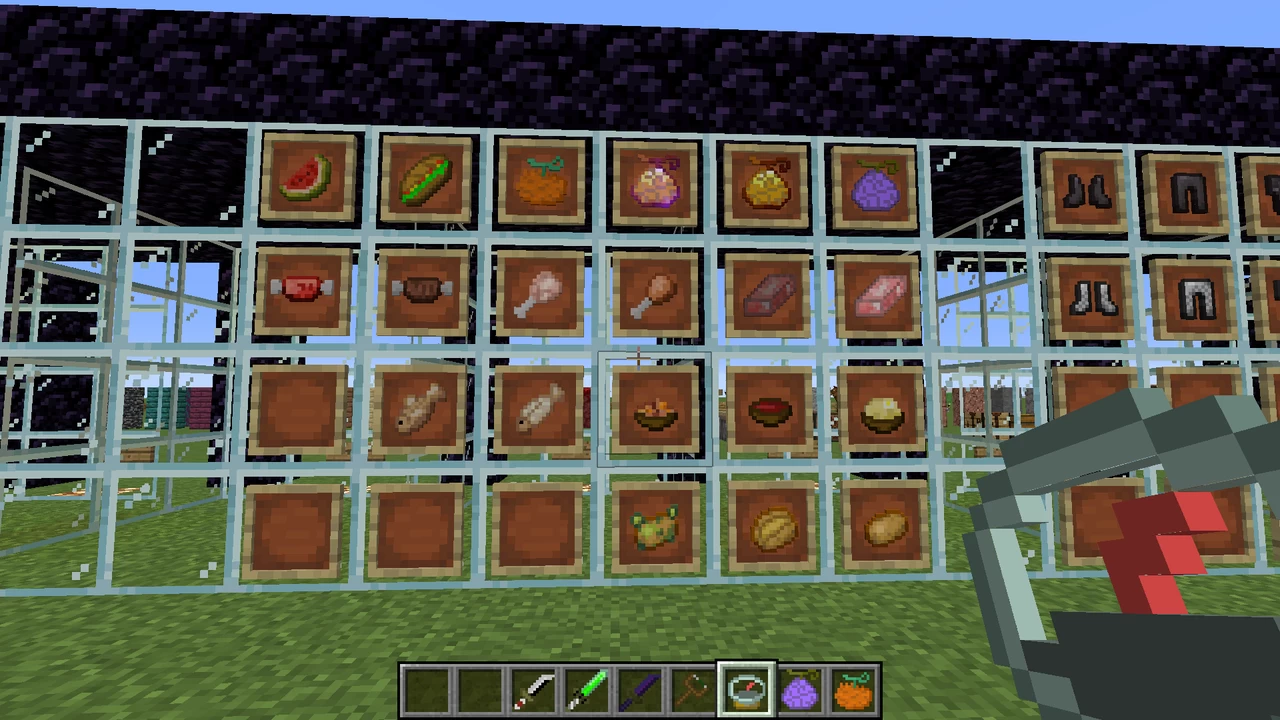
- Texture packs contain custom graphics, including textures for blocks, items, and even the game’s user interface.
So, what exactly is a texture pack?
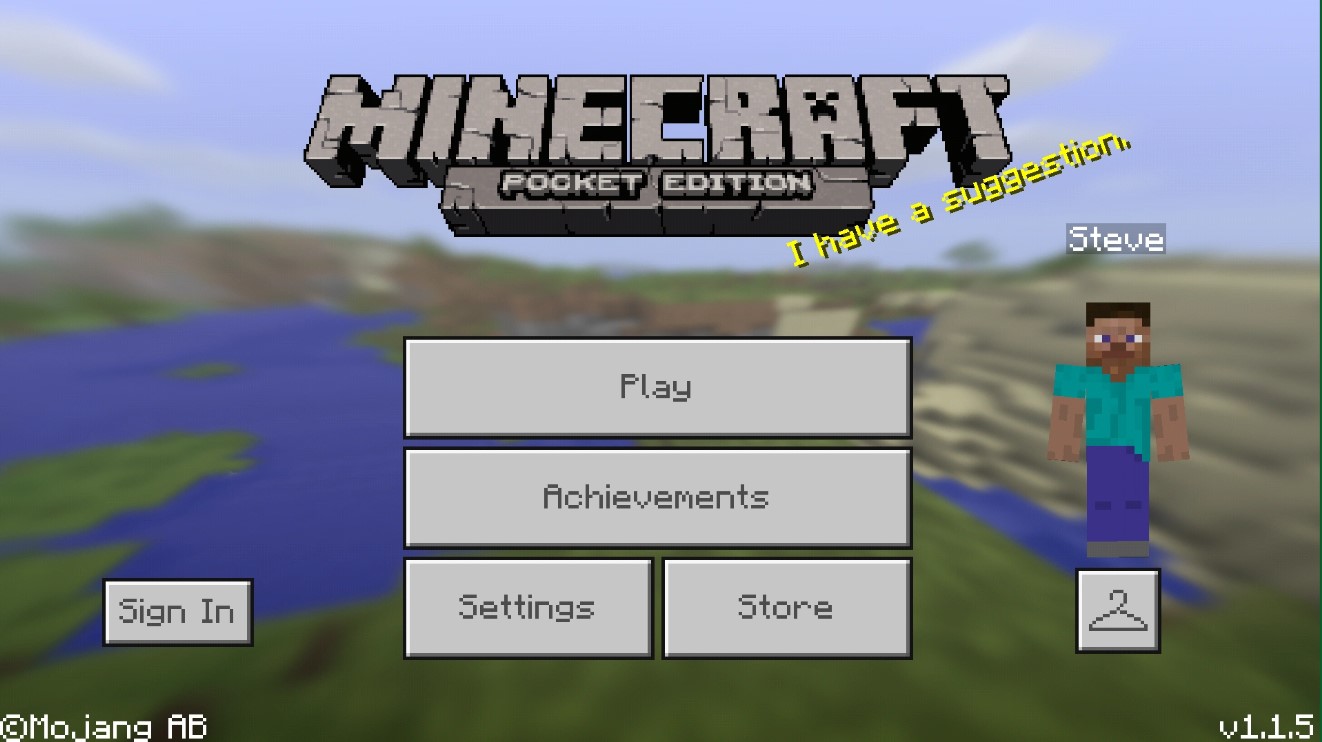
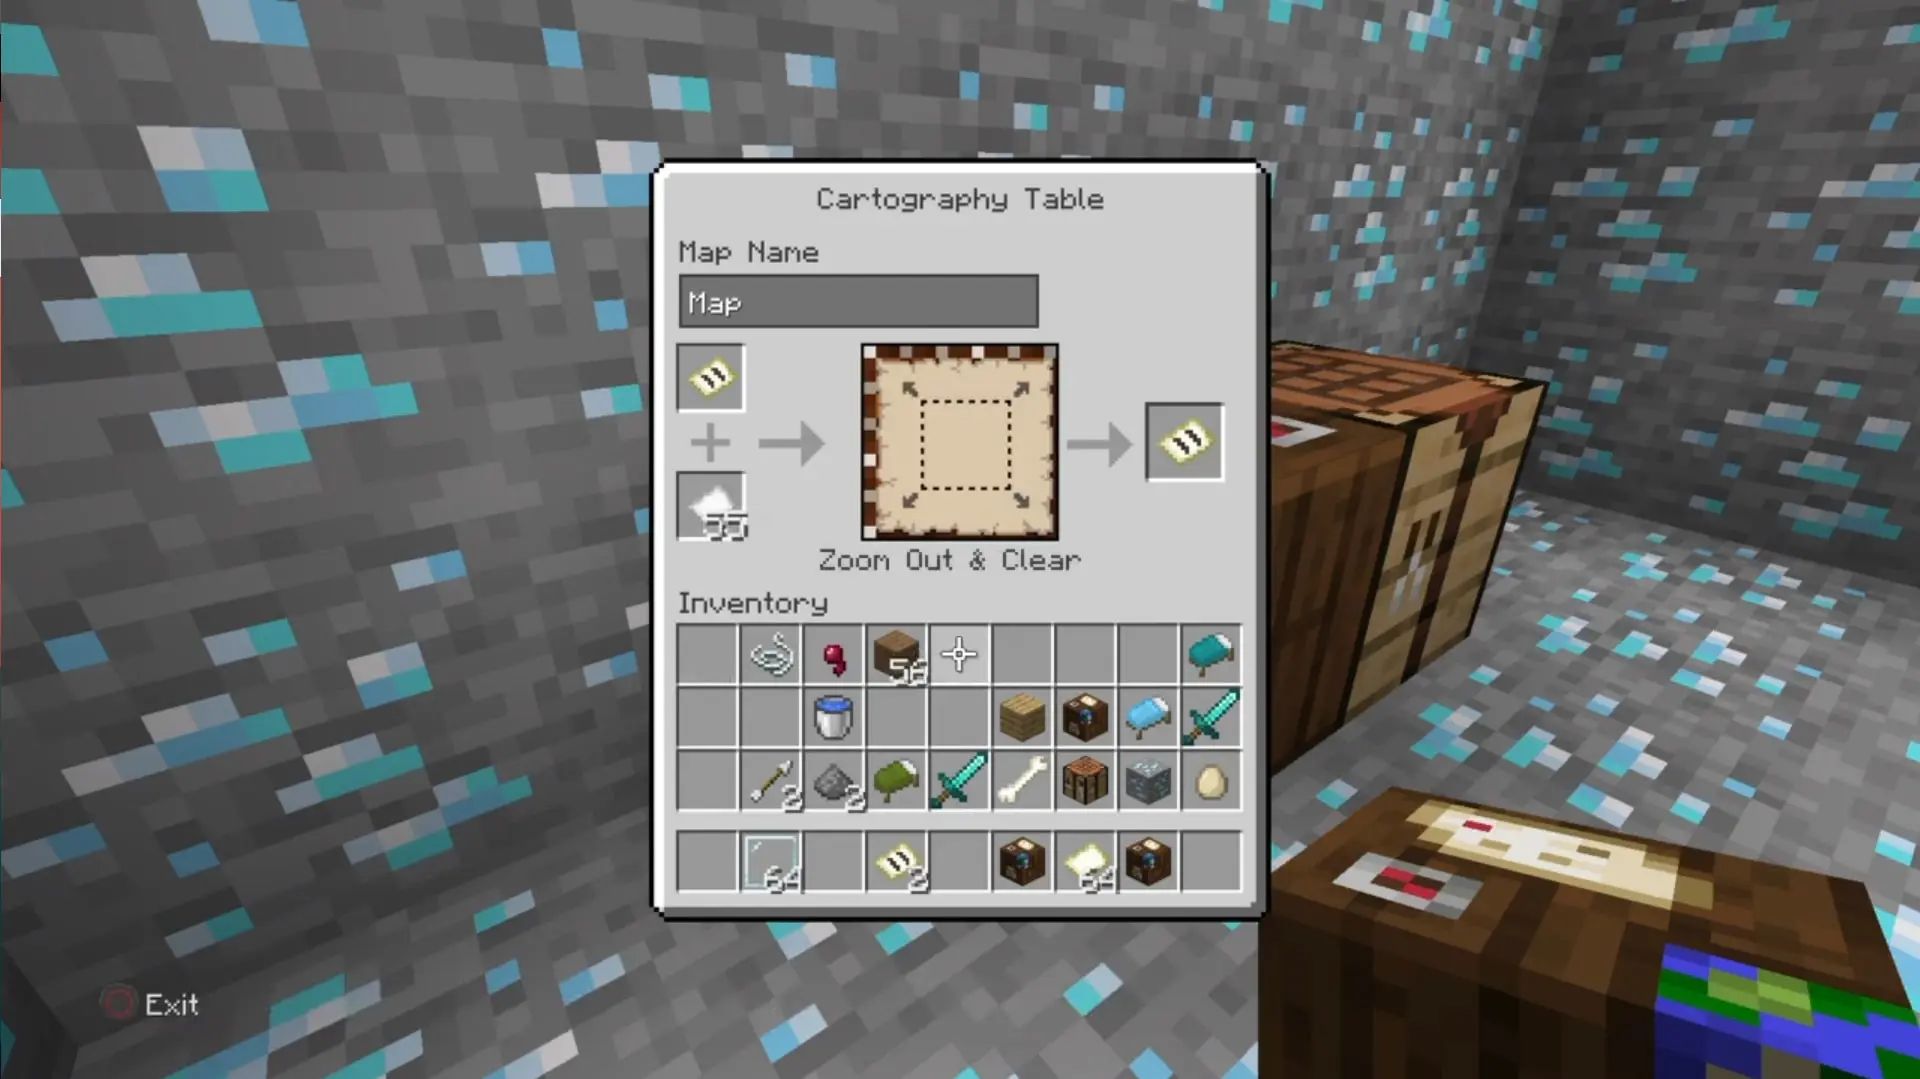
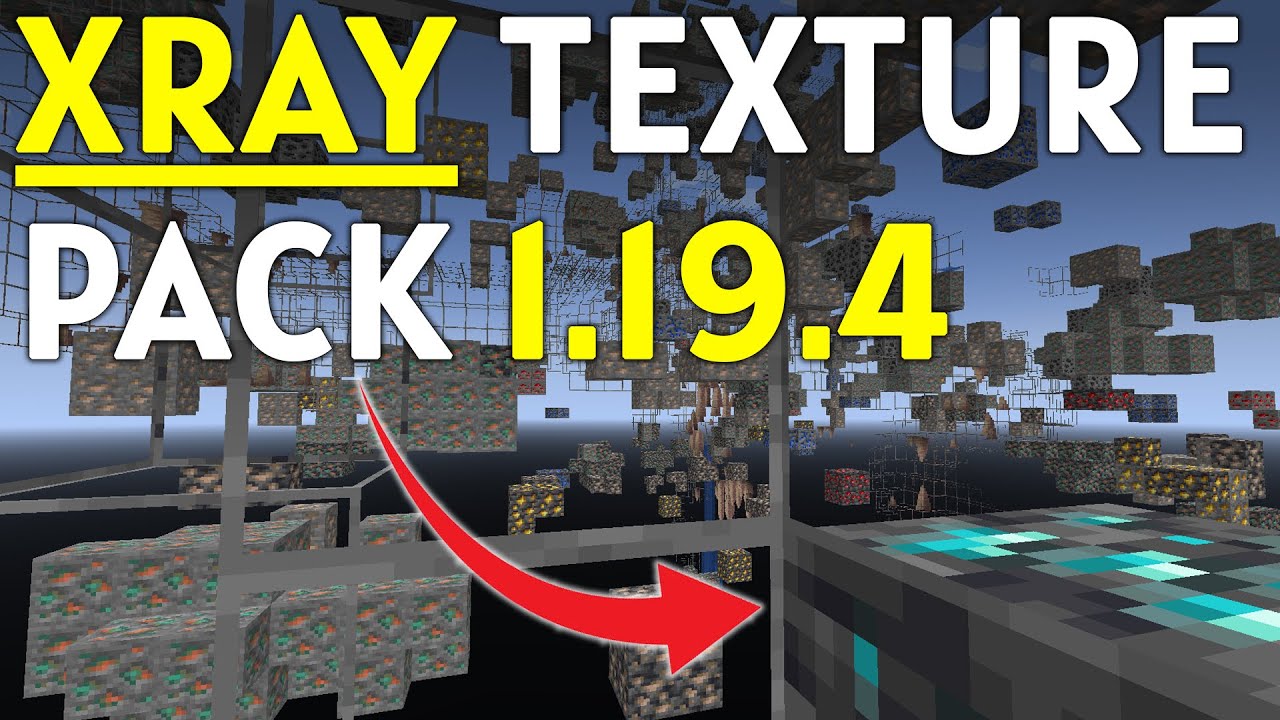
Before we dive into the nitty-gritty details, let’s take a moment to understand what a texture pack is. A texture pack is essentially a collection of customized graphics that replace the default textures in Minecraft. These graphics can include textures for blocks, items, and even the game’s user interface. By creating a texture pack, you can completely transform the visual aspects of the game, making it a unique and personalized experience.
Are you ready to unleash your creativity and make a texture pack for Minecraft? Let’s get started with the step-by-step process:
1. Plan and gather inspiration
Every great project starts with a plan. Before diving into the creation of your texture pack, take some time to brainstorm and gather inspiration. Think about the overall theme or style you want to achieve. Do you want to create a medieval fantasy world or a futuristic sci-fi setting? Gather images, sketches, or any references that will help you visualize your ideas.
2. Create or modify the textures
Now it’s time to get your hands dirty (figuratively speaking, of course). Use an image editing software of your choice – whether it’s Photoshop, GIMP, or any other tool – to create or modify the textures for your texture pack. You can either start from scratch or modify existing textures to fit your vision. Remember to keep the resolution and file format compatible with Minecraft’s requirements.
3. Organize the files and folders
Once you have created or modified your textures, it’s important to organize them properly. Create a new folder for your texture pack and give it a unique name. Inside this folder, create sub-folders for specific categories such as blocks, items, and UI. This will make it easier to manage and navigate through your textures.
4. Convert to the appropriate file format
Minecraft uses a specific file format called “PNG” for its textures. Make sure all your textures are in the .png file format and that they adhere to Minecraft’s guidelines for dimensions and file size. This will ensure that your texture pack works seamlessly within the game.
5. Test and refine
Now comes the fun part – testing your texture pack in Minecraft! Install your texture pack by placing it in the “resourcepacks” folder within your Minecraft directory. Launch the game and navigate to the “Options” menu, then select “Resource Packs” and activate your newly created texture pack. Take the time to explore different environments, blocks, and items to ensure that everything looks and feels as intended. If anything needs tweaking, return to your image editing software and make the necessary adjustments.
6. Share your masterpiece!
Once you are satisfied with your texture pack, it’s time to share it with the Minecraft community. You can upload your texture pack to various Minecraft forums, websites, or even create your own website for others to download and enjoy. Who knows, your creation might become the next big hit in the Minecraft modding world!
Now that you know the step-by-step process of making a texture pack for Minecraft, it’s time to let your imagination run wild. Create a unique and personalized gameplay experience that reflects your own style and creativity. Happy crafting!
Key Takeaways:
- Creating a texture pack allows you to personalize the look and feel of Minecraft.
- Texture packs contain custom graphics, including textures for blocks, items, and even the game’s user interface.


