How to Make a Car in Minecraft: An Epic Guide for Gamers
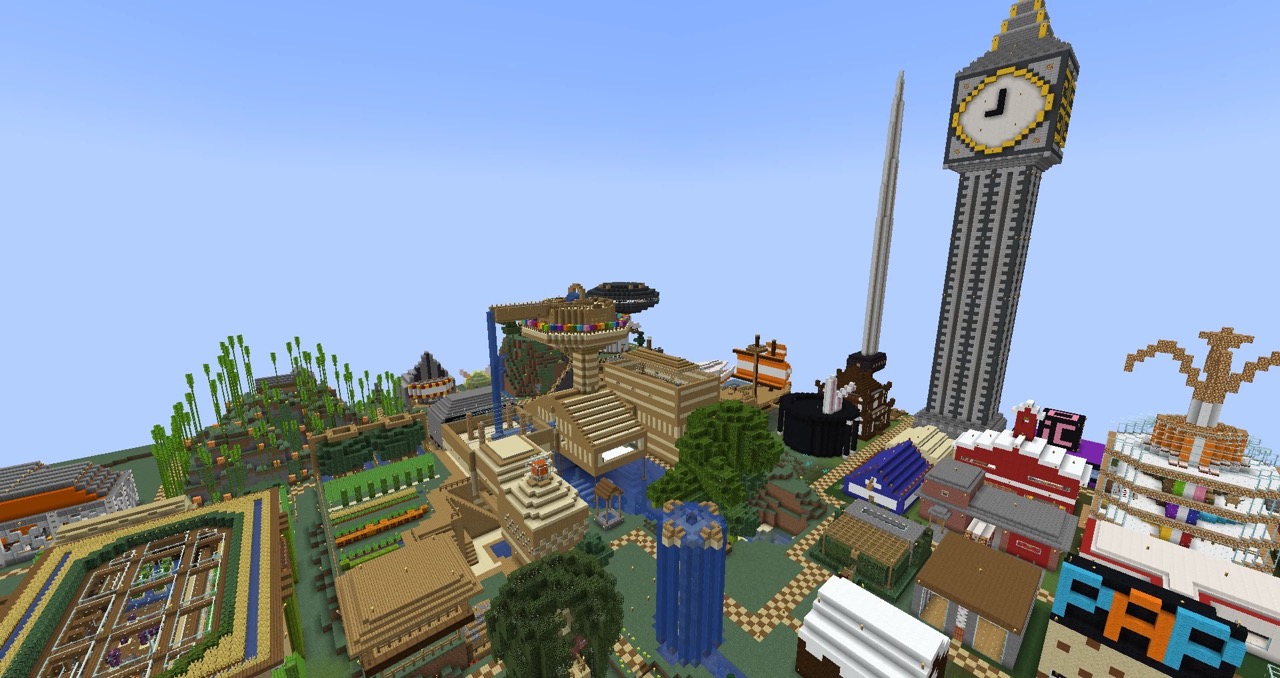
Welcome to our gaming category, where we dive deep into the amazing world of Minecraft. In this blog post, we will focus on a topic that every Minecraft enthusiast dreams about – creating a car in the Minecraft universe. Imagine speeding down hills, exploring vast landscapes, and admiring the sunset as you cruise in your very own custom-made car. Is it possible? Absolutely! In this guide, we will show you step-by-step how to make a car in Minecraft, and fulfill your driving dreams!
Key Takeaways:
- Minecraft allows players to create amazing vehicles, including cars, with a little creativity.
- By using a combination of blocks, items, and redstone mechanics, you can bring your car to life in Minecraft.
1. Gather the necessary materials
Before crafting your car, you’ll need to gather a few essential materials. Here’s what you’ll need:
- Iron Blocks: Gather enough iron ingots to create the body of your car.
- Glass Panes: These will be used for the windows of your car.
- Minecarts with Furnaces: These will serve as the engine for your car. For each car, you’ll need one minecart with a furnace.
- Redstone Blocks: These will provide power to your car and make it move.
- Buttons and Levers: These will be used to control your car.
2. Build the car body
Now that you have the materials ready, it’s time to start building the body of your car. Follow these steps:
- Start by creating a rectangular structure using the iron blocks. This will form the main body of your car.
- Add glass panes to create windows on the sides and front of the car.
- Make sure to leave a space in the front for the entrance.
3. Install the car engine
Now that the car body is complete, it’s time to add the engine. Here’s what you need to do:
- Place a minecart with a furnace inside the car, near the back.
- Add a redstone block behind the furnace to power it.
4. Add controls and finishing touches
Your car is almost ready to hit the road! Follow these steps to add controls and make some final adjustments:
- Place buttons and levers inside the car to serve as controls. Buttons can be used for acceleration, and levers for braking and reversing.
- You can also add additional details to your car, such as headlights or a spoiler, using various blocks and items available in Minecraft.
- Don’t forget to test your car before taking it for a spin! Make sure the redstone mechanics are working correctly and adjust as needed.
And voila! You’ve successfully created your very own car in Minecraft. Now it’s time to take it for a ride and explore the vast world in style. Remember to have fun and unleash your creativity while building and customizing your car.
If you’re looking for more exciting Minecraft tutorials and gaming tips, don’t forget to check out our other blog posts in the Gaming category. Have a blast gaming!
Key Takeaways:
- Minecraft allows players to create amazing vehicles, including cars, with a little creativity.
- By using a combination of blocks, items, and redstone mechanics, you can bring your car to life in Minecraft.