How to Change Wi-Fi on Kwikset Halo Lock
Welcome to our gaming blog, where we not only explore the latest video games and consoles but also provide useful tips and tricks to enhance your gaming experience. Today, we are going to shift gears a bit and delve into another exciting topic that every tech-savvy gamer can appreciate – changing the Wi-Fi on a Kwikset Halo Lock.
Changing the Wi-Fi on your Kwikset Halo Lock is a straightforward process that can be easily accomplished by following a few simple steps. So, let’s dive right in and get your smart lock connected to a new Wi-Fi network in no time!
Key Takeaways:
- Changing the Wi-Fi on your Kwikset Halo Lock is a simple process.
- Before changing the Wi-Fi, make sure you have a stable internet connection and the Kwikset app installed on your smartphone.
Step-by-Step Guide to Change Wi-Fi on Kwikset Halo Lock
- Ensure a stable internet connection: Before you begin, ensure that your Wi-Fi network is functioning properly and that you have a stable internet connection. This will ensure a smooth transition when connecting your Kwikset Halo Lock to the new network.
- Download the Kwikset app: To change the Wi-Fi on your Kwikset Halo Lock, you’ll need to have the Kwikset app installed on your smartphone. Head to your device’s app store and search for “Kwikset,” then download and install the app.
- Open the Kwikset app: Once the app is installed, open it on your smartphone. If you don’t have an account, you’ll need to create one. Follow the on-screen prompts to set up your Kwikset account.
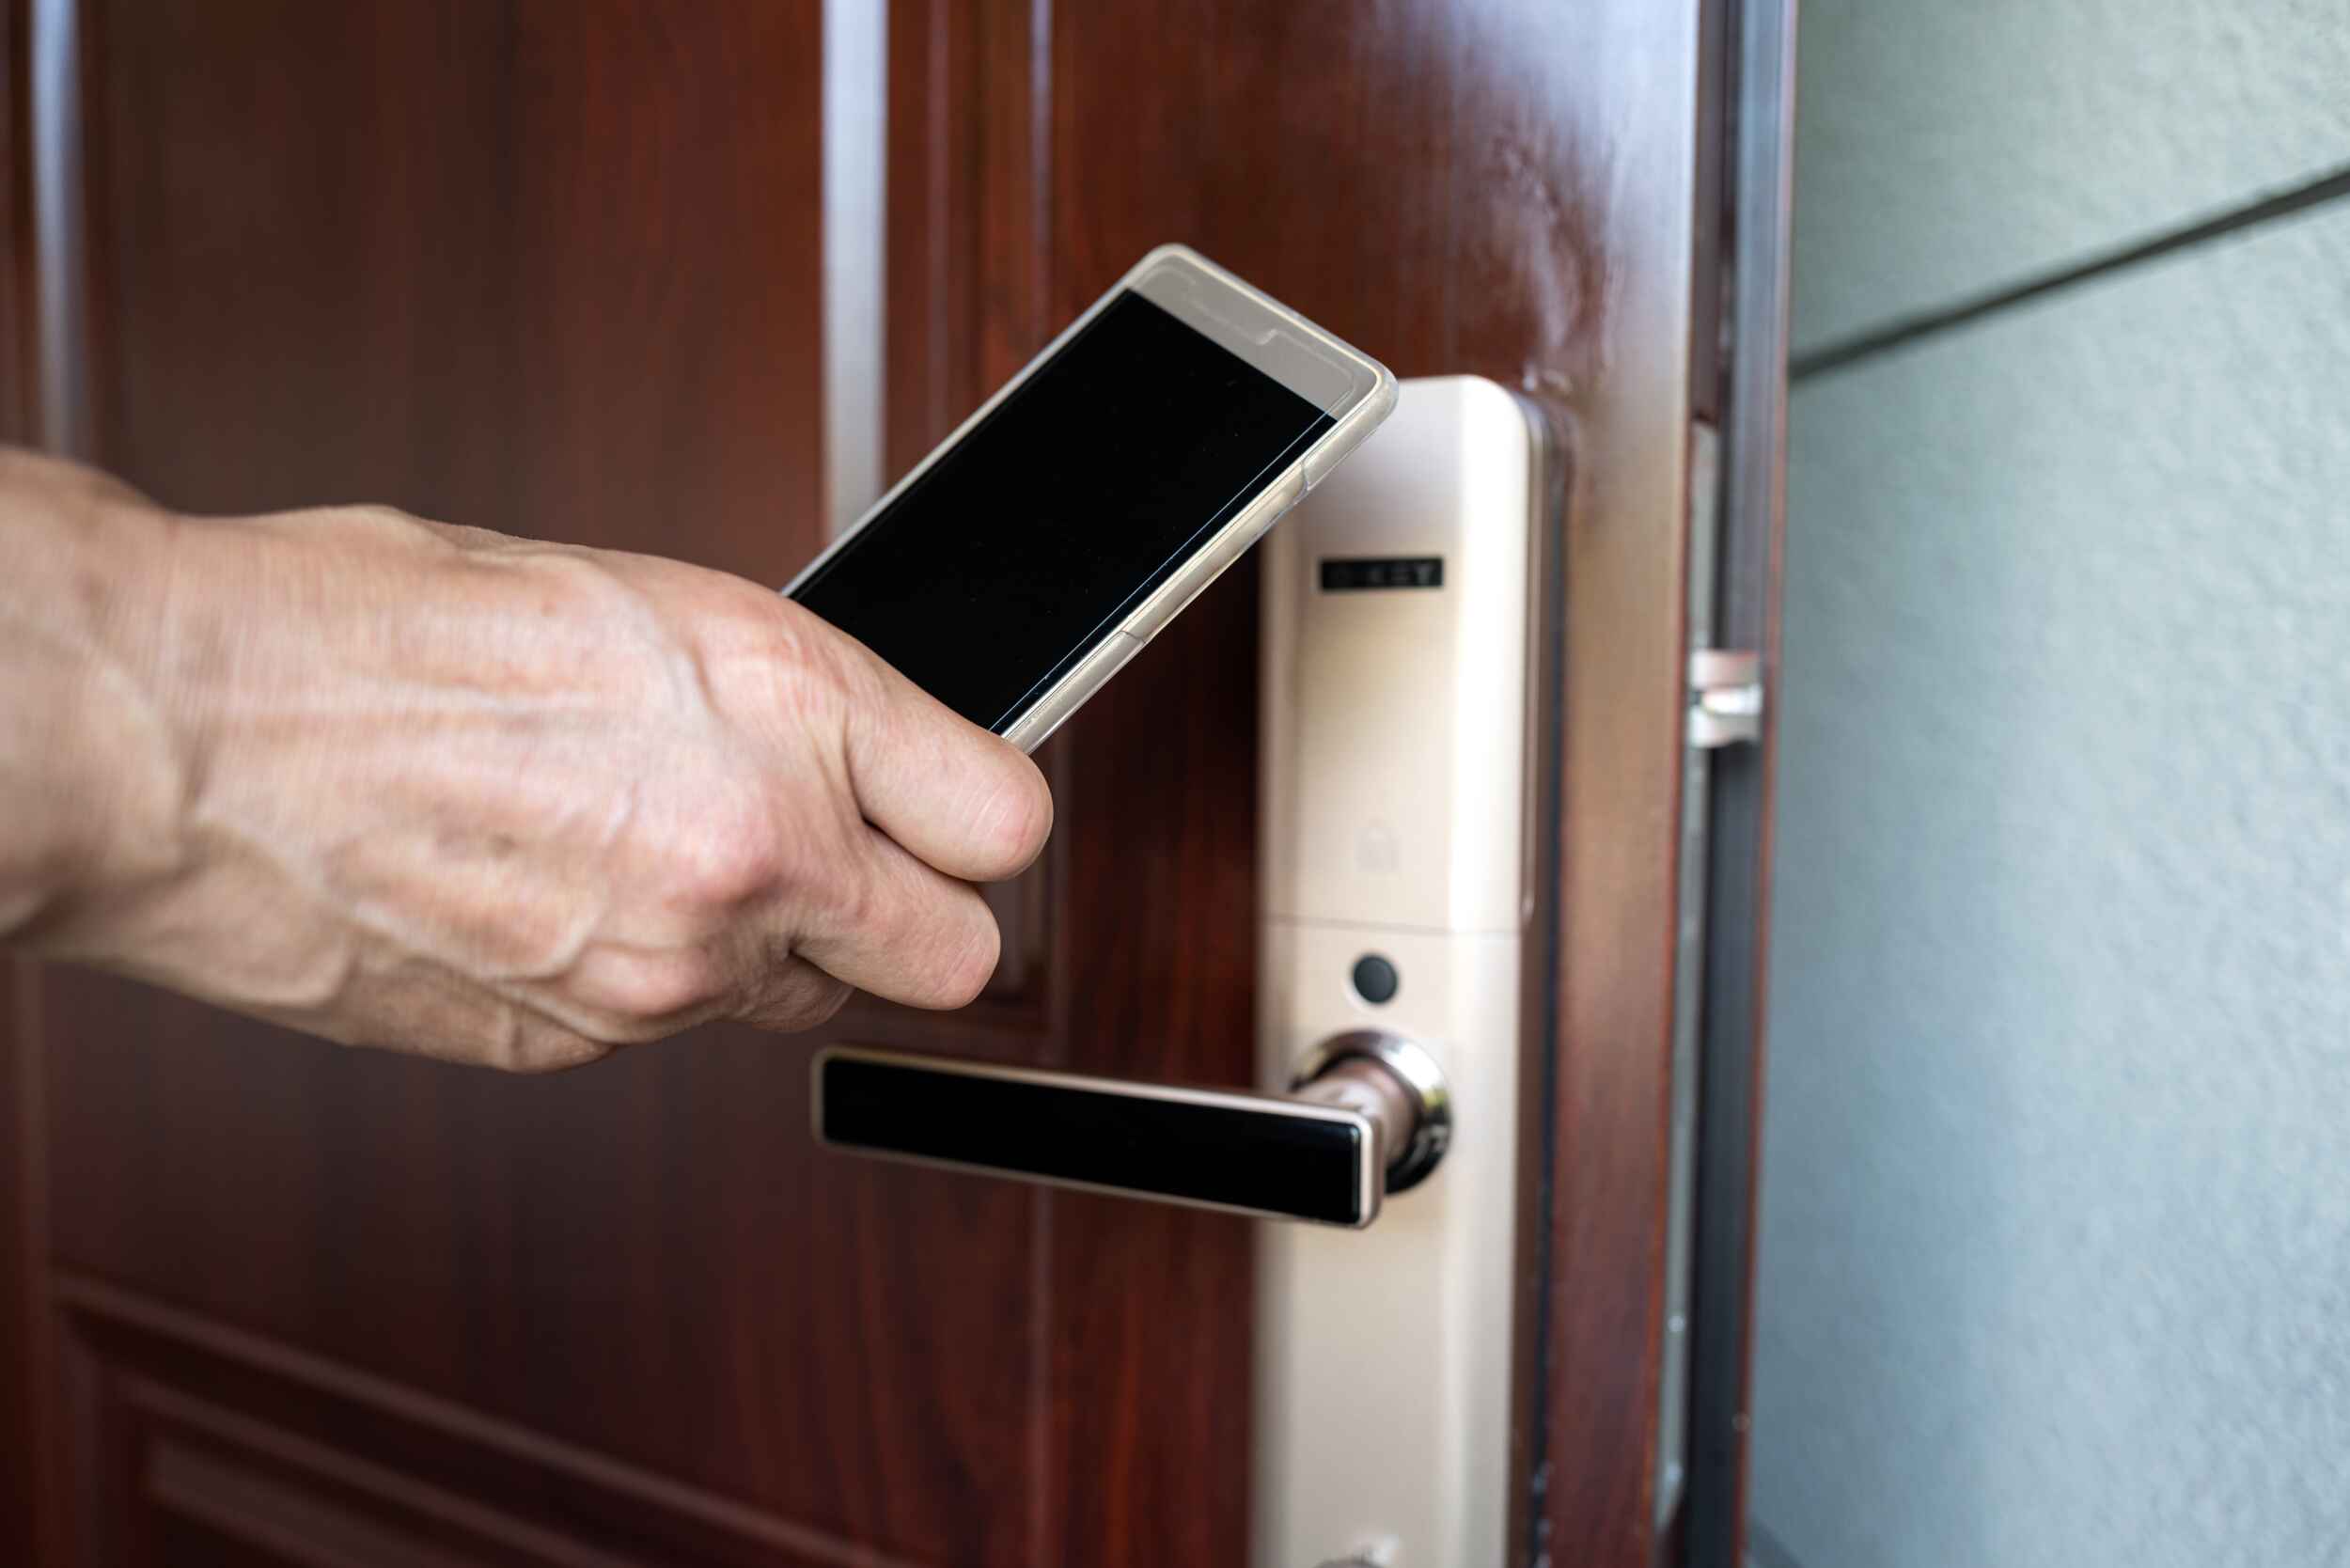
- Connect your phone to the lock: Using Bluetooth, connect your smartphone to your Kwikset Halo Lock by following the instructions in the app. Ensure that your phone is within a reasonable range of the lock for the connection to be established.
- Access lock settings: Once connected, navigate to the lock settings within the app. Look for the option to change Wi-Fi network or settings. The exact location may vary slightly depending on the version of the Kwikset app you are using.
- Select Wi-Fi network: In the lock settings, you should see an option to change or select the Wi-Fi network. Tap on this option, and a list of available networks should appear. Select your new Wi-Fi network from the list.
- Enter Wi-Fi credentials: After selecting the Wi-Fi network, you’ll be prompted to enter the Wi-Fi credentials (network name and password). Ensure the information is entered correctly, as any errors could prevent your lock from connecting to the network.
- Wait for connection: Once you’ve entered the Wi-Fi credentials, wait for the Kwikset Halo Lock to connect to the new network. This may take a few moments, so be patient. Once connected, you should see a confirmation message in the app.
- Test the connection: To ensure that the Wi-Fi connection was successful, test the connection by locking and unlocking your Kwikset Halo Lock using the app. If everything works smoothly, congratulations! You have successfully changed the Wi-Fi on your Kwikset Halo Lock.
Changing the Wi-Fi on your Kwikset Halo Lock is a simple process that can be performed by following these easy steps. Remember to ensure a stable internet connection, download the Kwikset app, and follow the in-app instructions to make a seamless transition to your new Wi-Fi network.
We hope this step-by-step guide has been helpful in assisting you with changing the Wi-Fi on your Kwikset Halo Lock. Stay tuned to our gaming blog for more exciting tech-related tips and tricks!