How to Change Minecraft Version: A Simple Guide
Welcome to our Gaming blog! In today’s post, we will be discussing how to change the Minecraft version, one of the most popular sandbox video games of all time. Whether you are a long-time player looking to explore different updates or a new player wanting to experience the game in a different way, changing the Minecraft version can offer you a whole new world of possibilities. We will walk you through the steps, so let’s get started!
Key Takeaways:
- Changing the Minecraft version allows players to access different features, modifications, and gameplay experiences.
- Before switching versions, it is essential to back up your current Minecraft files and understand that certain mods or worlds may not be compatible.
Step 1: Backup Your Minecraft Files
Before you embark on changing the Minecraft version, it is crucial to back up your current Minecraft files. This step ensures that you have a copy of your existing game progress, worlds, and mods, just in case something goes wrong during the process. To backup your Minecraft files, follow these simple steps:
- Locate your Minecraft installation folder on your computer.
- Copy and paste the entire folder to a different location on your computer.
- Make sure to label the backup folder to easily identify it in the future.
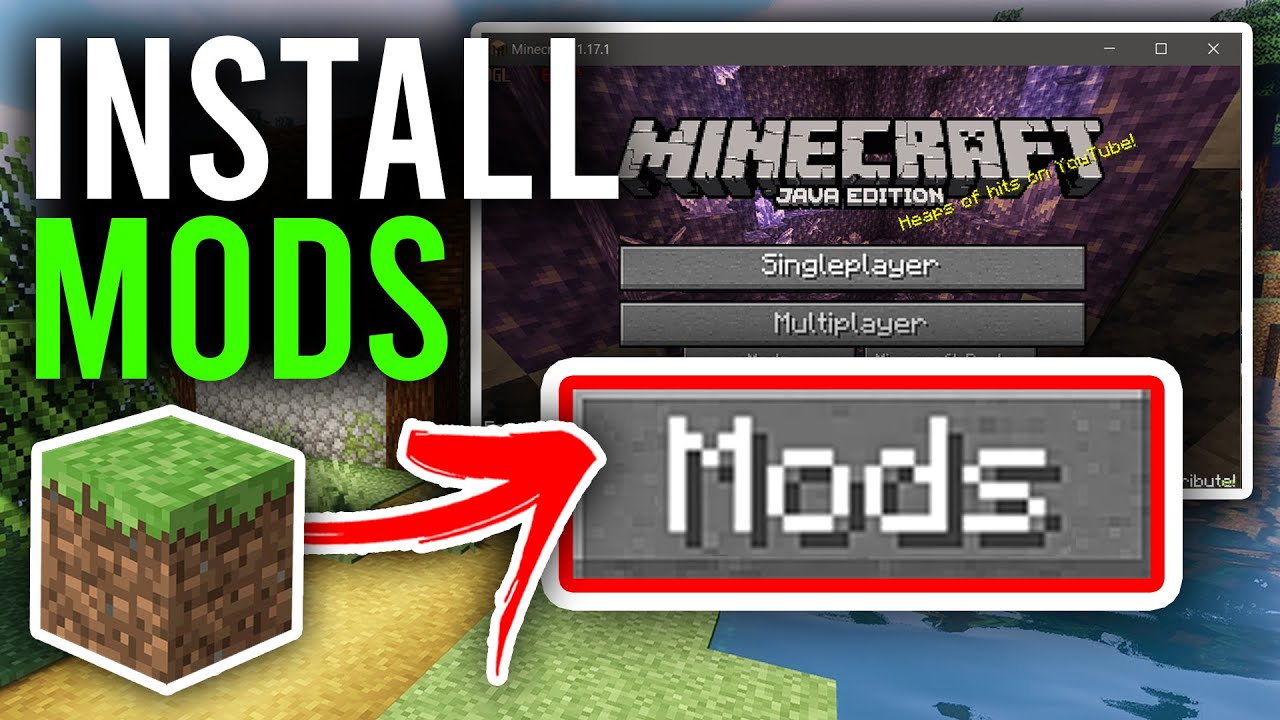
Step 2: Choose the Desired Minecraft Version
Now that you have a backup of your Minecraft files, it’s time to choose the version you want to switch to. Minecraft offers a variety of versions, including the latest release, experimental snapshots, or older versions. Here’s how you can select your desired version:
- Open the Minecraft Launcher on your computer.
- Click on the “Installations” tab at the top of the launcher.
- On the Installations page, click on the “New” button in the top right corner.
- Give your new installation a name to easily identify it (e.g., “Version X”).
- Under “Version,” select the dropdown menu and choose the desired Minecraft version.
- Click the “Create” button to create the new installation.
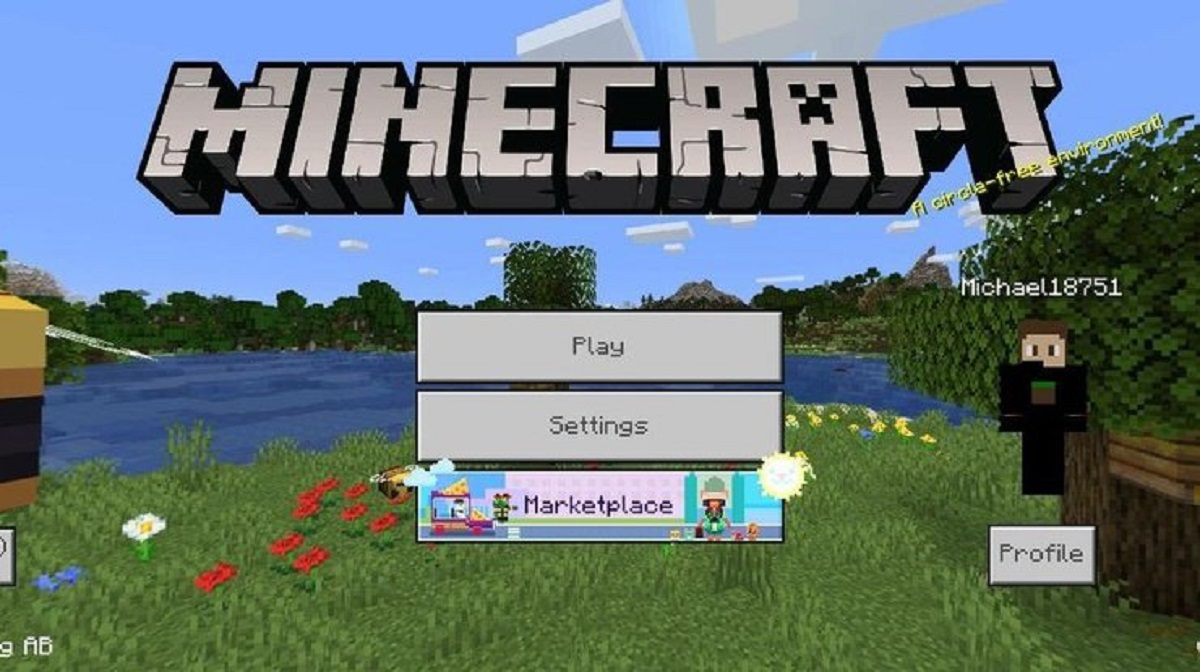
Step 3: Launch Minecraft with the New Version
Once you have created the new installation with the desired Minecraft version, it’s time to launch the game using that version. Follow these steps to play Minecraft with the new version:
- Return to the Minecraft Launcher.
- Click on the “Play” button to launch the game.
- In the game menu, select your newly created installation from the drop-down menu next to the “Play” button.
- Click “Play” to start the game with the selected Minecraft version.
And that’s it! You have successfully changed your Minecraft version. Explore new features, try out different mods, and enjoy a refreshed gameplay experience.
Remember to keep in mind that not all worlds or mods are compatible with every Minecraft version, so it’s essential to check compatibility and back up your files before making any changes. Happy crafting and have a great time playing Minecraft!