How Do You Make Mods For Minecraft: A Comprehensive Guide
Welcome to our GAMING category where we delve into the exciting world of Minecraft modding. If you’ve ever wondered how to customize your Minecraft experience and add new features to the game, you’re in the right place! In this blog post, we’ll explore the fascinating realm of Minecraft mods and guide you through the process of making your own mods. So let’s dive in and unlock the infinite possibilities of Minecraft modding!
Key Takeaways:
- Minecraft mods allow players to customize their gameplay and add new features.
- Creating mods requires an understanding of Java programming and Minecraft’s modding framework.
Before we embark on our modding journey, it’s important to understand what exactly a mod is. In simple terms, a mod, short for modification, is an alteration or addition to the original Minecraft game. These mods can range from small tweaks to major overhauls, allowing players to enhance their gaming experience in unique ways. From new blocks, items, and creatures to custom gameplay mechanics and stunning visual effects, mods open up a whole new world of possibilities in Minecraft.
So, how do you make mods for Minecraft? Here’s a step-by-step guide to get you started:
- Educate Yourself: Familiarize yourself with the basics of Java programming language. Understanding concepts such as variables, loops, and conditional statements is crucial for Minecraft modding.
- Download the Necessary Tools: Install the Java Development Kit (JDK) and Minecraft Forge, a modding framework that provides the necessary tools and structure for creating mods.
- Set Up Your Workspace: Create a new folder on your computer to use as your modding workspace. This is where you’ll organize your code and assets.
- Start Coding: Open your preferred Integrated Development Environment (IDE) and create a new mod project. Begin writing your code, utilizing Forge’s documentation and tutorials.
- Add Assets: To enhance your mod’s appearance, include custom textures, sounds, and models. Photoshop, GIMP, or other image-editing software can be used to create/edit textures.
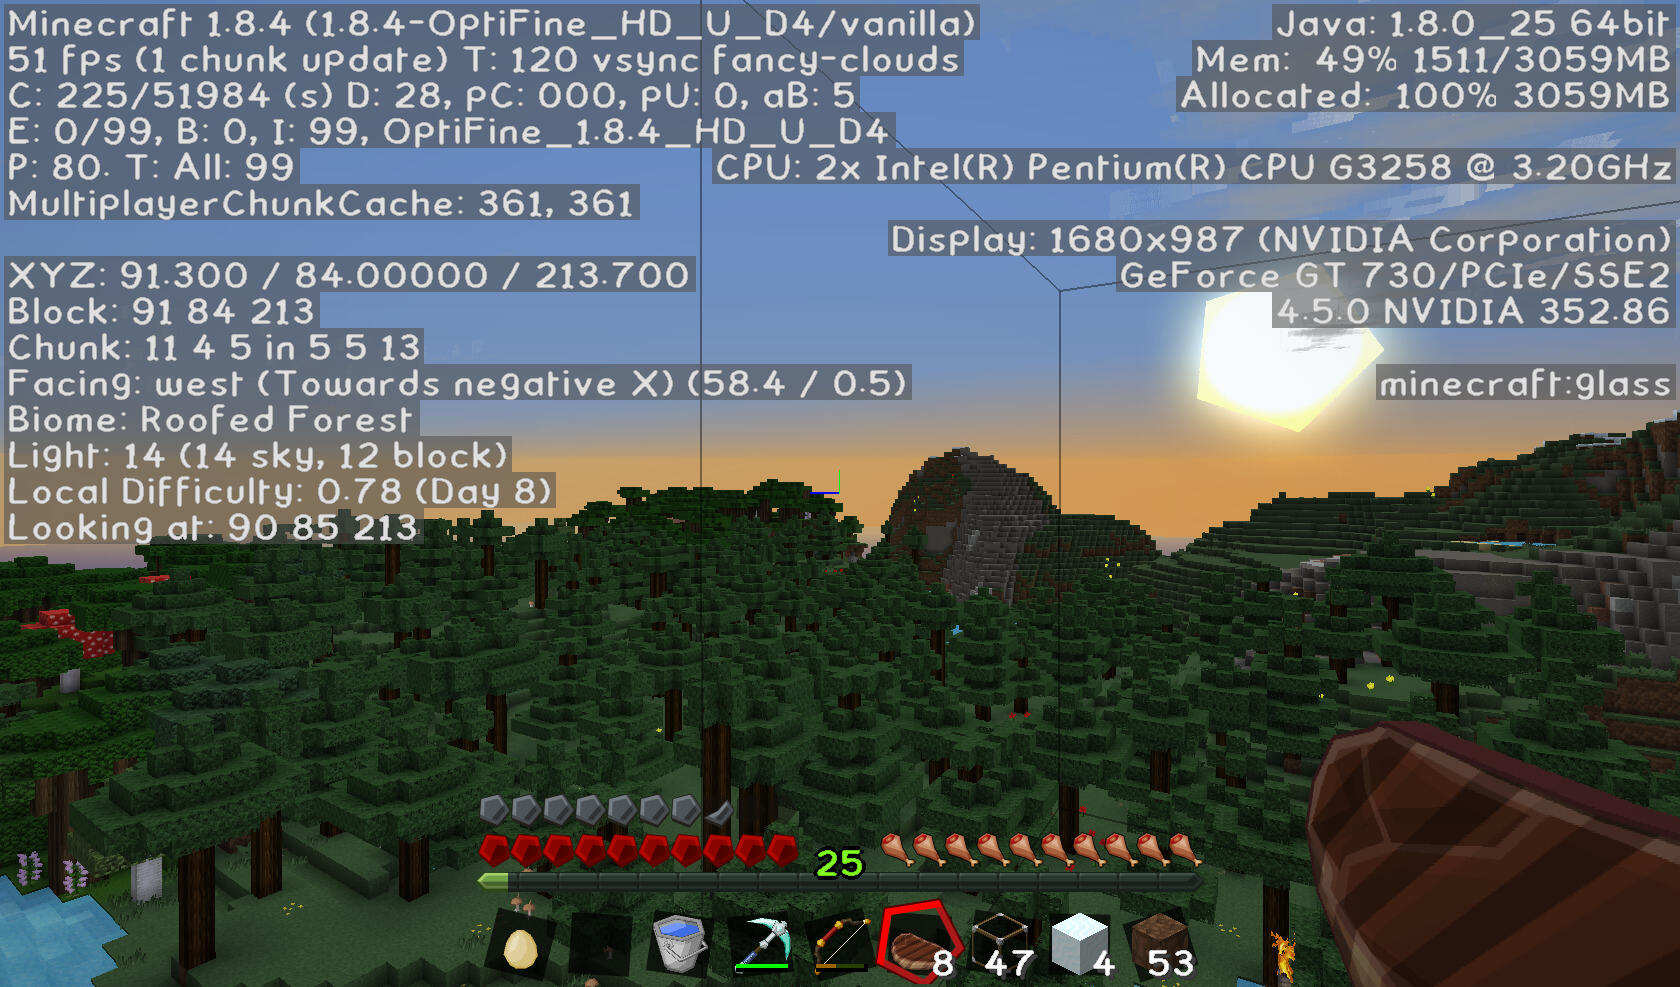
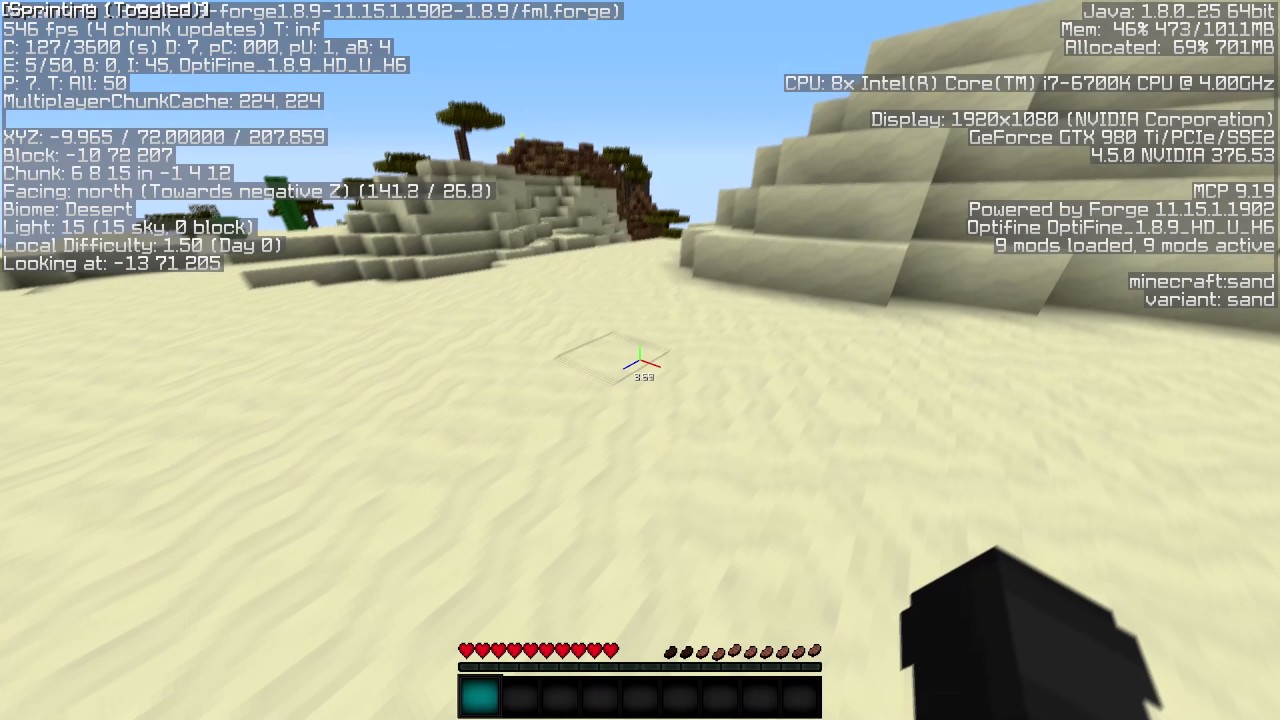
- Test Your Mod: Run Minecraft with your mod installed to ensure it works as intended. Debug any issues you encounter and make necessary adjustments.
- Distribute Your Mod: When you’re satisfied with your mod, prepare it for distribution. This may involve creating a .jar file or packaging your mod in a specific format depending on the platform you choose to share it on.
Remember, modding is an iterative and creative process. It may take time and experimentation to develop a mod that aligns with your vision. However, don’t be discouraged! The Minecraft modding community is resourceful and supportive, with vast online forums, tutorials, and communities where you can seek guidance and share your creations.
So go ahead, let your imagination run wild! Dive into the world of Minecraft modding and bring your unique ideas to life. Create your own custom blocks, epic weapons, or breathtaking dimensions. The possibilities are limited only by your creativity!
We hope this guide has provided you with a helpful starting point for making mods in Minecraft. Now, grab your coding tools, put on your thinking cap, and embark on an exciting modding adventure. Who knows, your creation might become the next fan-favorite mod in the Minecraft universe!