Introduction
Introduction
Bluestacks is a popular choice for individuals looking to play Android games on their computers. The platform offers a seamless way to enjoy mobile games on a larger screen, providing a more immersive gaming experience. While Bluestacks is designed to be used with a mouse and keyboard, many users prefer the familiarity and comfort of a game controller. Fortunately, Bluestacks supports game controller usage, allowing players to enjoy their favorite Android games using a controller of their choice.
Using a game controller with Bluestacks can enhance gameplay, offering more precise control and a more intuitive gaming experience. Whether you’re a casual gamer or a dedicated enthusiast, the ability to use a game controller on Bluestacks can elevate your gaming sessions to new heights.
This guide will walk you through the process of setting up and configuring a game controller for use with Bluestacks. You’ll learn how to seamlessly integrate your controller with the platform, map its buttons for optimal functionality, and test its performance to ensure a smooth gaming experience. By following these steps, you can unlock the full potential of your game controller and enjoy a seamless gaming experience on Bluestacks.
Setting Up Your Game Controller
Before diving into the world of Android gaming on Bluestacks with a game controller, it’s essential to ensure that your controller is properly set up and ready for use. Whether you’re using a console controller or a dedicated PC gamepad, the initial setup process is crucial for a seamless gaming experience.
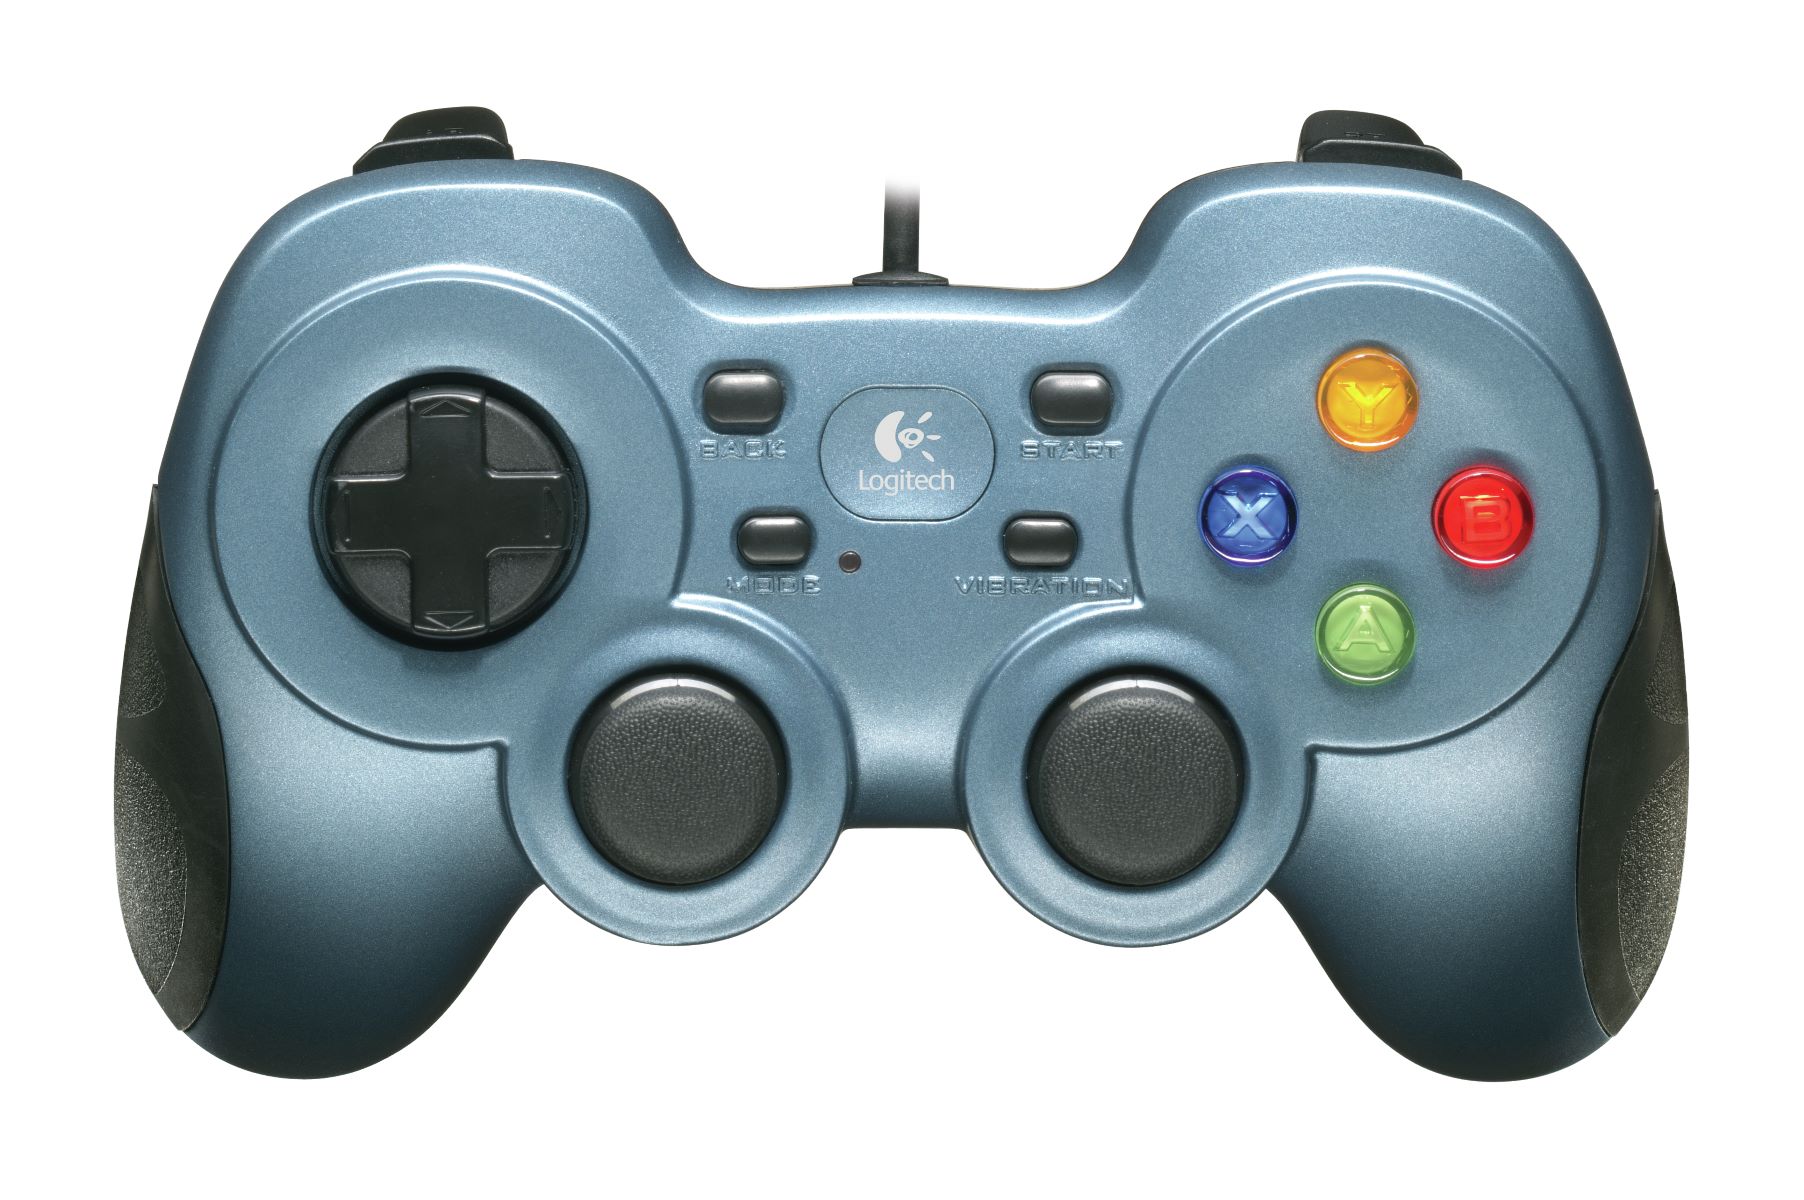
First and foremost, make sure that your game controller is compatible with your computer. Most modern game controllers, such as those for Xbox and PlayStation, can be easily connected to a PC via USB or Bluetooth. If you’re using a dedicated PC gamepad, follow the manufacturer’s instructions for connecting it to your computer.
Once your game controller is connected to your computer, it’s important to verify that it’s recognized and functioning correctly. Navigate to the device manager on your computer to confirm that the game controller is detected without any issues. If you encounter any connectivity issues, consult the controller’s manual or the manufacturer’s support resources for troubleshooting guidance.
For wireless controllers, ensure that the batteries are fully charged or replace them with fresh ones to prevent any interruptions during your gaming sessions. Additionally, familiarize yourself with the buttons and controls on your game controller to prepare for the mapping process in Bluestacks.
By taking the time to set up your game controller properly, you can lay the foundation for a smooth and enjoyable gaming experience on Bluestacks. With the controller ready for action, you can proceed to configure Bluestacks to recognize and utilize your preferred gamepad for Android gaming.
Configuring Bluestacks for Game Controller Use
Once your game controller is connected and ready for action, the next step is to configure Bluestacks to recognize and utilize the controller for gaming. Bluestacks offers built-in support for game controllers, making it relatively straightforward to set up your preferred gamepad for use with Android games on the platform.
To begin, launch Bluestacks on your computer and ensure that it’s up to date with the latest version. This helps to guarantee compatibility and optimal performance when using a game controller with the platform. Once Bluestacks is running, navigate to the settings menu, typically represented by a gear or cogwheel icon, to access the configuration options.
Within the settings menu, look for the “Preferences” or “Game Settings” section, where you’ll likely find the option to configure gamepad support. Enable the gamepad or controller support feature to signal to Bluestacks that you intend to use a game controller for gaming. Depending on the version of Bluestacks you’re using, the specific location of this setting may vary, so refer to the platform’s documentation for precise guidance.
After enabling gamepad support, you may need to restart Bluestacks to apply the changes and ensure that the platform recognizes your game controller. Once Bluestacks has restarted, connect your game controller to your computer if it isn’t already connected, and ensure that it’s powered on and ready for use.
With the game controller connected and Bluestacks configured to recognize it, you’re one step closer to immersing yourself in Android gaming with enhanced control and precision. The next phase involves mapping the buttons on your game controller to correspond with the on-screen controls of the games you intend to play, enabling seamless interaction and an intuitive gaming experience.
Mapping Game Controller Buttons
Mapping the buttons on your game controller is a crucial step in optimizing your gaming experience on Bluestacks. This process allows you to align the physical buttons on your controller with the virtual controls within the games you play, ensuring seamless and intuitive gameplay. Fortunately, Bluestacks provides a straightforward method for mapping game controller buttons, empowering you to customize the controls to suit your preferences.
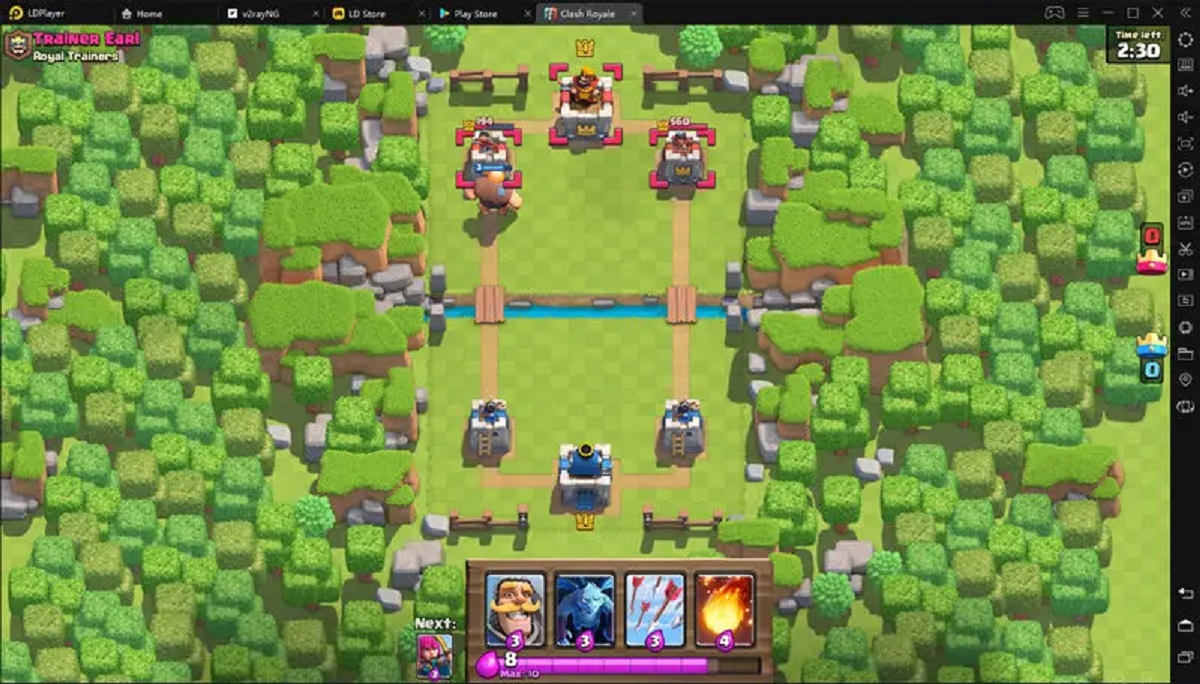
Start by launching the game you wish to play on Bluestacks and ensure that your game controller is connected and recognized by the platform. Once the game is running, look for the “Game Controls” icon on the right-hand side of the Bluestacks window, typically represented by a gamepad or controller symbol. Clicking on this icon will open the game controls editor, where you can begin mapping the buttons on your controller.
In the game controls editor, you’ll see an overlay of the game’s interface, displaying virtual buttons and controls that correspond to the on-screen actions. To map your game controller buttons, simply click on a virtual control, such as a button for jumping or attacking, and then press the corresponding button on your game controller. This action associates the physical button on your controller with the selected on-screen control, effectively mapping the two together.
Take the time to map each essential control in the game to your game controller, ensuring that you cover all necessary actions for a seamless gaming experience. This may include movement, combat, interaction, and any other functions specific to the game you’re playing. By customizing the button mapping to align with your preferred playstyle, you can enhance your control and precision within the game.
Once you’ve completed the button mapping process, save your configurations within the game controls editor to apply the changes. You can then test your newly mapped controls by interacting with the game using your game controller. If any adjustments are needed, simply revisit the game controls editor to refine the button mappings until you achieve an optimal setup for your gaming preferences.
Mapping game controller buttons in Bluestacks empowers you to tailor your gaming experience to your liking, bringing the familiarity and comfort of a gamepad to your favorite Android games. With the controls mapped to your satisfaction, you’re ready to put your game controller to the test and enjoy a seamless gaming experience on Bluestacks.
Testing Your Game Controller
After setting up and mapping your game controller for use with Bluestacks, it’s essential to conduct thorough testing to ensure that the controller functions as intended within your favorite Android games. Testing allows you to verify the button mappings, responsiveness, and overall performance of the game controller, providing an opportunity to make any necessary adjustments for an optimal gaming experience.
Start by launching the games you’ve configured to work with your game controller on Bluestacks. As the game loads, take note of how the on-screen actions correspond to the physical buttons on your game controller. Test each mapped control to verify that it accurately triggers the intended in-game actions, such as movement, jumping, attacking, or interacting with the game environment.
During testing, pay close attention to the responsiveness and precision of the game controller. Assess the sensitivity of the analog sticks, the tactile feedback of the buttons, and the overall comfort and ergonomics of using the controller for extended gaming sessions. This evaluation can help you identify any areas for improvement and fine-tune the button mappings to better suit your playstyle.
In addition to assessing the functionality of the game controller within individual games, consider testing its performance across a variety of game genres. Try playing action-packed games that require quick reflexes, as well as more strategic titles that demand precise input from the controller. This diverse testing approach allows you to gauge the versatility and adaptability of your game controller across different gaming experiences.
As you test your game controller within Bluestacks, take note of any specific challenges or areas where the controller’s performance could be enhanced. Whether it’s adjusting the sensitivity of the analog sticks, fine-tuning button mappings, or exploring additional customization options within Bluestacks, addressing these aspects can elevate your gaming experience and ensure that your game controller seamlessly integrates with the platform.
By thoroughly testing your game controller within Bluestacks, you can refine its functionality and tailor it to your gaming preferences, ultimately enhancing your immersion and enjoyment of Android games on your computer. This hands-on approach to testing empowers you to optimize the performance of your game controller, paving the way for countless hours of gaming excitement and satisfaction on Bluestacks.
Conclusion
Embracing the use of a game controller on Bluestacks opens up a world of possibilities for Android gaming enthusiasts, offering a familiar and intuitive way to interact with their favorite games. Throughout this guide, you’ve embarked on a journey to set up, configure, and optimize the use of a game controller within the Bluestacks platform, empowering you to elevate your gaming experience to new heights.
From the initial setup of your game controller to the meticulous process of mapping its buttons to align with in-game controls, you’ve gained valuable insights into seamlessly integrating your preferred gamepad with Bluestacks. By following the steps outlined in this guide, you’ve taken the essential strides to ensure that your game controller functions harmoniously within the realm of Android gaming on your computer.
As you’ve tested the performance of your game controller across various games and genres, you’ve honed its functionality to suit your gaming preferences, fine-tuning button mappings and responsiveness to achieve an optimal setup. This hands-on approach has empowered you to tailor your gaming experience, embracing the comfort and precision that a game controller brings to the world of Android gaming on Bluestacks.
With your game controller seamlessly integrated and optimized for use with Bluestacks, you’re poised to embark on countless gaming adventures, immersing yourself in the rich and diverse landscape of Android games with enhanced control and familiarity. Whether you’re navigating through action-packed battles, exploring immersive open worlds, or engaging in multiplayer showdowns, your game controller is now a trusted companion, enhancing your gaming sessions with seamless input and precision.
By harnessing the power of a game controller on Bluestacks, you’ve unlocked a gateway to immersive and captivating gaming experiences, bridging the gap between mobile and PC gaming with comfort and precision. As you continue to explore the ever-expanding library of Android games available on Bluestacks, your game controller stands ready to deliver seamless and intuitive control, enriching your gaming escapades and bringing forth a new level of enjoyment and immersion.
Armed with the knowledge and expertise gained from this guide, you’re well-equipped to embark on your Android gaming journey with confidence, knowing that your game controller is seamlessly integrated and optimized for the adventures that await on Bluestacks.