Introduction
Are you a proud owner of a Lenovo ThinkPad and find yourself in need of temporarily disabling the mouse pad? Whether you want to use an external mouse or just prefer typing without the risk of accidental cursor movements, there are several methods to achieve this. In this guide, we will explore three simple and effective ways to turn off the mouse pad on a Lenovo ThinkPad, catering to different user preferences and technical comfort levels.
Navigating through the various methods, you will discover the versatility of your ThinkPad and gain the confidence to customize its functionalities to suit your specific needs. From using the convenient function keys to accessing the control panel and device manager, each approach offers a unique solution, ensuring that you can seamlessly disable the mouse pad whenever the need arises.
So, whether you are a tech-savvy user or someone who prefers straightforward solutions, this comprehensive guide will equip you with the knowledge to effortlessly manage your Lenovo ThinkPad's mouse pad, enhancing your overall user experience. Let's dive into the methods and empower you to take full control of your device's settings.
Method 1: Using the Function Keys
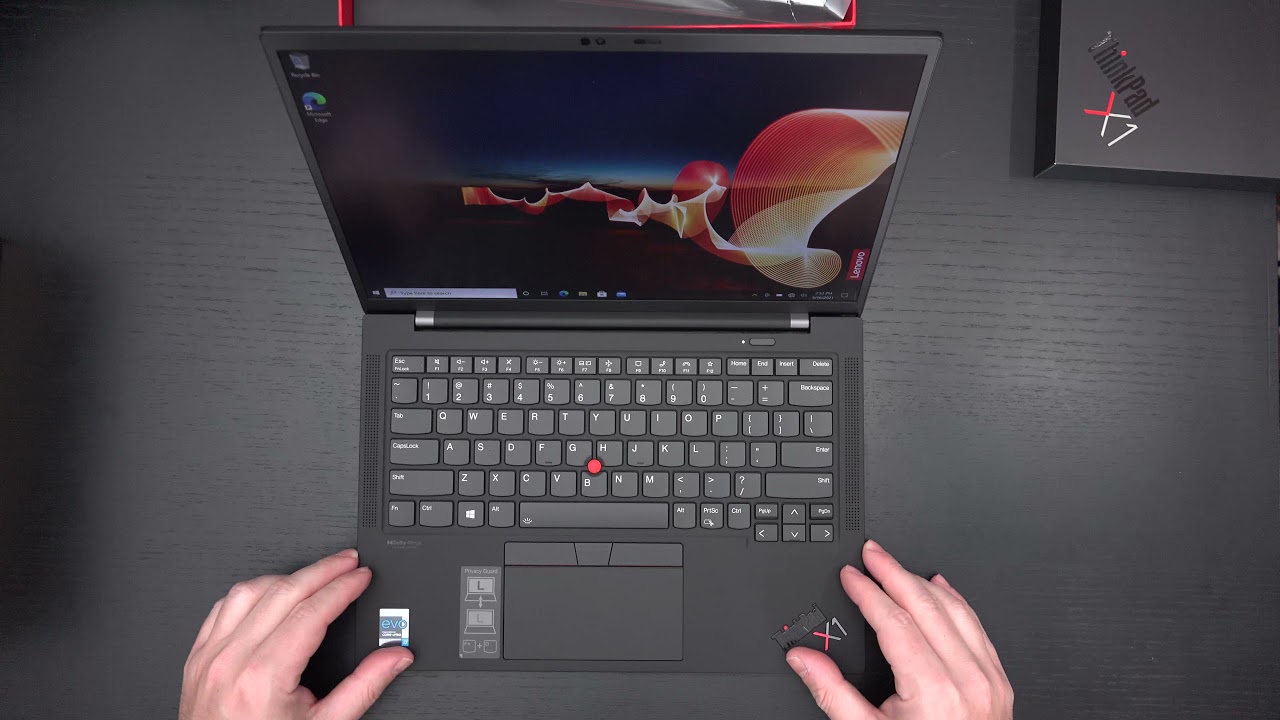
If you prefer a quick and convenient way to disable the mouse pad on your Lenovo ThinkPad, utilizing the function keys is an efficient method. Many Lenovo ThinkPad models are equipped with a designated function key that allows you to toggle the mouse pad on and off with ease. To execute this, locate the function key on your keyboard, typically denoted with a touchpad icon or labeled as “Fn.” Additionally, there is often a corresponding key with an icon depicting a crossed-out touchpad.
Here’s a step-by-step guide to using the function keys:
- Locate the Function Key: Identify the function key on your Lenovo ThinkPad’s keyboard that is designated for controlling the mouse pad. This key is often accompanied by an icon representing a touchpad.
- Press the Function Key Combination: Simultaneously press the “Fn” key and the designated touchpad control key. This action will toggle the mouse pad on or off, depending on its current state.
- Verify the Mouse Pad Status: Once the key combination is activated, observe the status of your mouse pad to confirm whether it has been successfully disabled or reactivated.
By utilizing the function keys, you can swiftly and effortlessly manage the status of your Lenovo ThinkPad’s mouse pad, providing a convenient solution for temporary deactivation. This method offers a seamless way to toggle the mouse pad on and off, catering to users who value simplicity and speed when customizing their device’s settings.
Method 2: Using the Control Panel
If you prefer a more comprehensive approach to managing your Lenovo ThinkPad’s mouse pad settings, utilizing the Control Panel provides a versatile method to disable the touchpad. This method offers a more detailed interface for adjusting various hardware and software settings, allowing for a more customized experience. Here’s a step-by-step guide to using the Control Panel to turn off the mouse pad:
- Access the Control Panel: Navigate to the Control Panel on your Lenovo ThinkPad. You can typically find the Control Panel in the Windows system settings or by using the search function in the taskbar.
- Locate the Mouse Settings: Within the Control Panel, locate the “Mouse” settings or a similar option that allows you to manage pointing devices and their associated settings.
- Disable the Touchpad: Once you have accessed the mouse settings, look for the option to disable the touchpad. This option may be located under a specific tab or category related to touchpad settings.
- Apply the Changes: After selecting the option to disable the touchpad, apply the changes and exit the Control Panel. Your Lenovo ThinkPad’s touchpad should now be disabled until you choose to re-enable it using the same method.
Using the Control Panel to disable the touchpad offers a more in-depth approach, allowing you to access additional mouse settings and preferences. This method is ideal for users who prefer a more detailed interface and want to explore various touchpad customization options beyond simple on/off toggling.
Method 3: Using Device Manager
For users who are comfortable navigating system settings and prefer a method that provides detailed control over hardware devices, utilizing the Device Manager to disable the mouse pad on your Lenovo ThinkPad offers a comprehensive approach. The Device Manager allows you to manage and configure hardware devices, making it an ideal option for users who want to have precise control over their touchpad settings. Here’s a step-by-step guide to using the Device Manager to turn off the mouse pad:
- Open Device Manager: Access the Device Manager on your Lenovo ThinkPad. You can typically open the Device Manager by right-clicking on the Windows Start menu and selecting “Device Manager” from the list of options.
- Locate the Touchpad Device: Within the Device Manager interface, locate the category that represents your touchpad or pointing device. This category may be labeled as “Mice and other pointing devices” or something similar.
- Disable the Touchpad: Once you have located the touchpad device in the Device Manager, right-click on it and select the “Disable” option from the context menu. Confirm the action if prompted to disable the touchpad.
- Verify the Status: After disabling the touchpad, verify that the device status in the Device Manager indicates that it is disabled. The touchpad should now be inactive until you choose to re-enable it using the same method.
Using the Device Manager to disable the touchpad provides a detailed and precise method for managing hardware devices on your Lenovo ThinkPad. This approach is suitable for users who are comfortable navigating system settings and prefer to have granular control over their touchpad’s status and functionality.
Conclusion
By exploring the diverse methods to turn off the mouse pad on a Lenovo ThinkPad, you have gained valuable insights into the versatility and customization options available for managing your device’s touchpad functionality. Whether you prefer a quick and convenient solution using function keys, a more comprehensive approach through the Control Panel, or a detailed hardware management method via the Device Manager, each technique offers a tailored way to meet your specific preferences and technical comfort level.
Empowered with the knowledge of these methods, you can confidently navigate your Lenovo ThinkPad’s settings and effortlessly toggle the mouse pad on and off as needed. This flexibility enhances your overall user experience, allowing you to adapt your device to various usage scenarios and individual preferences.
As you continue to explore the capabilities of your Lenovo ThinkPad, remember that the ability to customize and manage hardware settings is a valuable aspect of optimizing your computing experience. Whether you are a tech-savvy user who enjoys delving into detailed settings or someone who prefers straightforward solutions, the methods outlined in this guide cater to a wide range of user preferences and technical comfort levels.
With these versatile methods at your disposal, you can confidently take control of your Lenovo ThinkPad’s touchpad settings, ensuring that your device adapts to your needs and preferences seamlessly. Embrace the flexibility and customization options available to you, and make the most of your Lenovo ThinkPad’s capabilities as you navigate your daily computing tasks.