Introduction
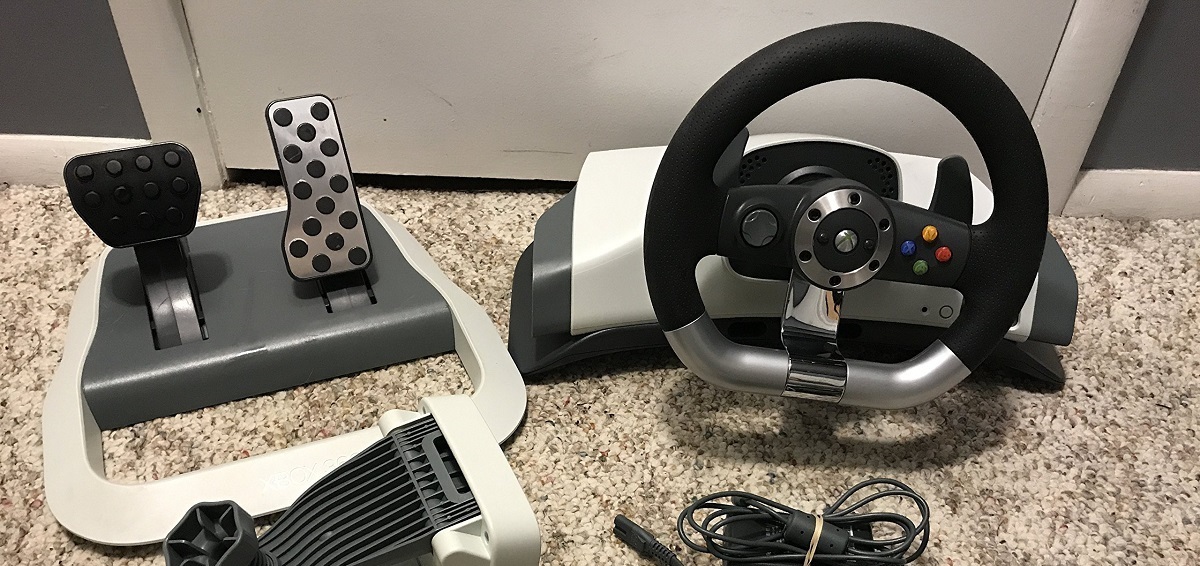
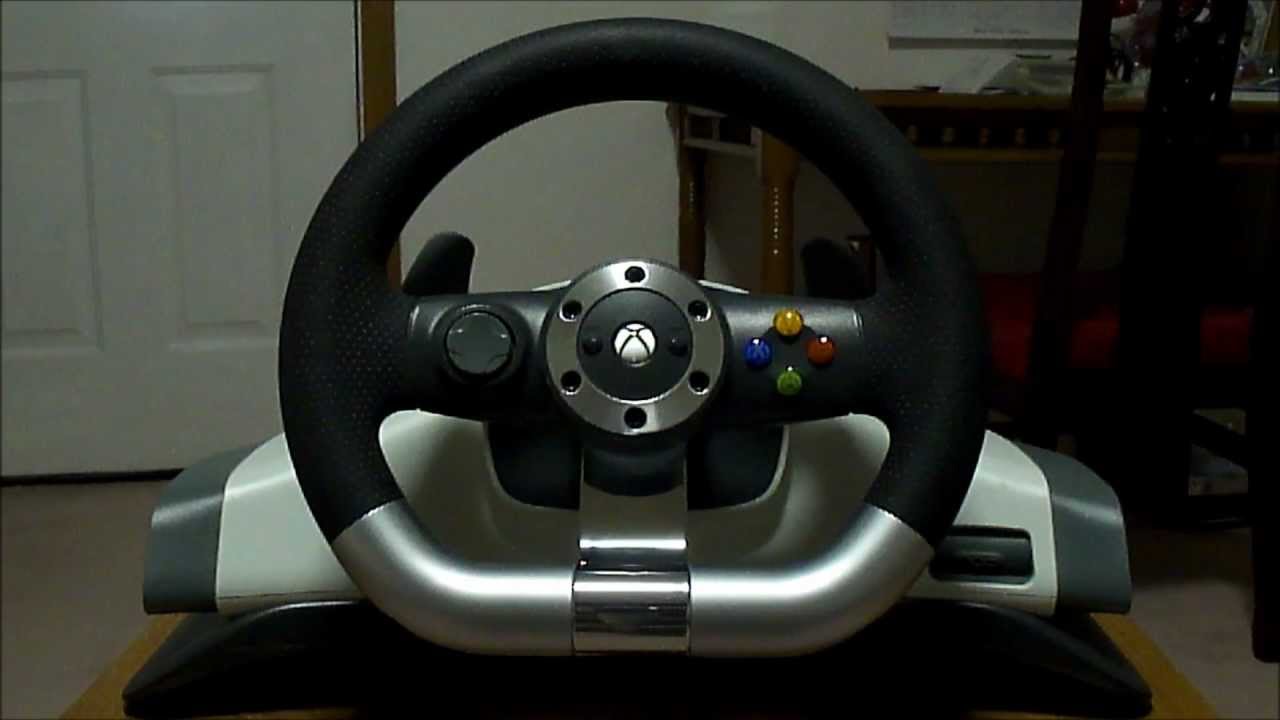
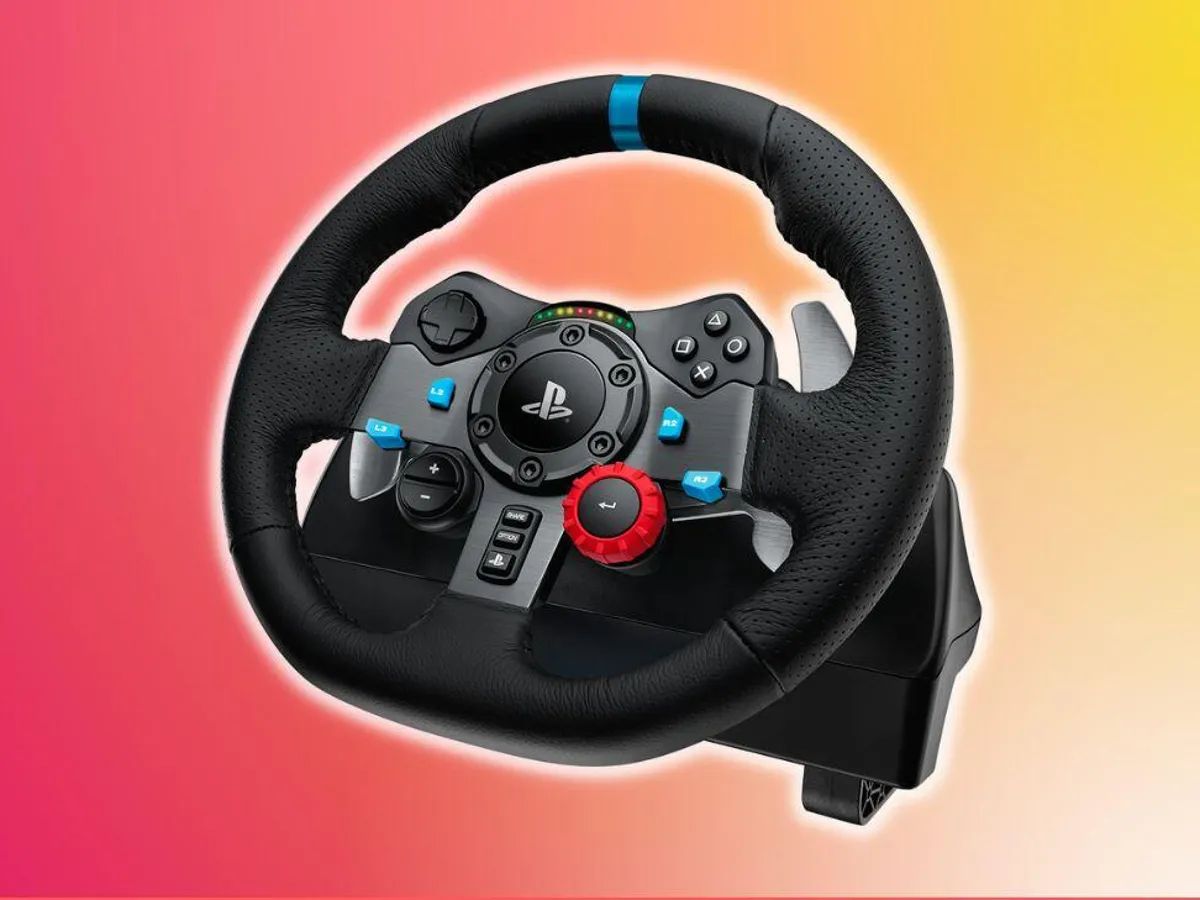
Taking apart an Xbox 360 racing wheel can be a rewarding and educational experience for gaming enthusiasts and tech-savvy individuals. Whether you're looking to troubleshoot an issue, customize the wheel, or simply explore its inner workings, disassembling the device can provide valuable insights into its construction and functionality. By carefully following the steps and using the appropriate tools, you can safely disassemble the racing wheel without causing damage to its components.
Additionally, gaining a deeper understanding of the internal mechanisms can empower you to perform maintenance, repairs, or modifications, ultimately enhancing your gaming experience. However, it's crucial to approach the disassembly process with patience and precision to avoid any mishaps and ensure a successful reassembly.
In this guide, we'll walk you through the step-by-step process of disassembling an Xbox 360 racing wheel, from gathering the necessary tools and materials to safely disconnecting the internal components. By following these instructions, you'll be equipped to delve into the inner workings of the racing wheel and gain valuable insights into its construction and functionality. So, let's grab our tools and embark on this disassembly journey together!
Tools and Materials Needed
Before diving into the disassembly process, it’s essential to gather the necessary tools and materials to ensure a smooth and efficient experience. Here’s a comprehensive list of what you’ll need:
- Phillips Head Screwdriver: This tool is crucial for removing the screws that secure the casing of the racing wheel.
- Flathead Screwdriver: A flathead screwdriver will come in handy for prying open the casing and disconnecting certain components.
- Plastic Opening Tools: These non-conductive tools are ideal for prying apart plastic clips and separating the housing without causing damage.
- Clean Workspace: Ensure you have a clean, well-lit area to work in, with ample space to lay out and organize the disassembled components.
- Container for Screws: Keeping track of the screws is crucial, so having a small container or compartmentalized tray to store the screws will prevent them from getting misplaced.
- Anti-Static Wrist Strap: To prevent electrostatic discharge that could potentially damage sensitive electronic components, consider using an anti-static wrist strap during the disassembly process.
- Camera or Smartphone: Taking pictures of the disassembly process can serve as a helpful reference when reassembling the racing wheel.
- Patience and Care: While not physical tools, these qualities are essential for a successful disassembly and reassembly process. Taking your time and handling the components with care will minimize the risk of damage.
By ensuring you have all the necessary tools and materials at your disposal, you’ll be well-prepared to begin the disassembly process without encountering any unexpected obstacles. Now that you’ve gathered everything you need, it’s time to move on to the next step: removing the screws securing the racing wheel’s casing.
Removing the Screws
With the necessary tools and materials at hand, it’s time to initiate the disassembly process by removing the screws that secure the casing of the Xbox 360 racing wheel. Follow these steps to safely access the internal components:
- Locate the Screws: Carefully examine the exterior of the racing wheel to identify the screw locations. They are often situated on the bottom surface and may be concealed beneath rubber feet or labels.
- Use the Phillips Head Screwdriver: Select the appropriate size of Phillips head screwdriver and begin removing the screws. It’s crucial to keep the screws organized and labeled to ensure they are returned to their correct positions during reassembly.
- Store the Screws Safely: As each screw is removed, place it in the designated container or compartmentalized tray to prevent misplacement. Keeping the screws organized will streamline the reassembly process.
- Document the Screw Locations: Consider taking photographs or making notes of the screw locations to aid in reassembly. This visual reference will be invaluable when it’s time to put the racing wheel back together.
- Confirm All Screws Are Removed: Thoroughly inspect the casing to ensure all screws have been removed. Some screws may be hidden beneath stickers or warranty seals, so be diligent in your examination.
By carefully removing the screws and keeping them organized, you’ll pave the way for the next phase of the disassembly process: opening the casing to access the internal components. With the screws out of the way, you’re one step closer to gaining insight into the inner workings of the racing wheel.
Opening the Casing
After successfully removing the screws that secure the casing, the next step in disassembling the Xbox 360 racing wheel involves carefully opening the casing to gain access to the internal components. Follow these guidelines to proceed with this phase:
- Identify Casing Seams: Inspect the perimeter of the racing wheel’s casing to locate the seams where the two halves of the housing meet. These seams are typically secured by plastic clips or tabs.
- Utilize Plastic Opening Tools: To avoid damaging the casing, use non-conductive plastic opening tools to gently pry apart the clips securing the housing. Work your way around the edges, gradually releasing the clips without applying excessive force.
- Exercise Patience: Opening the casing may require patience and finesse, as some areas may be more tightly secured than others. Take your time and proceed methodically to prevent unintended damage to the housing.
- Check for Hidden Fasteners: In some cases, there may be additional screws or fasteners concealed beneath stickers or labels. Carefully inspect the casing for any hidden securing mechanisms and address them accordingly.
- Separate the Casing Halves: Once the clips and any hidden fasteners have been disengaged, gently separate the two halves of the casing, taking care not to strain or stress any internal components or cables.
By approaching the task with caution and using the appropriate tools, you can safely open the casing of the racing wheel, revealing the internal components within. With the housing now accessible, you’re poised to proceed to the next crucial phase: disconnecting the internal components in preparation for a comprehensive disassembly.
Disconnecting the Internal Components
As the casing of the Xbox 360 racing wheel is now open, the next critical step in the disassembly process involves disconnecting the internal components. This phase requires careful attention to detail and a methodical approach to ensure that the components are safely separated. Follow these steps to proceed with disconnecting the internal components:
- Identify the Internal Components: Take a moment to familiarize yourself with the layout of the internal components, including the circuit boards, wiring harnesses, and any additional modules or assemblies.
- Unplug Wiring Harnesses: Locate the wiring harnesses that connect the various components and carefully unplug them by firmly grasping the connectors and gently pulling them apart. Exercise caution to avoid applying excessive force that could damage the connectors or cables.
- Remove Circuit Board Connections: If the disassembly requires accessing the circuit boards, carefully disconnect any ribbon cables, connectors, or other interfaces that secure the boards to the housing or other components.
- Label and Document Connections: As you disconnect the internal components, consider labeling the connectors or taking photographs to document their original positions and orientations. This will aid in reassembly and minimize confusion during the later stages of the process.
- Handle Components with Care: When disconnecting the internal components, handle them with care to prevent damage to delicate circuitry, connectors, or cables. Avoid placing stress on the wires or forcefully pulling apart interconnected components.
By systematically disconnecting the internal components with precision and care, you’ll effectively prepare the racing wheel for a comprehensive disassembly. This phase sets the stage for gaining a deeper understanding of the internal mechanisms and undertaking any necessary maintenance, repairs, or modifications. With the internal components safely disconnected, you’re ready to proceed to the subsequent phase: reassembling the racing wheel.
Reassembling the Racing Wheel
After successfully disassembling the Xbox 360 racing wheel and performing any necessary maintenance, repairs, or modifications, the reassembly process is a crucial step to ensure the device functions optimally. Follow these guidelines to methodically reassemble the racing wheel:
- Refer to Documentation: If you documented the disassembly process with photographs or notes, use these references to guide the reassembly. This will help ensure that components are returned to their correct positions and orientations.
- Handle Components with Care: As you reassemble the racing wheel, treat the internal components delicately to avoid damage to connectors, circuit boards, or wiring harnesses. Take your time to align and seat components properly.
- Reconnect Internal Components: Begin by reconnecting the wiring harnesses and any disconnected components, ensuring that the connectors are properly aligned and securely seated. Exercise caution to prevent bending or stressing the cables.
- Carefully Align Casing Halves: When closing the casing, align the two halves carefully to ensure that the clips engage securely without forcing the components. Apply gentle pressure to secure the housing without causing undue stress.
- Secure Screws in Place: Using the labeled screws you organized during the disassembly, reinsert and tighten them in their respective locations, following the reverse order of removal. Ensure that each screw is snug but not overtightened to avoid damaging the casing.
- Perform Functionality Checks: Before fully securing the casing, perform a brief functionality test by connecting the racing wheel to the Xbox 360 console. Verify that all buttons, pedals, and other functions operate as expected.
By meticulously reassembling the racing wheel and conducting thorough functionality checks, you can ensure that the device is restored to its operational state. This phase marks the culmination of the disassembly and reassembly process, setting the stage for the final step: testing the racing wheel to confirm its functionality.
Testing the Racing Wheel
Upon completing the reassembly of the Xbox 360 racing wheel, it’s imperative to conduct comprehensive testing to verify that the device functions as intended. Follow these steps to effectively test the racing wheel:
- Connect the Racing Wheel: Ensure that the racing wheel is securely connected to the Xbox 360 console, following the manufacturer’s recommended setup procedures.
- Power On the Console: Turn on the Xbox 360 console and wait for it to initialize. Ensure that the racing wheel is properly recognized by the console and that the indicator lights, if present, illuminate as expected.
- Test Button Functionality: Press each button on the racing wheel to confirm that they register input and correspond to the intended functions within compatible games or applications.
- Check Pedal Responsiveness: Depress the pedals to verify that they provide smooth and accurate input, allowing for precise control within racing simulations or games that utilize pedal input.
- Assess Wheel Calibration: If the racing wheel features force feedback or adjustable settings, assess the calibration and responsiveness of the wheel to ensure that it accurately reflects in-game actions and provides an immersive gaming experience.
- Test Compatibility: Verify that the racing wheel functions seamlessly with a variety of compatible games and applications, ensuring that it delivers a consistent and reliable gaming experience across different titles.
By meticulously testing the racing wheel and confirming its functionality across various aspects, you can rest assured that the reassembly process has been successful and that the device is ready for immersive gaming experiences. This thorough testing phase serves as the final validation of the disassembly and reassembly efforts, ensuring that the racing wheel operates optimally and delivers an enjoyable gaming experience.


