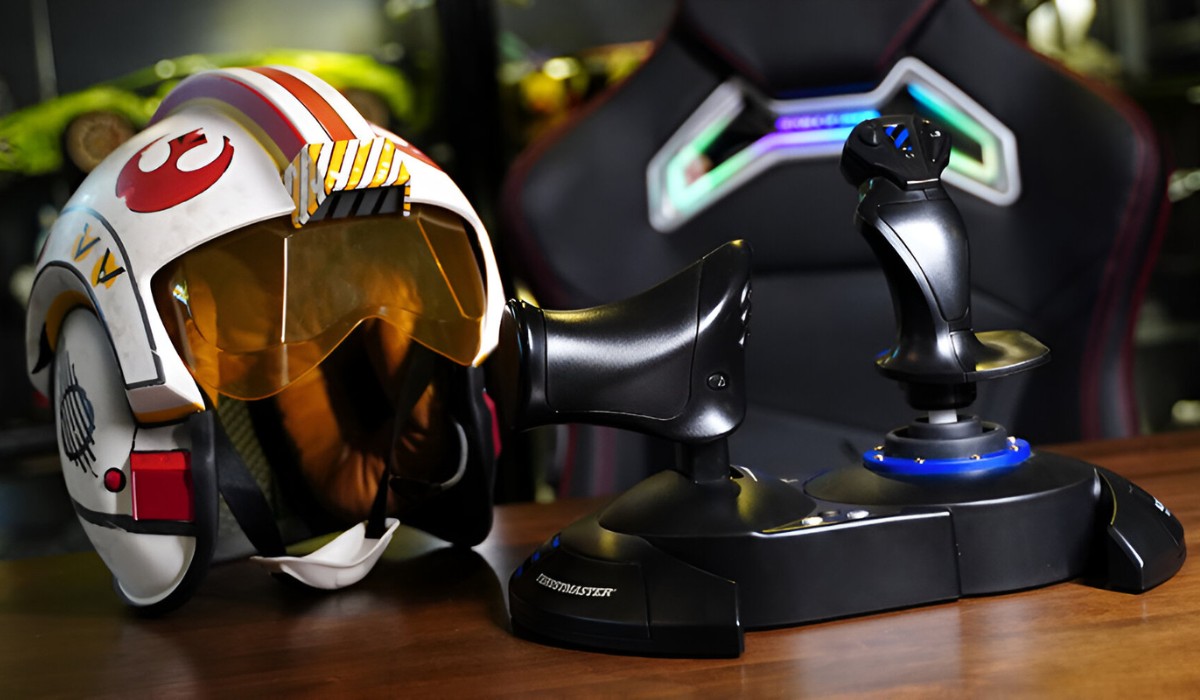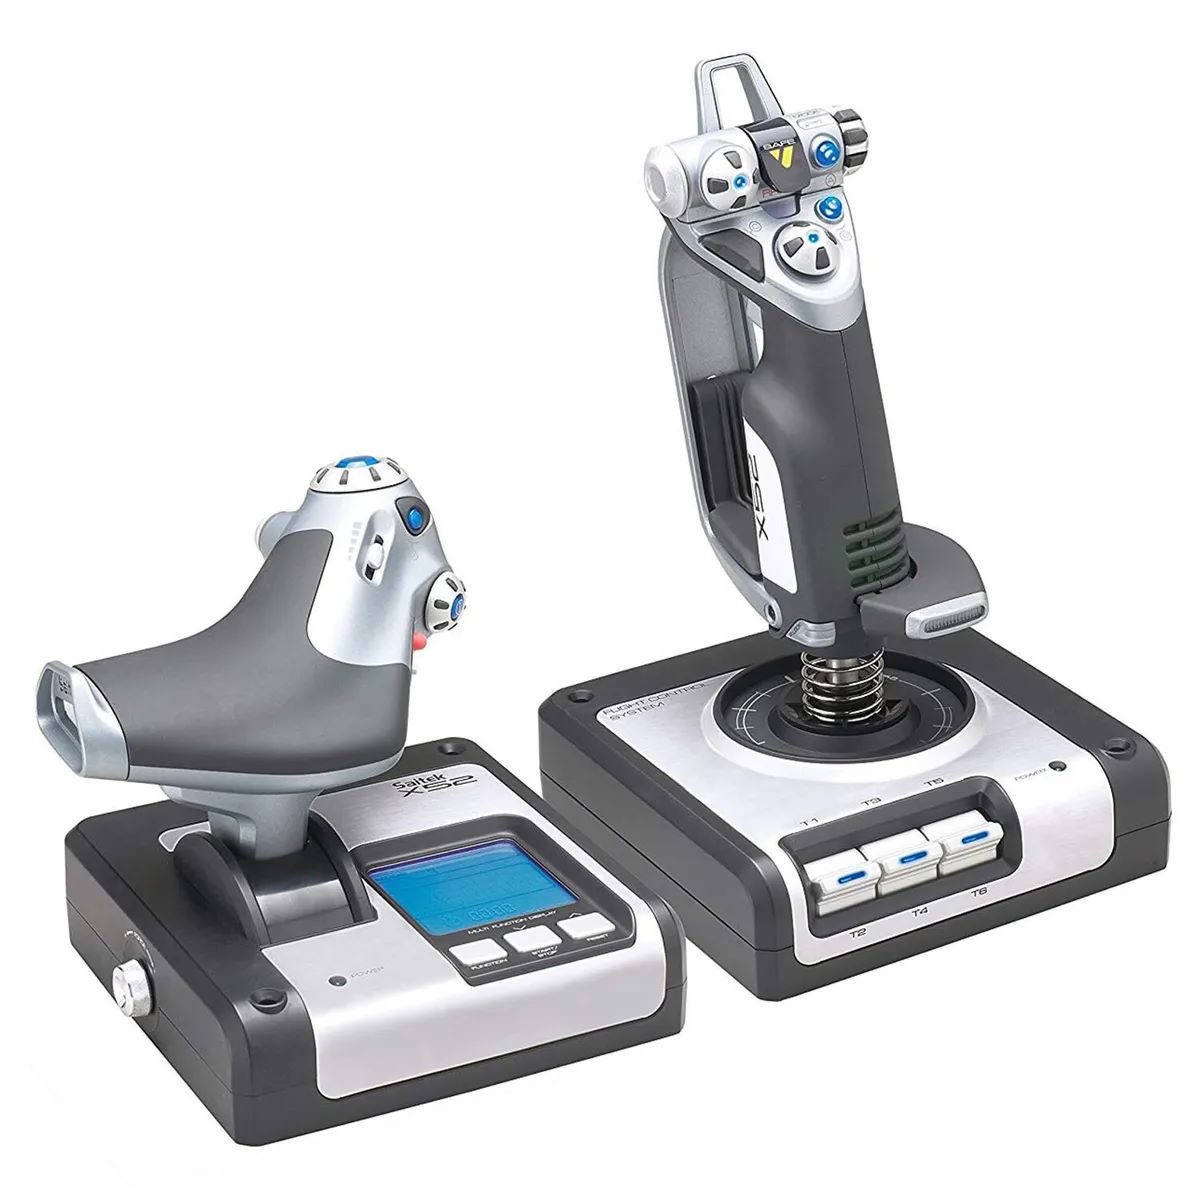
Introduction
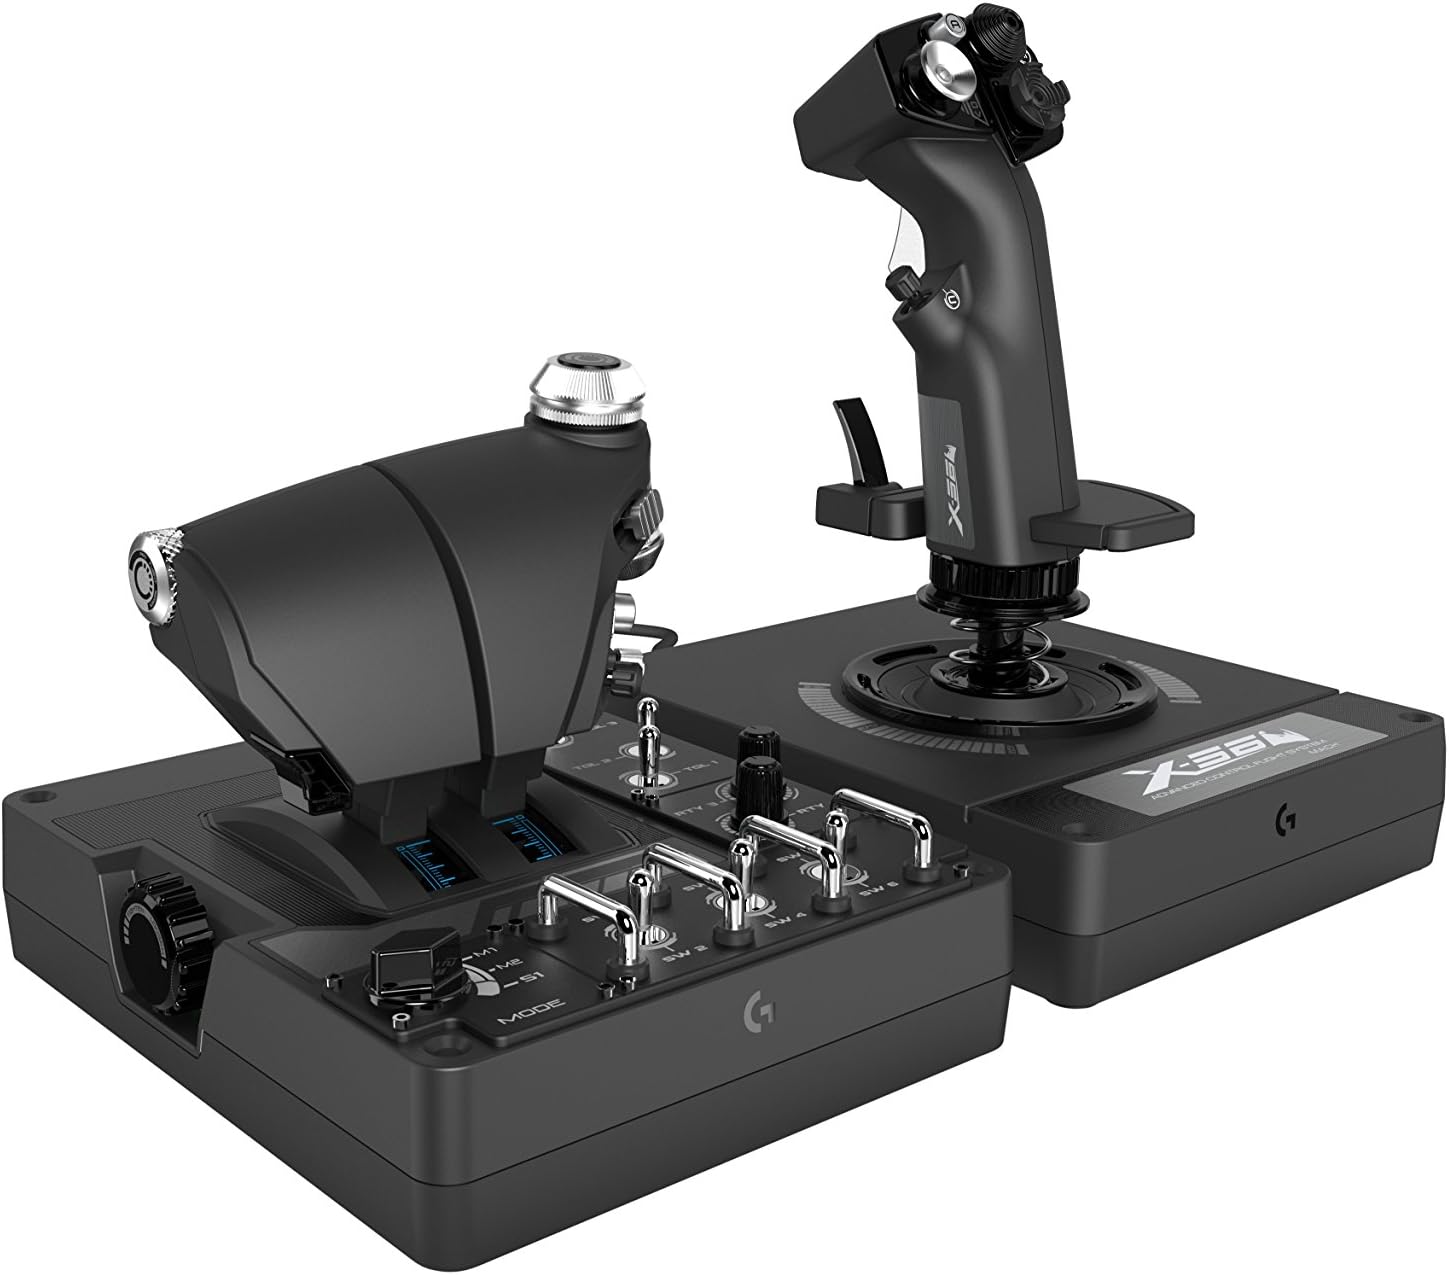
Taking apart an X56 Flight Stick can be a rewarding and insightful experience for aviation enthusiasts and tech-savvy individuals alike. Whether you're looking to perform maintenance, customization, or simply satisfy your curiosity about its inner workings, disassembling the X56 Flight Stick can provide valuable insights and a deeper understanding of its construction.
By dismantling the flight stick, you can gain a clearer view of its internal components, such as the circuitry, sensors, and mechanical elements, which can be both educational and practical. This knowledge may come in handy for troubleshooting issues, making modifications, or simply appreciating the engineering that goes into these devices.
Moreover, exploring the internals of the X56 Flight Stick can be an excellent way to familiarize yourself with its construction and potentially enhance your overall understanding of flight control systems. This hands-on approach can offer a unique perspective that goes beyond the surface-level interaction with the device, allowing you to appreciate the intricacies of its design and functionality.
As we delve into the process of disassembling the X56 Flight Stick, it's important to approach this task with patience, precision, and a methodical mindset. Careful attention to detail and organization will be essential for a successful disassembly and subsequent reassembly. With the right tools and a systematic approach, you can navigate this process effectively and gain valuable insights along the way.
The following guide will walk you through the step-by-step process of taking apart an X56 Flight Stick, providing clear instructions and essential tips to ensure a smooth and successful disassembly. With a methodical approach and a keen eye for detail, you'll be well-equipped to explore the inner workings of the X56 Flight Stick and gain a deeper appreciation for its engineering and design.
Tools Needed
Before embarking on the disassembly of the X56 Flight Stick, it’s crucial to gather the necessary tools to ensure a smooth and efficient process. Having the right tools at your disposal will not only simplify the disassembly but also help prevent damage to the device and its components. Here’s a comprehensive list of tools you’ll need to effectively take apart the X56 Flight Stick:
- Phillips Head Screwdriver: This essential tool will be used to remove the screws securing the casing of the flight stick. Ensure that the screwdriver fits the size of the screws to avoid stripping or damaging them during removal.
- Flathead Screwdriver: A flathead screwdriver may be necessary to pry open the casing or assist in disconnecting certain components inside the flight stick. It’s recommended to have a variety of flathead screwdrivers with different tip sizes for versatility.
- Anti-Static Wrist Strap: When working with electronic components, especially the internal circuitry of the flight stick, it’s crucial to use an anti-static wrist strap to prevent electrostatic discharge (ESD) that could potentially damage sensitive electronics.
- Tweezers or Precision Pliers: These tools will be useful for handling small screws, connectors, and delicate components inside the flight stick. Precision pliers with fine tips can aid in disconnecting and reattaching wiring harnesses and connectors.
- Organizational Trays or Containers: Keeping track of the various screws and components during disassembly is essential. Utilize small trays, containers, or compartmentalized organizers to store and label the disassembled parts, preventing confusion during reassembly.
- Clean Workspace: Clear and well-lit workspace with ample room to lay out the disassembled parts is essential. A clean workspace minimizes the risk of losing small components and provides a conducive environment for the disassembly process.
By ensuring you have these essential tools on hand, you’ll be well-prepared to tackle the disassembly of the X56 Flight Stick with confidence and precision. Having a methodical approach and the right tools at your disposal will contribute to a successful and insightful disassembly process, allowing you to explore the inner workings of the flight stick effectively.
Removing the Screws
Once you have gathered the necessary tools, the first step in disassembling the X56 Flight Stick involves removing the screws that secure the casing. This process requires careful attention to detail and precision to avoid damaging the screws or the surrounding components. Follow these steps to effectively remove the screws:
- Prepare the Workspace: Begin by setting up a clean and well-lit workspace to comfortably work on the disassembly. Ensure that you have ample room to lay out the flight stick and its components, minimizing the risk of misplacing small parts.
- Identify Screw Locations: Examine the exterior of the flight stick to locate the screws that secure the casing. These screws are typically situated at the base or along the seams of the casing. Use a Phillips head screwdriver that fits the size of the screws to avoid slippage or damage.
- Unscrew Carefully: With the appropriate Phillips head screwdriver, carefully begin removing the screws from their respective locations. Apply gentle and consistent pressure to loosen the screws, ensuring that the screwdriver is properly seated in the screw head to prevent stripping.
- Organize the Screws: As you remove each screw, place them in a designated container or tray, keeping them separate and clearly labeled to facilitate easy reassembly. Maintaining organization with the screws will streamline the process and minimize the risk of misplacement.
- Store the Casing Screws: Once all the screws have been removed, safely store the casing screws in a secure location to prevent loss. It’s essential to keep the screws well-organized and accounted for, as they are crucial for reassembling the flight stick later on.
By methodically removing the screws and maintaining careful organization throughout this process, you’ll pave the way for a successful disassembly of the X56 Flight Stick. With the screws removed, you can proceed to the next phase of opening the casing and gaining access to the internal components, bringing you one step closer to a deeper understanding of the flight stick’s construction and functionality.
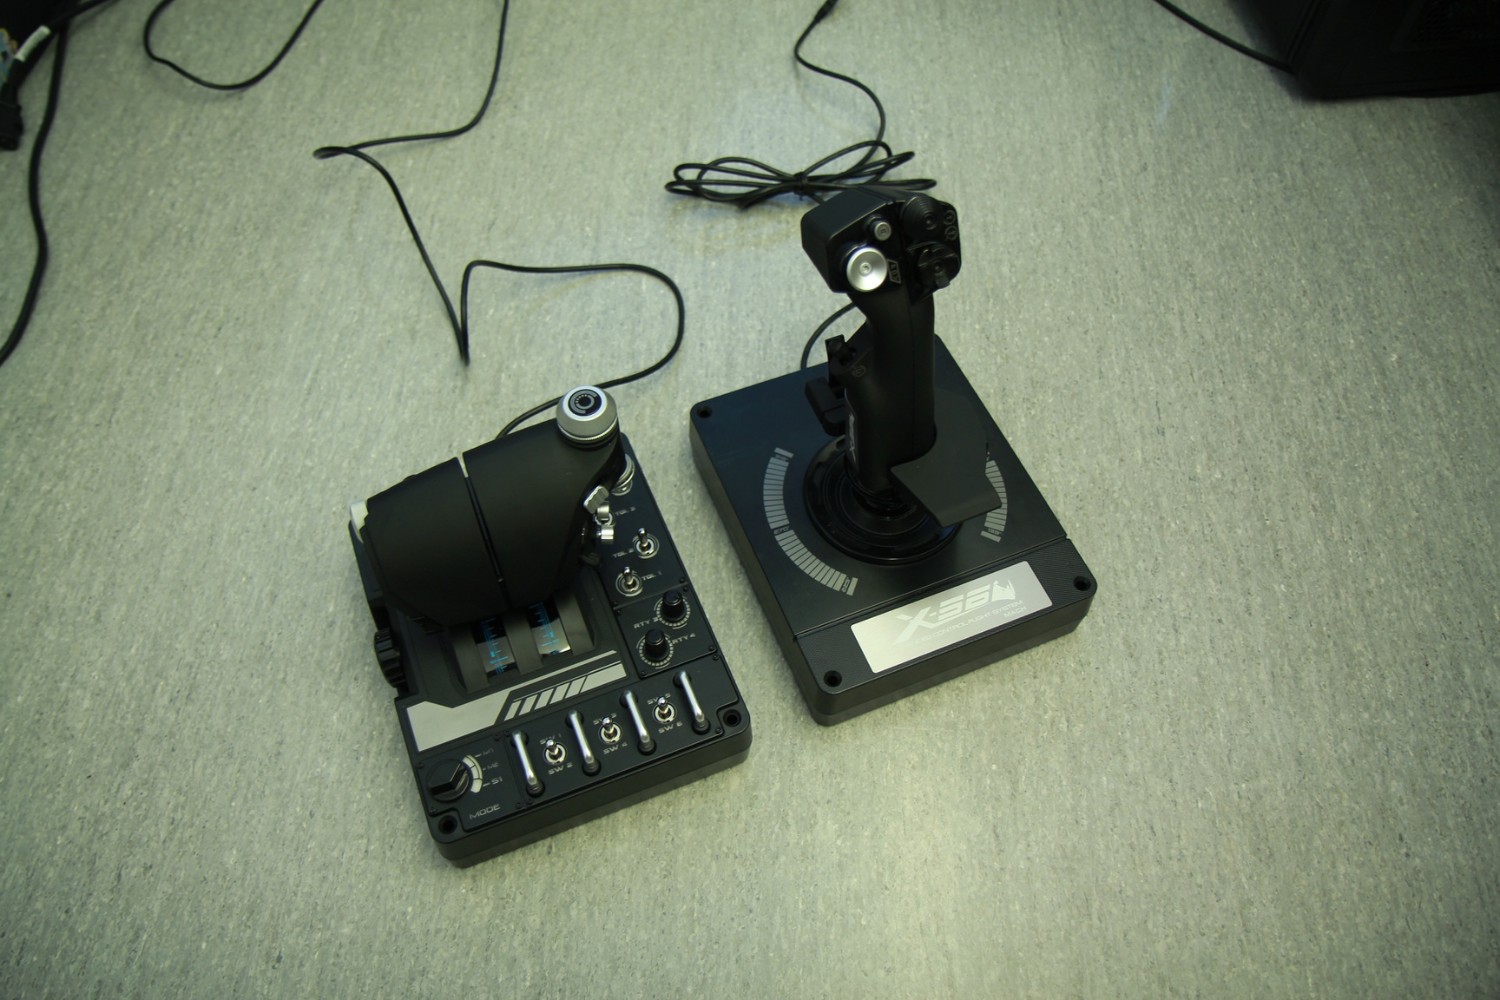
Opening the Casing
With the screws removed, the next critical step in disassembling the X56 Flight Stick is opening the casing to access the internal components. This phase requires caution and precision to avoid damaging the casing or the delicate components housed within. Follow these steps to effectively open the casing of the flight stick:
- Inspect for Latches or Fasteners: Before attempting to open the casing, carefully inspect the seams and edges for any latches, clips, or fasteners that may be securing the casing. Some flight sticks feature snap-fit or interlocking mechanisms that require gentle manipulation to release.
- Use a Flathead Screwdriver (if necessary): If the casing is held together by snap-fit components, gently insert a flathead screwdriver into the seam and carefully pry the casing apart. Apply even pressure and work your way around the perimeter of the flight stick to gradually release the snaps.
- Exercise Patience and Precision: When separating the casing, proceed with patience and precision to avoid sudden or forceful movements that could cause damage. Take your time to carefully release the snaps or fasteners, ensuring a gradual and controlled separation of the casing.
- Set Aside the Casing: Once the casing is successfully opened, set it aside in a safe and designated area to prevent damage. Handle the casing with care, as it may contain internal wiring or components that are still connected to the flight stick.
- Inspect the Internal Components: With the casing removed, take a moment to inspect the internal components, such as the circuit board, wiring harnesses, and mechanical elements. This close-up view provides valuable insights into the construction and layout of the flight stick’s internal architecture.
By approaching the process of opening the casing with meticulous attention to detail and a gentle touch, you can effectively access the internal components of the X56 Flight Stick without causing any unnecessary damage. With the casing removed, you are now ready to proceed with disconnecting the internal components as part of the disassembly process, bringing you closer to a comprehensive understanding of the flight stick’s inner workings.
Disconnecting Internal Components
As you delve deeper into the disassembly of the X56 Flight Stick, the next crucial phase involves disconnecting the internal components with precision and care. This step is essential for gaining access to the intricate elements within the flight stick and may involve handling delicate wiring and connectors. Follow these steps to effectively disconnect the internal components:
- Identify Wiring Harnesses and Connectors: Survey the internal components to identify the wiring harnesses, connectors, and other attachments that link the various parts of the flight stick together. Take note of their locations and how they are secured within the device.
- Use Precision Tools: When disconnecting wiring harnesses and connectors, utilize precision tools such as tweezers or fine-tipped pliers to carefully release them. Avoid using excessive force or pulling on the wires directly to prevent damage to the connectors or the internal circuitry.
- Label and Organize Components: As you disconnect each component, label them if necessary and organize them in a systematic manner. Keeping the components organized will simplify the reassembly process and minimize the risk of confusion later on.
- Exercise Caution with Ribbon Cables: If the flight stick features ribbon cables connecting internal components, handle them with extra care. Ribbon cables are delicate and can be easily damaged if mishandled, so take your time and use gentle movements when disconnecting them.
- Secure Disconnected Components: Once the internal components are disconnected, safely store them in designated containers or trays to prevent damage or misplacement. Maintaining a tidy and organized workspace is crucial at this stage to ensure a smooth reassembly process.
By approaching the task of disconnecting internal components with meticulous attention to detail and a gentle touch, you can effectively navigate this phase of the disassembly process. Careful handling of the internal components will not only facilitate a deeper exploration of the flight stick’s construction but also set the stage for a successful reassembly, allowing you to appreciate the intricacies of the device’s internal architecture.
Reassembling the X56 Flight Stick
After successfully disassembling the X56 Flight Stick and gaining valuable insights into its internal components, the reassembly process is a critical step to restore the device to its fully functional state. This phase requires careful attention to detail and a methodical approach to ensure that all components are reconnected and secured properly. Follow these essential steps to effectively reassemble the X56 Flight Stick:
- Refer to Documentation: If available, consult the manufacturer’s documentation or assembly guides for the X56 Flight Stick. These resources can provide valuable insights into the proper positioning and connection of internal components during reassembly.
- Retrieve Organized Components: Gather the internal components and screws that were carefully organized and stored during the disassembly process. Ensure that all components are accounted for and free from any damage or debris.
- Connect Internal Components: Begin the reassembly by reconnecting the internal components, including wiring harnesses, connectors, and any other detached elements. Use the labels and organization from the disassembly phase to guide the reconnection process.
- Secure Casing and Fasteners: Carefully position the casing of the flight stick and secure it by aligning the snaps or fasteners. Exercise caution to avoid pinching any internal wiring or components during this step, ensuring a seamless and secure fit.
- Reattach Screws: With the casing in place, reattach the screws to secure the flight stick’s housing. Use the appropriate Phillips head screwdriver to tighten the screws, ensuring that they are snug but not over-tightened to avoid damaging the casing.
- Perform Functionality Checks: Once the reassembly is complete, perform functionality checks on the X56 Flight Stick to ensure that all components are functioning as intended. Test the buttons, switches, and axis movements to verify that the device is fully operational.
By meticulously following the reassembly steps and exercising care throughout the process, you can effectively restore the X56 Flight Stick to its fully assembled and functional state. The successful reassembly not only demonstrates a comprehensive understanding of the device’s construction but also prepares it for continued use, reflecting your attention to detail and precision in handling intricate electronic components.