Introduction
Welcome to the exciting world of gaming peripherals! If you've recently acquired the Orochi gaming mouse by Razer, you're in for an immersive gaming experience. This advanced gaming mouse offers customizable features that can elevate your gameplay to new heights. In this guide, we'll walk you through the process of setting up your Orochi gaming mouse, ensuring that you can unleash its full potential and make the most of its impressive capabilities.
The Orochi gaming mouse is designed to provide gamers with precision, speed, and versatility. Whether you're a casual gamer or a competitive esports enthusiast, this mouse is equipped to meet your unique needs. With its customizable buttons, adjustable DPI settings, and vibrant lighting effects, the Orochi empowers you to tailor your gaming experience to suit your preferences and play style.
By following the steps outlined in this guide, you'll be able to unleash the full potential of your Orochi gaming mouse. From unboxing the device to customizing its settings using the Razer Synapse software, we'll guide you through each step with clear and concise instructions. By the end of this tutorial, you'll have a deep understanding of how to optimize the Orochi gaming mouse to enhance your gaming performance and overall enjoyment.
So, without further ado, let's dive into the exhilarating process of setting up and customizing your Orochi gaming mouse. Get ready to elevate your gaming experience and embark on a journey of personalized gaming perfection!
Step 1: Unboxing the Orochi Gaming Mouse
Unboxing a new gaming peripheral is always an exciting experience, and the Orochi gaming mouse is no exception. When you receive your Orochi, the packaging is designed to provide a sense of anticipation and excitement, setting the stage for the exceptional gaming mouse that lies within.
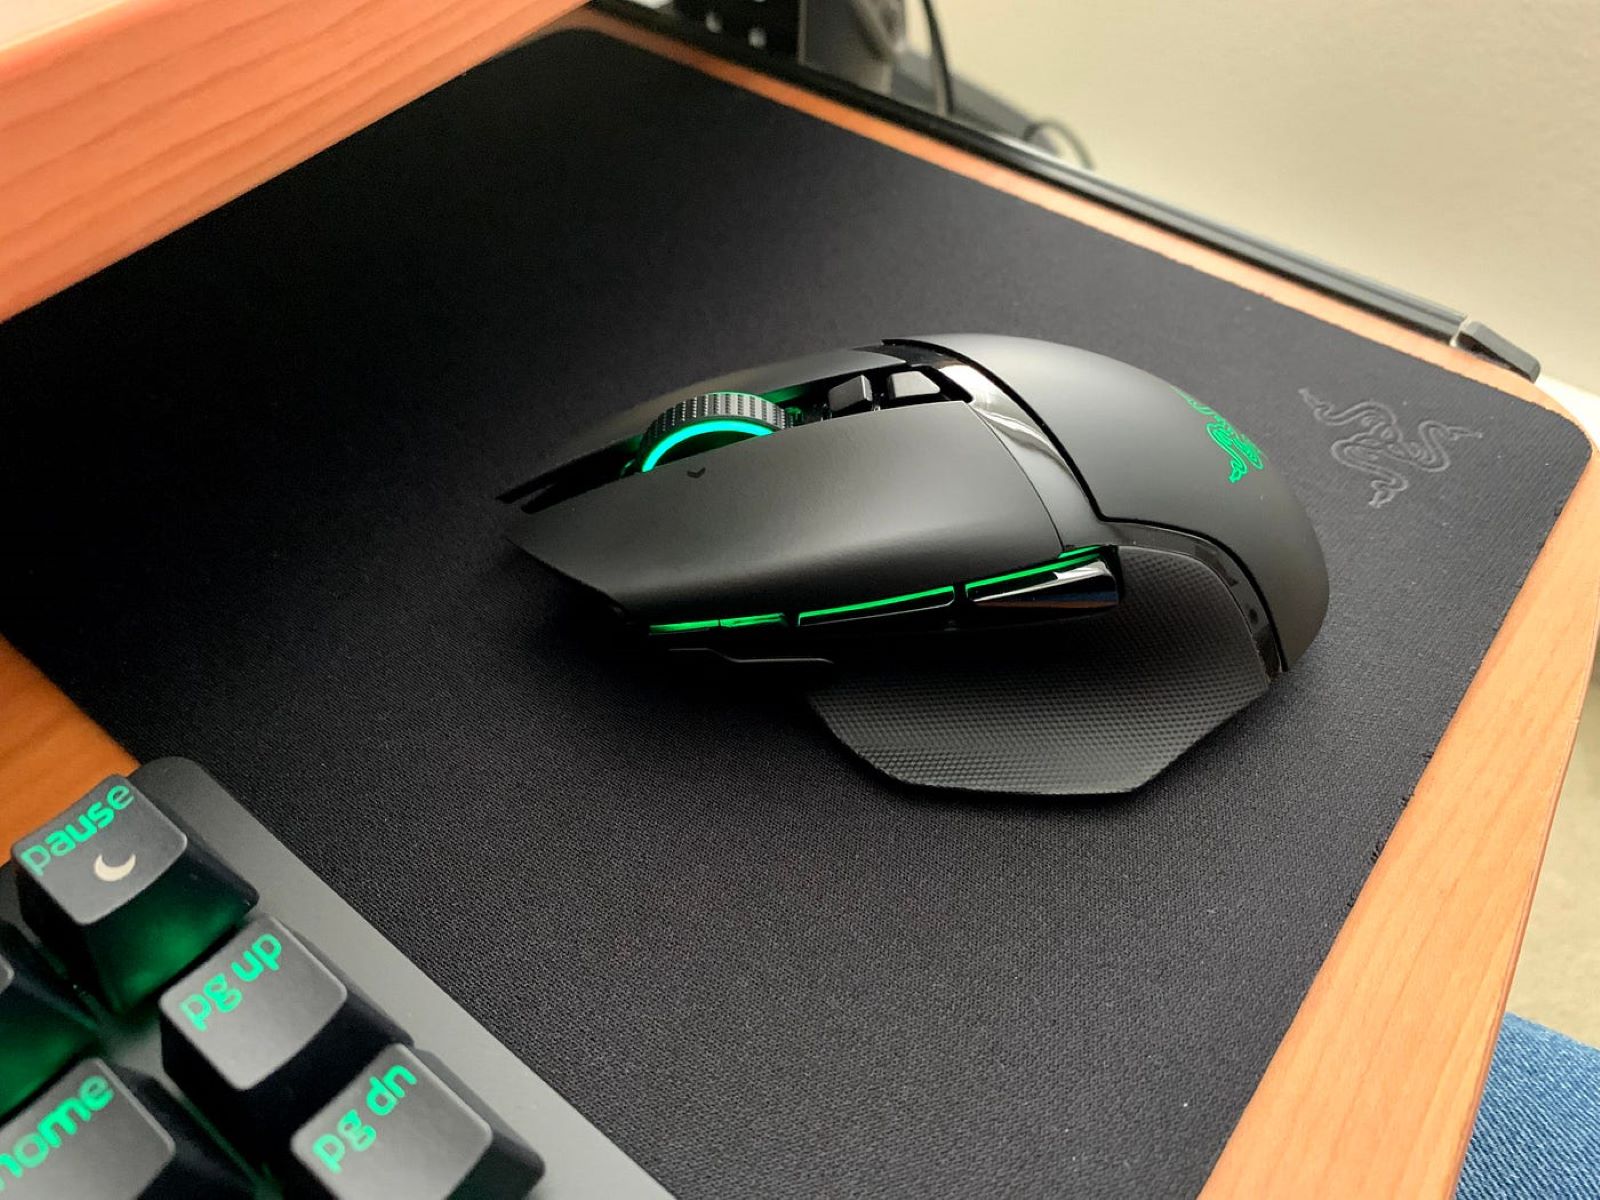
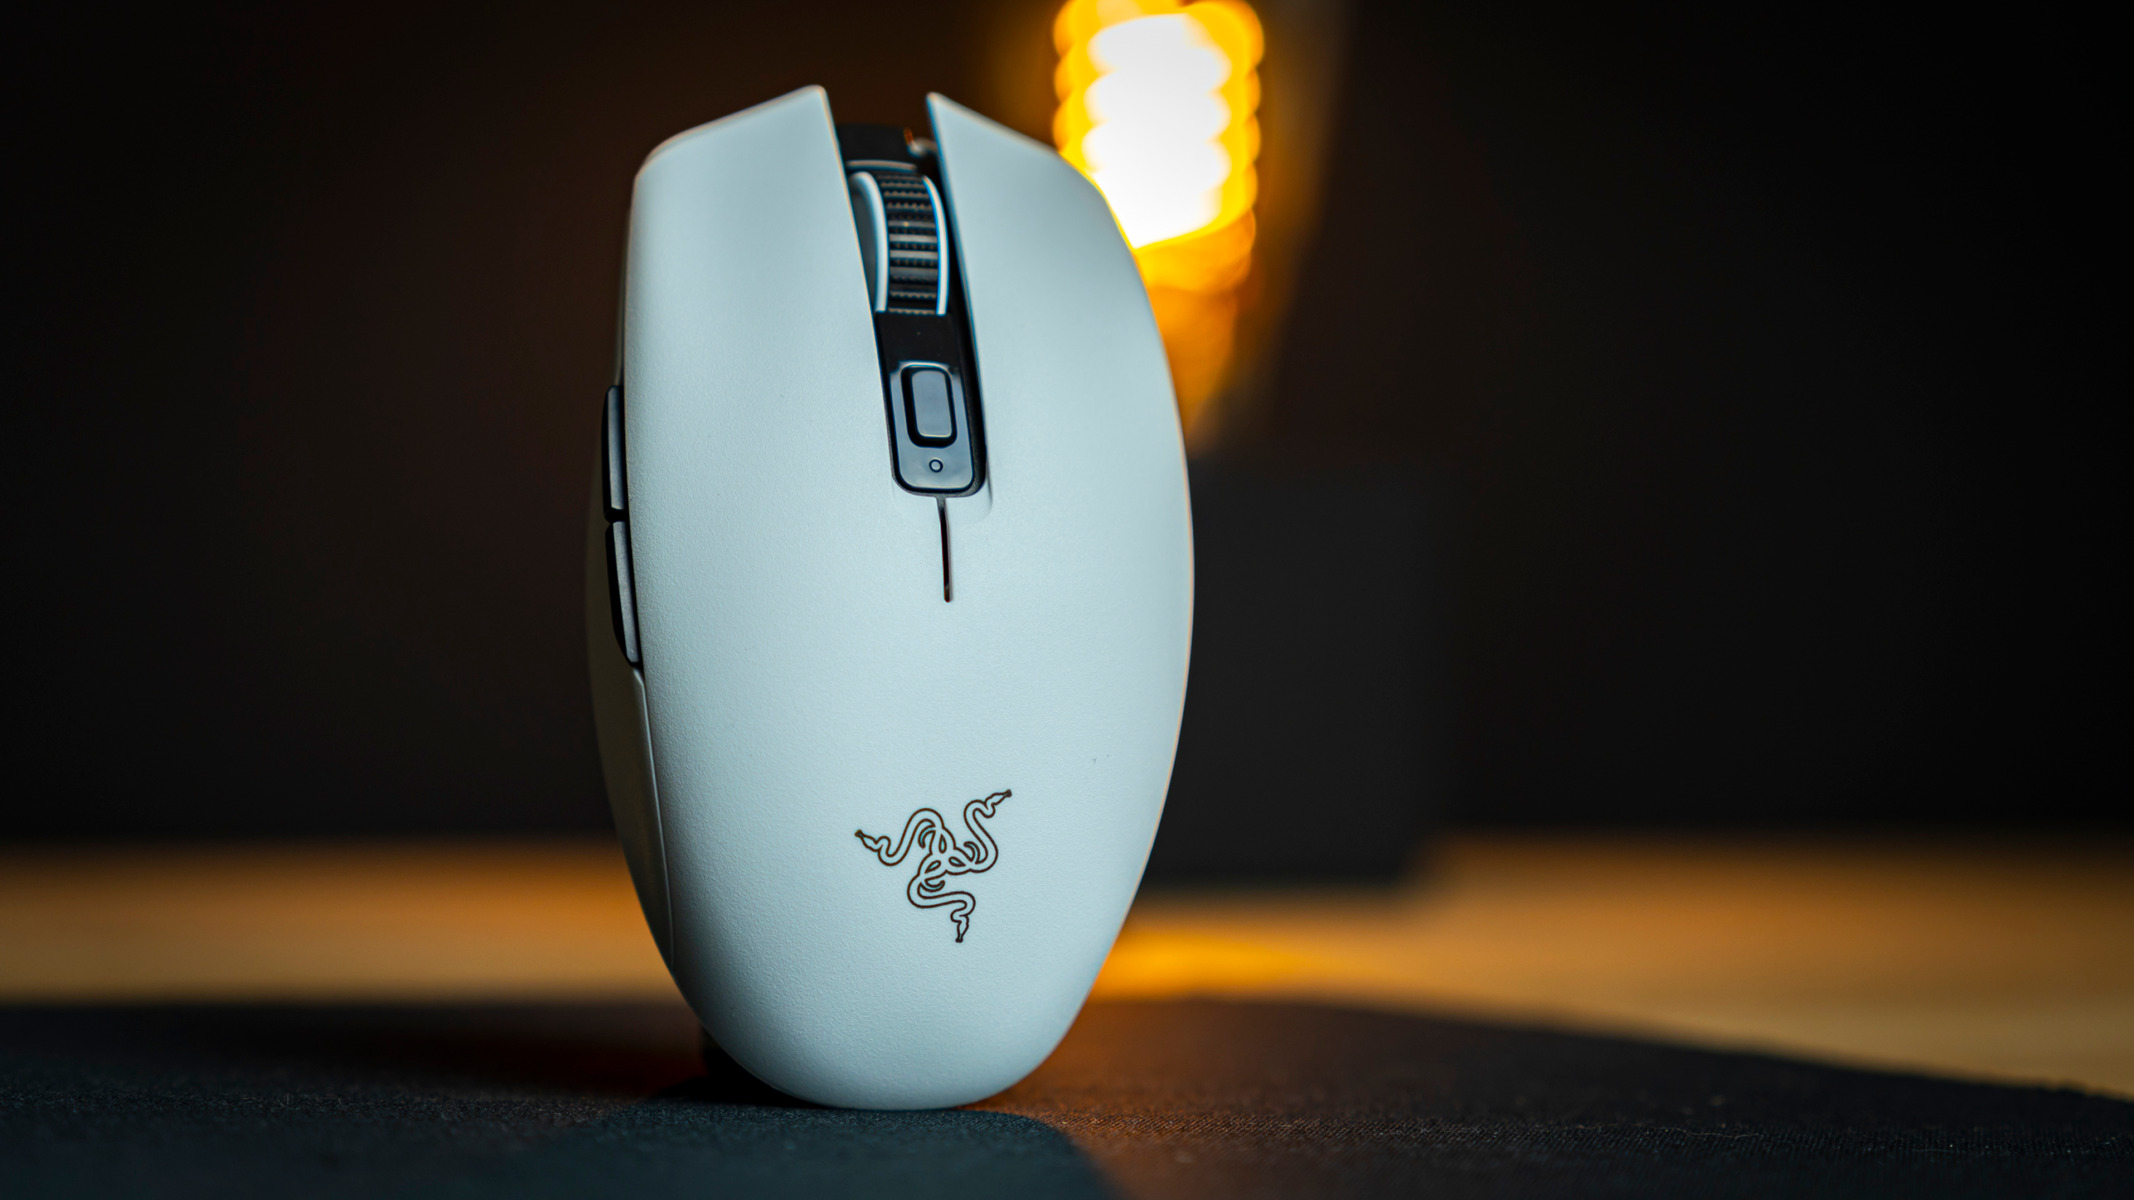
As you carefully open the package, you'll be greeted by the sleek and stylish design of the Orochi gaming mouse. The mouse itself is ergonomically crafted, with a form factor that ensures a comfortable grip during extended gaming sessions. The packaging also includes essential components such as the USB charging cable and any additional accessories that may accompany the mouse.
Upon removing the Orochi from its packaging, take a moment to appreciate its design and build quality. The mouse is engineered to deliver exceptional performance while exuding a visually captivating aesthetic. Familiarize yourself with the placement of the customizable buttons, the scroll wheel, and any additional features that set the Orochi apart from conventional gaming mice.
Before connecting the Orochi to your computer, it's advisable to review the accompanying documentation, which may include a quick start guide or user manual. These resources can provide valuable insights into the various features and functionalities of the Orochi gaming mouse, ensuring that you make the most of its capabilities from the outset.
By unboxing the Orochi gaming mouse with care and attention, you'll set the stage for a seamless and enjoyable setup process. The next step will involve installing the Razer Synapse software, which will enable you to unlock the full potential of the Orochi and customize its features to suit your gaming preferences.
Step 2: Installing the Razer Synapse Software
Before delving into the customization and optimization of your Orochi gaming mouse, it's essential to install the Razer Synapse software. This intuitive and powerful software serves as the gateway to unlocking the full potential of your gaming mouse, allowing you to personalize its settings and tailor it to your unique gaming style.
The first step is to navigate to the official Razer website and locate the Razer Synapse software. Once you've found the appropriate download link, proceed to download and install the software on your computer. The installation process is typically straightforward, and you'll be guided through the necessary steps to set up the software on your system.
Upon launching the Razer Synapse software, you'll be prompted to create or log in to your Razer account. This step is crucial, as it enables you to synchronize your personalized settings and configurations with Razer's cloud-based storage, ensuring that your preferences are accessible across different devices and platforms.
Once you've successfully logged in, the Razer Synapse software will detect your Orochi gaming mouse and display its associated settings and customization options. Familiarize yourself with the user interface of the software, as it provides a comprehensive dashboard for managing all your Razer peripherals and their respective settings.
With the Razer Synapse software installed and your Orochi gaming mouse recognized, you're now ready to embark on the exciting journey of customizing its button assignments, DPI settings, lighting effects, and more. The software serves as a centralized hub for tailoring your gaming experience, empowering you to fine-tune the Orochi to meet your specific gaming needs and preferences.
By installing the Razer Synapse software, you've taken a crucial step toward unleashing the full potential of your Orochi gaming mouse. The software serves as a powerful tool for personalization, ensuring that your gaming setup is optimized for peak performance and enjoyment.
Step 3: Customizing Button Assignments
One of the key features that set the Orochi gaming mouse apart is its customizable buttons, which can be tailored to suit your gaming preferences and playing style. With the Razer Synapse software installed, you can easily configure the button assignments to optimize your gaming experience and gain a competitive edge in your favorite titles.
To begin customizing the button assignments, launch the Razer Synapse software and navigate to the section dedicated to the Orochi gaming mouse. Here, you’ll find a comprehensive overview of the mouse’s features, including the customizable buttons. By clicking on the button configuration tab, you can explore the various options for assigning specific functions to each button.
Whether you prefer a more streamlined setup with minimal button assignments or a complex configuration that leverages every available button for different in-game actions, the Razer Synapse software empowers you to create a personalized setup that aligns with your gaming preferences.
For instance, in first-person shooter games, you may opt to assign specific weapon slots or tactical actions to different buttons, allowing for quick and intuitive access during intense gameplay. Similarly, in strategy or MMO games, you can customize the button assignments to streamline resource management, unit commands, or character abilities, enhancing your overall efficiency and control within the game.
As you fine-tune the button assignments, consider experimenting with different configurations to identify the setup that best complements your gaming style. The ability to customize the Orochi’s buttons provides a level of flexibility and control that can significantly enhance your gaming performance, responsiveness, and overall enjoyment of the gaming experience.
By customizing the button assignments through the Razer Synapse software, you’re harnessing the full potential of the Orochi gaming mouse and tailoring it to match your unique gaming preferences. This level of personalization sets the stage for a truly immersive and optimized gaming experience, allowing you to unleash your full potential in your favorite games.
Step 4: Adjusting DPI Settings
The Orochi gaming mouse offers unparalleled precision and responsiveness, thanks in part to its adjustable DPI (dots per inch) settings. DPI refers to the sensitivity of the mouse’s tracking, and by customizing these settings, you can fine-tune the Orochi to deliver optimal performance in various gaming scenarios.
To begin adjusting the DPI settings, open the Razer Synapse software and navigate to the section dedicated to the Orochi gaming mouse. Here, you’ll find a tab specifically dedicated to DPI settings, allowing you to modify the sensitivity levels to your liking. The software typically provides a straightforward interface for adjusting the DPI, enabling you to set different sensitivity levels for specific gaming profiles or scenarios.
When customizing the DPI settings, consider the types of games you frequently play and the gameplay styles you prefer. For fast-paced first-person shooters, you may opt for higher DPI settings to facilitate swift and precise aiming, while slower-paced strategy or role-playing games may benefit from lower DPI settings to enhance accuracy and control.
Experiment with different DPI configurations to identify the settings that align with your gaming preferences. The ability to fine-tune the Orochi’s DPI settings empowers you to achieve the ideal balance of speed and accuracy, ensuring that the mouse’s tracking responsiveness complements your gaming style and enhances your overall performance.
Furthermore, the Razer Synapse software often allows you to create multiple profiles with distinct DPI settings, enabling you to seamlessly switch between configurations based on the games you’re playing or the specific in-game scenarios you encounter. This level of customization ensures that the Orochi is optimized for peak performance across a diverse range of gaming experiences.
By adjusting the DPI settings of the Orochi gaming mouse, you’re harnessing its full potential and tailoring its tracking sensitivity to match your unique gaming requirements. This level of precision and customization equips you with a powerful tool to elevate your gaming performance and immerse yourself in the captivating worlds of your favorite games.
Step 5: Configuring Lighting Effects
The Orochi gaming mouse features vibrant and customizable lighting effects that not only add a touch of visual flair to your gaming setup but also serve as a functional element, providing visual feedback and enhancing the overall aesthetic appeal. With the Razer Synapse software, you can effortlessly configure the lighting effects to align with your personal style and gaming environment.
To begin configuring the lighting effects, access the Razer Synapse software and navigate to the section dedicated to the Orochi gaming mouse. Here, you’ll find a tab specifically dedicated to lighting customization, offering a range of options to personalize the mouse’s visual presentation. From dynamic color cycling to static color profiles, the software provides a versatile platform for creating captivating lighting effects.
Whether you prefer a uniform color scheme that complements your gaming setup or dynamic lighting effects that react to in-game events, the Orochi’s customizable lighting empowers you to create a visual ambiance that reflects your gaming persona. Additionally, the software often includes pre-configured lighting profiles that align with popular game titles, allowing you to synchronize the lighting effects with specific in-game actions or events.
By configuring the lighting effects to your liking, you can create an immersive and visually engaging gaming environment that enhances your overall gaming experience. The Orochi’s customizable lighting serves as a dynamic extension of your gaming persona, adding a layer of personalization to your gaming setup.
Furthermore, the ability to synchronize the Orochi’s lighting effects with other Razer peripherals, such as keyboards and mousepads, provides a cohesive and harmonized visual experience. This level of integration ensures that your gaming environment is not only visually captivating but also serves as a functional element, providing visual cues and feedback during gameplay.
By customizing the lighting effects of the Orochi gaming mouse, you’re infusing your gaming setup with a personalized and visually stunning aesthetic. The dynamic and versatile lighting options offered by the Razer Synapse software enable you to create a gaming environment that reflects your unique style and enhances your overall immersion in the captivating worlds of gaming.
Step 6: Saving Profiles
With the Orochi gaming mouse, the ability to save and manage profiles is a valuable feature that allows you to store and access personalized configurations for different gaming scenarios. The Razer Synapse software provides a user-friendly platform for creating and managing profiles, ensuring that your preferred settings and customizations are readily available whenever you need them.
To save profiles for your Orochi gaming mouse, navigate to the Razer Synapse software and locate the section dedicated to profile management. Here, you’ll find options to create new profiles, modify existing ones, and assign specific profiles to different gaming scenarios or applications.
When creating profiles, consider the specific gaming genres or titles for which you’re customizing the Orochi’s settings. For example, you may create distinct profiles for first-person shooters, strategy games, role-playing adventures, or productivity tasks, each tailored to deliver optimal performance and responsiveness based on the unique demands of the activity.
By saving profiles for your Orochi gaming mouse, you’re streamlining the process of accessing and applying your preferred settings, eliminating the need to manually reconfigure the mouse for different gaming experiences. This level of convenience ensures that you can seamlessly transition between gaming scenarios without compromising on your personalized gaming setup.
Furthermore, the ability to synchronize profiles with Razer’s cloud-based storage facilitates accessibility across multiple devices, allowing you to carry your customized configurations with you wherever you go. Whether you’re gaming on a different computer or participating in gaming events, your personalized profiles are easily accessible, ensuring a consistent and familiar gaming experience.
By leveraging the profile-saving capabilities of the Orochi gaming mouse and the Razer Synapse software, you’re optimizing your gaming setup for versatility, performance, and convenience. The ability to store and manage profiles empowers you to maintain a tailored gaming experience that adapts to your diverse gaming pursuits and preferences.
Conclusion
Congratulations on successfully setting up and customizing your Orochi gaming mouse! By following the comprehensive guide provided in this tutorial, you’ve gained valuable insights into the process of unleashing the full potential of this advanced gaming peripheral. From unboxing the Orochi to configuring its button assignments, DPI settings, lighting effects, and profile management, you’ve embarked on a journey of personalization and optimization that will undoubtedly elevate your gaming experience.
As you navigate the dynamic world of gaming, the Orochi gaming mouse stands ready to accompany you on your gaming endeavors, offering precision, versatility, and a personalized touch that aligns with your unique gaming style. The intuitive Razer Synapse software serves as a gateway to unlocking the full capabilities of the Orochi, empowering you to tailor its settings and configurations to match the demands of various gaming scenarios.
With your Orochi gaming mouse now fully customized and equipped to meet your gaming preferences, you’re poised to embark on a seamless and immersive gaming journey. The personalized button assignments, finely-tuned DPI settings, captivating lighting effects, and convenient profile management ensure that your gaming setup is optimized for peak performance and tailored to your individual tastes.
As you immerse yourself in the captivating worlds of your favorite games, the Orochi gaming mouse will serve as a reliable and versatile companion, enhancing your gaming performance and responsiveness. The level of personalization and customization you’ve achieved through this setup process reflects your commitment to optimizing your gaming experience and elevating your gameplay to new heights.
Whether you’re engaging in intense multiplayer battles, embarking on epic quests, or honing your skills in competitive esports, the Orochi gaming mouse is poised to complement your gaming prowess and provide a seamless extension of your gaming persona. With its advanced features and customizable options, the Orochi empowers you to express your gaming style and immerse yourself in the thrilling realm of gaming with unparalleled precision and control.
So, as you embark on your gaming adventures with the Orochi gaming mouse at your command, may your experiences be filled with excitement, triumph, and the joy of personalized gaming perfection. Your journey with the Orochi has just begun, and the possibilities for immersive and exhilarating gameplay are endless.