Introduction
Are you a passionate gamer who prefers the tactile feel of a controller over a keyboard and mouse? Perhaps you recently purchased a generic PC game controller and are eager to set it up for an immersive gaming experience. Fear not, as this guide will walk you through the straightforward process of configuring your controller to work seamlessly with your PC.
Whether you're delving into action-packed adventures, testing your skills in competitive multiplayer games, or exploring captivating open worlds, having a reliable game controller can enhance your gaming sessions. With the rise of cross-platform gaming and the increasing compatibility of controllers with PC games, setting up your generic PC game controller has never been more convenient.
In the following steps, you'll learn how to gather the necessary equipment, install essential software, connect your controller to your PC, and configure it to suit your gaming preferences. By the end of this guide, you'll be well-equipped to elevate your gaming experience with your newly configured PC game controller.
Let's embark on this journey to seamlessly integrate your generic PC game controller into your gaming setup. Get ready to unlock a new level of gaming comfort and precision as you immerse yourself in your favorite titles.
Step 1: Gather Your Equipment
Before diving into the setup process, it’s essential to ensure that you have all the necessary equipment at your disposal. Here’s what you’ll need to get started:
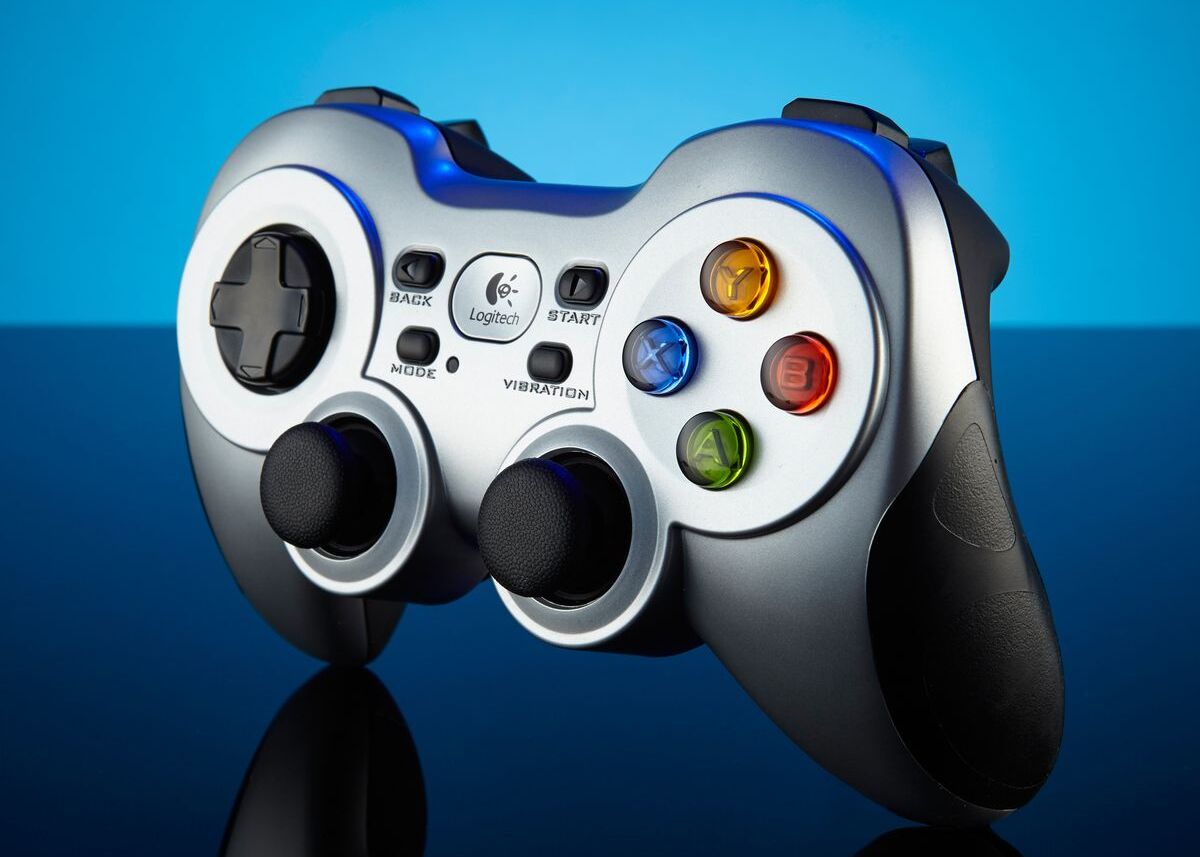
- Generic PC Game Controller: Select a controller that suits your gaming preferences and feels comfortable in your hands. Whether it’s a classic console-style controller or an ergonomic design with customizable buttons, choose one that enhances your gaming experience.
- USB Cable or Wireless Receiver: Depending on your controller type, ensure that you have a compatible USB cable for wired controllers or a wireless receiver for wireless ones. This will facilitate the connection between your controller and your PC.
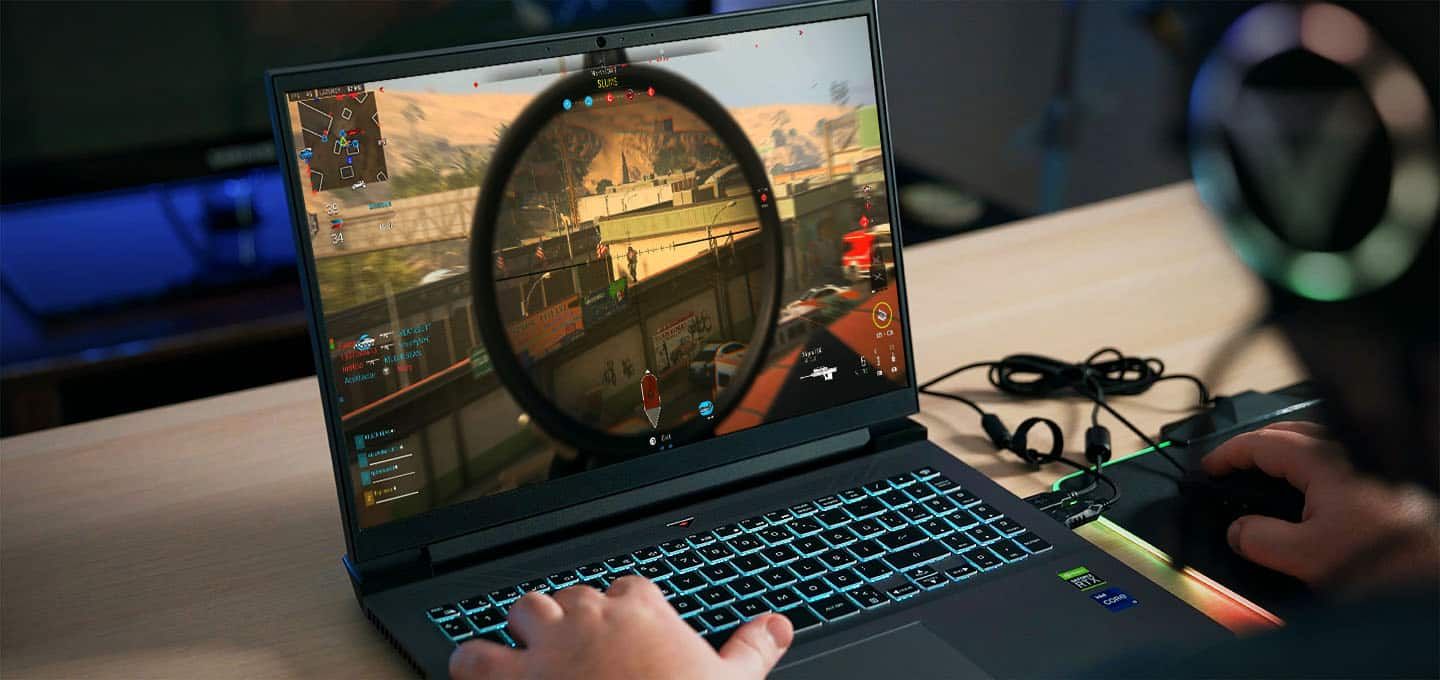
- PC or Laptop: Make sure your computer is powered on and ready for the setup process. Whether you’re using a desktop PC or a laptop, ensure that it has an available USB port for connecting the controller.
- Internet Connection: Having an active internet connection is beneficial for downloading any required software or drivers for your controller. This ensures that you have access to the latest updates and compatibility enhancements.
- Manufacturer’s Instructions: If your controller comes with specific setup instructions or software installation guidelines, keep them handy. These resources can provide valuable insights into the optimal setup process for your particular controller model.
By gathering these essential components, you’ll be well-prepared to proceed with the seamless integration of your generic PC game controller into your gaming environment. Once you’ve assembled the required equipment, you’re ready to embark on the next step: installing the necessary software.
Step 2: Install the Necessary Software
With your equipment assembled, the next crucial step in setting up your generic PC game controller is to install the essential software. This software enables your controller to communicate effectively with your PC, ensuring seamless functionality and compatibility with a wide range of games. Here’s how to proceed:
1. Check for Manufacturer’s Software: Visit the website of the controller’s manufacturer to check for any dedicated software or drivers designed for your specific controller model. Downloading and installing these official software packages can optimize the performance and functionality of your controller.
2. Utilize Built-in Windows Drivers: In many cases, Windows operating systems have built-in drivers that support a variety of generic PC game controllers. When you connect your controller to your PC, Windows may automatically install the necessary drivers. However, for advanced features and customization options, utilizing manufacturer-provided software is recommended.
3. Explore Third-Party Software: Depending on your controller model and personal preferences, you may find third-party software solutions that enhance the functionality of generic PC game controllers. These applications often provide advanced customization options, button mapping, and compatibility with a wide array of games.
4. Update Firmware and Software: If your controller includes firmware that can be updated, ensure that you download the latest firmware updates from the manufacturer’s website. Keeping your controller’s firmware and software up to date can address compatibility issues and introduce new features.
By following these steps and installing the necessary software, you’ll empower your generic PC game controller with the capability to seamlessly integrate with your gaming environment. With the software in place, you’re now ready to proceed to the next step: connecting the controller to your PC.
Step 3: Connect the Controller to Your PC
Now that you’ve gathered the required equipment and installed the essential software, it’s time to establish the physical connection between your generic PC game controller and your computer. Follow these steps to ensure a seamless connection:
1. Wired Connection: If you’re using a wired controller, connect one end of the USB cable to the controller and the other end to an available USB port on your PC. Windows may automatically recognize the controller and install the necessary drivers. Once connected, your controller should be ready for use in compatible games.
2. Wireless Connection: For wireless controllers, plug the wireless receiver into an available USB port on your PC. Follow the manufacturer’s instructions to pair the controller with the receiver. Once paired, your wireless controller should be detected by your PC and ready for configuration.
3. Bluetooth Connection (If Applicable): Some modern controllers support Bluetooth connectivity. If your controller is Bluetooth-enabled, ensure that your PC has Bluetooth capability. Pair the controller with your PC using the standard Bluetooth pairing process. Once paired, your controller should be recognized as a Bluetooth device.
4. Verify Connection and Functionality: After connecting your controller, navigate to the device settings on your PC to verify that the controller is recognized. Test the controller’s buttons and joysticks to ensure that it’s functioning as expected. If any issues arise, refer to the manufacturer’s troubleshooting guide or support resources.
By successfully connecting your generic PC game controller to your computer, you’ve laid the foundation for an enhanced gaming experience. With the physical connection established, you’re now prepared to move on to the next step: configuring the controller in games to suit your preferences.
Step 4: Configure the Controller in Games
With your generic PC game controller connected to your computer, it’s time to delve into the exciting process of configuring the controller to suit your gaming preferences within individual games. Follow these steps to ensure that your controller functions seamlessly in the games you love to play:
1. Launch the Game: Start by launching the game you wish to play using your controller. Most modern PC games automatically detect connected controllers and provide in-game prompts for controller configuration. Alternatively, navigate to the game’s settings or options menu to access controller configuration options.
2. Customize Button Mapping: Many games allow you to customize the button mapping for your controller. This feature is particularly useful if you prefer a specific layout or wish to reassign buttons to better suit your playstyle. Explore the game’s settings to access the controller configuration options and customize the button mapping to your liking.
3. Adjust Sensitivity and Dead Zones: Some games offer advanced controller settings, allowing you to adjust sensitivity, dead zones, and other parameters that affect the controller’s responsiveness. Experiment with these settings to find the ideal balance that enhances your control and precision during gameplay.
4. Explore Game-Specific Settings: Certain games provide additional controller settings tailored to specific gameplay mechanics. For example, racing games may offer steering sensitivity adjustments, while action games may feature combat control customization. Take advantage of these game-specific settings to optimize your gaming experience with the controller.
5. Save and Test Your Configuration: After customizing the controller settings in the game, ensure that you save your configurations. Then, test the controller in various gameplay scenarios to verify that the settings align with your preferences. Fine-tune the configurations as needed to achieve optimal comfort and performance.
By configuring the controller within your favorite games, you’ll unlock a personalized gaming experience that aligns with your unique playstyle and preferences. With the controller seamlessly integrated into your gaming environment, you’re now equipped to embark on immersive gaming adventures with enhanced comfort and precision.
Conclusion
Congratulations! By following the steps outlined in this guide, you’ve successfully set up your generic PC game controller, paving the way for an enhanced gaming experience on your computer. From gathering the necessary equipment to configuring the controller in your favorite games, you’ve embarked on a journey to seamlessly integrate your controller into your gaming environment.
With your equipment assembled, you ensured that you had the essential components, including your chosen controller, a USB cable or wireless receiver, and a reliable PC or laptop. This preparation laid the groundwork for a smooth setup process.
Next, you installed the necessary software, whether it was manufacturer-provided drivers, third-party applications, or firmware updates. This step empowered your controller with the capability to communicate effectively with your PC and introduced advanced customization options for an optimal gaming experience.
Following the software installation, you connected your controller to your PC, whether through a wired connection, wireless receiver, or Bluetooth pairing. This physical connection solidified the integration of your controller into your gaming setup, ensuring that it was recognized and ready for use.
Finally, you delved into the exciting process of configuring the controller within your favorite games. By customizing button mapping, adjusting sensitivity, and exploring game-specific settings, you personalized your gaming experience to align with your unique playstyle and preferences.
As a result of your efforts, you’re now well-equipped to embark on immersive gaming adventures with enhanced comfort and precision, thanks to your seamlessly integrated generic PC game controller. Whether you’re navigating captivating open worlds, engaging in competitive multiplayer matches, or experiencing thrilling action-packed gameplay, your controller is poised to elevate your gaming experiences.
As you continue to explore the vast and diverse world of PC gaming, remember that the setup and configuration process for your controller can vary based on the specific model and the games you play. Stay informed about updates and new features for your controller, and don’t hesitate to revisit the setup process as needed to optimize your gaming setup.
Now, armed with your newly configured PC game controller, immerse yourself in the immersive worlds of your favorite games and enjoy the enhanced comfort and precision that your controller brings to your gaming experiences.