Introduction
Are you a Mac user who is passionate about gaming? Do you want to take your gaming experience to the next level by using a specialized gaming keyboard? Setting up a gaming keyboard on a Mac can significantly enhance your gaming performance and overall experience. While Macs are known for their sleek design and user-friendly interface, some users may find it challenging to integrate gaming peripherals, such as a gaming keyboard, into their systems. However, with the right guidance, you can seamlessly connect and customize your gaming keyboard to unleash its full potential on your Mac.
In this comprehensive guide, we will walk you through the step-by-step process of setting up a gaming keyboard on your Mac. Whether you are a casual gamer or a dedicated enthusiast, mastering the setup of a gaming keyboard will empower you to optimize your gaming sessions and achieve greater precision, speed, and control. By following these instructions, you will be able to seamlessly integrate your gaming keyboard with your Mac system, unlocking a world of possibilities for immersive and enjoyable gaming experiences.
Now, let's dive into the details of how to set up your gaming keyboard on a Mac, starting with the initial connection process.
Step 1: Connect the Gaming Keyboard to Your Mac
Before delving into the software and customization aspects, the first step in setting up your gaming keyboard on a Mac is to establish a physical connection between the two devices. Follow these simple instructions to ensure a seamless connection:
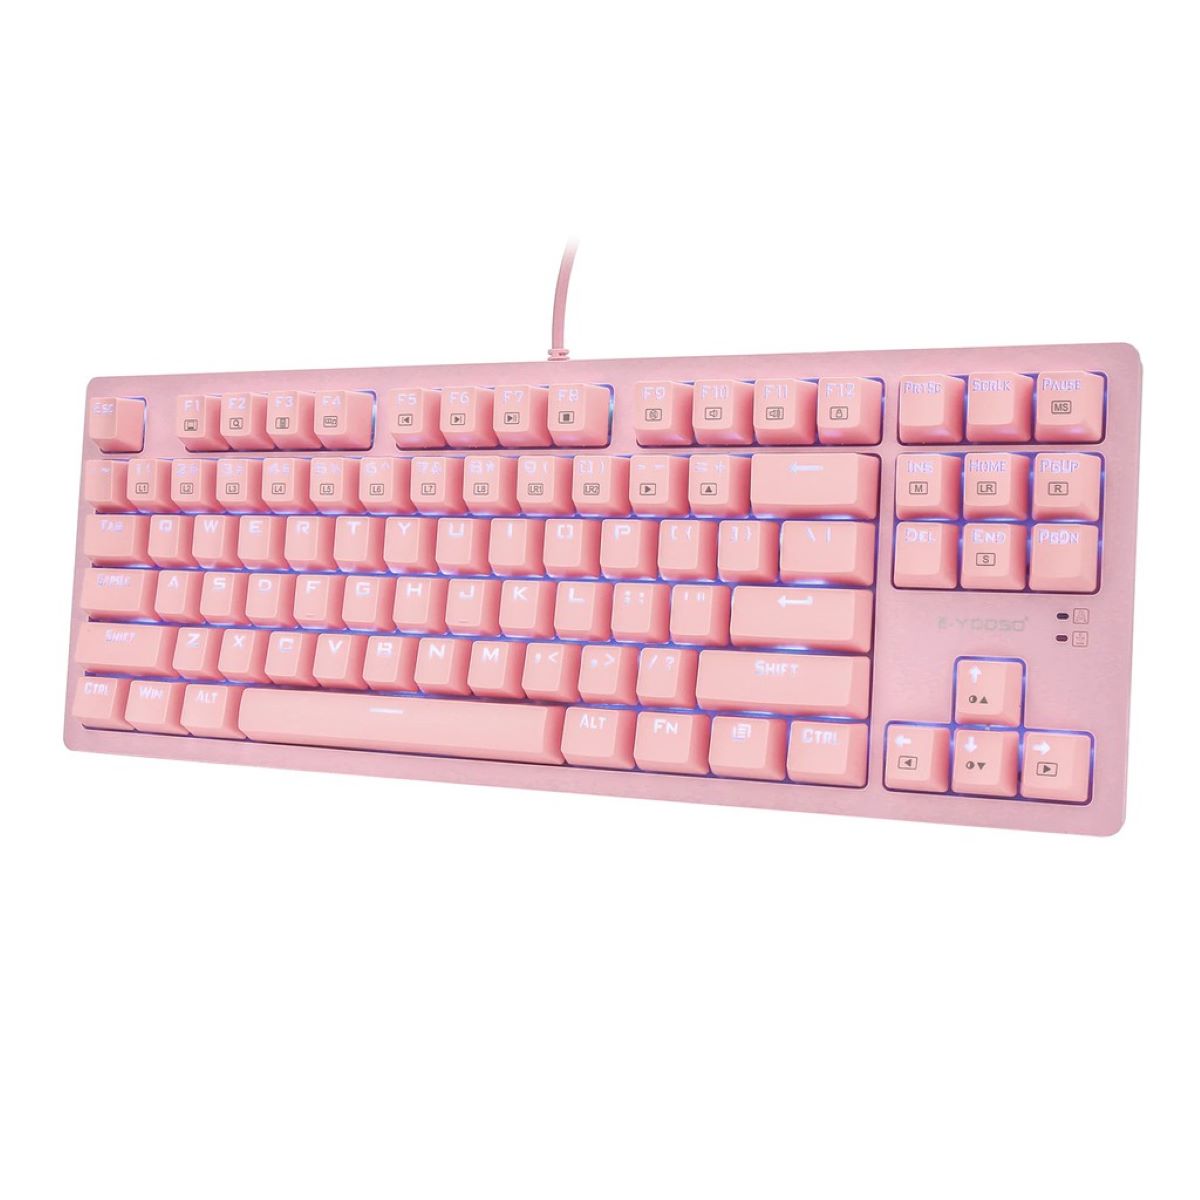
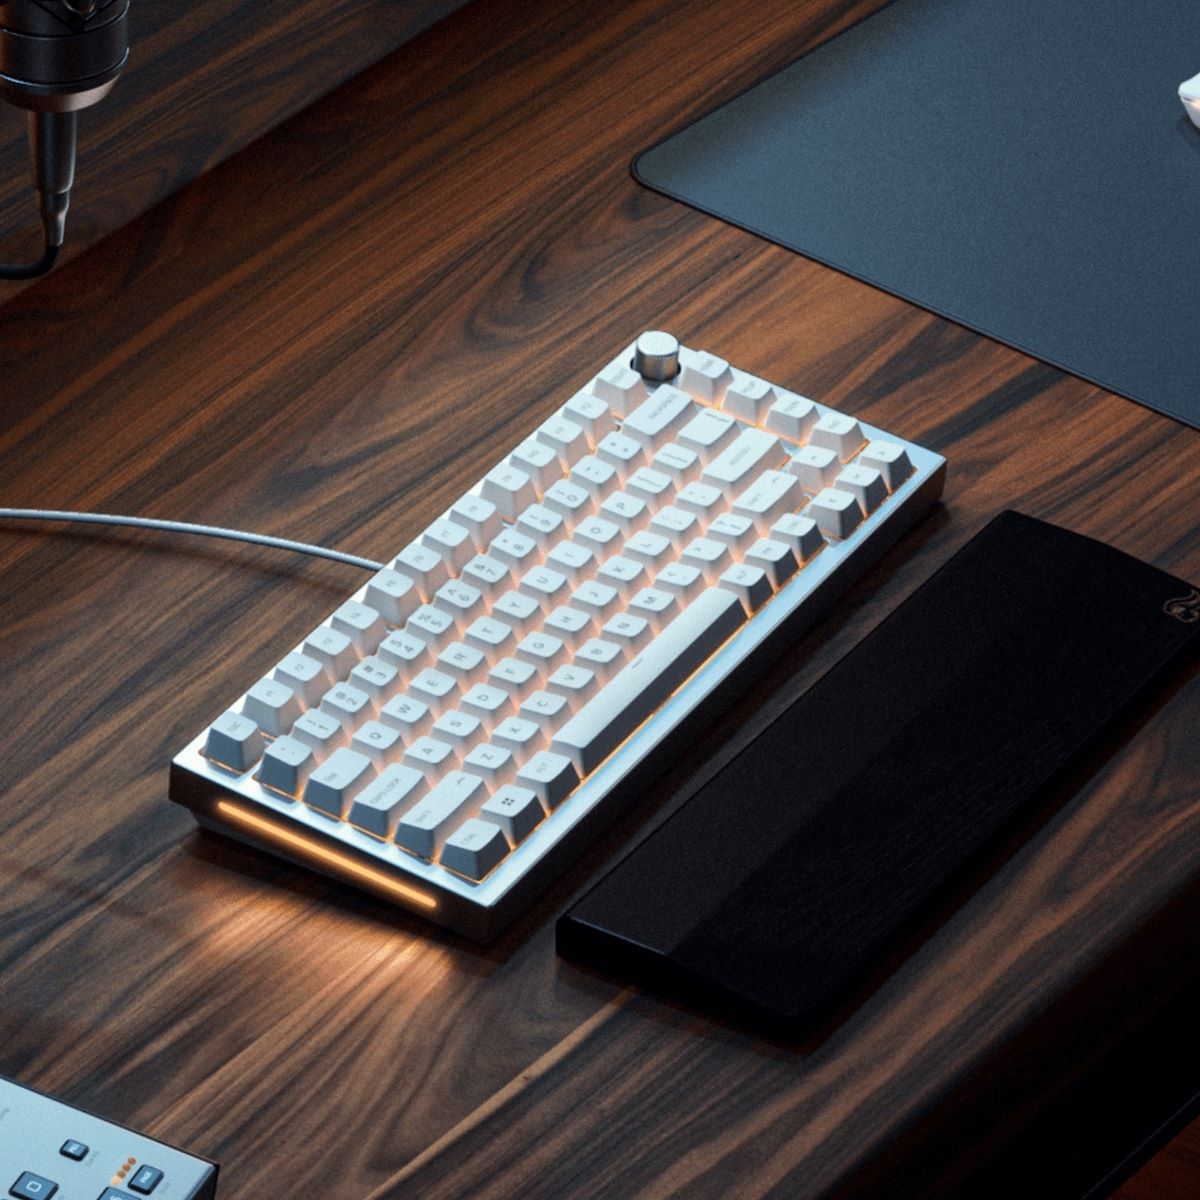
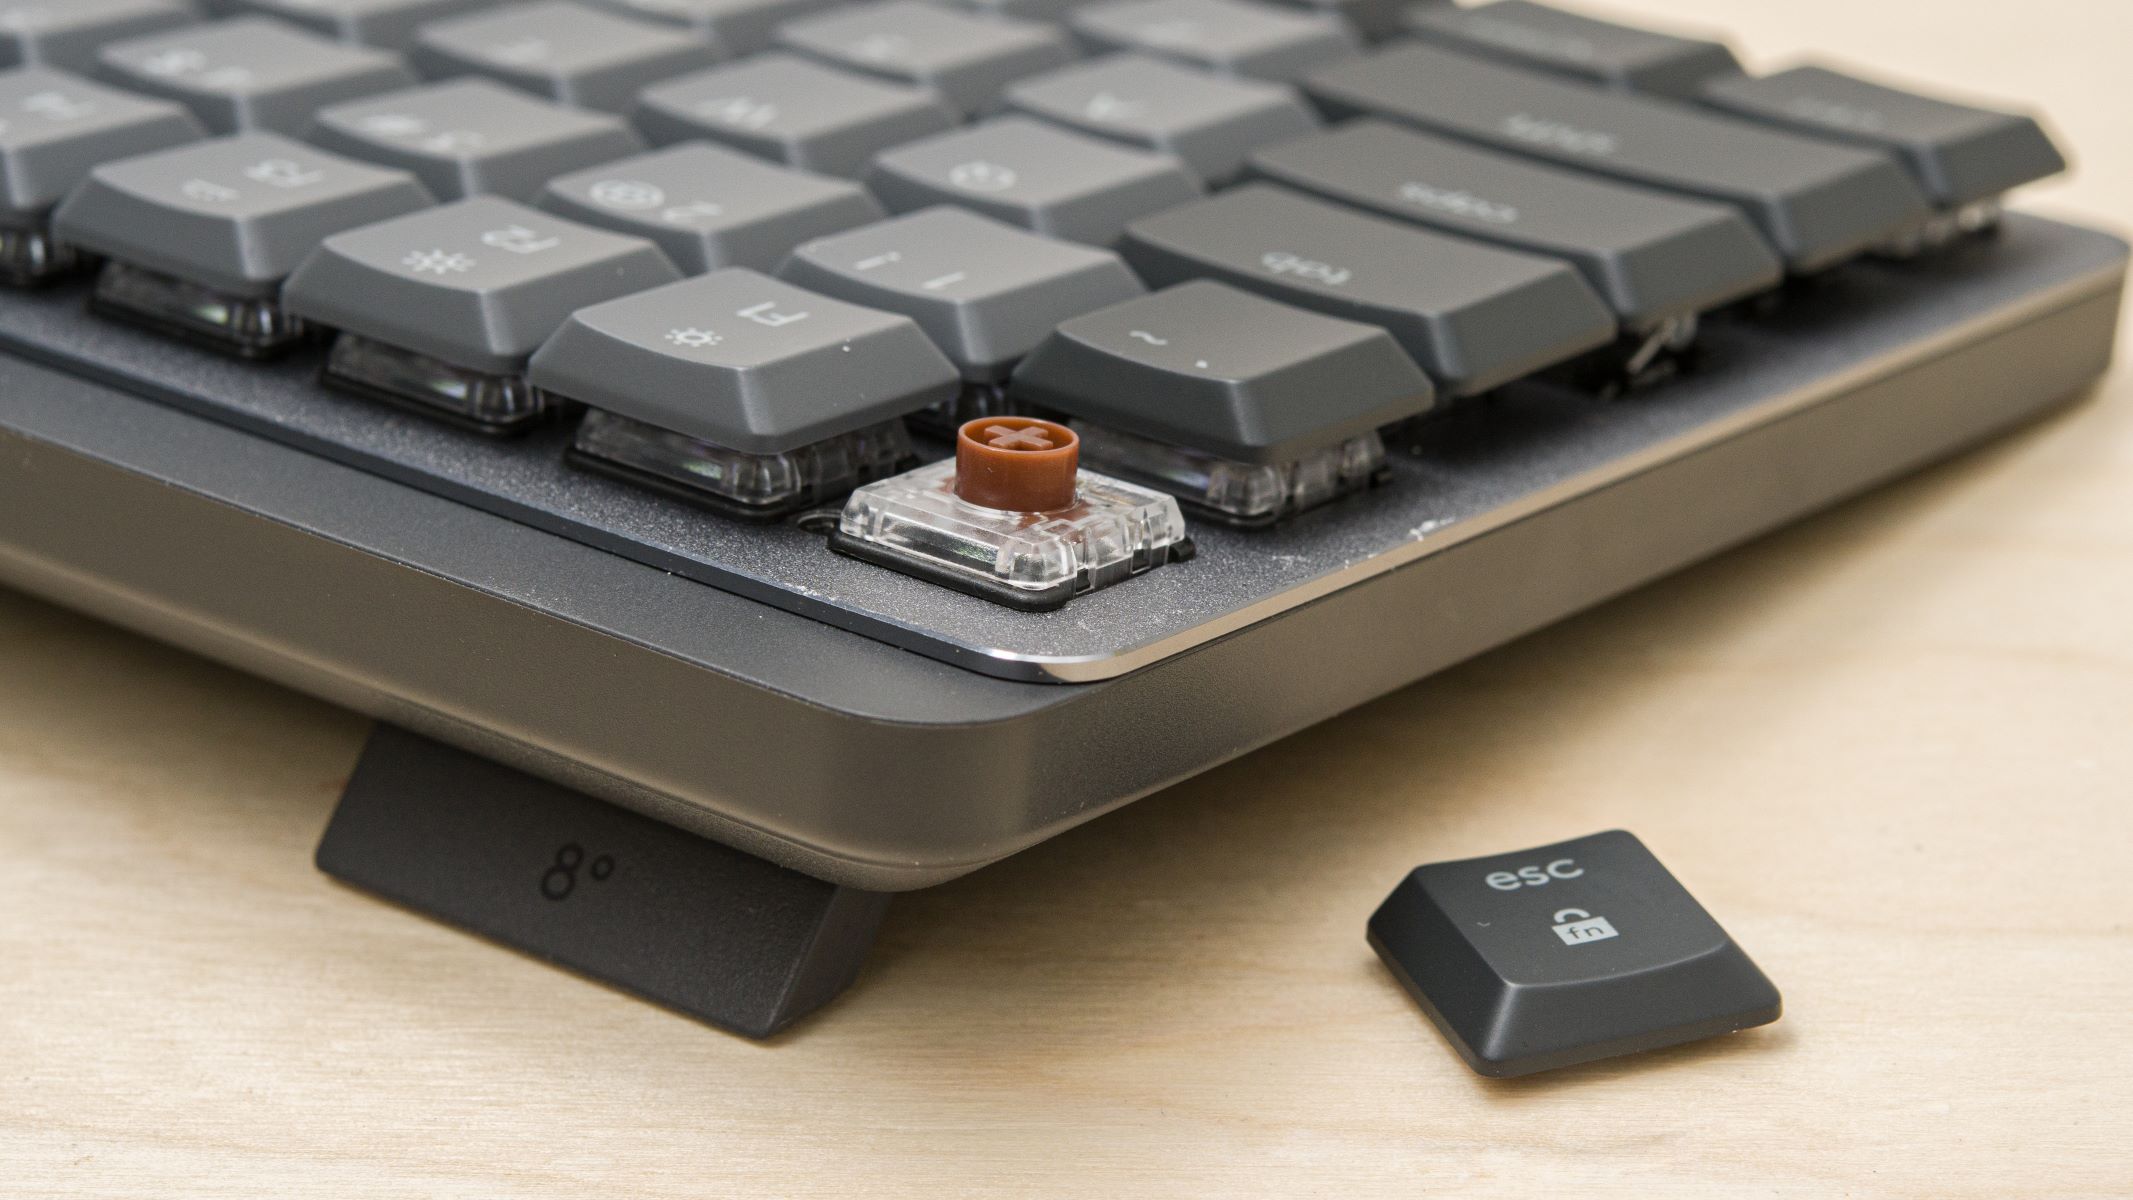
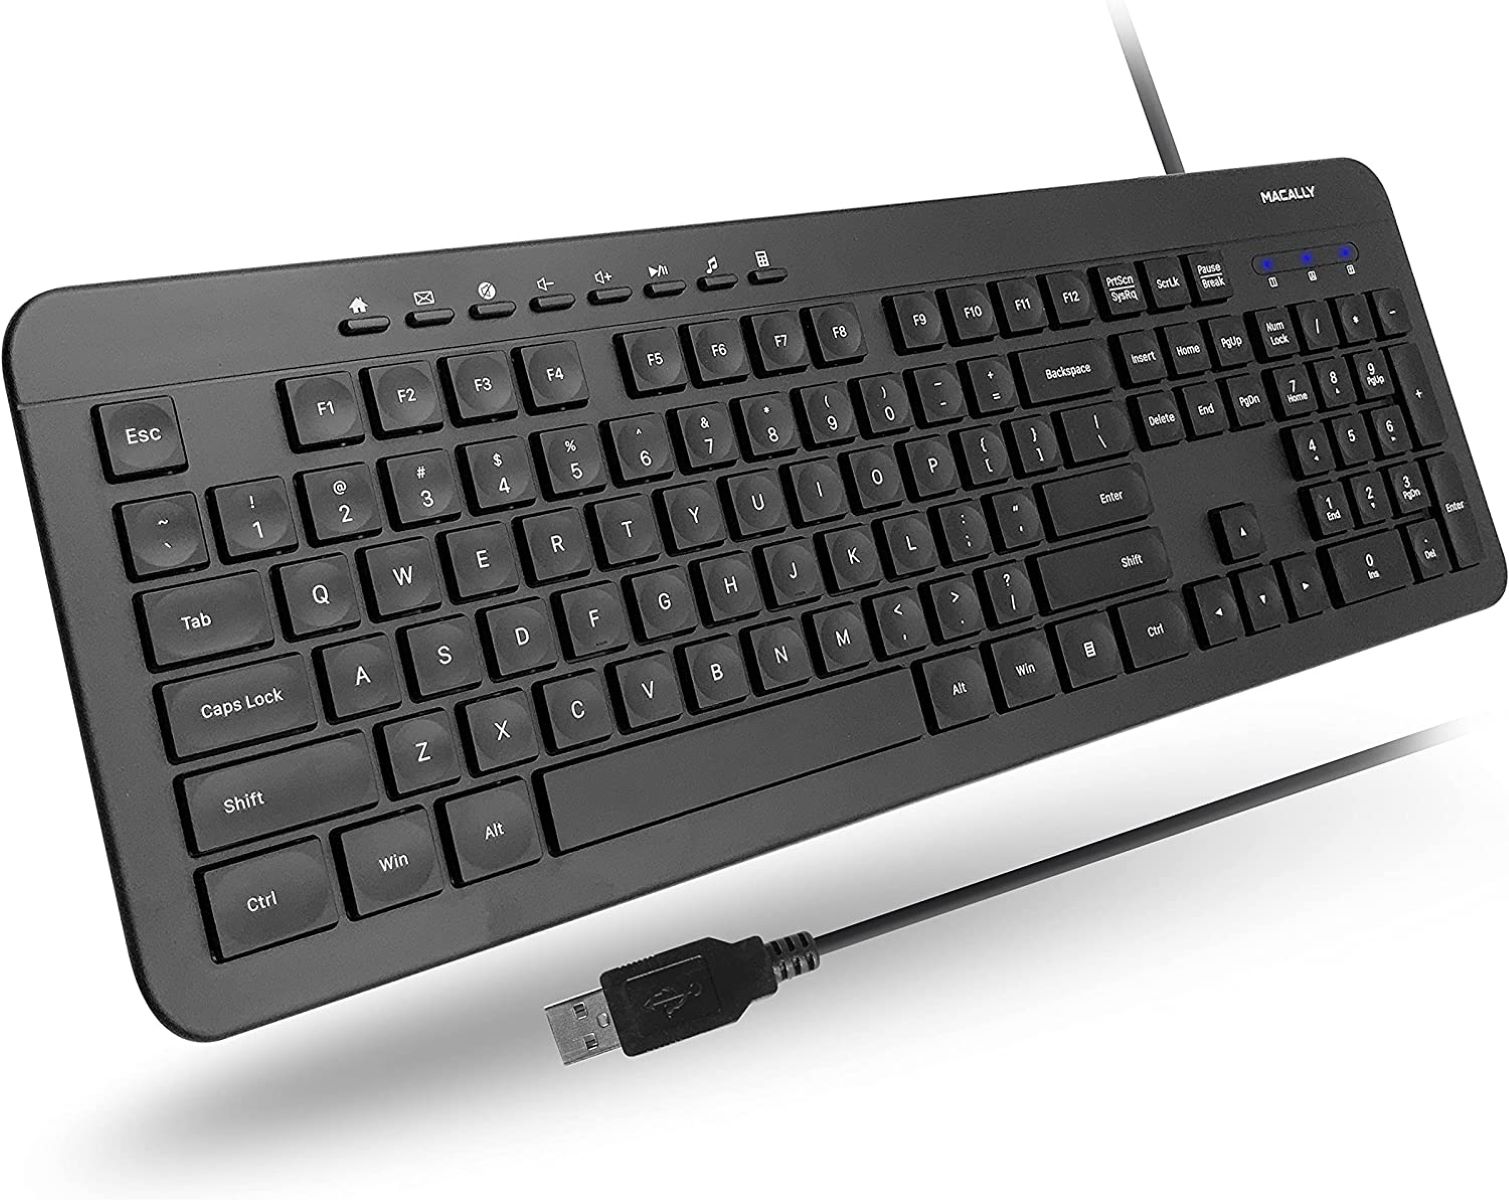
- USB Connection: Most gaming keyboards utilize a USB connection. Begin by locating an available USB port on your Mac. Once identified, insert the USB connector from your gaming keyboard into the port. Your Mac should automatically recognize the new peripheral, and the keyboard should light up, indicating that it is receiving power.
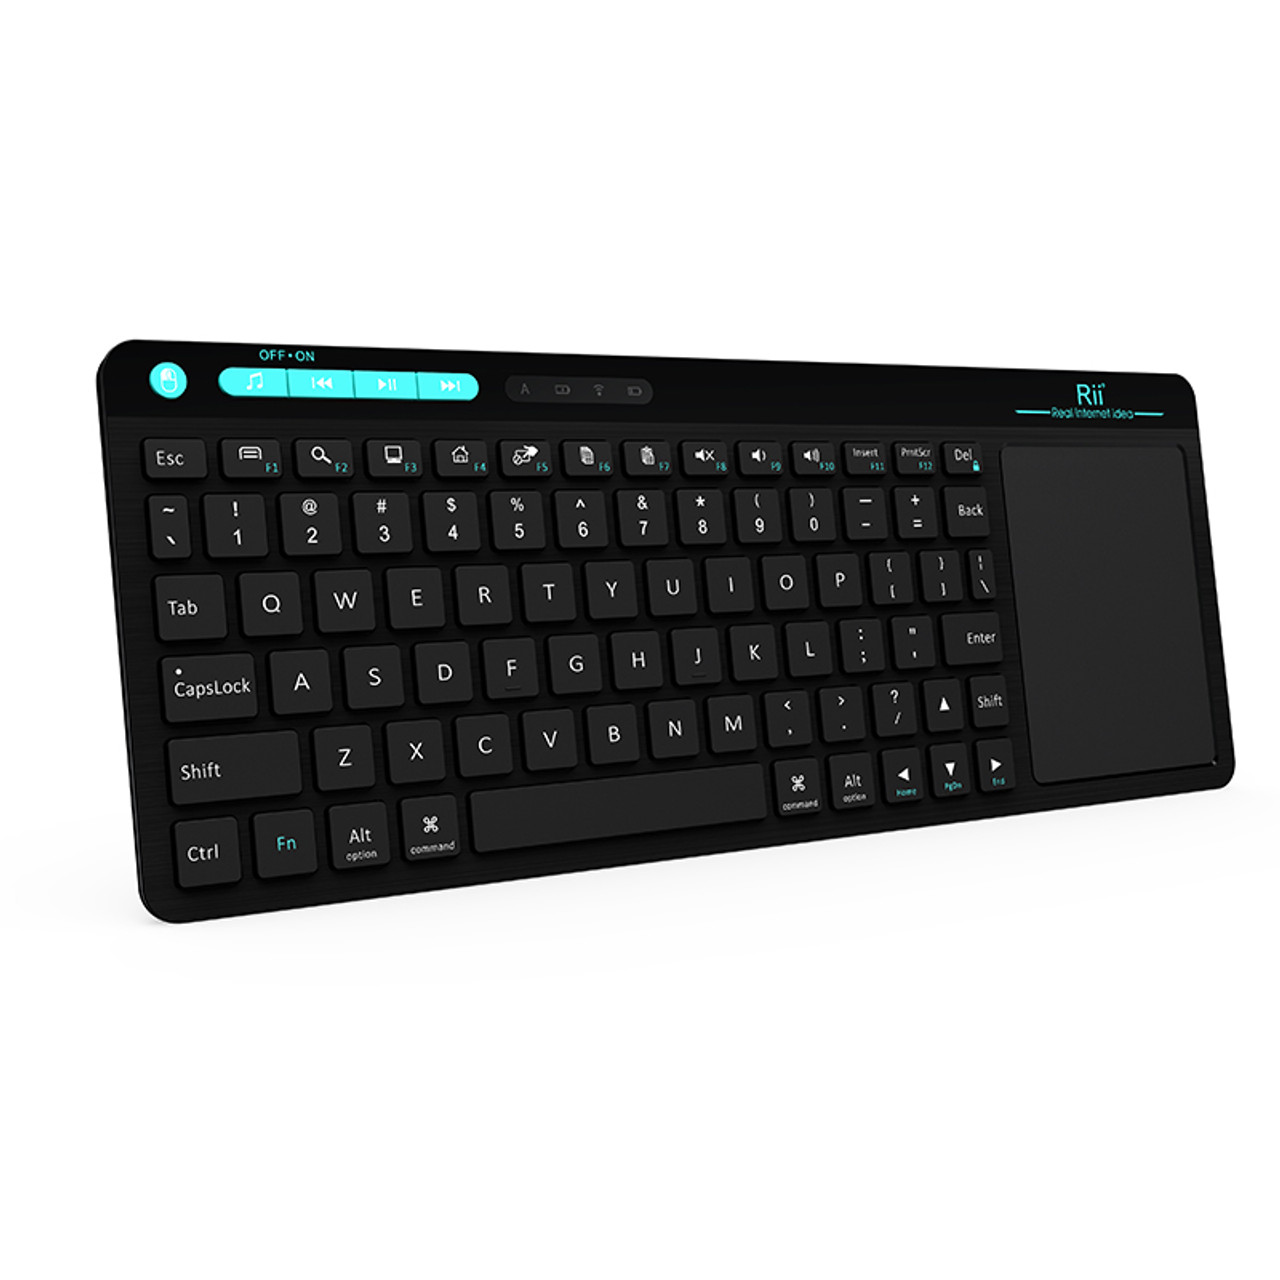
- Bluetooth Connection: If your gaming keyboard supports Bluetooth connectivity, you can pair it with your Mac wirelessly. Start by activating the Bluetooth feature on your Mac. Then, put your gaming keyboard into pairing mode according to the manufacturer’s instructions. Once in pairing mode, your Mac should detect the keyboard in the list of available Bluetooth devices. Select the keyboard to establish the connection.
After completing these steps, your gaming keyboard should be successfully connected to your Mac. It’s important to ensure that the connection is stable and functional before proceeding to the next steps. Once your gaming keyboard is physically connected to your Mac, you can move on to the next phase of the setup process, which involves installing any necessary software to optimize its performance.
Step 2: Install Any Necessary Software
After establishing the physical connection between your gaming keyboard and your Mac, the next step is to ensure that you have the appropriate software installed to maximize the keyboard’s functionality. While some gaming keyboards may work seamlessly without additional software, others offer enhanced features and customization options through dedicated software applications. Follow these guidelines to install any necessary software for your gaming keyboard:
- Manufacturer’s Website: Visit the official website of the gaming keyboard’s manufacturer to locate the relevant software or drivers. Look for a section dedicated to downloads or support, where you can find the latest software compatible with your Mac operating system.
- Download and Install: Once you have identified the required software, download it to your Mac and follow the installation instructions provided by the manufacturer. Ensure that you select the version of the software that is compatible with your Mac’s operating system to avoid any compatibility issues.
- Customization Options: The software provided by the manufacturer may offer a range of customization options, such as programmable keys, RGB lighting control, macro creation, and profile management. Take the time to explore these features and tailor the keyboard settings to suit your gaming preferences and habits.
By installing the necessary software, you can unlock the full potential of your gaming keyboard and access advanced customization options that enhance your gaming experience. Once the software is successfully installed, you can proceed to the next step, which involves customizing the keyboard settings to align with your gaming requirements and personal preferences.
Step 3: Customize Keyboard Settings
With the gaming keyboard physically connected to your Mac and the necessary software installed, it’s time to delve into customizing the keyboard settings to optimize its performance for gaming. Customization options can vary depending on the model and software capabilities, but the following general guidelines will help you tailor the keyboard to your preferences:
- Macro Programming: If your gaming keyboard supports macro programming, take advantage of this feature to assign complex or repetitive in-game actions to a single keystroke. This can significantly enhance your gaming efficiency and execution speed.
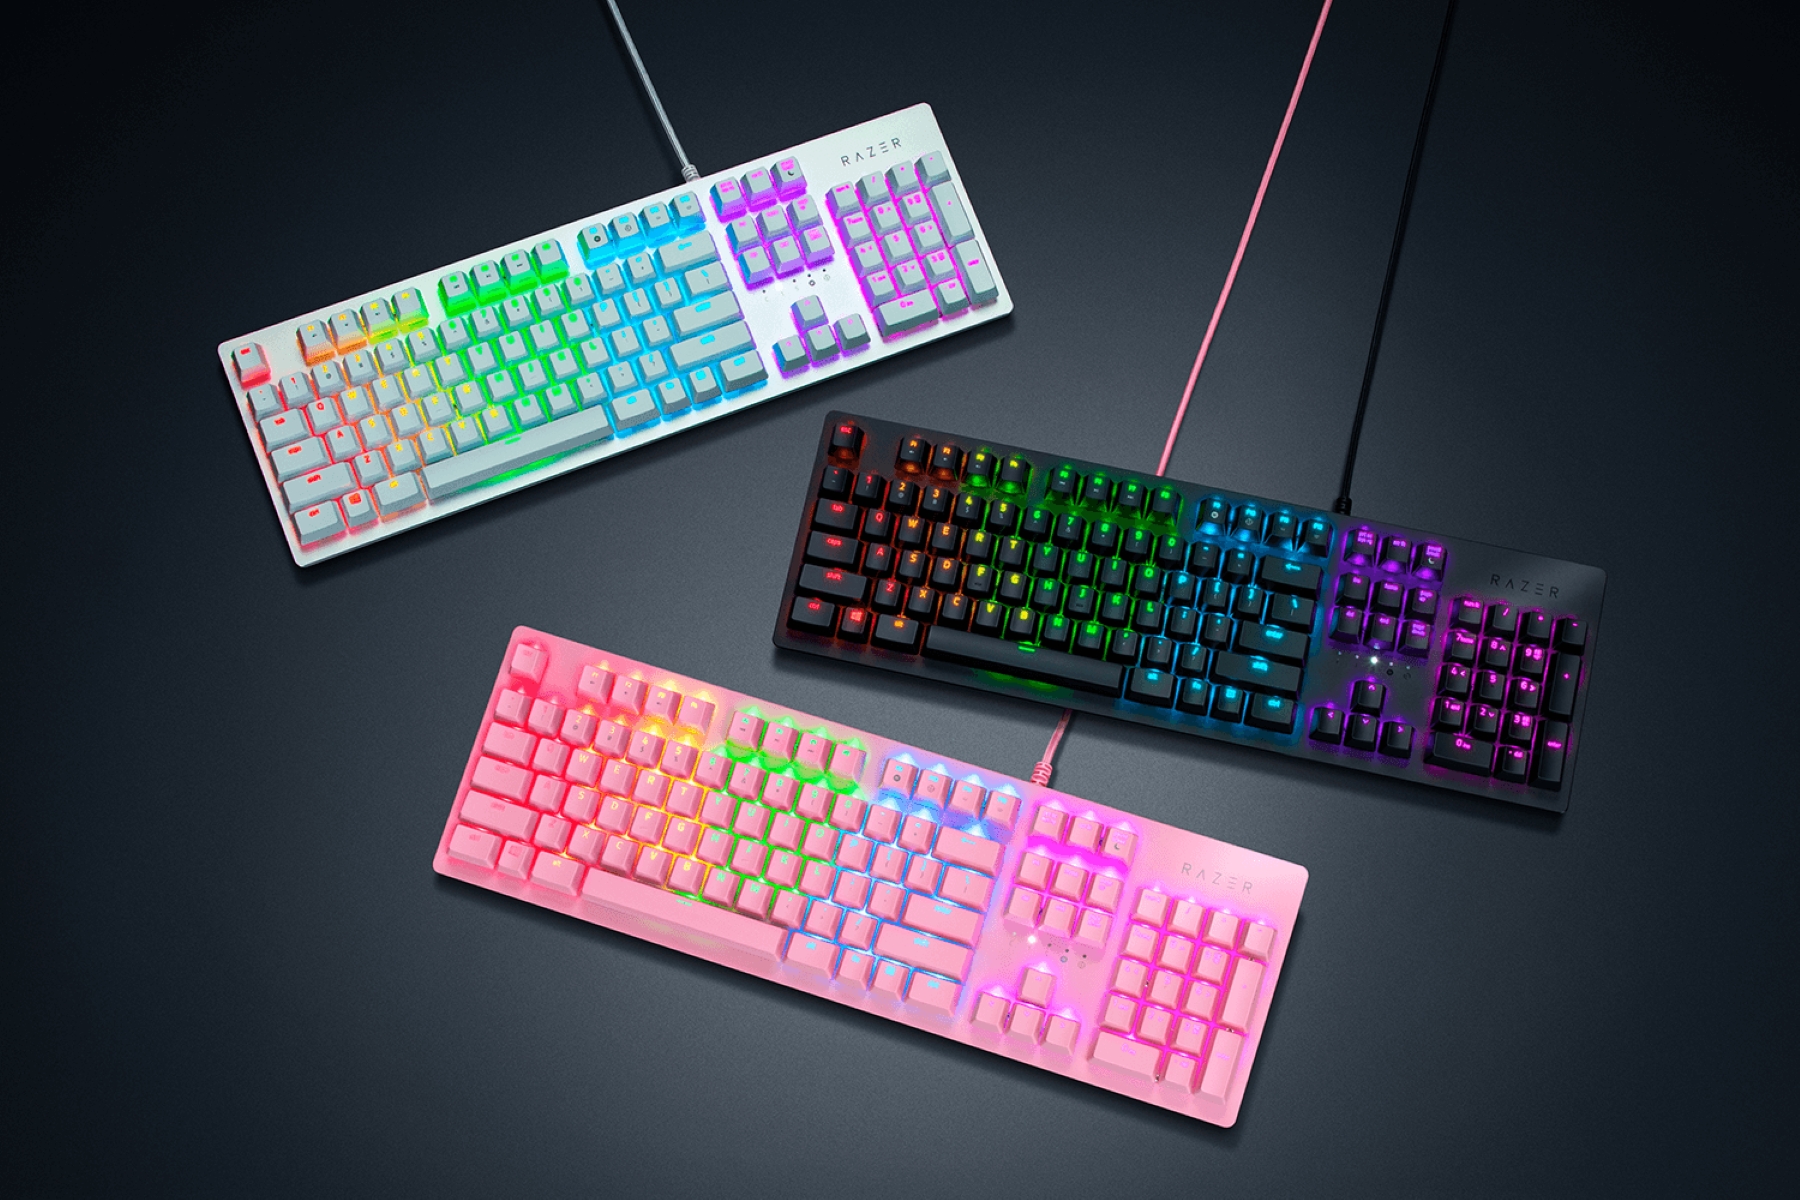
- RGB Lighting Control: Many gaming keyboards feature customizable RGB lighting. Use the provided software to personalize the lighting effects, colors, and patterns to create an immersive gaming ambiance or to differentiate between gaming profiles.
- Key Remapping: Some gaming keyboards allow for key remapping, enabling you to reassign specific functions to different keys. This can be particularly useful for adapting the keyboard layout to match your preferred gaming style or to accommodate specific game requirements.
- Profile Management: Explore the option to create and manage multiple profiles within the keyboard’s software. Each profile can store unique settings, such as key assignments and lighting configurations, tailored for different games or gaming scenarios.
By customizing the keyboard settings to align with your gaming preferences, you can create a personalized gaming experience that enhances your performance and comfort during extended gaming sessions. Once you have fine-tuned the settings to your satisfaction, it’s essential to test the keyboard to ensure that all customizations are functioning as intended before immersing yourself in your favorite games.
Step 4: Test the Keyboard
After connecting, installing software, and customizing the settings of your gaming keyboard on your Mac, it’s crucial to thoroughly test its functionality to ensure that all customizations are working as intended. Testing the keyboard involves validating its responsiveness, custom key assignments, lighting effects, and any other personalized settings. Here’s how to effectively test your gaming keyboard:
- Typing Test: Verify that all keys on the gaming keyboard register accurately when typing. This ensures that the physical connection is stable and that the keyboard is recognized by your Mac without any input lag or missed keystrokes.
- Macro Execution: If you’ve programmed macros for specific in-game actions or productivity tasks, test each macro to confirm that they execute seamlessly and efficiently.
- RGB Lighting: If your gaming keyboard features customizable RGB lighting, assess the lighting effects and color configurations to ensure that they align with your preferences and that they enhance the visual appeal of your gaming setup.
- Key Remapping: If you’ve remapped keys for gaming convenience or ergonomic reasons, verify that the new key assignments function as expected and provide the desired in-game benefits.
- Profile Switching: If your gaming keyboard supports multiple profiles, test the profile switching functionality to confirm that each profile loads the designated settings without any issues.
By rigorously testing the gaming keyboard, you can identify and address any potential issues or discrepancies in its performance before immersing yourself in gaming sessions. This proactive approach ensures that your gaming keyboard is fully optimized for your Mac, providing a seamless and immersive gaming experience tailored to your preferences and gaming habits.
Conclusion
Setting up a gaming keyboard on your Mac can significantly elevate your gaming experience, offering enhanced precision, customization, and comfort during gameplay. By following the step-by-step process outlined in this guide, you have successfully connected your gaming keyboard to your Mac, installed any necessary software, customized the keyboard settings, and thoroughly tested its functionality. As a result, you are now equipped to enjoy a tailored gaming experience that aligns with your preferences and gaming habits.
With your gaming keyboard seamlessly integrated with your Mac, you have unlocked a world of possibilities for personalization and optimization. Whether you are a competitive gamer seeking the edge in fast-paced battles or a casual player aiming to enhance your overall gaming comfort, the setup process outlined in this guide empowers you to harness the full potential of your gaming keyboard.
As you embark on your gaming adventures with your newly configured gaming keyboard, remember to explore and experiment with the customization options available to you. Tailoring the keyboard settings to your preferences and gaming style can lead to a more immersive and enjoyable gaming experience, ultimately enhancing your performance and satisfaction.
By understanding how to connect, install, customize, and test your gaming keyboard on your Mac, you have taken a significant step toward optimizing your gaming setup. Embrace the flexibility and precision offered by your gaming keyboard, and let your enhanced gaming experience on your Mac propel you to new levels of enjoyment and achievement in your favorite games.