Introduction
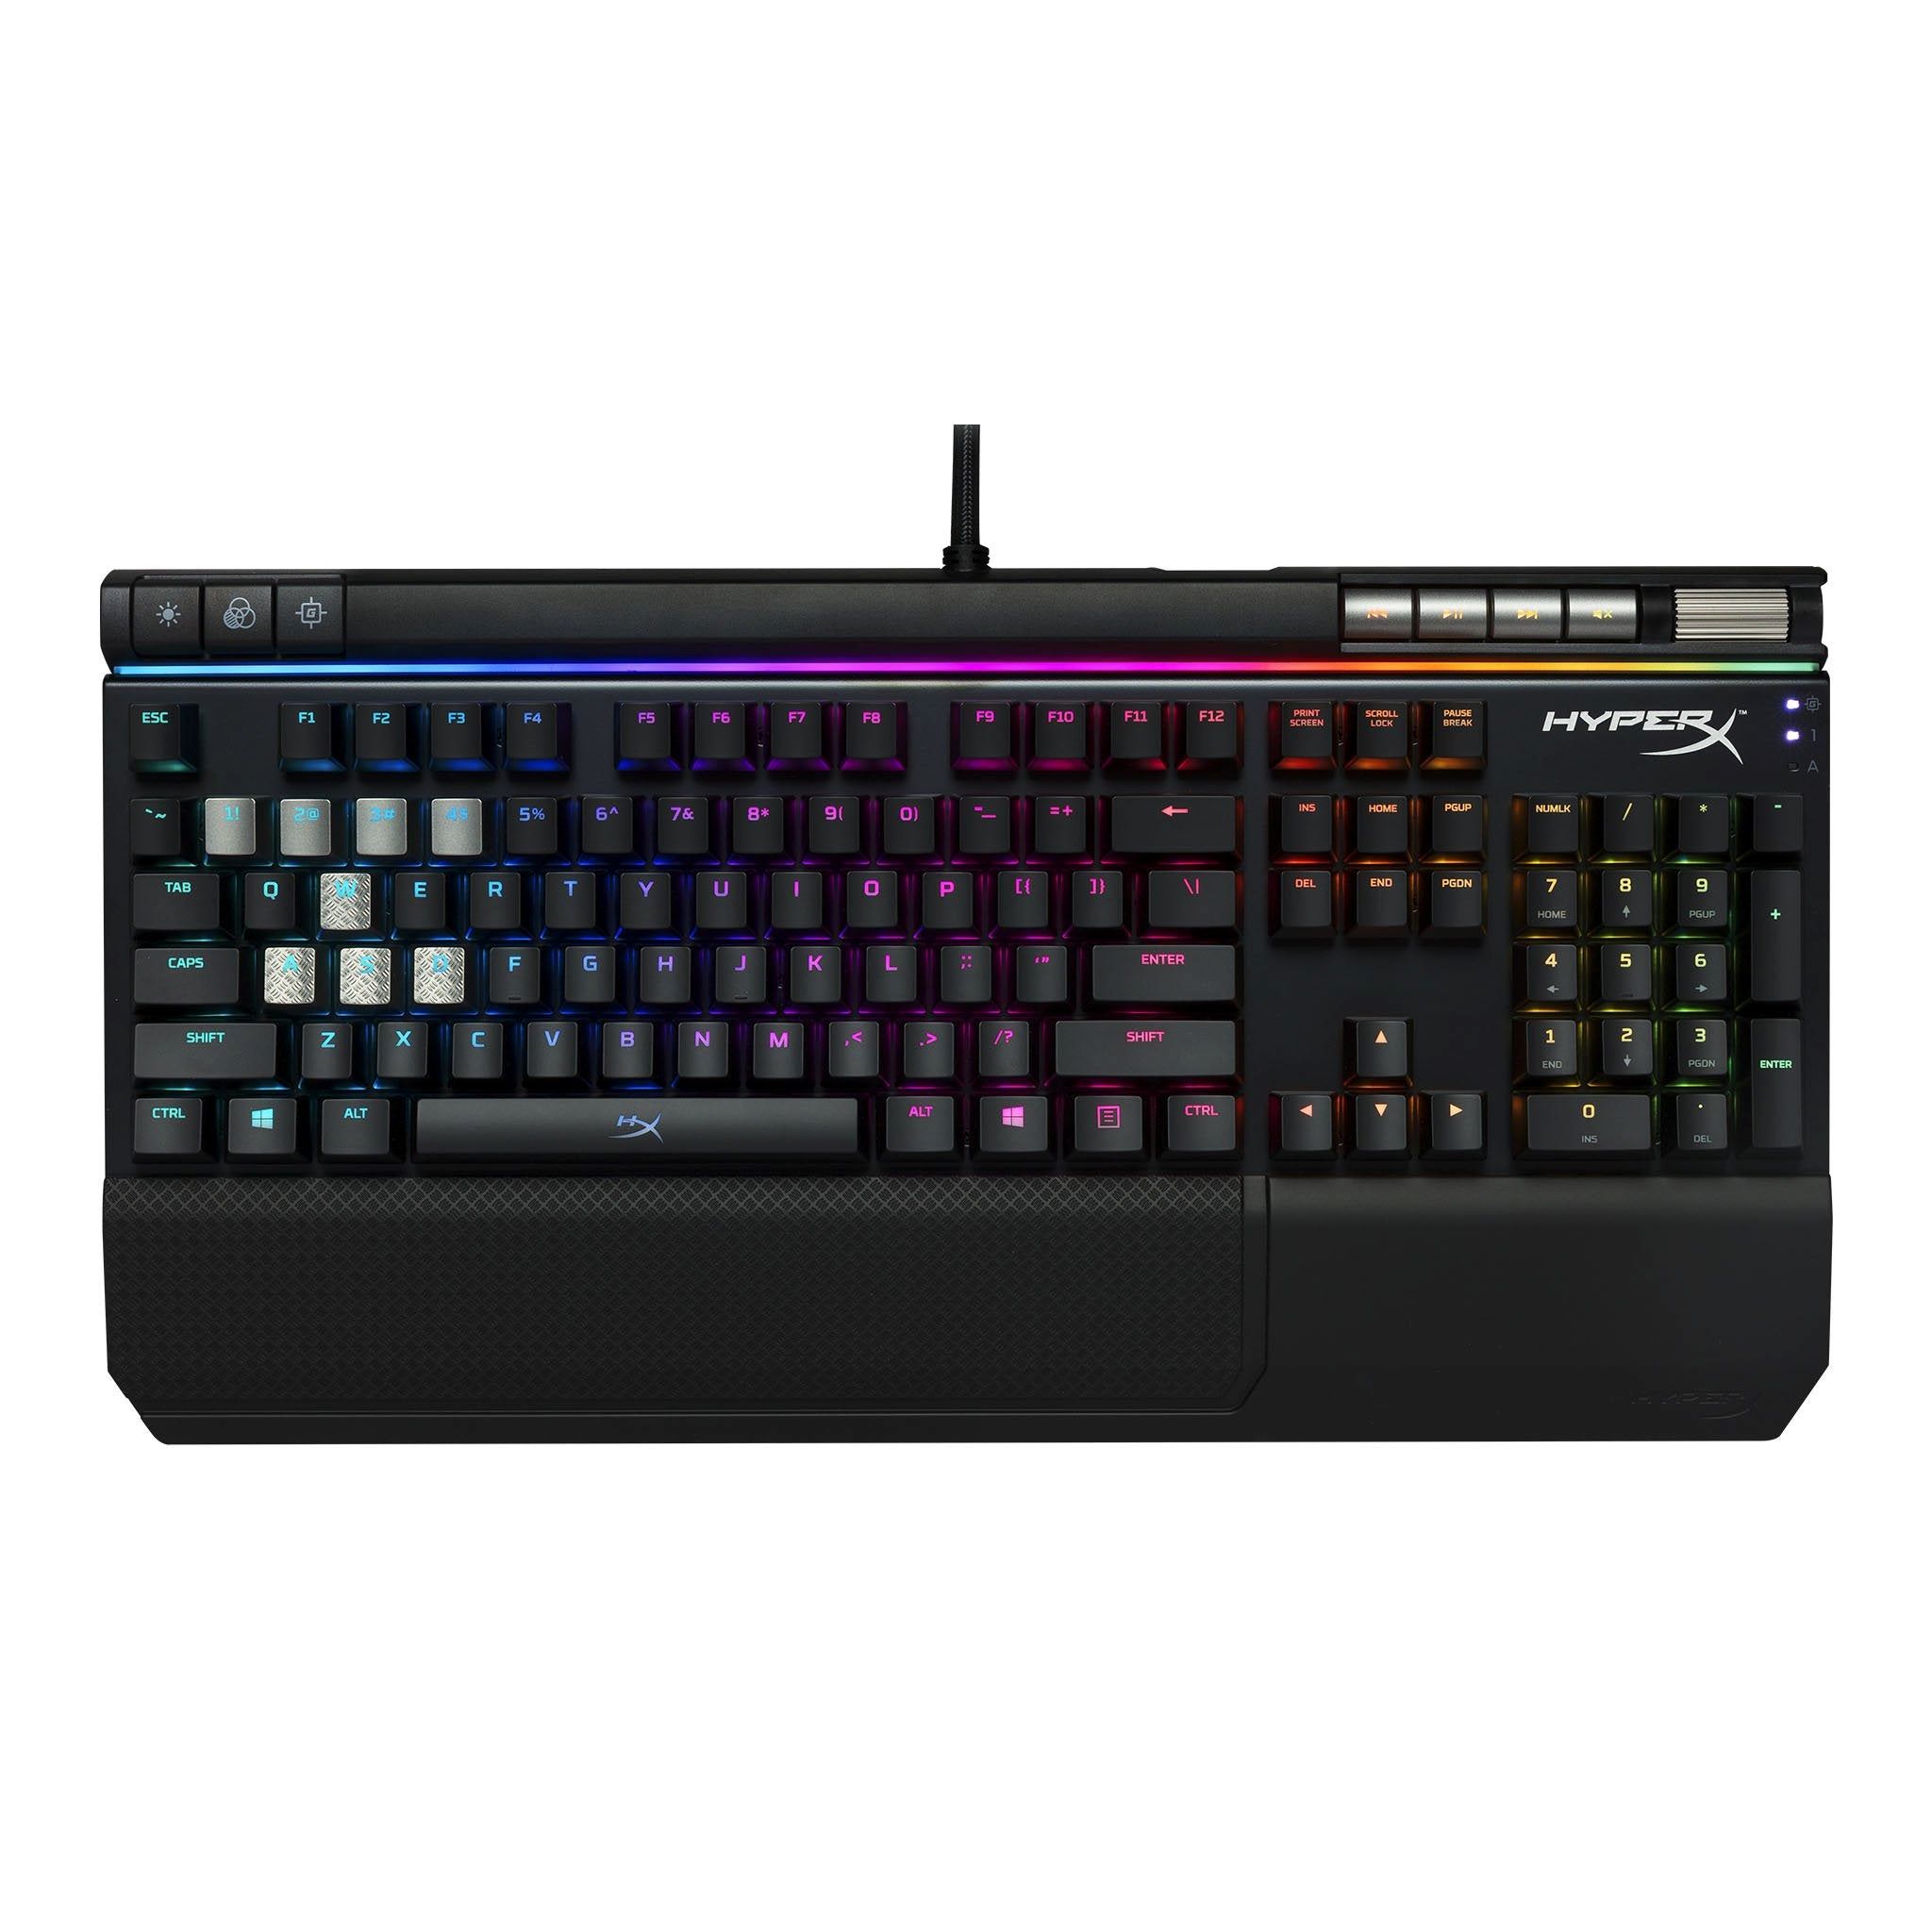
Resetting a HyperX Alloy Tenkeyless Mechanical Keyboard can be a simple yet effective solution to various issues such as unresponsive keys, erratic behavior, or connectivity problems. Whether you're troubleshooting technical difficulties or restoring your keyboard to its default settings, understanding the reset process is essential. This guide will walk you through the steps to reset your HyperX Alloy Tenkeyless Mechanical Keyboard, ensuring that you can swiftly address any issues that may arise.
A mechanical keyboard is a crucial tool for many individuals, serving as a reliable companion for work, gaming, and everyday tasks. However, like any electronic device, it may encounter occasional hiccups. When confronted with unresponsive keys or connectivity issues, performing a reset can often resolve these issues, saving you from the frustration of dealing with a malfunctioning keyboard.
By following the steps outlined in this guide, you can quickly and effectively reset your HyperX Alloy Tenkeyless Mechanical Keyboard, restoring it to its optimal functionality. Whether you're a seasoned user or a newcomer to the world of mechanical keyboards, understanding how to perform a reset is a valuable skill that can keep your keyboard operating smoothly.
Now, let's delve into the specific steps required to reset your HyperX Alloy Tenkeyless Mechanical Keyboard, ensuring that you can swiftly address any issues and get back to enjoying a seamless typing or gaming experience.
Step 1: Unplug the Keyboard
The first step in resetting your HyperX Alloy Tenkeyless Mechanical Keyboard is to unplug it from your computer or device. This ensures that the keyboard is completely disconnected from any power source, allowing for a full reset of its internal components. To unplug the keyboard, simply remove the USB cable from the USB port on your computer or the device to which it is connected.
Unplugging the keyboard is a crucial initial step as it effectively cuts off the power supply to the keyboard, allowing any residual charge to dissipate. This action sets the stage for a complete reset of the keyboard's internal circuitry, ensuring that any lingering issues or errors are cleared.
It is important to ensure that the keyboard is firmly unplugged from the device and that there is no power flowing to it. This step sets the foundation for the subsequent actions required to perform a successful reset of your HyperX Alloy Tenkeyless Mechanical Keyboard.
Once the keyboard is unplugged, it is essential to proceed to the next step promptly to initiate the reset process effectively. With the keyboard disconnected, you are now ready to move on to the next step and continue the process of resetting your HyperX Alloy Tenkeyless Mechanical Keyboard.
Step 2: Press and Hold the Reset Button
After unplugging the HyperX Alloy Tenkeyless Mechanical Keyboard, the next crucial step is to locate the reset button. The reset button is typically situated on the back or underside of the keyboard, often near the cable connection point. Once you have located the reset button, use a small, pointed object such as a paperclip or pen tip to press and hold the reset button for approximately 5-10 seconds.
Pressing and holding the reset button serves to discharge any residual power and initiate the reset process within the keyboard. This action effectively clears any lingering issues or errors, restoring the keyboard to its default settings. It is important to ensure that the reset button is pressed firmly and held for the specified duration to guarantee a successful reset.
During this step, it is essential to exercise patience and maintain steady pressure on the reset button. The duration for which the reset button needs to be held may vary depending on the keyboard model, so it is advisable to refer to the keyboard’s manual for specific instructions. Additionally, some keyboards may require the keyboard to be plugged in while pressing the reset button, so be sure to consult the manual for precise details.
Pressing and holding the reset button is a pivotal part of the reset process, as it triggers the keyboard’s internal mechanisms to clear any stored data or errors. By diligently following this step, you are effectively paving the way for a successful reset of your HyperX Alloy Tenkeyless Mechanical Keyboard, setting the stage for the subsequent steps in the reset process.
Step 3: Reconnect the Keyboard
Once you have pressed and held the reset button for the specified duration, the next step in resetting your HyperX Alloy Tenkeyless Mechanical Keyboard is to reconnect it to your computer or device. To do this, simply plug the USB cable back into the USB port on your computer or the device to which the keyboard is connected.
Reconnecting the keyboard re-establishes the connection with your computer or device, allowing the reset process to take effect. As the keyboard powers back on, it undergoes a reboot and initializes the restored default settings. This step is crucial in completing the reset process and ensuring that your keyboard is ready for use.
After reconnecting the keyboard, it is important to allow a few moments for it to power up and establish the connection with your computer or device. During this time, the keyboard undergoes the final stages of the reset process, ensuring that any residual issues or errors are resolved, and the default settings are reinstated.
Once the keyboard is successfully reconnected and powered on, you can proceed to test its functionality to ensure that the reset process has been effective. Test the keys, functions, and overall responsiveness of the keyboard to verify that it is operating as expected. If any issues persist, you may consider repeating the reset process or seeking further assistance from technical support.
By diligently following the steps outlined in this guide, you have successfully reset your HyperX Alloy Tenkeyless Mechanical Keyboard, restoring it to its default settings and addressing any potential issues that may have arisen. With the keyboard now reset and ready for use, you can continue to enjoy a seamless typing or gaming experience without the hindrance of technical difficulties.
Conclusion
Resetting your HyperX Alloy Tenkeyless Mechanical Keyboard is a straightforward yet effective process that can swiftly address various issues such as unresponsive keys, erratic behavior, or connectivity problems. By following the simple steps outlined in this guide, you can confidently navigate the reset process and restore your keyboard to its optimal functionality.
As a vital tool for work, gaming, and everyday tasks, a mechanical keyboard plays a crucial role in your computing experience. Understanding how to perform a reset ensures that you can troubleshoot and resolve any issues that may arise, allowing you to maintain a seamless and enjoyable typing or gaming experience.
Remember that unplugging the keyboard, pressing and holding the reset button, and reconnecting the keyboard are the key steps in the reset process. By diligently following these steps, you can effectively clear any lingering issues or errors, restoring the keyboard to its default settings and resolving technical difficulties.
After completing the reset process, take a moment to test the keyboard’s functionality to ensure that it is operating as expected. If any issues persist, consider repeating the reset process or seeking further assistance from technical support.
With your HyperX Alloy Tenkeyless Mechanical Keyboard successfully reset, you can now enjoy a smooth and unhindered computing experience, free from the frustrations of technical glitches. By equipping yourself with the knowledge of how to perform a reset, you can confidently address any potential issues and maintain your keyboard in optimal condition.
Now that you have mastered the art of resetting your HyperX Alloy Tenkeyless Mechanical Keyboard, you are well-prepared to tackle any challenges that may arise, ensuring that your keyboard continues to serve as a reliable and indispensable tool in your computing endeavors.