Introduction
Introduction
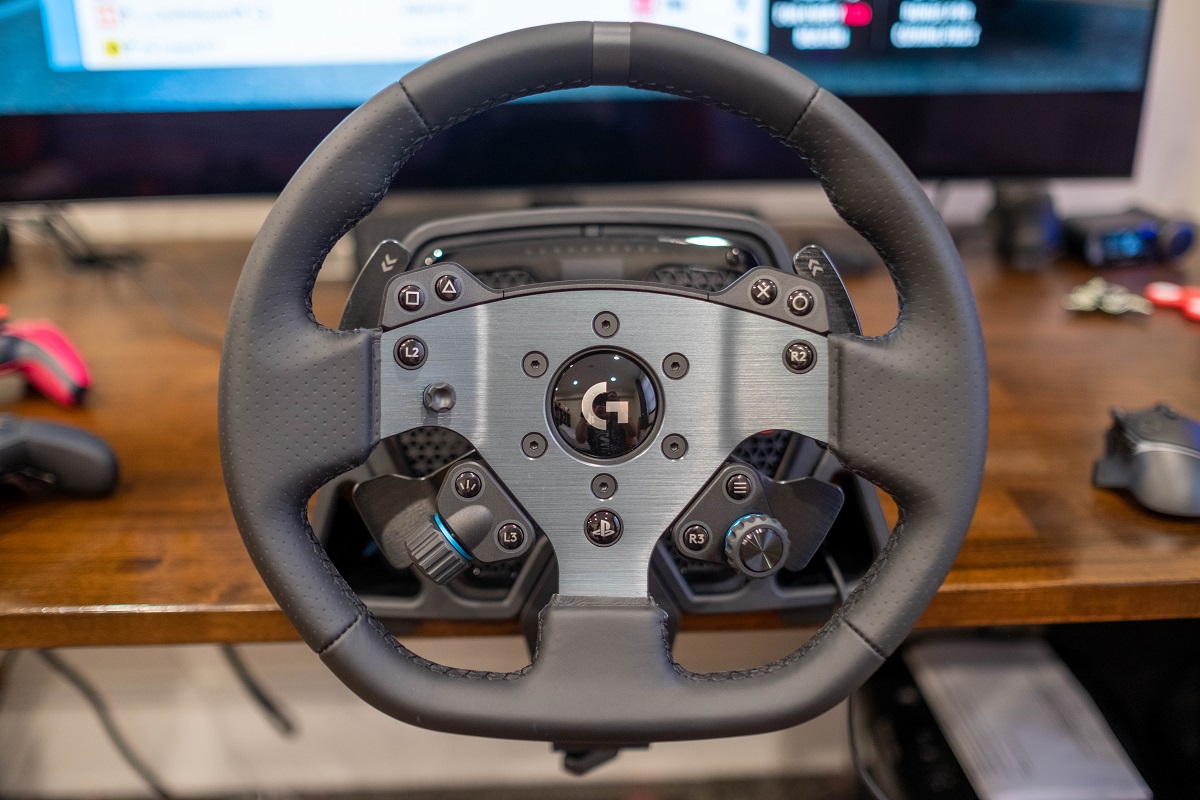
Are you a passionate racing enthusiast who spends countless hours behind the wheel, navigating thrilling virtual tracks? If so, you understand the pivotal role a high-quality racing wheel plays in delivering an immersive and exhilarating experience. Logitech, a renowned name in the gaming industry, offers a range of exceptional racing wheels designed to elevate your gaming encounters to new heights. However, like all mechanical devices, racing wheels are subject to wear and tear over time. If you find yourself in need of replacing your Logitech racing wheel, fear not! This comprehensive guide will walk you through the process step by step, ensuring a seamless transition to your new wheel.
Whether you're upgrading to a more advanced model, seeking improved performance, or simply replacing a worn-out wheel, this guide has got you covered. By following these instructions, you'll be back on the virtual track in no time, ready to conquer the most challenging circuits with precision and finesse. So, grab your toolkit, prepare to get your hands dirty, and let's dive into the exhilarating world of Logitech racing wheel replacement.
Step 1: Gather the Necessary Tools
Before embarking on the journey of replacing your Logitech racing wheel, it’s essential to gather the requisite tools to ensure a smooth and efficient process. Here’s a comprehensive list of items you’ll need:
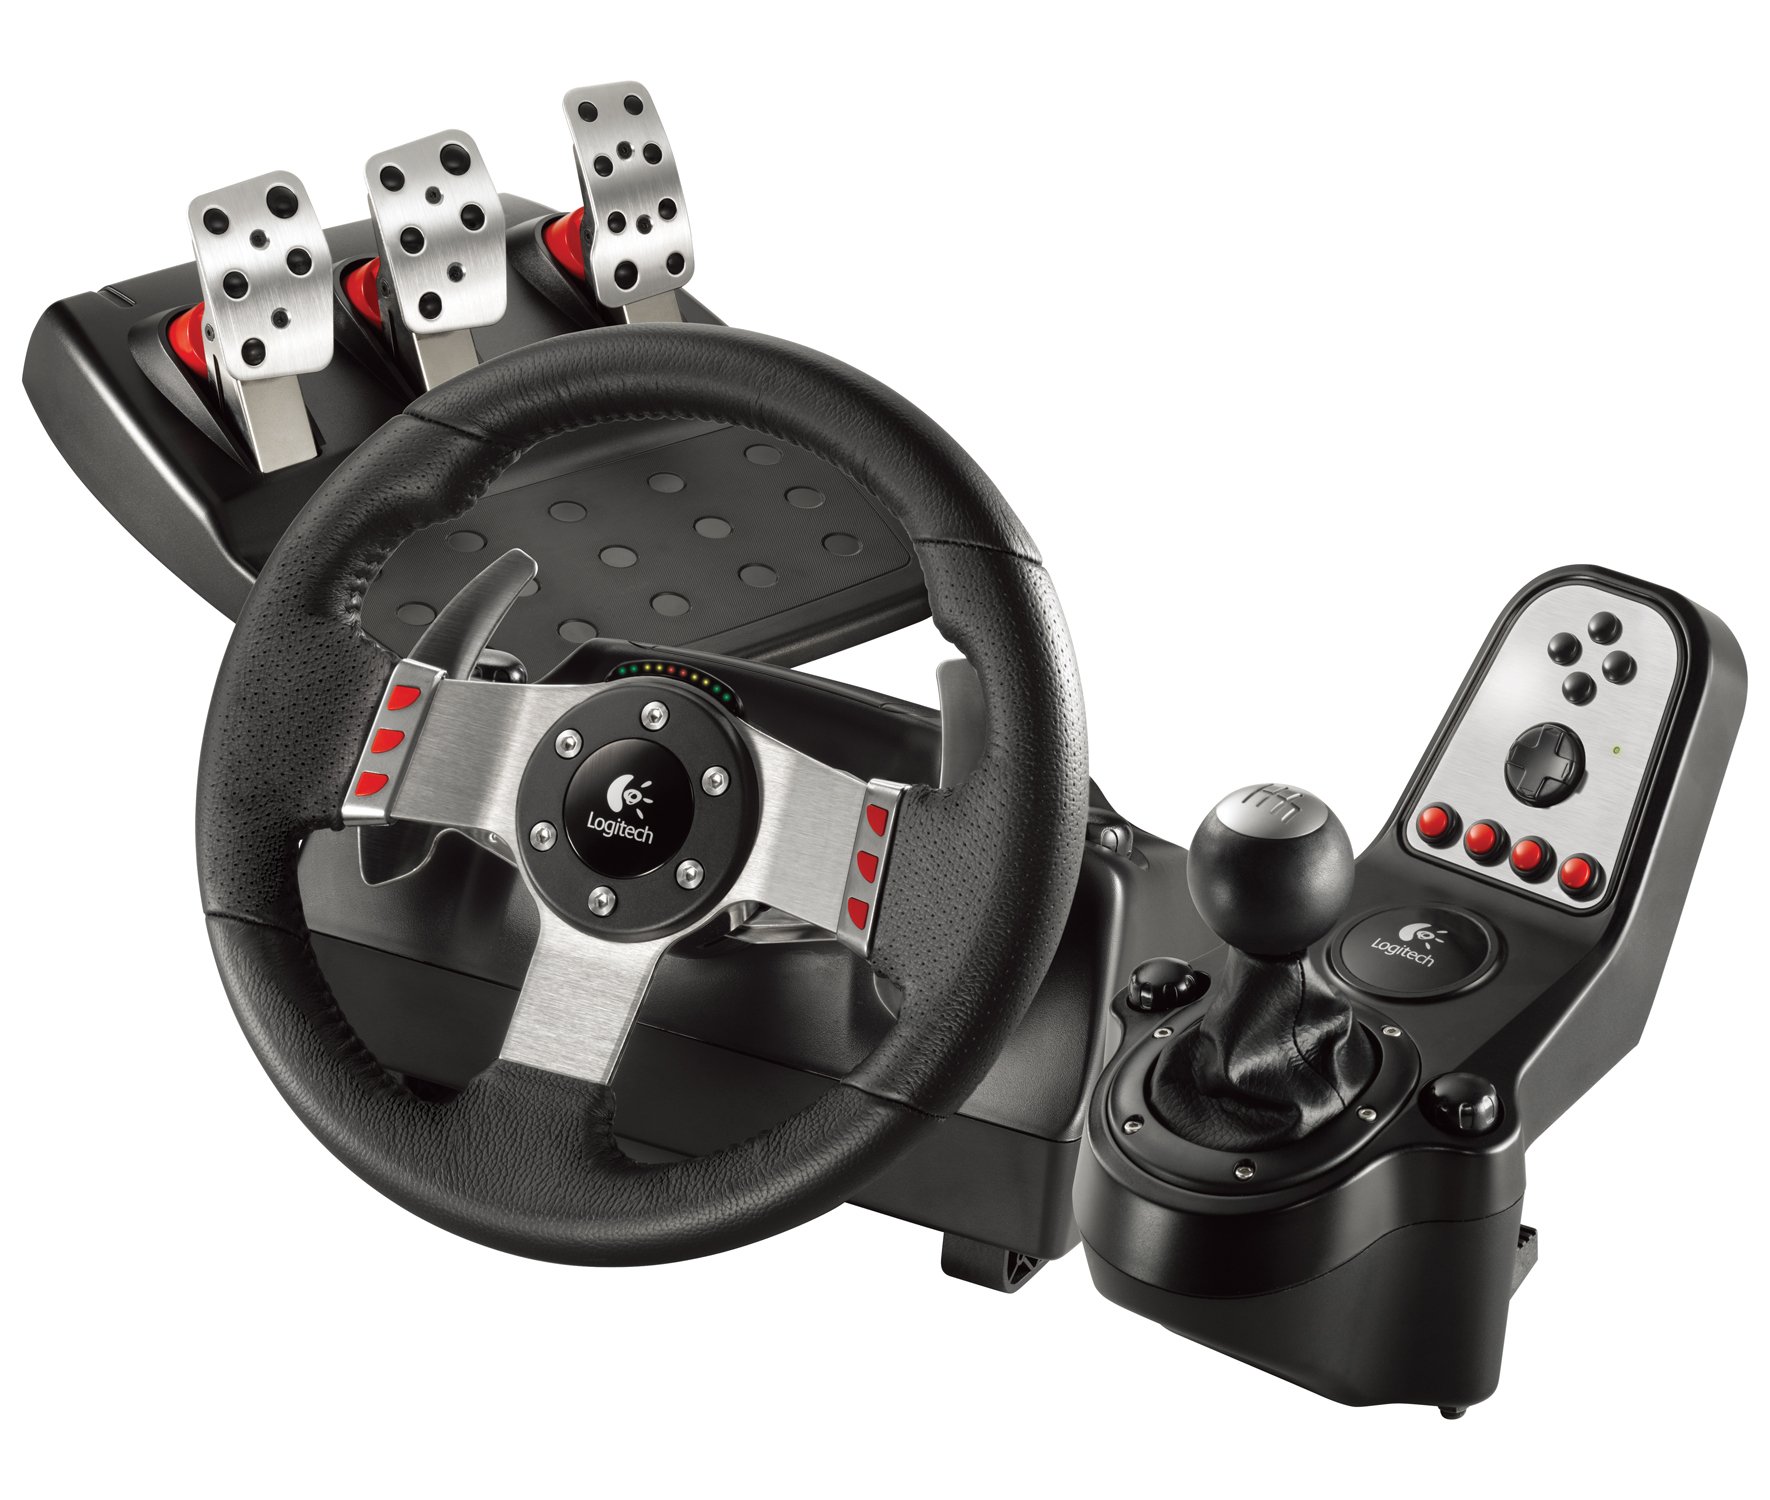
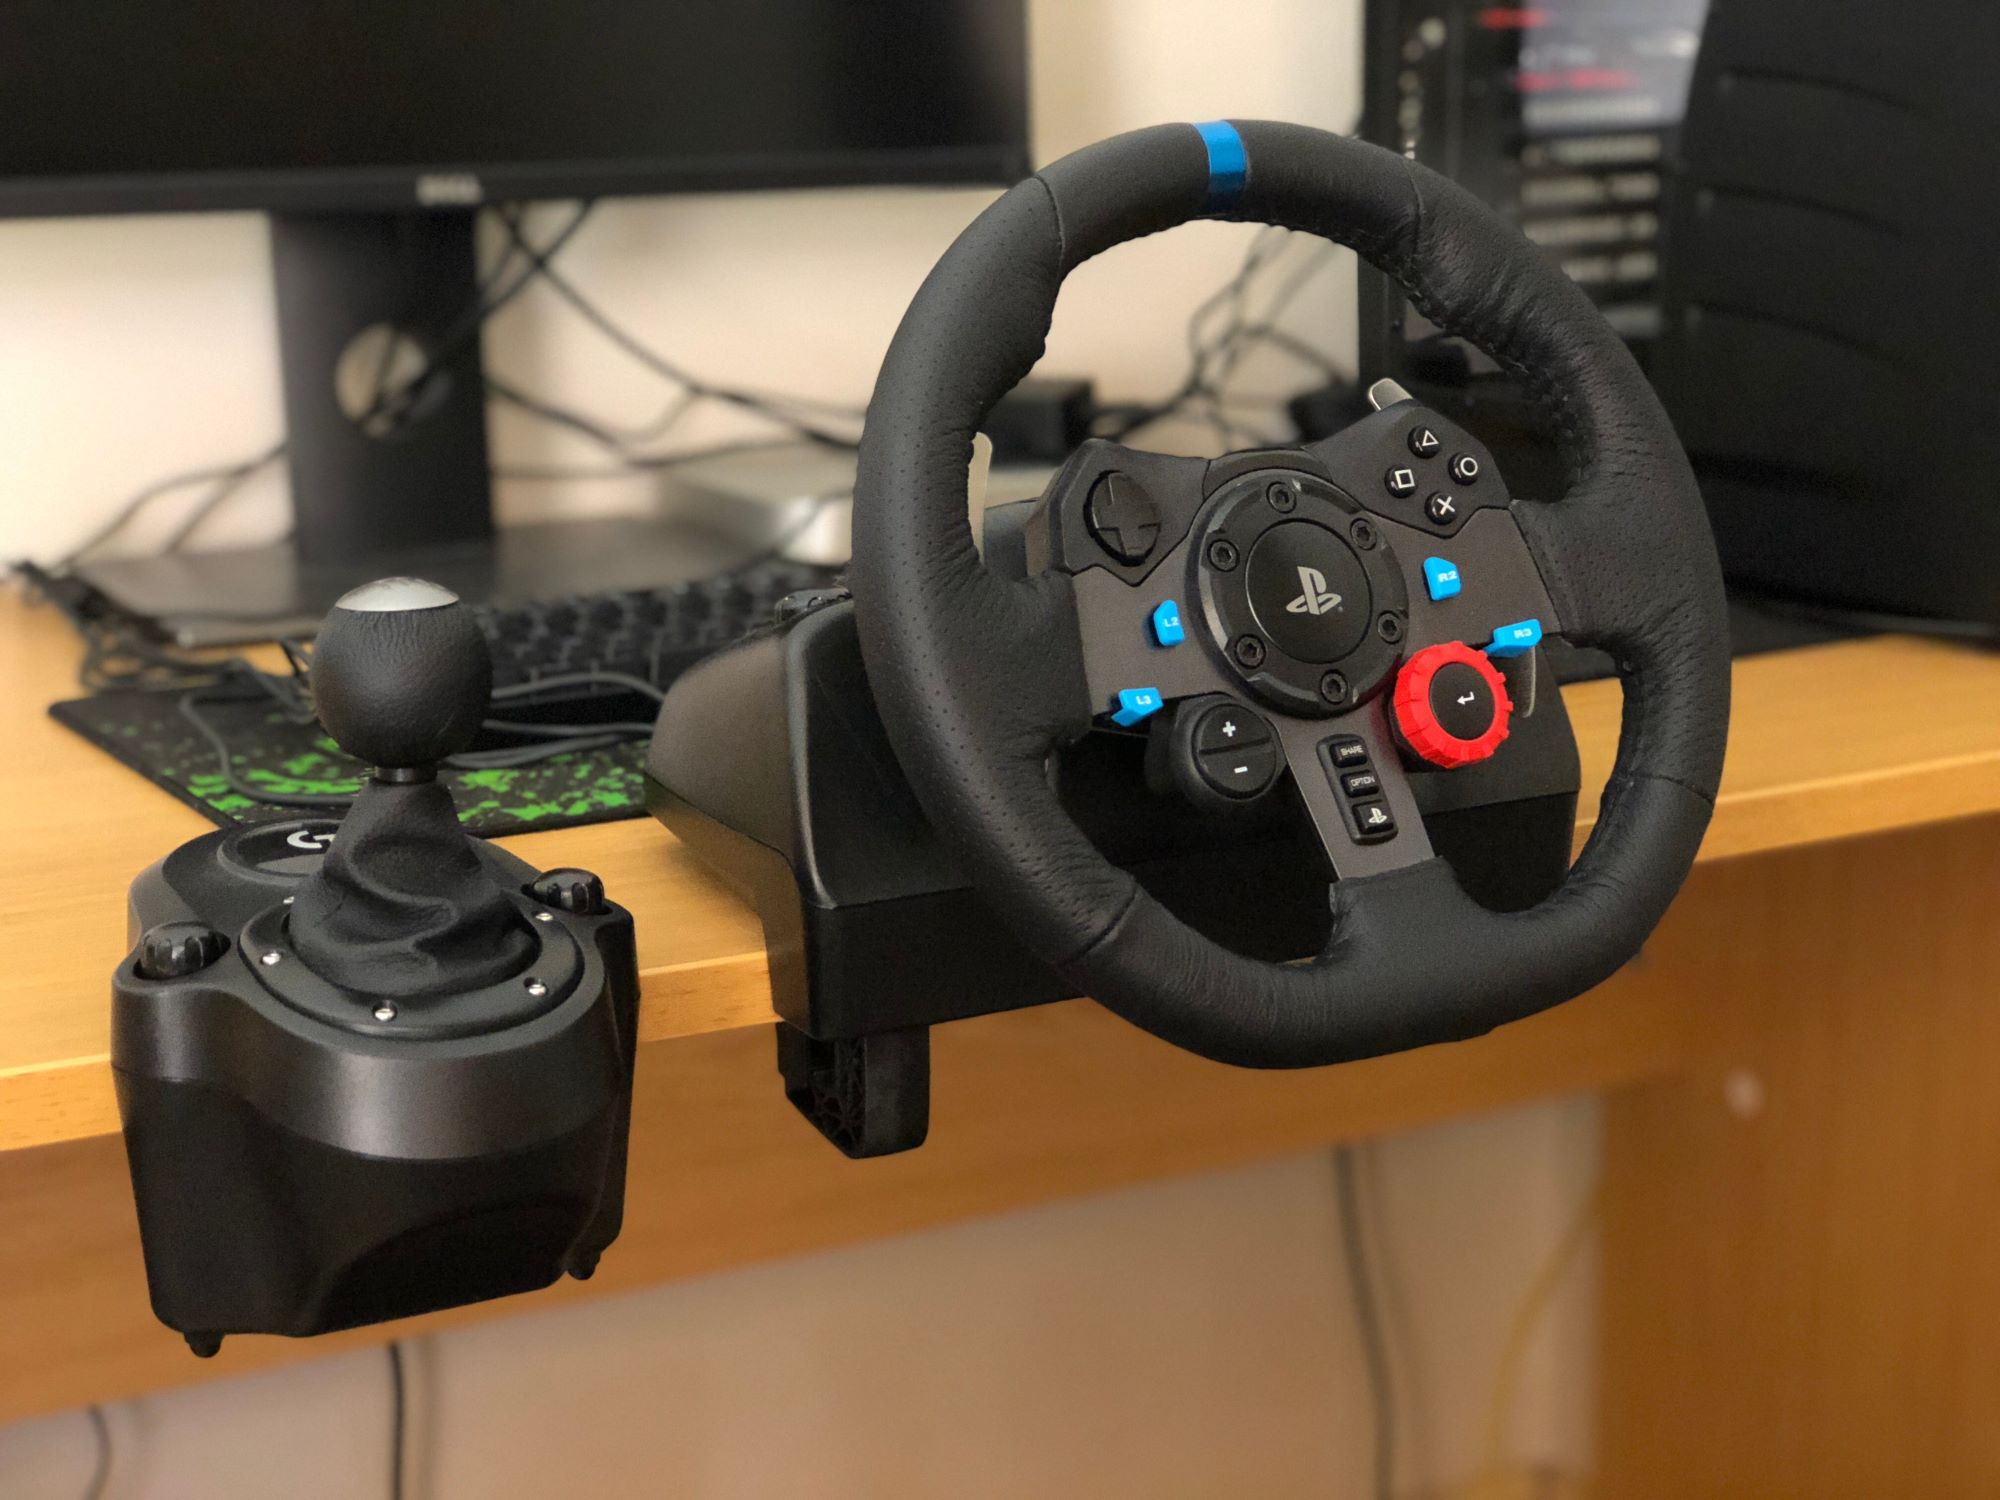
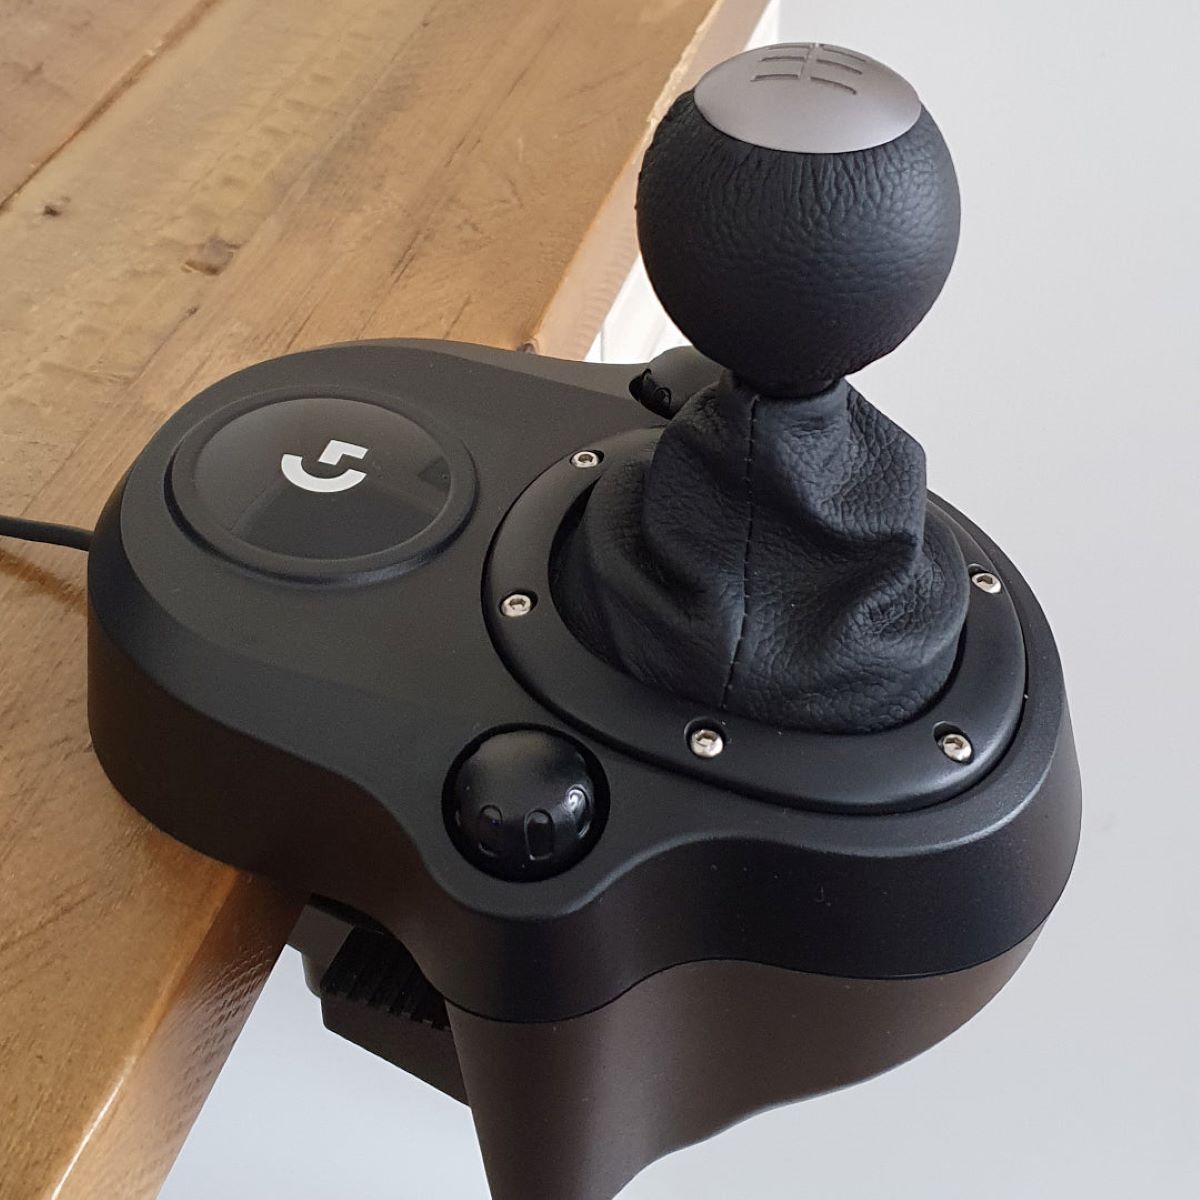
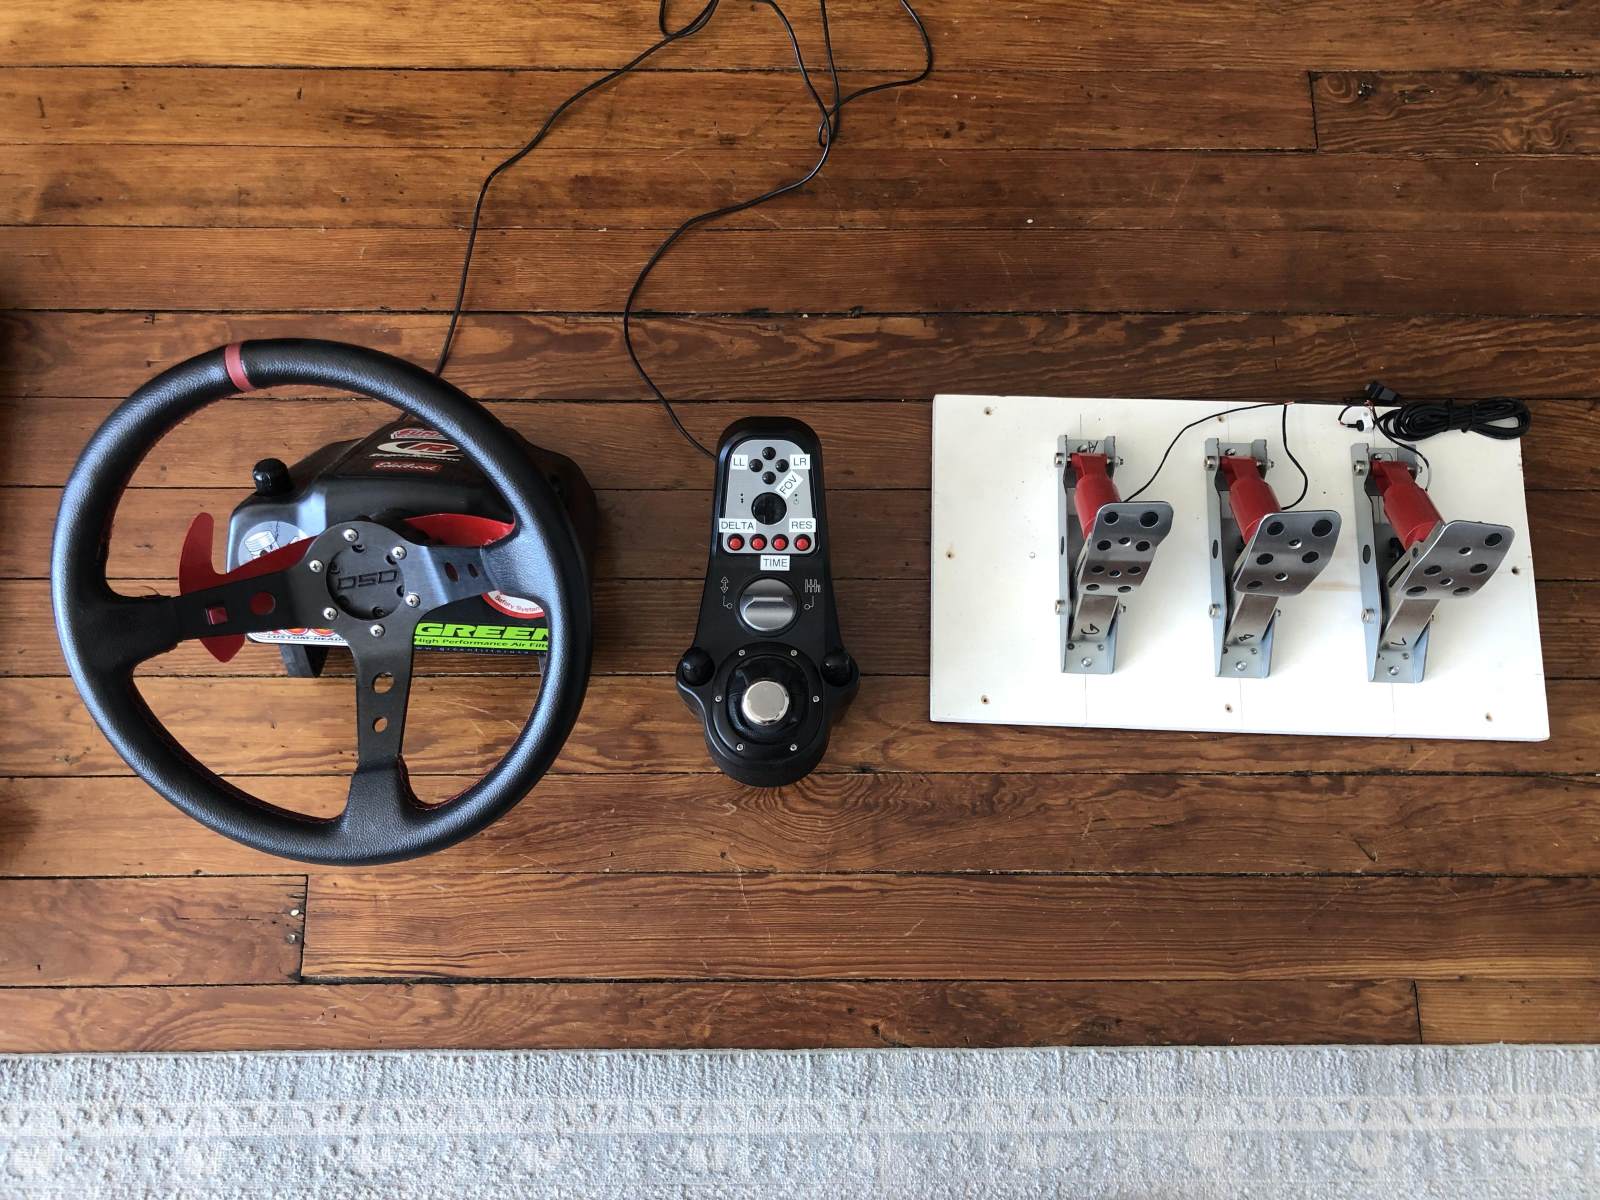
- Replacement Racing Wheel: Select the Logitech racing wheel model that suits your preferences and gaming requirements. Ensure that it is compatible with your gaming console or PC to avoid any compatibility issues.
- Phillips Head Screwdriver: A Phillips head screwdriver is indispensable for removing screws that secure the racing wheel to the wheelbase. Choose a screwdriver that provides a firm grip to prevent slippage during the removal process.
- Allen Wrench Set: Depending on the specific Logitech racing wheel model, an Allen wrench set may be necessary to loosen and tighten certain components during the replacement process. It’s advisable to have a set with various size options to accommodate different bolts and screws.
- Clean Cloth: Keeping a clean cloth or microfiber towel handy is beneficial for wiping down the wheelbase and ensuring a tidy workspace. This helps prevent dust and debris from interfering with the installation of the new racing wheel.
- Workspace Preparation: Clear and designate a well-lit workspace for the replacement procedure. Ensure that the area is spacious enough to accommodate the disassembled parts and provides ample room for maneuvering during the installation of the new wheel.
By assembling these essential tools and preparing your workspace, you’ll set the stage for a successful Logitech racing wheel replacement. With these items at your disposal, you’re ready to proceed to the next step and begin the process of removing the old racing wheel.
Step 2: Remove the Old Racing Wheel
Now that you’ve gathered the necessary tools, it’s time to delve into the process of removing the existing Logitech racing wheel from your setup. Follow these steps carefully to ensure a seamless removal:
- Power Off and Disconnect: Before initiating any disassembly, power off your gaming console or PC and disconnect the racing wheel from the electrical outlet to eliminate any risk of electrical hazards. Additionally, disconnect any cables or peripherals attached to the racing wheel to facilitate unobstructed access.
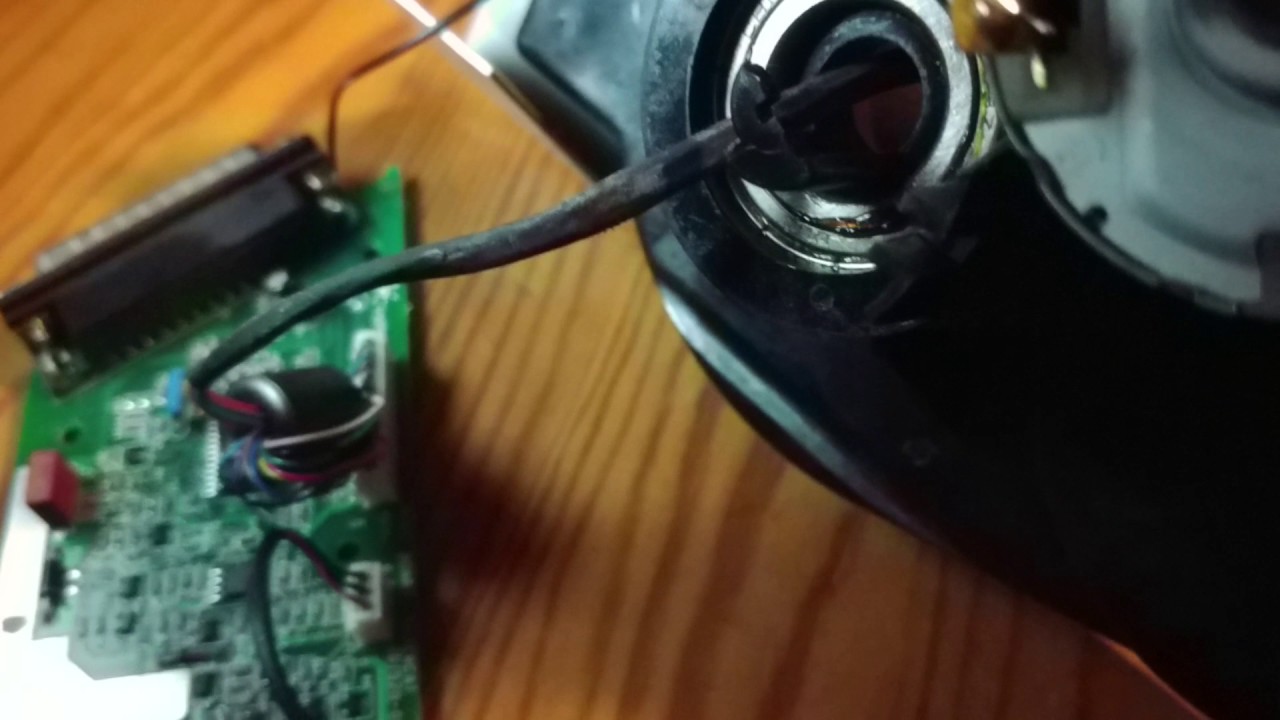
- Locate and Remove Mounting Screws: Using the Phillips head screwdriver, identify and remove the mounting screws that secure the racing wheel to the wheelbase. These screws are typically located on the underside or rear of the wheel, depending on the specific model. Exercise caution to avoid misplacing the screws during removal.
- Detach the Racing Wheel: Once the mounting screws are removed, gently detach the racing wheel from the wheelbase, ensuring that no cables or wires are still connected. Take note of any cable connections and their respective positions to aid in the reinstallation of the new wheel.
- Inspect for Residual Debris: With the old racing wheel removed, take a moment to inspect the wheelbase and surrounding area for any residual debris or accumulated dust. Use a clean cloth to wipe down the exposed surfaces, ensuring a clean and debris-free environment for the installation of the new racing wheel.
- Secure Disassembled Components: Safely store the removed racing wheel and any associated components in a designated area to prevent misplacement and facilitate easy access during the installation of the new wheel. Keeping the components organized will streamline the reassembly process.
By meticulously following these steps, you’ll successfully remove the old Logitech racing wheel, paving the way for the installation of the new wheel in the subsequent step. With the disassembly phase completed, you’re now prepared to embark on the exciting process of installing your upgraded or replacement racing wheel.
Step 3: Install the New Racing Wheel
With the old racing wheel removed, it’s time to usher in the new era of immersive gaming experiences by installing your brand-new Logitech racing wheel. Follow these meticulous steps to ensure a seamless and secure installation:
- Position the New Racing Wheel: Carefully position the new racing wheel onto the wheelbase, aligning it with the mounting points and ensuring a snug fit. Take note of any alignment markers or indicators provided by the manufacturer to guide the proper positioning of the wheel.
- Reconnect Cables and Wires: If your new racing wheel features integrated controls, pedals, or other peripherals, reconnect any cables and wires according to the manufacturer’s instructions. Exercise caution to avoid damaging delicate connectors and ensure a secure connection for optimal functionality.
- Secure Mounting Screws: Using the appropriate screws and the Phillips head screwdriver, secure the new racing wheel to the wheelbase by fastening the mounting screws in their designated locations. Apply firm but gentle pressure to ensure a snug and secure attachment, minimizing any potential play or instability.
- Adjust and Calibrate: Depending on the specific features of your new Logitech racing wheel, you may need to perform calibration or adjustment procedures to optimize its performance. Refer to the user manual or manufacturer’s guidelines to fine-tune settings such as wheel sensitivity, pedal response, and button mapping to align with your gaming preferences.
- Test Functionality: Before finalizing the installation, conduct a comprehensive functionality test to ensure that all controls, buttons, and feedback mechanisms are operating as intended. Verify that the racing wheel responds accurately to input and delivers a seamless gaming experience, indicating a successful installation.
By diligently following these steps, you’ll seamlessly integrate the new Logitech racing wheel into your gaming setup, ready to unleash its full potential on the virtual racetracks. With the installation process completed, the final step involves putting your new racing wheel to the test to ascertain its flawless functionality and performance.
Step 4: Test the New Racing Wheel
Now that you’ve successfully installed the new Logitech racing wheel, it’s time to put it through its paces and ensure that it delivers the exhilarating performance and responsiveness you expect. Follow these essential steps to comprehensively test your new racing wheel:
- Power On and Calibration: Power on your gaming console or PC and initiate the calibration process for the racing wheel. This typically involves accessing the calibration settings within the gaming software or utilizing any proprietary calibration tools provided by Logitech to fine-tune the wheel’s responsiveness and accuracy.
- Functional Testing: Engage in a series of functional tests to evaluate the racing wheel’s performance across various scenarios. Test the responsiveness of the steering wheel by executing smooth turns and rapid maneuvers, assessing its ability to accurately translate your inputs into on-screen actions.
- Button and Control Verification: Verify the functionality of integrated buttons, dials, and paddle shifters by testing each control element individually. Ensure that all buttons register inputs reliably and that the force feedback mechanisms, if applicable, deliver immersive tactile responses during gameplay.
- Pedal and Throttle Response: If your racing wheel includes pedals or a throttle component, thoroughly test their responsiveness and precision. Pay close attention to the pedal travel, resistance, and feedback to ascertain that they align with your driving style and provide a realistic driving experience.
- Game Compatibility Testing: Launch your preferred racing simulation game and verify the compatibility and seamless integration of the new racing wheel. Evaluate its performance within the game environment, ensuring that it enhances the overall gaming experience and provides an immersive and responsive interface.
By meticulously testing each aspect of the new racing wheel, you’ll gain confidence in its capabilities and confirm that it meets your expectations for an enhanced gaming experience. With the testing phase successfully completed, you can look forward to immersing yourself in the thrilling world of virtual racing, equipped with a high-performance Logitech racing wheel that elevates your gaming adventures to new heights.
Conclusion
Congratulations on successfully navigating the process of replacing your Logitech racing wheel! By following the comprehensive steps outlined in this guide, you’ve seamlessly transitioned to a new era of immersive gaming experiences, equipped with a high-performance racing wheel that promises to elevate your virtual racing adventures to new heights.
As you reflect on the journey of removing the old racing wheel, installing the new one, and meticulously testing its functionality, you’ve not only enhanced your gaming setup but also gained valuable insights into the intricacies of peripheral integration and optimization. The meticulous attention to detail and precision exhibited throughout this process underscores your commitment to creating an optimal gaming environment that aligns with your preferences and aspirations.
With the new Logitech racing wheel seamlessly integrated into your gaming setup, you’re poised to embark on exhilarating virtual racing escapades, confident in the responsiveness, precision, and immersive feedback it offers. Whether you’re navigating challenging circuits, engaging in competitive multiplayer races, or honing your driving skills in realistic simulations, the new racing wheel stands as a testament to your dedication to the pursuit of gaming excellence.
As you immerse yourself in the captivating world of virtual racing, remember the meticulous steps you undertook to bring this vision to fruition. Your commitment to optimizing your gaming experience serves as a testament to the passion and enthusiasm that drive the gaming community forward, continually seeking new avenues for immersive and exhilarating gameplay.
With the successful replacement and integration of your new Logitech racing wheel, you’ve not only elevated your gaming setup but also reaffirmed your dedication to crafting a gaming environment that resonates with your unique gaming style and aspirations. As you embrace the thrilling adventures that await, may the precision, responsiveness, and immersive feedback of the new racing wheel propel you to new heights of gaming excellence.