Introduction
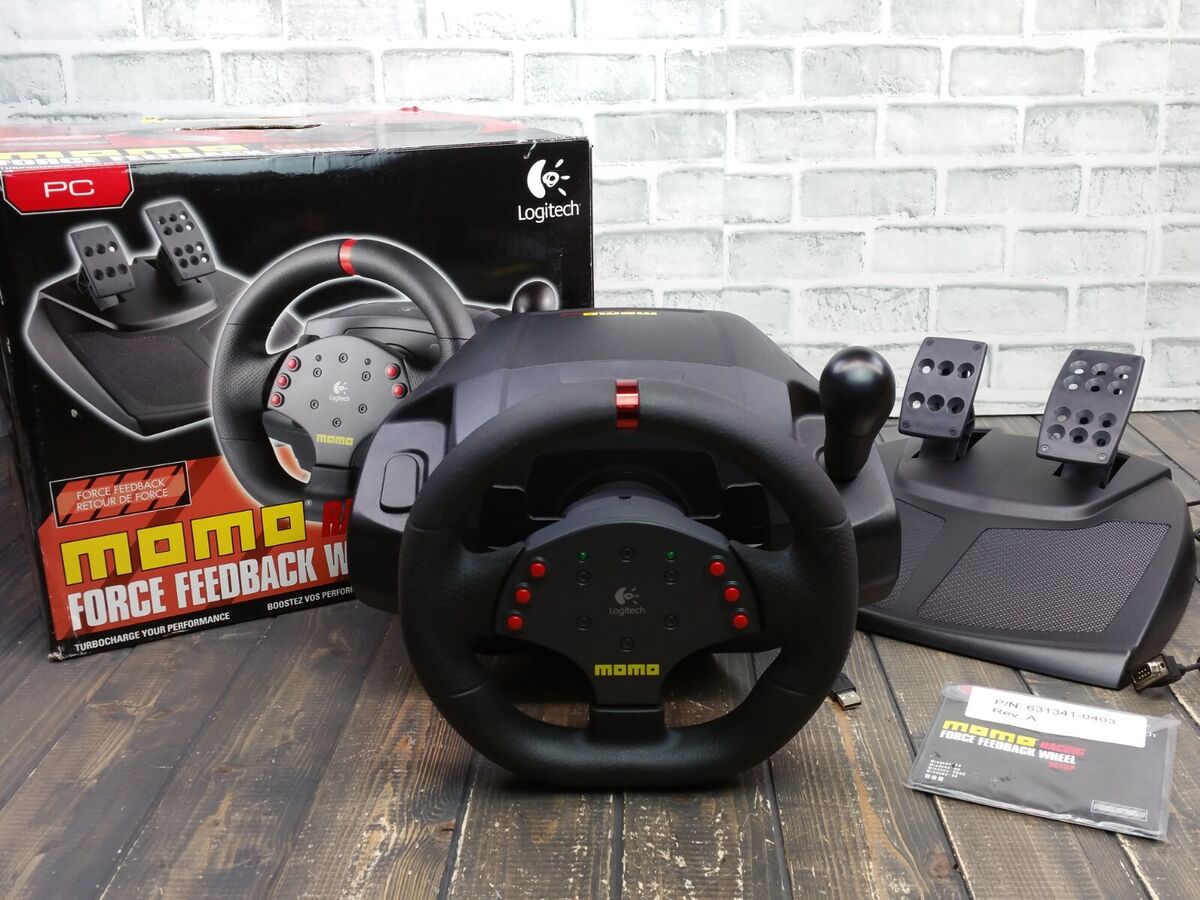
Welcome to the guide on repairing the Logitech Momo Racing Wheel! If you are an avid gamer or a racing enthusiast, you understand the frustration of encountering issues with your favorite gaming peripheral. The Logitech Momo Racing Wheel is a beloved accessory for many racing game aficionados, but over time, it may experience wear and tear, leading to performance issues. However, fear not, as this comprehensive guide will walk you through the process of disassembling, identifying common issues, and repairing this iconic racing wheel.
Whether your wheel is unresponsive, making unusual noises, or exhibiting erratic behavior, this guide will equip you with the knowledge and skills to diagnose and rectify these issues. By following the step-by-step instructions and utilizing the recommended tools and materials, you can breathe new life into your Logitech Momo Racing Wheel.
So, grab your toolkit, set aside some time, and let's embark on this journey to restore your racing wheel to its former glory. Get ready to roll up your sleeves and delve into the intricacies of the Logitech Momo Racing Wheel to revive its performance and ensure countless hours of immersive and exhilarating gameplay.
Throughout this guide, we will cover the disassembly process, identify and address common issues, clean and lubricate the wheel, and finally, reassemble and test the Logitech Momo Racing Wheel. By the end of this journey, you will not only have a fully functional racing wheel but also a deeper understanding of its inner workings.
So, without further ado, let's dive into the world of Logitech Momo Racing Wheel repair and restoration. Get ready to experience the satisfaction of reviving a cherished gaming accessory and getting back on the virtual racetrack with renewed confidence and excitement.
Tools and Materials Needed
Before embarking on the repair journey, it’s crucial to gather the necessary tools and materials to ensure a smooth and efficient process. Here’s a comprehensive list of items you’ll need:
Tools:
- Phillips head screwdriver
- Flat head screwdriver
- Tweezers
- Cotton swabs
- Small brush (soft-bristled)
- Lubricant applicator (small syringe or precision oiler)
- Compressed air duster
- Small container for screws and small parts
- Multi-meter (for electrical testing)
Materials:
- Lubricating grease (suitable for plastic and metal gears)
- Isopropyl alcohol (for cleaning)
- Clean, lint-free cloths
- Electrical contact cleaner
- Replacement electrical components (if necessary)
- Replacement screws (if needed)
Having these tools and materials at your disposal will streamline the repair process and ensure that you can address a wide range of potential issues that may arise during the disassembly and repair of the Logitech Momo Racing Wheel. Additionally, a well-organized workspace with ample lighting will contribute to a more efficient and enjoyable repair experience.
With the tools and materials in hand, you’re now ready to delve into the intricate world of the Logitech Momo Racing Wheel and restore its functionality to deliver an unparalleled gaming experience.
Disassembling the Logitech Momo Racing Wheel
Before delving into the disassembly process, it’s essential to approach this task with patience and precision. The Logitech Momo Racing Wheel comprises several components, and disassembling it requires careful attention to detail. Follow these steps to disassemble the wheel:
Step 1: Preparation
Begin by disconnecting the wheel from the power source and your gaming console or computer. Ensure that you have a clean, well-lit workspace to perform the disassembly. Organize the tools and materials you gathered, and make sure to have a container for the screws and small parts to prevent them from getting misplaced.
Step 2: Removing the Wheel Cover
Using a Phillips head screwdriver, carefully remove the screws securing the wheel cover. Place the screws in the designated container to keep them safe. Gently lift off the wheel cover to reveal the internal components.
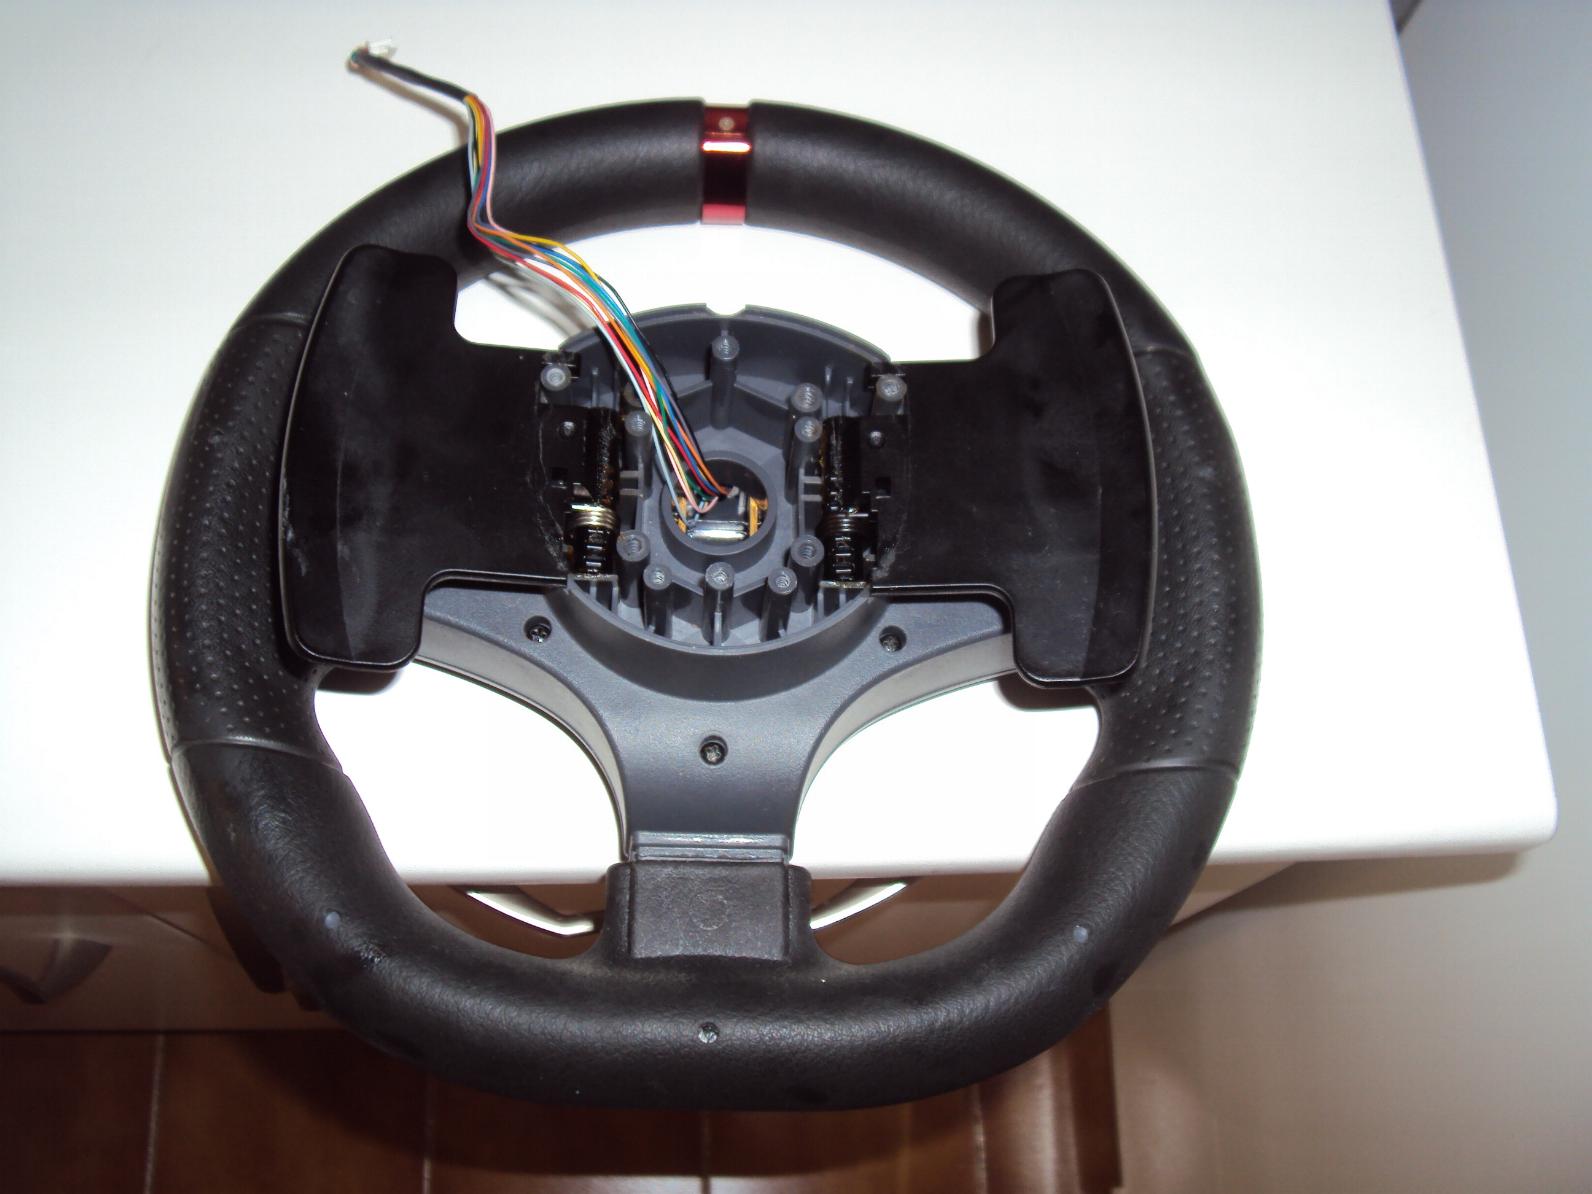
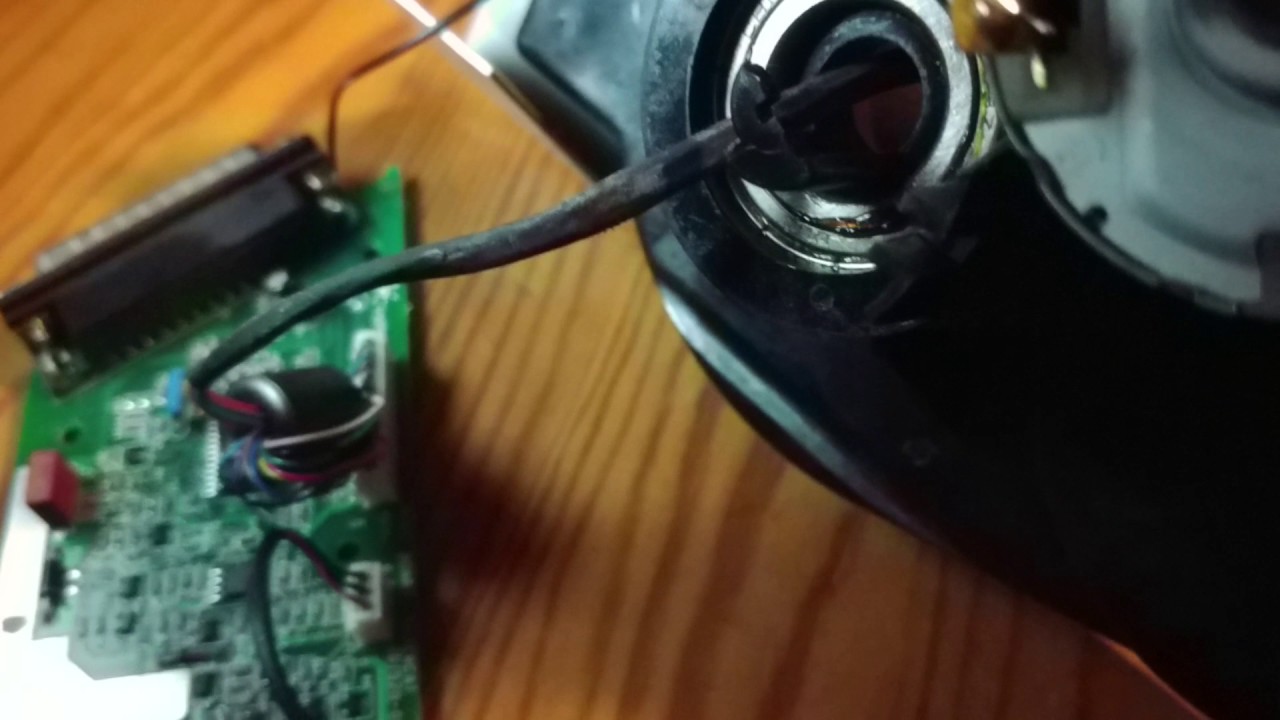
Step 3: Accessing the Internal Mechanism
Once the cover is removed, you’ll gain access to the internal mechanism of the racing wheel. Take note of the arrangement of components and cables to ensure proper reassembly later. Use a flat head screwdriver to disconnect any cables or connectors attached to the internal circuitry.
Step 4: Removing Additional Components
Carefully remove any additional components, such as button panels or control modules, as needed for the specific repair or maintenance task at hand. Keep track of the sequence and placement of these components to facilitate their reinstallation.
Step 5: Separating the Wheel from the Base
If necessary for the repair, detach the wheel from its base according to the manufacturer’s instructions. This step may involve removing additional screws or fasteners that secure the wheel to the base.
By following these steps, you can successfully disassemble the Logitech Momo Racing Wheel, gaining access to its internal components for inspection, repair, or maintenance. Remember to handle the delicate components with care and keep track of the disassembly sequence to ensure a seamless reassembly process.
Identifying and Fixing Common Issues
As you delve into the internal components of the Logitech Momo Racing Wheel, it’s essential to be vigilant for common issues that may affect its performance. Here are some prevalent problems and their potential fixes:
Unresponsive Buttons or Pedals:
If you encounter unresponsive buttons or pedals, carefully inspect the wiring and connections. Ensure that the cables are securely attached to the control module and that there are no visible signs of damage. Reconnect any loose cables and test the functionality before proceeding.
Erratic Steering or Feedback:
Erratic steering or force feedback may indicate issues with the internal sensors or the motor. Inspect the sensor connections and clean any dust or debris that may affect their performance. Lubricate the gears and moving parts with a suitable lubricant to ensure smooth operation and consistent force feedback.
Unusual Noises:
If the wheel produces unusual grinding or clicking noises during operation, it may indicate worn or misaligned gears. Disassemble the wheel further to access the gear mechanism and inspect for signs of wear. Replace any worn gears and realign the components to mitigate the noise issue.
Intermittent Power Loss:
Intermittent power loss can be attributed to faulty electrical connections or worn components. Use a multi-meter to test the continuity of the electrical circuits and identify any areas of concern. Clean the electrical contacts and connectors with electrical contact cleaner to ensure reliable power delivery.
Calibration and Sensitivity:
If the wheel exhibits calibration issues or erratic sensitivity, recalibrate the wheel according to the manufacturer’s instructions. Additionally, ensure that the drivers and firmware are up to date to optimize compatibility and performance with your gaming platform.
By meticulously identifying and addressing these common issues, you can effectively restore the functionality of the Logitech Momo Racing Wheel. Through careful inspection, troubleshooting, and targeted repairs, you’ll be able to enjoy a seamless and immersive gaming experience with your revitalized racing wheel.
Cleaning and Lubricating the Wheel
Proper maintenance of the Logitech Momo Racing Wheel involves thorough cleaning and strategic lubrication to ensure optimal performance and longevity. Follow these steps to clean and lubricate the wheel:
Step 1: Cleaning the Exterior
Begin by using a clean, lint-free cloth lightly dampened with isopropyl alcohol to wipe down the exterior surfaces of the wheel. Pay particular attention to areas prone to accumulating dirt, such as the seams and crevices around buttons and switches. This process will remove grime and residue, enhancing the overall appearance of the wheel.
Step 2: Cleaning the Internal Components
Carefully use compressed air to remove dust and debris from the internal components of the wheel. Target hard-to-reach areas and intricate mechanisms to ensure that the internal assembly is free from any obstructions that may impede its functionality.
Step 3: Lubricating Gears and Moving Parts
Identify the gears, bearings, and moving parts within the wheel assembly. Apply a small amount of suitable lubricating grease to these components using a precision oiler or syringe. Ensure that the lubricant is compatible with plastic and metal gears to prevent premature wear and ensure smooth operation.
Step 4: Reassembly and Testing
Once the cleaning and lubrication process is complete, carefully reassemble the wheel, ensuring that all components are securely fastened and reconnected. Test the wheel’s functionality to assess the impact of the cleaning and lubrication process on its performance.
By meticulously cleaning the exterior and internal components, as well as strategically lubricating the moving parts, you can significantly extend the lifespan of the Logitech Momo Racing Wheel while maintaining its responsiveness and precision. This proactive approach to maintenance will contribute to a consistently enjoyable gaming experience and minimize the likelihood of performance issues arising in the future.
Reassembling the Logitech Momo Racing Wheel
After completing the necessary repairs, cleaning, and maintenance, it’s time to reassemble the Logitech Momo Racing Wheel. Follow these steps to ensure a seamless reassembly process:
Step 1: Organizing Components
Lay out the internal components and cables in an organized manner, referencing any photographs or notes taken during the disassembly process. This will streamline the reassembly and minimize the likelihood of overlooking critical connections or components.
Step 2: Attaching Internal Components
Begin by reattaching any internal components that were removed during the disassembly process. This may include button panels, control modules, or other elements that contribute to the functionality and ergonomics of the racing wheel. Ensure that all connectors and cables are securely reattached.
Step 3: Securing the Wheel to the Base
If the wheel was detached from its base for repairs or maintenance, carefully reattach it according to the manufacturer’s instructions. Secure any screws or fasteners, ensuring that the wheel is firmly and securely mounted to the base to prevent instability during use.
Step 4: Reinstalling the Wheel Cover
Position the wheel cover over the internal components and align it with the housing. Carefully reinsert and tighten the screws to secure the cover in place, ensuring that it is flush and properly seated to maintain the aesthetic integrity of the racing wheel.
Step 5: Functional Testing
Before finalizing the reassembly, conduct thorough functional testing of the racing wheel. Verify the responsiveness of buttons, pedals, and the steering mechanism. Test the force feedback functionality and ensure that all components operate as intended.
By methodically reassembling the Logitech Momo Racing Wheel and conducting comprehensive functional testing, you can ensure that the repairs and maintenance have been executed effectively. A meticulous reassembly process is essential to guarantee the optimal performance and longevity of the racing wheel, setting the stage for countless hours of immersive and exhilarating gameplay.
Testing the Wheel
After completing the reassembly process, it’s crucial to conduct thorough testing to ensure that the Logitech Momo Racing Wheel functions as intended. The testing phase allows you to validate the effectiveness of the repairs and maintenance performed. Follow these steps to comprehensively test the wheel:
Functional Testing:
Begin by testing the responsiveness of the buttons, pedals, and steering mechanism. Verify that each control element operates smoothly and accurately, without any signs of sticking or erratic behavior. This step ensures that the essential input functions are fully operational.
Force Feedback and Sensitivity:
Test the force feedback functionality of the wheel to assess its responsiveness and accuracy. Evaluate the wheel’s sensitivity and calibration, ensuring that it accurately translates your inputs into precise in-game actions. Adjust the force feedback settings as needed to achieve the desired level of immersion and realism.
Compatibility Testing:
Connect the racing wheel to your gaming console or computer and test its compatibility with various racing games. Ensure that the wheel is recognized by the gaming platform and that its functionality aligns with the game’s input requirements. Verify that the force feedback effects are synchronized with in-game events, enhancing the overall gaming experience.
Extended Testing:
Engage in extended testing sessions, simulating typical usage scenarios to evaluate the wheel’s performance over time. This may involve prolonged gameplay sessions across different racing titles, allowing you to assess the wheel’s durability, comfort, and overall reliability during immersive gaming experiences.
Feedback and Adjustment:
Gather feedback from your testing experiences and make any necessary adjustments to the wheel’s settings or configuration. Fine-tune the force feedback, sensitivity, and button mapping to align with your preferences and gaming style, ensuring a personalized and optimized gaming experience.
By rigorously testing the Logitech Momo Racing Wheel and making any required adjustments, you can confirm that the repairs and maintenance have effectively restored its functionality and performance. This comprehensive testing phase serves as the final validation of your efforts, setting the stage for countless hours of exhilarating and immersive racing experiences with a fully revitalized racing wheel.
Conclusion
Congratulations on successfully navigating the intricate process of repairing and restoring the Logitech Momo Racing Wheel. Through meticulous disassembly, identification and resolution of common issues, thorough cleaning and lubrication, precise reassembly, and comprehensive testing, you’ve revitalized this iconic gaming accessory, ensuring its continued performance and longevity.
By approaching the repair process with patience, attention to detail, and the utilization of the recommended tools and materials, you’ve not only resolved specific issues but also gained a deeper understanding of the wheel’s internal mechanisms. This hands-on experience equips you with valuable insights into the maintenance and care of gaming peripherals, empowering you to tackle similar challenges in the future.
As you embark on your gaming adventures with the fully functional Logitech Momo Racing Wheel, remember the satisfaction of reviving a cherished piece of gaming hardware and the skills you’ve acquired throughout this process. Your dedication to maintaining and restoring gaming equipment reflects a commitment to optimizing your gaming experience and preserving the performance of beloved peripherals.
Embrace the immersive and exhilarating gameplay experiences that await, knowing that your efforts have contributed to the seamless operation and responsiveness of the Logitech Momo Racing Wheel. The successful restoration of this essential gaming accessory stands as a testament to your resourcefulness and dedication to maintaining the tools that bring joy and excitement to your gaming pursuits.
As you continue to explore the virtual racetracks and engage in thrilling racing simulations, may the revitalized Logitech Momo Racing Wheel serve as a reliable and immersive companion, enhancing your gaming experiences and fueling your passion for virtual motorsport adventures.
With your newly acquired expertise in repairing and maintaining gaming peripherals, you’re well-equipped to overcome future challenges and ensure that your gaming arsenal remains in optimal condition, ready to deliver countless hours of enjoyment and excitement.