Introduction
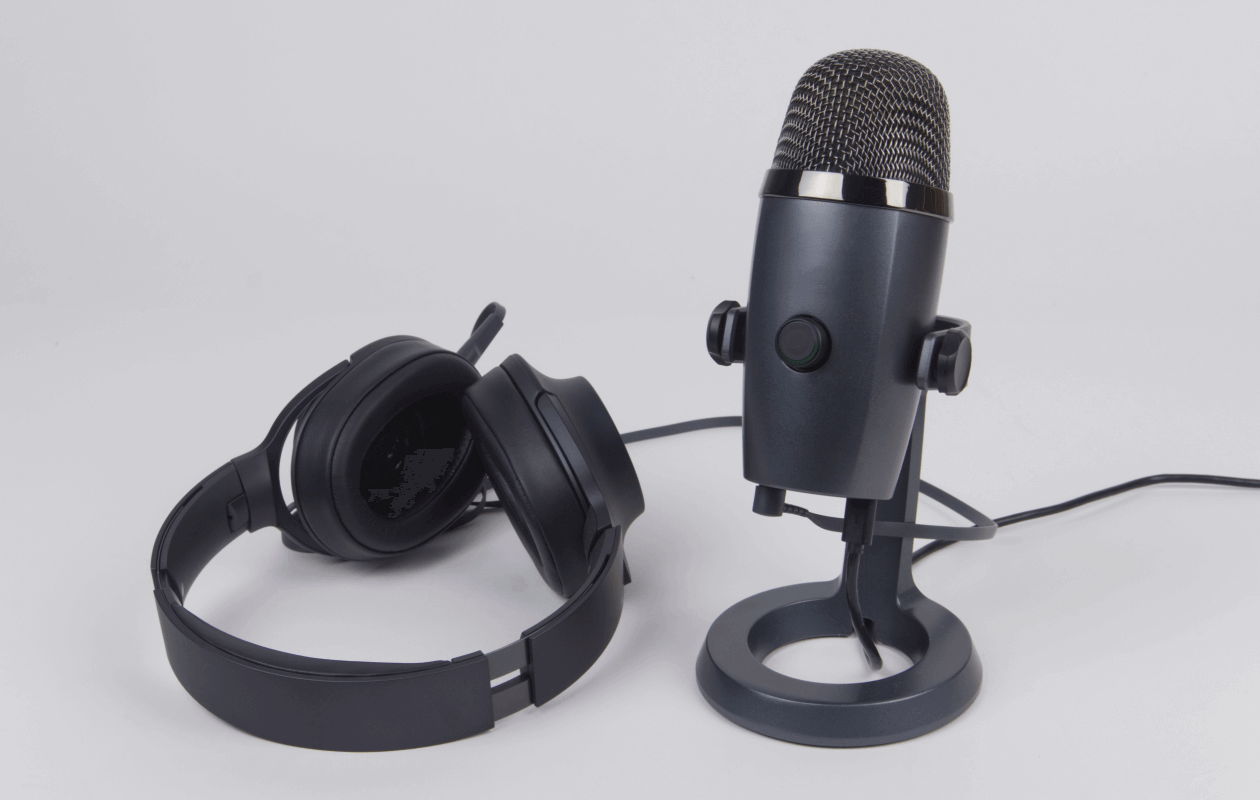
Are you frustrated with your Blue Yeti microphone picking up the clacking sounds of your mechanical keyboard during your recordings or streams? You're not alone. Many content creators and professionals encounter this issue, and it can be a major obstacle to achieving high-quality audio. Fortunately, there are several effective strategies for mitigating this problem and ensuring that your Blue Yeti captures crystal-clear sound without the distracting keyboard noise.
In this comprehensive guide, we will explore various techniques to prevent your Blue Yeti from picking up the sounds of your mechanical keyboard. Whether you're a podcaster, gamer, YouTuber, or remote worker, implementing these solutions can significantly enhance the audio quality of your recordings and broadcasts. From optimizing the positioning of your microphone to utilizing specialized accessories and adjusting key settings, we'll cover everything you need to know to resolve this common issue.
By the end of this guide, you'll be equipped with practical knowledge and actionable steps to effectively address the challenge of your Blue Yeti picking up mechanical keyboard noise. Let's dive into the strategies that will help you achieve professional-grade audio recordings while maintaining a distraction-free environment.
Understanding the Issue
Before delving into the solutions, it’s crucial to understand the root of the problem. The Blue Yeti, known for its exceptional sound quality, is highly sensitive and can capture a wide range of frequencies. While this sensitivity is advantageous for capturing vocals and ambient sounds, it also means that the microphone can pick up unwanted background noises, such as the distinct clicks and clacks of a mechanical keyboard.
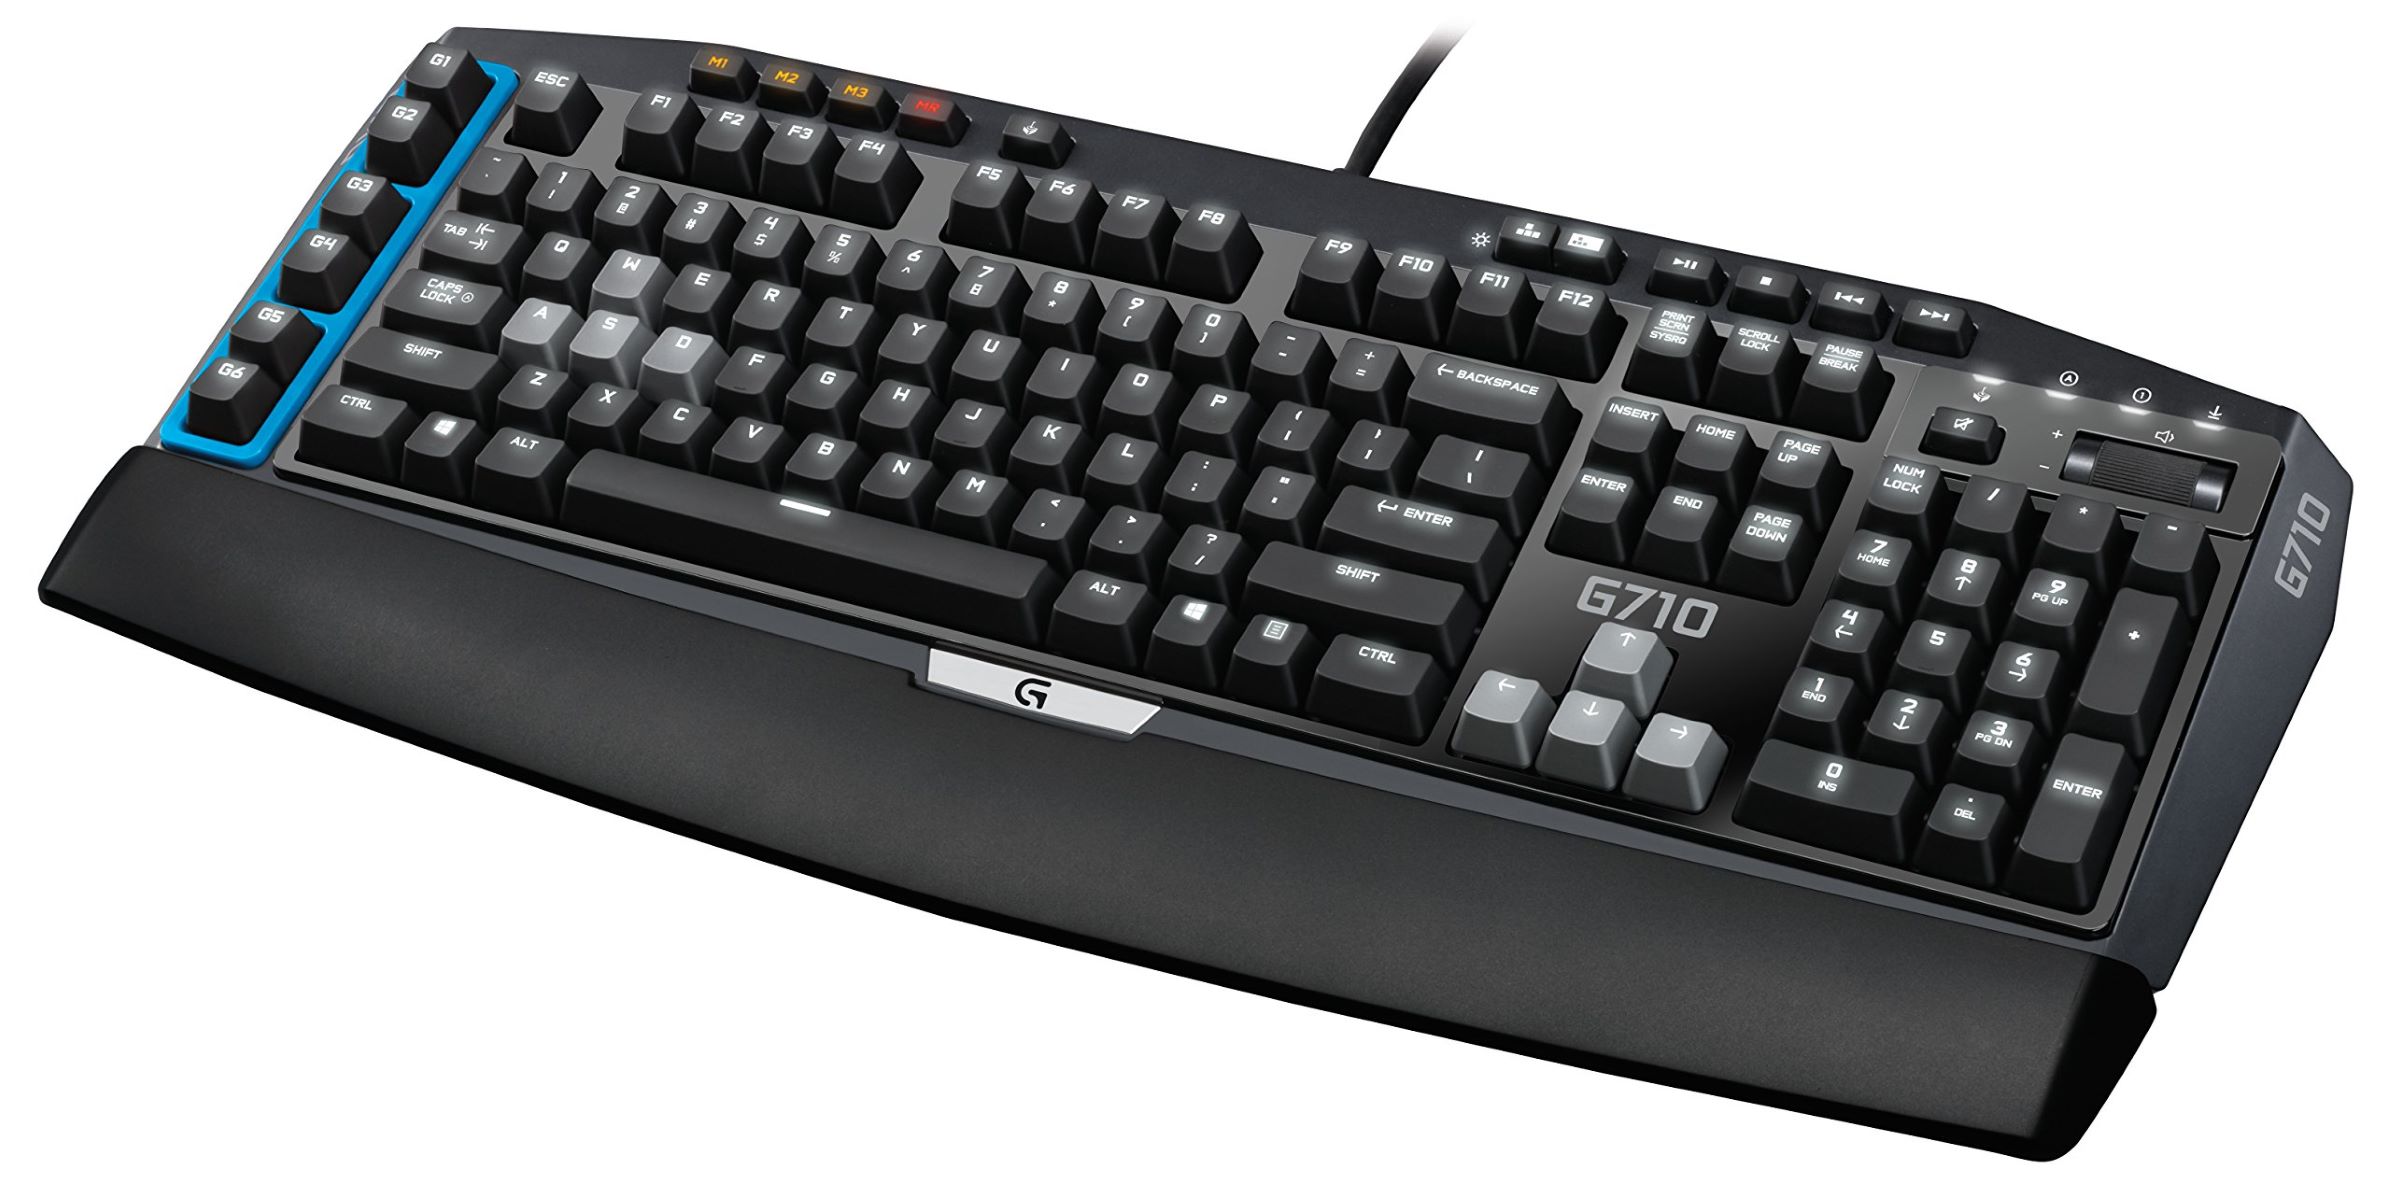
When using a mechanical keyboard in close proximity to the Blue Yeti, the microphone’s sensitivity can lead to the keyboard’s sounds being inadvertently recorded, resulting in audio that is less than ideal for professional or recreational purposes. This issue is particularly prevalent during live streams, podcast recordings, voiceovers, and conference calls, where clear and uninterrupted audio is paramount.
Understanding the nature of this issue is the first step toward resolving it effectively. By recognizing the inherent sensitivity of the Blue Yeti and acknowledging the impact of mechanical keyboard noise on audio recordings, you can approach the problem with a targeted and informed strategy. With this awareness, you can proceed to implement the recommended solutions to mitigate the keyboard noise and optimize the Blue Yeti’s performance.
Positioning the Blue Yeti
The positioning of your Blue Yeti microphone plays a pivotal role in minimizing the pickup of mechanical keyboard noise. To optimize its performance, consider the following tips:
- Distance and Angle: Position the Blue Yeti at a distance from your mechanical keyboard to reduce the direct pickup of keyboard sounds. Additionally, angling the microphone away from the keyboard can further mitigate the impact of the keyboard’s acoustics on the audio capture.
- Use of a Pop Filter: Employing a pop filter in front of the Blue Yeti can help attenuate the keyboard noise that reaches the microphone. This accessory not only reduces plosive sounds but also acts as a barrier against peripheral noises, including keyboard clatter.
- Isolation: If feasible, create physical separation between the Blue Yeti and the mechanical keyboard. Placing the microphone on a separate desk or utilizing a microphone isolation shield can diminish the transmission of keyboard sounds to the microphone, resulting in cleaner audio recordings.
By strategically positioning your Blue Yeti and implementing these suggestions, you can significantly diminish the intrusion of mechanical keyboard noise into your recordings, thereby enhancing the overall audio quality.
Using a Shock Mount
Integrating a shock mount into your Blue Yeti setup can effectively reduce the transmission of mechanical keyboard noise to the microphone. A shock mount is designed to isolate the microphone from vibrations and disturbances in the surrounding environment, including the reverberations caused by typing on a mechanical keyboard. Here’s how you can leverage a shock mount to enhance the audio quality of your recordings:
- Vibration Isolation: A shock mount suspends the Blue Yeti in a cradle using elastic bands or similar mechanisms, effectively insulating it from the vibrations and shocks that may originate from the keyboard or the desk. This isolation minimizes the transfer of mechanical keyboard noise to the microphone, resulting in cleaner audio capture.
- Enhanced Stability: By stabilizing the Blue Yeti and mitigating the impact of external vibrations, a shock mount contributes to a more consistent and professional audio output. This stability is particularly beneficial during live broadcasts, podcast recordings, and voiceovers, where uninterrupted and clear sound is essential.
- Compatibility and Installation: Ensure that the shock mount is compatible with the Blue Yeti microphone model and follow the manufacturer’s instructions for proper installation. Most shock mounts are designed to be easily attached to microphone stands or boom arms, providing a seamless integration into your recording setup.
By incorporating a shock mount into your Blue Yeti configuration, you can effectively mitigate the influence of mechanical keyboard noise on your recordings, resulting in improved audio fidelity and a more professional listening experience for your audience.
Adjusting the Gain
Proper adjustment of the microphone’s gain settings can significantly impact its sensitivity to mechanical keyboard noise. The gain control on the Blue Yeti allows you to regulate the input level of the microphone, offering an opportunity to minimize the pickup of unwanted background sounds. Here’s how you can optimize the gain settings to mitigate mechanical keyboard noise:
- Conservative Gain Levels: When recording or streaming in environments where mechanical keyboard noise is a concern, consider setting the microphone’s gain to a conservative level. Lowering the gain reduces the microphone’s sensitivity, making it less susceptible to picking up peripheral sounds such as keyboard clatter.
- Test and Adjust: Experiment with different gain levels while monitoring the audio input to find the optimal setting that captures your voice clearly without amplifying the mechanical keyboard noise. This iterative approach allows you to strike a balance between vocal clarity and noise reduction.
- Post-Processing Adjustments: In post-production, if applicable, you can further refine the audio by adjusting the gain during editing. This can help fine-tune the balance between the desired audio and the suppression of mechanical keyboard noise.
By conscientiously adjusting the gain settings of your Blue Yeti, you can exert greater control over the microphone’s sensitivity, effectively reducing the impact of mechanical keyboard noise on your recordings and broadcasts.
Using a Noise Gate
Implementing a noise gate in your audio setup can serve as an effective tool for mitigating the intrusion of mechanical keyboard noise during recordings or streams. A noise gate functions by suppressing sounds below a specified threshold, allowing you to maintain clarity in your audio while minimizing the pickup of ambient or peripheral noises. Here’s how you can leverage a noise gate to address the issue of mechanical keyboard noise:
- Threshold Configuration: Set the threshold of the noise gate to a level that captures your voice clearly while suppressing the lower-level keyboard sounds. This configuration ensures that the microphone remains active when you are speaking but automatically attenuates its sensitivity during silent or low-intensity periods, such as when typing on the keyboard.
- Release and Attack Parameters: Adjust the release and attack parameters of the noise gate to fine-tune its responsiveness to transient sounds, such as keyboard keystrokes. By optimizing these settings, you can tailor the noise gate to effectively discern between desired audio input and peripheral noise, resulting in a cleaner and more focused audio output.
- Integration with Recording Software: Most digital audio workstations (DAWs) and streaming software feature built-in noise gate functionalities. Integrate the noise gate within your recording or streaming software to seamlessly apply noise suppression to your Blue Yeti’s audio input in real time.
By incorporating a noise gate into your audio processing workflow, you can selectively attenuate mechanical keyboard noise while preserving the clarity and integrity of your voice, ultimately enhancing the quality of your recordings and streams.
Conclusion
Addressing the challenge of your Blue Yeti microphone picking up mechanical keyboard noise is essential for achieving professional-grade audio recordings and broadcasts. By implementing the strategies outlined in this guide, you can effectively mitigate the impact of keyboard sounds on your audio output, resulting in clearer and more focused recordings. From optimizing the positioning of the Blue Yeti to leveraging accessories and adjusting key settings, each approach contributes to a comprehensive solution for reducing mechanical keyboard noise.
Understanding the inherent sensitivity of the Blue Yeti and the impact of mechanical keyboard noise is the first step toward resolving this common issue. By strategically positioning the microphone, utilizing a shock mount, adjusting the gain settings, and integrating a noise gate, you can significantly enhance the audio quality of your recordings and streams. These techniques not only minimize the pickup of keyboard noise but also contribute to a more professional and polished audio output.
Whether you are a content creator, podcaster, gamer, or remote worker, the ability to effectively address mechanical keyboard noise ensures that your audio recordings maintain a high standard of quality. By combining these strategies and tailoring them to your specific setup and preferences, you can create an environment where your Blue Yeti captures pristine audio while minimizing the intrusion of peripheral sounds.
With the knowledge and actionable steps provided in this guide, you are equipped to optimize your Blue Yeti’s performance and overcome the challenge of mechanical keyboard noise, ultimately elevating the overall audio quality of your content and professional endeavors.