Introduction
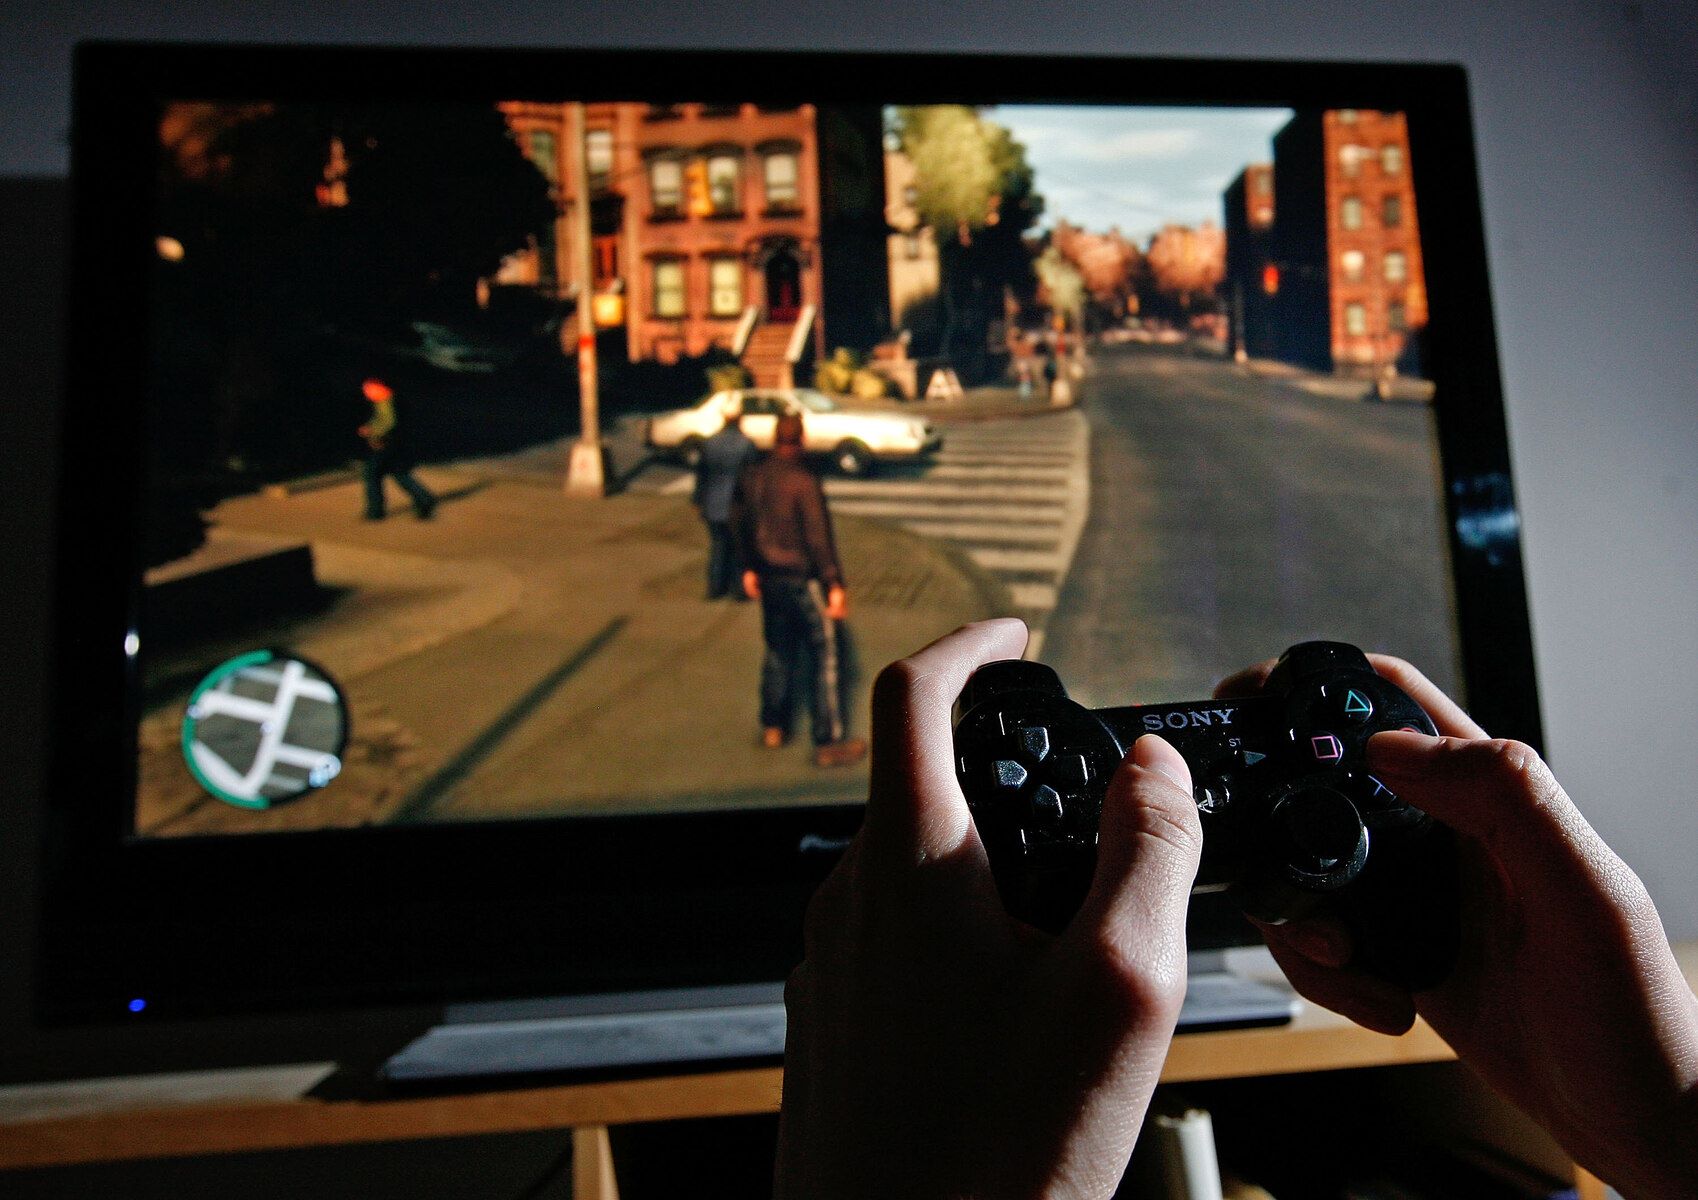
Connecting a game controller to your computer can elevate your gaming experience to a whole new level. Whether you prefer the precision of a controller for certain game genres or simply want to unwind with your favorite game on your computer, integrating a game controller can make gameplay more immersive and enjoyable. In this comprehensive guide, we will walk you through the step-by-step process of hooking up a game controller to your computer, ensuring that you can seamlessly transition from keyboard and mouse to the familiar comfort of a controller.
As technology continues to evolve, the compatibility and ease of connecting game controllers to computers have significantly improved. With the right information and guidance, you can effortlessly set up your preferred game controller and dive into your gaming adventures with enhanced control and precision. Whether you are a seasoned gamer or new to the world of computer gaming, this guide is designed to provide you with the knowledge and confidence to seamlessly integrate your game controller with your computer, opening up a world of gaming possibilities. So, let's embark on this journey and explore the steps to connect your game controller to your computer, unlocking a more immersive and enjoyable gaming experience.
Step 1: Check Compatibility
Before diving into the process of connecting your game controller to your computer, it’s crucial to ensure that the controller is compatible with your system. Different game controllers are designed to work with specific operating systems, and some may require additional software or drivers to function optimally. Here’s how to check the compatibility of your game controller:
- Research Controller Compatibility: Start by researching the compatibility of your game controller with your computer’s operating system. Visit the manufacturer’s website or refer to the controller’s documentation to determine if it supports your specific operating system, whether it’s Windows, macOS, or Linux.
- Check Connection Options: Assess the connection options available on your computer and the game controller. Some controllers connect via USB, while others may utilize Bluetooth or proprietary wireless adapters. Ensure that your computer has the necessary ports or connectivity features to accommodate the controller.
- Review System Requirements: Take note of the system requirements specified by the controller’s manufacturer. Verify that your computer meets these requirements, including any software or hardware prerequisites, to guarantee seamless compatibility.
By thoroughly examining the compatibility aspects of your game controller and your computer, you can preemptively address any potential issues and streamline the setup process. This proactive approach sets the stage for a smooth and successful integration of your game controller with your computer, laying the groundwork for an enhanced gaming experience.
Step 2: Connect the Controller
Once you have confirmed the compatibility of your game controller with your computer, the next step is to establish the physical connection between the two devices. Depending on the type of controller and your computer’s connectivity options, there are several methods for connecting the controller:
- Wired Connection: If your game controller utilizes a USB cable for connectivity, simply plug one end of the cable into the controller and the other end into an available USB port on your computer. Allow the necessary drivers to install, if prompted, and your controller should be ready for use.
- Wireless Connection: For wireless controllers that use Bluetooth or proprietary wireless adapters, follow the manufacturer’s instructions to initiate the pairing process. Enable Bluetooth on your computer and put the controller into pairing mode. Once the devices are paired, your controller should be recognized by the computer.
- Receiver Setup: In the case of controllers that require a wireless receiver, connect the receiver to an available USB port on your computer. Follow any additional setup instructions provided by the controller’s manufacturer to ensure proper communication between the controller and the computer.
By establishing a secure and functional connection between your game controller and your computer, you pave the way for a seamless gaming experience. Whether you opt for a wired or wireless setup, ensuring that the controller is properly connected sets the stage for the subsequent configuration and testing phases, bringing you one step closer to enjoying your favorite games with enhanced control and precision.
Step 3: Install Drivers
After connecting your game controller to your computer, it’s essential to address the driver requirements to enable seamless communication and functionality. Depending on the type of controller and your computer’s operating system, the process of installing drivers may vary. Here’s how to proceed:
- Automatic Driver Installation: In many cases, when you connect a game controller to your computer, the operating system will automatically search for and install the necessary drivers. Allow the system some time to complete this process, and monitor any notifications or prompts that may appear.
- Manufacturer’s Website: If the automatic driver installation does not occur, or if you encounter any issues with the controller’s functionality, visit the manufacturer’s website to download the specific drivers for your controller model and your computer’s operating system. Ensure that you download the most up-to-date drivers to benefit from performance enhancements and bug fixes.
- Driver Installation Process: Once you have obtained the required drivers, follow the manufacturer’s instructions for installing them on your computer. This typically involves running an installer or setup program and following the on-screen prompts to complete the installation process.
By installing the appropriate drivers for your game controller, you establish a vital link between the controller and your computer, ensuring that it is recognized and operates optimally within your gaming environment. This crucial step sets the foundation for configuring the controller settings and fine-tuning its performance to suit your gaming preferences.
Step 4: Configure Controller Settings
With the game controller physically connected to your computer and the necessary drivers installed, it’s time to configure the controller settings to align with your gaming preferences. This step involves customizing button mappings, sensitivity, and other parameters to optimize the controller’s performance for a seamless gaming experience. Here’s how to proceed:
- Access Controller Settings: Depending on your computer’s operating system and the type of game controller, navigate to the system settings or control panel to locate the controller settings. Alternatively, some games and gaming platforms offer in-game options to configure and customize the controller settings.
- Button Mapping: Customize the button mappings to suit your gaming style and preferences. Assign specific functions or actions to different buttons on the controller, ensuring that the layout aligns with your familiarity and comfort.
- Sensitivity Adjustment: Fine-tune the sensitivity and responsiveness of the controller’s analog sticks, triggers, and other input mechanisms. Adjusting sensitivity settings can enhance precision and control, especially in games that require nuanced movements and actions.
- Additional Customizations: Explore any additional customization options provided by the controller’s software or the game settings. This may include adjusting vibration intensity, dead zones, or creating multiple profiles for different gaming scenarios.
By configuring the controller settings to your liking, you tailor the gaming experience to align with your unique preferences and playstyle. This level of customization empowers you to immerse yourself in games with a heightened sense of control and responsiveness, ultimately enhancing your overall gaming enjoyment.
Step 5: Test the Controller
Once you have completed the configuration of the controller settings, it’s crucial to thoroughly test the controller to ensure that it functions as intended across various games and applications. Testing the controller allows you to verify its responsiveness, button mappings, and overall performance, providing the opportunity to make any necessary adjustments. Here’s how to effectively test your game controller:
- Verify Button Functionality: Open a game or controller testing software that provides visual feedback for each button press. Verify that all buttons, triggers, and analog sticks on the controller register inputs accurately and consistently.
- Test in Different Games: Launch a variety of games that support game controllers and test the controller’s performance across different genres. This allows you to assess how the controller handles diverse gameplay scenarios and interactions.
- Check Calibration: If your controller offers calibration options, ensure that it is properly calibrated to deliver precise and accurate input. Calibration can significantly impact the controller’s responsiveness and accuracy.
- Refine Settings: Based on your testing experience, consider refining the controller settings to address any issues or optimize its performance for specific games. This may involve fine-tuning sensitivity, dead zones, or button mappings.
Thoroughly testing the game controller across multiple games and scenarios empowers you to identify any potential issues and make necessary adjustments to enhance its performance. By ensuring that the controller operates seamlessly and intuitively, you can dive into your gaming sessions with the confidence that your controller will faithfully translate your inputs into on-screen actions, enriching your gaming experience.
Conclusion
Successfully connecting a game controller to your computer opens up a world of gaming possibilities, allowing you to enjoy your favorite titles with enhanced control and precision. By following the step-by-step process outlined in this guide, you have gained the knowledge and confidence to seamlessly integrate a game controller into your gaming setup. From checking compatibility and establishing the physical connection to configuring settings and thorough testing, each step contributes to a smooth and immersive gaming experience.
Embracing the compatibility of your game controller with your computer’s operating system sets the stage for a seamless connection, ensuring that the controller is recognized and supported. Whether opting for a wired or wireless setup, the physical connection process paves the way for the subsequent installation of drivers, a crucial step that enables effective communication and functionality between the controller and your computer.
Configuring the controller settings to align with your gaming preferences empowers you to tailor the gaming experience to your unique style, enhancing control and responsiveness. Thoroughly testing the controller across various games and scenarios allows you to verify its performance and make any necessary refinements, ultimately ensuring a seamless and enjoyable gaming experience.
With your game controller seamlessly integrated with your computer, you are poised to immerse yourself in captivating gaming adventures, leveraging the comfort and familiarity of a controller for an enriched gaming experience. Whether delving into action-packed adventures, competitive multiplayer battles, or immersive storytelling experiences, your game controller serves as a reliable companion, faithfully translating your inputs into on-screen actions.
By embracing the process of connecting a game controller to your computer, you have expanded your gaming horizons and unlocked a new level of enjoyment and immersion. As you embark on your gaming endeavors with your newly integrated game controller, may your gaming experiences be enriched, and your victories be celebrated with the precision and control that only a well-configured game controller can provide.