Introduction
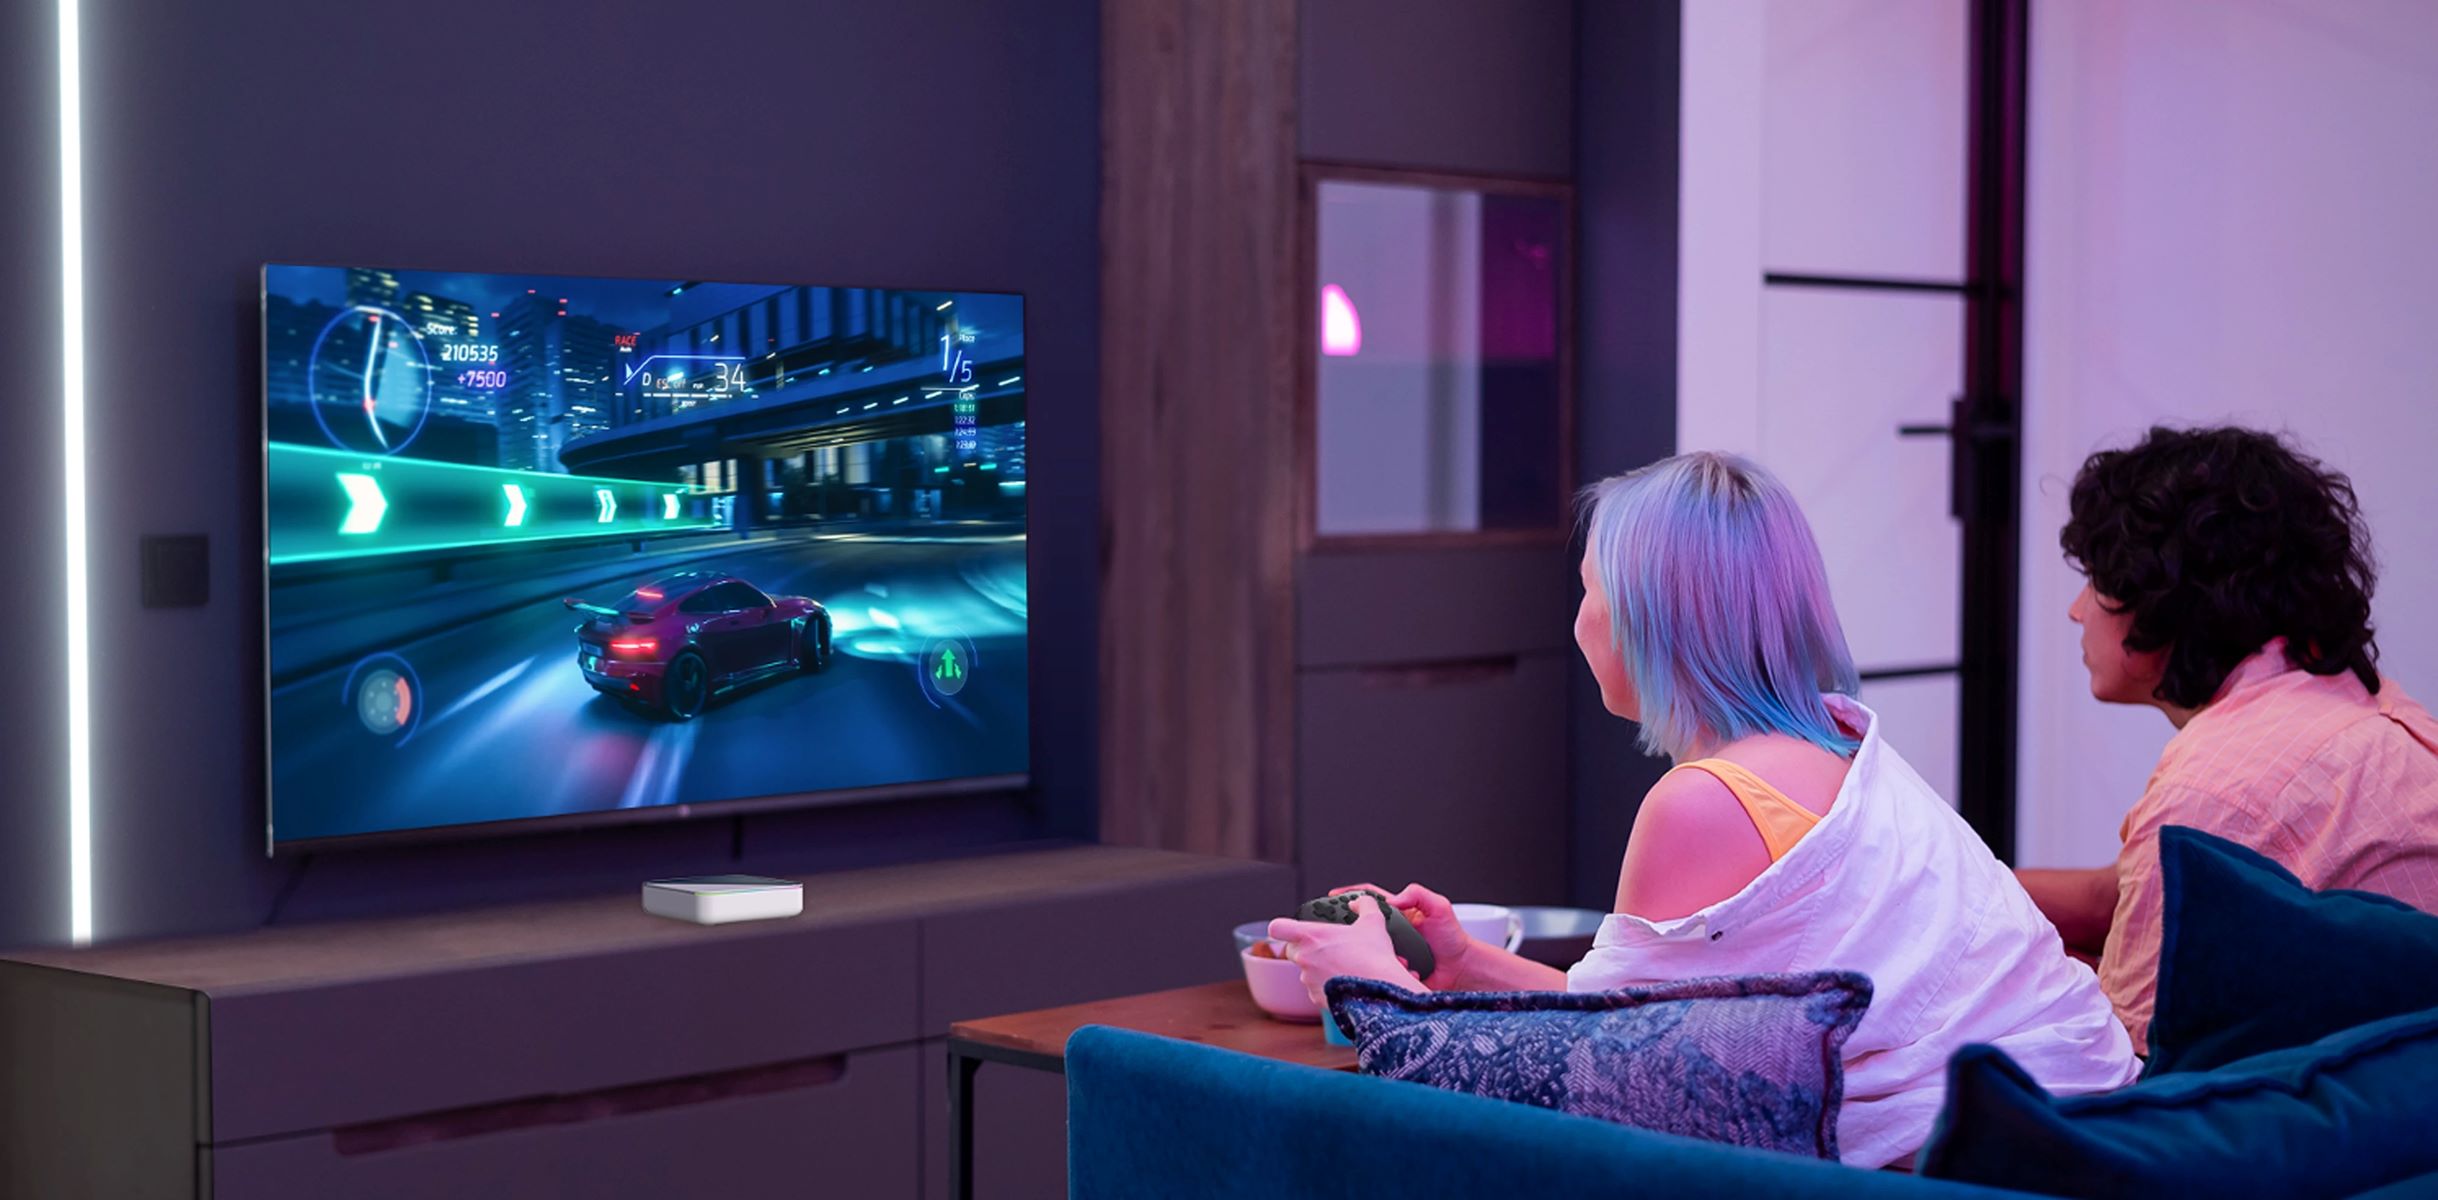
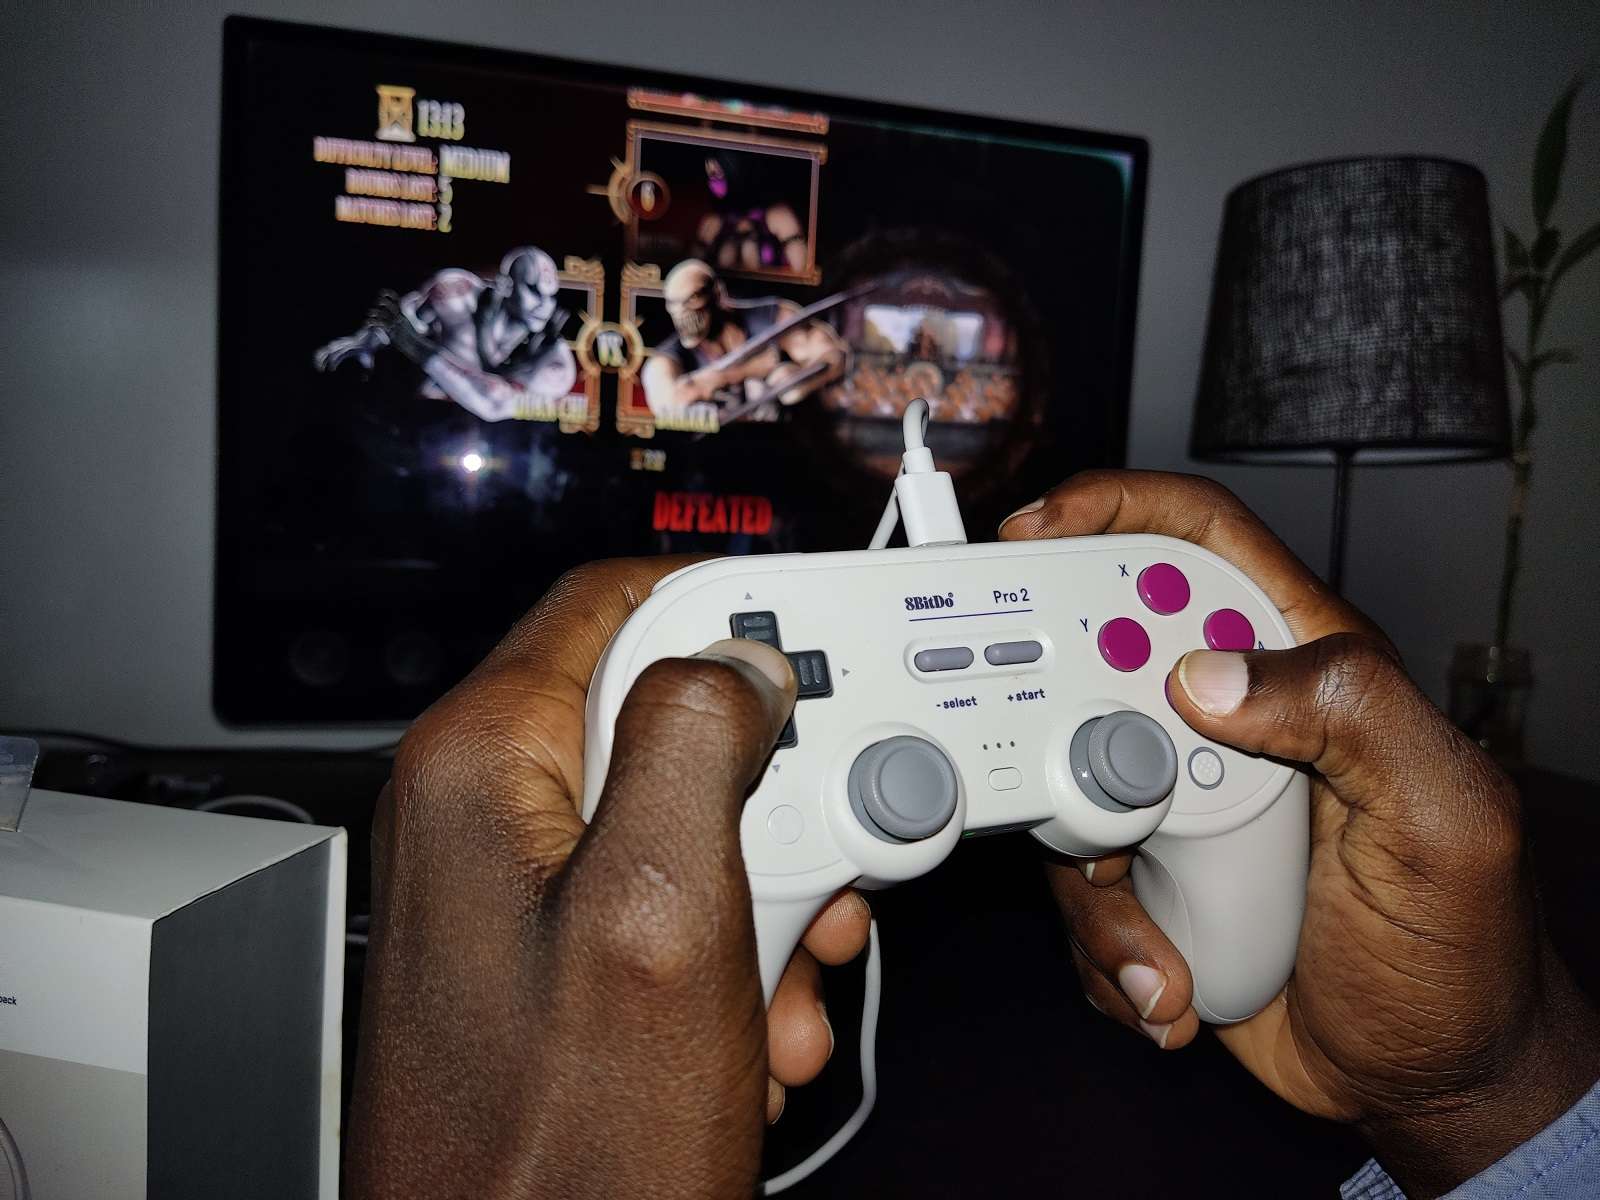
Are you ready to take your gaming experience to the next level on your Android TV? Connecting a game controller to your Android TV can unlock a world of immersive gaming, allowing you to enjoy your favorite games with enhanced control and precision. Whether you're into action-packed adventures, sports simulations, or classic arcade games, using a game controller can significantly elevate your gaming experience.
In this guide, we'll walk you through the process of connecting a game controller to your Android TV, providing you with step-by-step instructions to ensure a seamless setup. By following these simple steps, you'll be ready to dive into your favorite games with the convenience and familiarity of a game controller in no time.
Let's get started on this exciting journey to enhance your gaming experience on your Android TV. Whether you're a casual gamer or a dedicated enthusiast, connecting a game controller can make a world of difference in how you interact with and enjoy your favorite games. So, grab your game controller and let's embark on this straightforward setup process together.
Step 1: Check Compatibility
Before diving into the process of connecting your game controller to your Android TV, it’s crucial to ensure that the controller is compatible with your specific TV model. Not all game controllers are universally compatible with all Android TVs, so taking a moment to verify compatibility can save you time and frustration.
Start by consulting the user manual or support documentation for your Android TV to identify the compatible game controllers. Some TV models may have a list of recommended or officially supported controllers, providing you with a clear reference for compatible options.
If you don’t have access to the user manual, you can also visit the official website of the TV manufacturer or the Android TV platform to find a list of compatible game controllers. Additionally, community forums and online resources often contain valuable insights from other users who have successfully connected specific game controllers to their Android TVs.
Keep in mind that compatibility may extend beyond the physical connection, as some game controllers require specific firmware or software updates to function seamlessly with Android TV. Checking for any available updates for the game controller can help ensure optimal performance and compatibility.
By taking the time to confirm compatibility, you can proceed with confidence, knowing that your chosen game controller is well-suited for your Android TV, setting the stage for a smooth and enjoyable gaming experience.
Step 2: Connect via Bluetooth
Once you’ve verified the compatibility of your game controller with your Android TV, the next step is to establish a wireless connection using Bluetooth. Most modern game controllers utilize Bluetooth technology to seamlessly communicate with Android TV, offering a convenient and cable-free setup.
Begin by powering on your game controller and activating its Bluetooth pairing mode. This process may vary depending on the specific controller model, so refer to the controller’s user manual for detailed instructions on initiating the pairing mode.
With the game controller in pairing mode, navigate to the settings menu on your Android TV and select the Bluetooth option. Within the Bluetooth settings, locate the option to add a new device or search for nearby Bluetooth devices. Your game controller should appear in the list of available devices, typically identified by its model name or a generic identifier.
Select the game controller from the list to initiate the pairing process. Depending on the controller model, you may be prompted to enter a pairing code or confirm the connection on both the controller and the TV. Follow the on-screen prompts to complete the pairing process, ensuring that the game controller is successfully recognized and connected to your Android TV.
Once the pairing is complete, the game controller should be ready for use with your Android TV, allowing you to enjoy a wireless and responsive gaming experience. With the Bluetooth connection established, you can seamlessly navigate menus, control in-game actions, and immerse yourself in the world of gaming without the constraints of wired connections.
By connecting your game controller to your Android TV via Bluetooth, you’re setting the stage for a streamlined and enjoyable gaming experience, free from the limitations of traditional wired setups.
Step 3: Pair the Controller
With the game controller successfully connected to your Android TV via Bluetooth, the next crucial step is to pair the controller to ensure seamless functionality and responsiveness during gameplay. Pairing the controller establishes a direct and reliable connection, enabling precise control and accurate input recognition.
Once the game controller is connected via Bluetooth, navigate to the settings menu on your Android TV and locate the “Remote & Accessories” or “Connected Devices” section. Within this menu, you should see the connected game controller listed as a recognized accessory.
Select the game controller from the list of connected devices to access its specific settings and options. Depending on the controller model and the Android TV interface, you may find additional customization options, firmware update notifications, or battery status indicators for the controller.
Within the controller settings, you may have the option to customize button mappings, adjust sensitivity settings, or configure specific controls based on your preferences. This level of customization can enhance your gaming experience, allowing you to tailor the controller’s behavior to align with your gaming style and comfort.
During the pairing process, ensure that the game controller is responsive and accurately registering your inputs. Test the buttons, triggers, and joysticks to confirm that the controller’s functionality aligns with your expectations. If you encounter any issues or inconsistencies, consult the user manual or online resources for troubleshooting guidance.
By pairing the game controller with your Android TV, you’re solidifying the connection and optimizing the controller’s performance for a seamless gaming experience. This step ensures that the controller is recognized as the primary input device, enabling you to dive into your favorite games with confidence in the controller’s responsiveness and accuracy.
Step 4: Test the Connection
Once the game controller is paired and configured, it’s essential to thoroughly test the connection to ensure that all functions and inputs are working as intended. This step allows you to confirm that the controller is seamlessly integrated with your Android TV, providing you with the responsiveness and accuracy needed for an immersive gaming experience.
Begin by launching a game or navigating to a gaming application on your Android TV. Use the game controller to interact with the game’s menus, navigate through options, and initiate gameplay. Verify that the controller’s inputs, including buttons, triggers, and joysticks, are accurately recognized within the game environment.
Test the full range of motion and functionality offered by the game controller, paying close attention to the responsiveness of each input. Ensure that the joysticks provide smooth and precise movement, the buttons register distinct actions, and the triggers offer the appropriate sensitivity for in-game actions such as shooting or acceleration.
Engage in gameplay that requires varied control inputs, such as navigating complex environments, executing precise maneuvers, or engaging in fast-paced action sequences. This comprehensive testing approach allows you to assess the controller’s performance across different gaming scenarios, ensuring that it meets the demands of your preferred gaming genres.
Additionally, consider testing the controller’s performance in different gaming applications and genres to gauge its versatility and adaptability. Whether you’re exploring open-world adventures, competing in sports simulations, or engaging in multiplayer battles, the controller should consistently deliver a responsive and immersive gaming experience.
If you encounter any issues or inconsistencies during the testing phase, take note of the specific challenges or malfunctions and explore potential solutions. Consult the controller’s user manual, online support resources, or community forums to troubleshoot and address any performance issues, ensuring that the controller operates optimally across a variety of gaming experiences.
By thoroughly testing the connection between the game controller and your Android TV, you can confirm that the setup is successful and that the controller delivers the expected level of performance and responsiveness, setting the stage for countless hours of enjoyable gaming.
Conclusion
Congratulations! By following the step-by-step process outlined in this guide, you have successfully connected and configured a game controller to your Android TV, opening the door to a world of immersive gaming experiences. Through careful verification of compatibility, seamless Bluetooth connectivity, precise controller pairing, and thorough testing, you have established a reliable and responsive gaming setup that aligns with your preferences and gaming style.
With the game controller seamlessly integrated with your Android TV, you can now enjoy a diverse range of games with enhanced control and precision, whether you’re navigating virtual landscapes, engaging in intense battles, or competing in multiplayer challenges. The wireless convenience of the game controller, coupled with its customizable settings and responsive inputs, offers a compelling gaming experience that can elevate your enjoyment and immersion in your favorite games.
As you continue to explore the gaming possibilities on your Android TV, remember that the process of connecting a game controller is not only about technical setup but also about enhancing your overall gaming experience. The familiarity and comfort of using a game controller can create a more intuitive and engaging gaming environment, allowing you to focus on the excitement of gameplay without the constraints of traditional input methods.
Should you encounter any challenges or wish to further optimize your gaming setup, don’t hesitate to explore additional customization options, seek firmware updates for the controller, or connect with the vibrant gaming community to exchange insights and recommendations. Embracing the world of gaming on your Android TV with a connected game controller opens up opportunities for countless memorable gaming moments and experiences.
Now that you’ve successfully connected your game controller to your Android TV, it’s time to embark on your gaming adventures with confidence, knowing that your setup is primed for enjoyable and immersive gameplay. Whether you’re a casual gamer seeking relaxation or a dedicated enthusiast pursuing thrilling challenges, your connected game controller is poised to enhance your gaming journey on your Android TV.


