Introduction
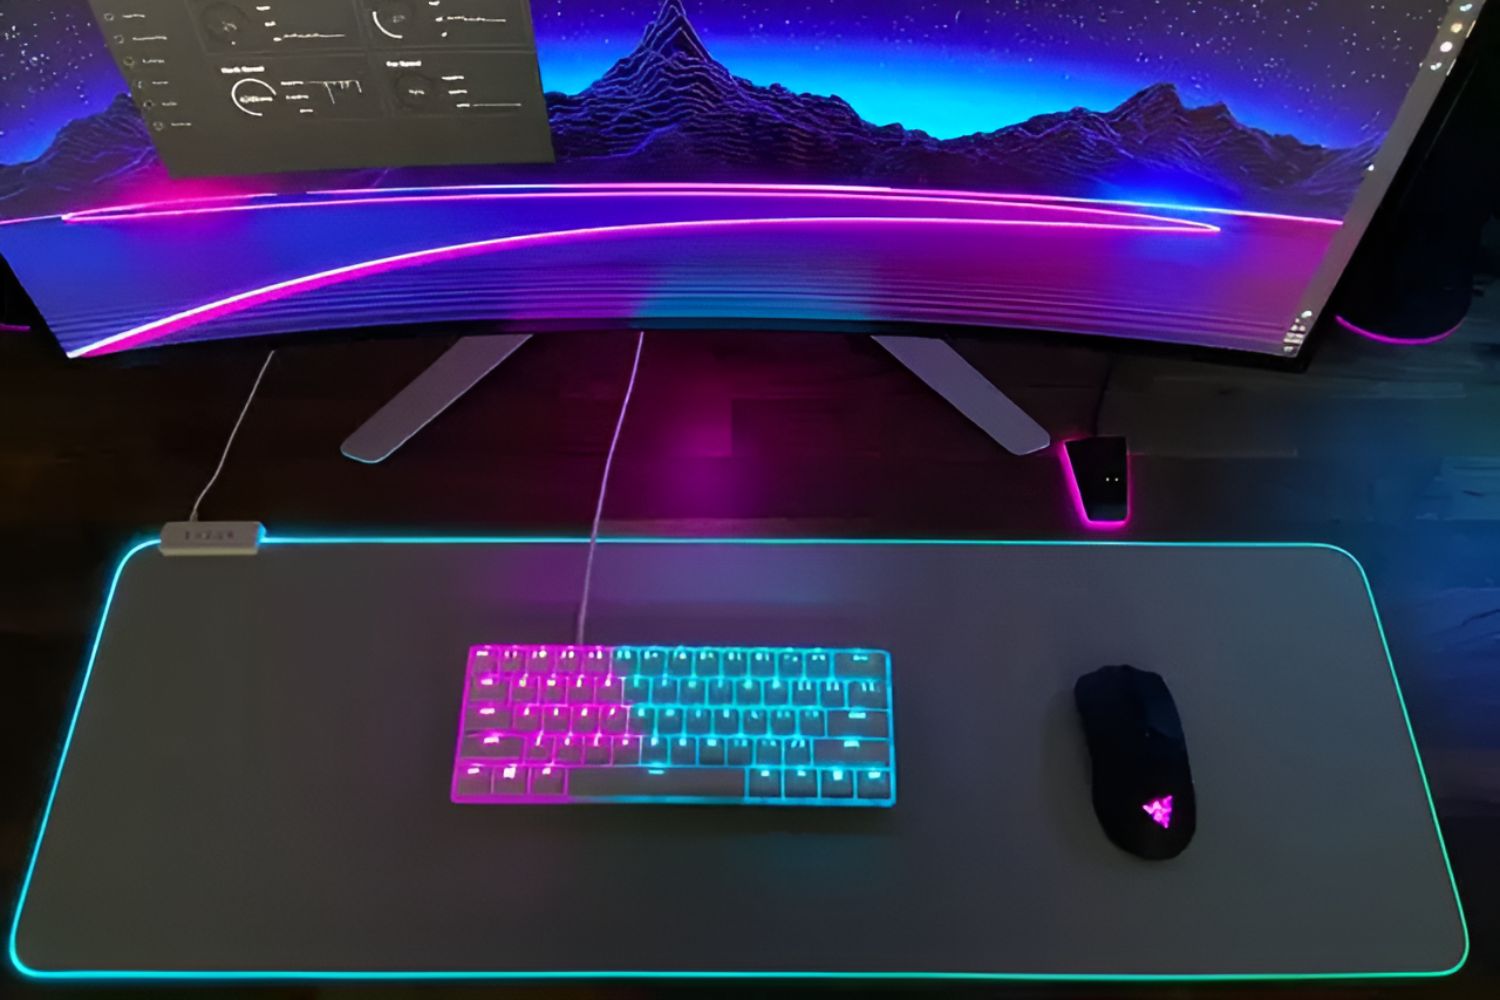
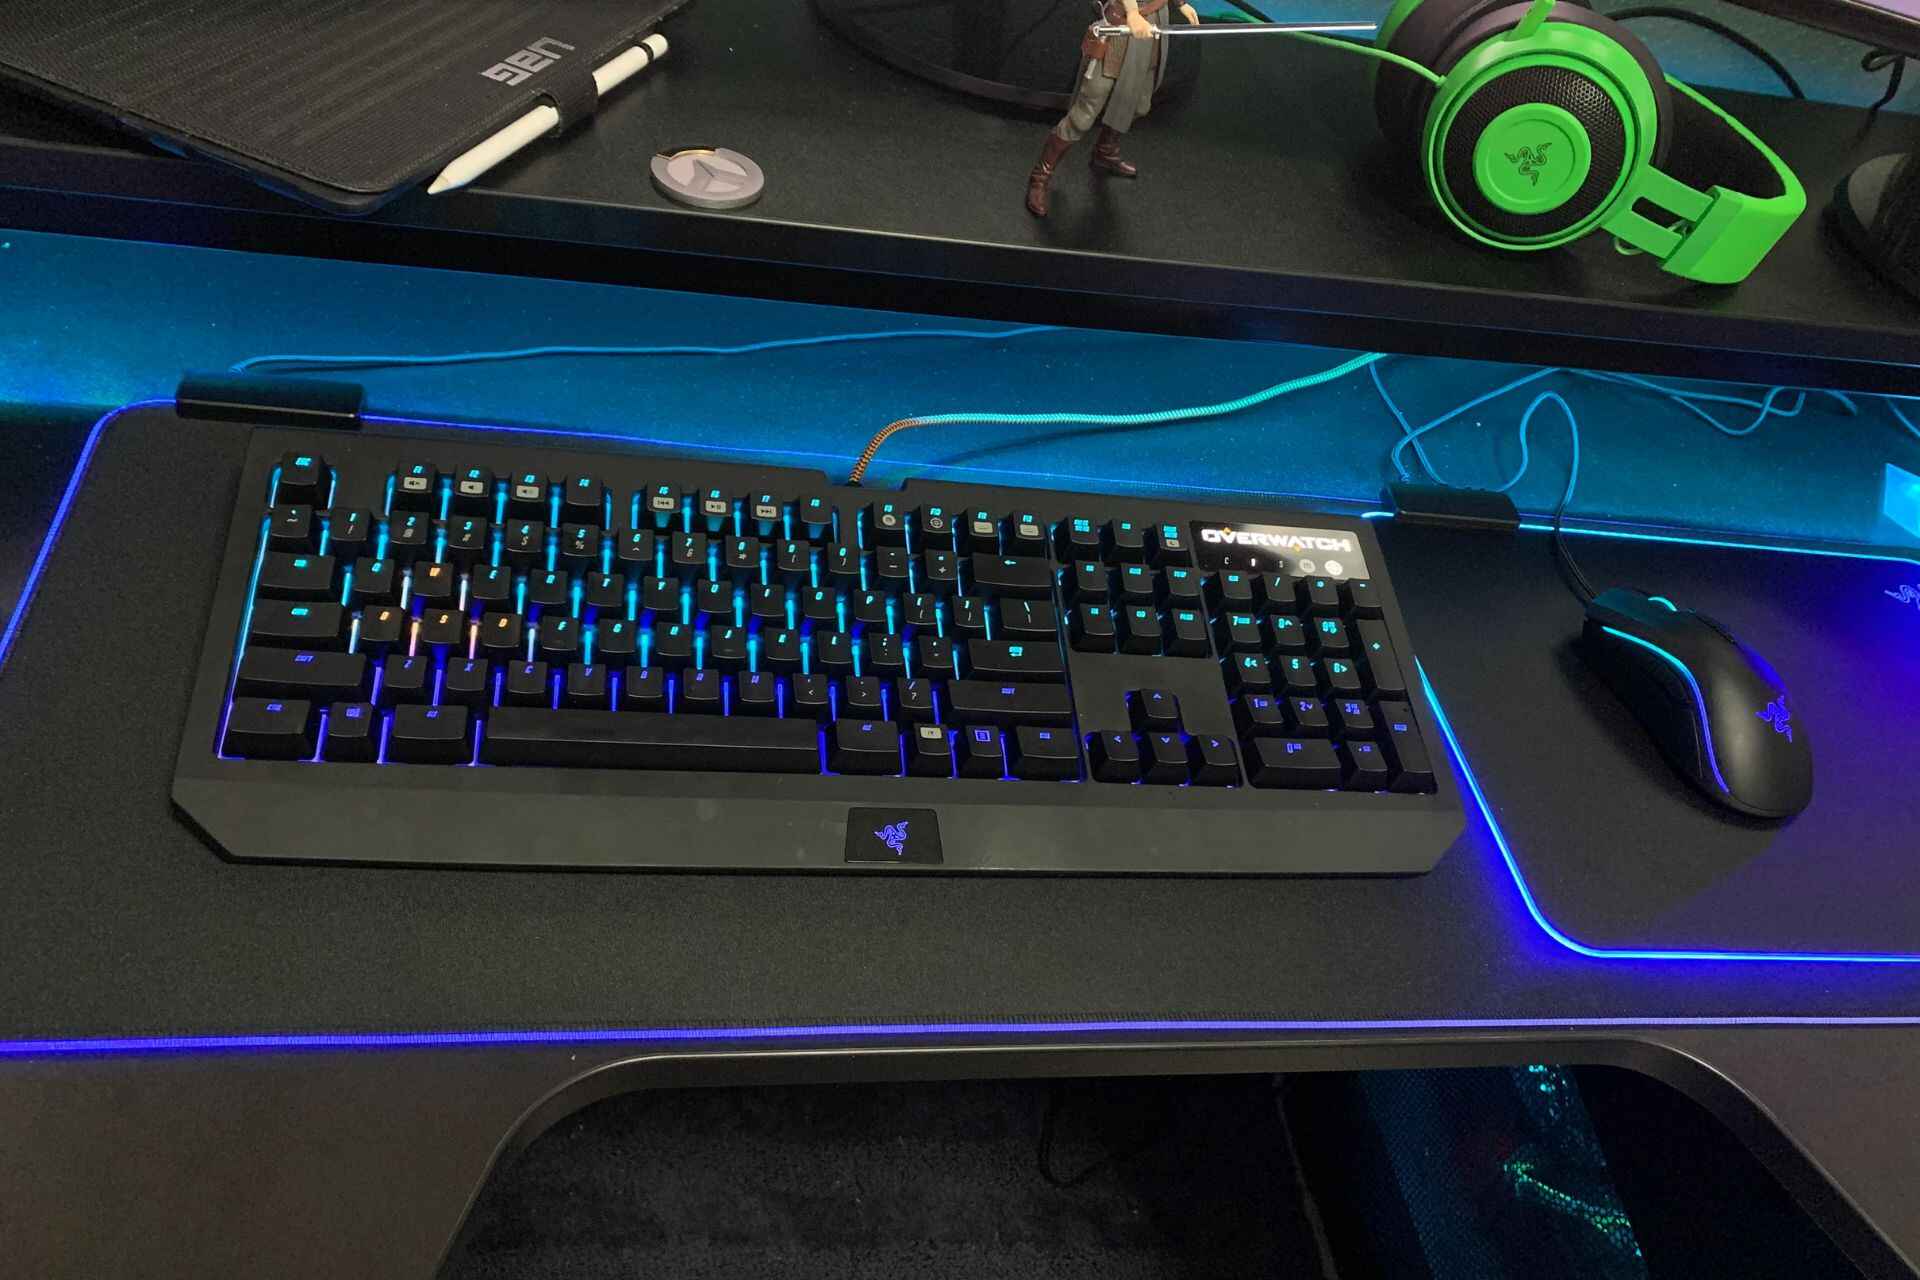
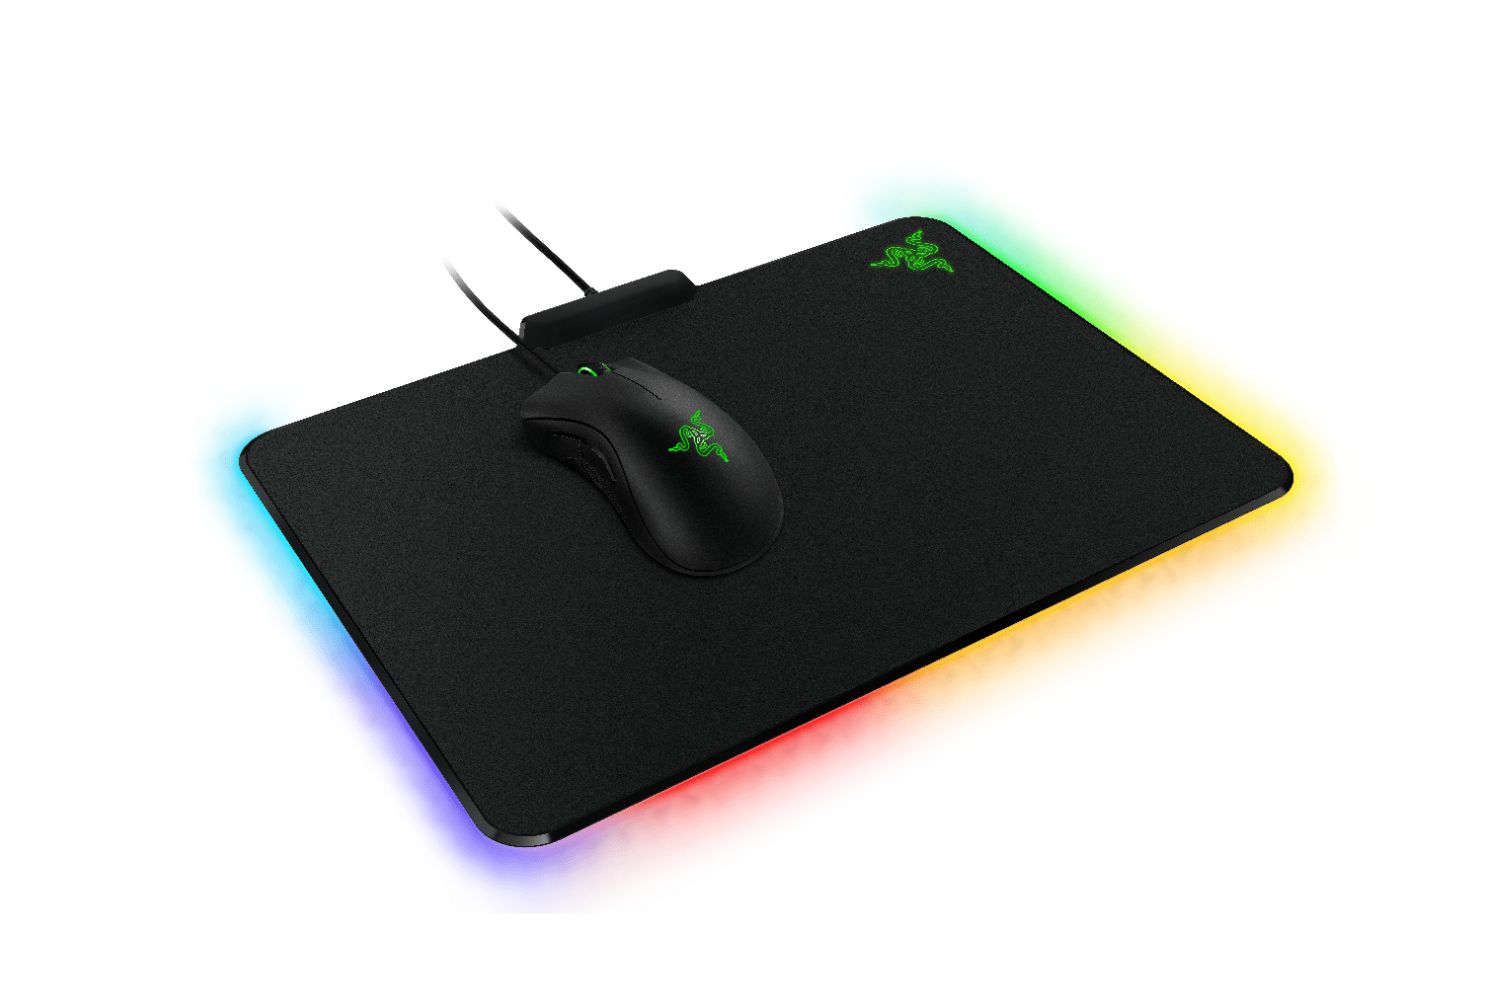
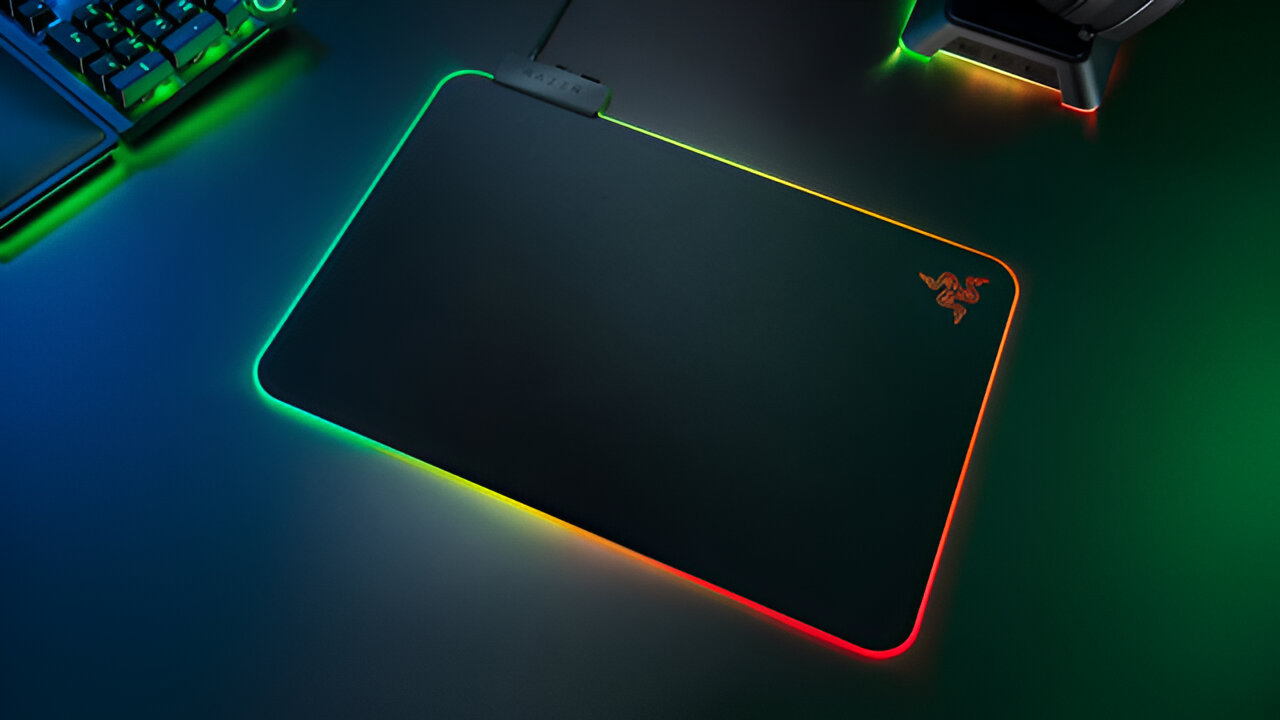
Maintaining a clean and functional mouse pad is essential for an optimal gaming or working experience. Over time, the Razer Goliathus mouse pad, like any other, accumulates dust, dirt, and grime, which can affect its performance and longevity. Fortunately, with the right materials and a few simple steps, you can easily restore your Razer Goliathus mouse pad to its pristine condition. In this guide, we will walk you through the process of effectively cleaning your mouse pad, ensuring that it remains a reliable and hygienic surface for your gaming or work setup.
A clean mouse pad not only enhances the precision and responsiveness of your mouse but also contributes to a tidy and organized gaming or work area. By following the step-by-step instructions provided in this guide, you can maintain the cleanliness and functionality of your Razer Goliathus mouse pad, prolonging its lifespan and optimizing your overall computing experience.
Whether you are an avid gamer, a dedicated professional, or simply someone who values a clean and well-maintained workspace, this guide will equip you with the knowledge and techniques necessary to keep your Razer Goliathus mouse pad in top condition. Let's delve into the materials needed and the step-by-step cleaning process to ensure that your mouse pad remains a reliable and enjoyable tool for your computing needs.
Materials Needed
Before embarking on the cleaning process for your Razer Goliathus mouse pad, it’s essential to gather the necessary materials to ensure a thorough and effective cleaning. Here’s what you’ll need:
- Gentle Detergent: Opt for a mild, non-abrasive detergent to avoid damaging the fabric of the mouse pad.
- Soft Brush or Cloth: A soft-bristled brush or a clean, lint-free cloth will be used for spot cleaning and washing the mouse pad.
- Vacuum Cleaner: A vacuum with a soft brush attachment will help remove loose dirt and debris from the mouse pad’s surface.
- Bowl or Sink: You’ll need a suitable container for washing the mouse pad. A sink or a large bowl will suffice.
- Water: Access to clean, lukewarm water is essential for rinsing and washing the mouse pad.
- Towel: Have a clean, dry towel ready for the drying process.
- Optional: Stain Remover: If your mouse pad has stubborn stains, a gentle stain remover may be necessary for spot treatment.
By ensuring that you have these materials on hand, you can proceed with confidence, knowing that you have everything you need to effectively clean your Razer Goliathus mouse pad. With these supplies at your disposal, you’ll be ready to tackle the cleaning process and restore your mouse pad to its optimal condition.
Step 1: Removing the Mouse Pad from the Desk
Before beginning the cleaning process, it’s important to start with a clean and clear workspace. Here’s how to safely remove your Razer Goliathus mouse pad from your desk:
- Prepare the Workspace: Clear the area around your computer or gaming setup to create space for easy access to the mouse pad. Remove any items or obstacles that may hinder the removal process.
- Lift the Mouse Pad: Gently lift the edges of the mouse pad to detach it from the desk surface. Take care to avoid any abrupt or forceful movements that could potentially damage the pad or the desk.
- Clean the Desk Surface: While the mouse pad is removed, take the opportunity to wipe down the desk surface with a clean cloth to remove any dust or debris that may have accumulated underneath the pad.
- Store the Mouse Pad Safely: Once the mouse pad is removed, store it in a clean and dry area, away from potential spills or damage, until you are ready to proceed with the cleaning process.
By following these steps, you can ensure that your Razer Goliathus mouse pad is safely and carefully removed from your desk, setting the stage for the subsequent cleaning steps. With the mouse pad removed and the workspace prepared, you are ready to move on to the next stage of the cleaning process.
Step 2: Vacuuming the Mouse Pad
Once the mouse pad is safely removed from the desk, the next step is to remove loose dirt, dust, and debris from its surface using a vacuum cleaner. Follow these steps to effectively vacuum your Razer Goliathus mouse pad:
- Prepare the Vacuum Cleaner: Attach a soft brush or upholstery brush to your vacuum cleaner to ensure gentle cleaning without causing any damage to the fabric of the mouse pad.
- Gently Vacuum the Surface: Using the vacuum cleaner on a low or medium setting, gently run the brush attachment across the entire surface of the mouse pad. Pay close attention to areas with visible debris or accumulated dust.
- Repeat as Needed: If necessary, make multiple passes with the vacuum cleaner to ensure that all loose particles are effectively removed from the mouse pad’s surface.
- Inspect for Remaining Debris: After vacuuming, visually inspect the mouse pad for any remaining dirt or debris. If needed, use a soft brush or cloth to gently remove any stubborn particles.
Vacuuming the mouse pad is an essential step in the cleaning process, as it effectively eliminates loose dirt and dust, preparing the surface for more targeted cleaning methods. By following these steps, you can ensure that your Razer Goliathus mouse pad is free from surface debris, setting the stage for the subsequent cleaning steps.
Step 3: Spot Cleaning Stains
Spot cleaning stains on your Razer Goliathus mouse pad is essential for maintaining its appearance and functionality. Follow these steps to effectively address any stains or marks on the surface of the mouse pad:
- Identify the Stains: Examine the mouse pad for any visible stains or marks, taking note of their location and nature, such as food or beverage spills, ink marks, or general discoloration.
- Prepare a Gentle Cleaning Solution: In a small bowl, mix a mild detergent with lukewarm water to create a gentle cleaning solution. Ensure that the detergent is suitable for delicate fabrics to avoid damaging the mouse pad.
- Spot Clean the Stains: Dip a soft-bristled brush or a clean, lint-free cloth into the cleaning solution, and gently dab or lightly scrub the stained areas on the mouse pad. Take care to avoid excessive moisture and aggressive scrubbing, as this may damage the fabric.
- Rinse with Clean Water: After spot cleaning, use a separate cloth dampened with clean water to gently rinse the treated areas and remove any residual detergent. Ensure that the cloth is not overly wet to prevent excessive moisture on the mouse pad.
- Blot and Air Dry: Use a dry towel to blot the dampened areas and absorb excess moisture. Once the spot-cleaned areas are no longer visibly damp, allow the mouse pad to air dry completely before proceeding to the next step.
By carefully addressing stains through spot cleaning, you can maintain the cleanliness and visual appeal of your Razer Goliathus mouse pad. This step ensures that any localized marks or discoloration are effectively treated, contributing to the overall revitalization of the mouse pad’s appearance.
Step 4: Washing the Mouse Pad
Washing your Razer Goliathus mouse pad is a crucial step in thoroughly cleaning and revitalizing its surface. Follow these steps to effectively wash the mouse pad and eliminate embedded dirt and grime:
- Prepare the Cleaning Solution: In a sink or a large bowl, mix a small amount of mild detergent with lukewarm water to create a gentle cleaning solution. Ensure that the detergent is suitable for delicate fabrics to avoid causing any damage to the mouse pad.
- Submerge the Mouse Pad: Place the mouse pad into the prepared cleaning solution, ensuring that it is fully submerged. Gently agitate the water to allow the cleaning solution to penetrate the fabric and dislodge embedded dirt and oils.
- Gently Scrub and Soak: Using a soft-bristled brush or your hands, gently scrub the entire surface of the mouse pad while it is submerged. Pay particular attention to areas with visible stains or discoloration. Allow the mouse pad to soak in the cleaning solution for several minutes to ensure thorough cleaning.
- Rinse with Clean Water: After washing, remove the mouse pad from the cleaning solution and rinse it thoroughly under clean, lukewarm water. Ensure that all traces of detergent are completely removed from the fabric.
- Remove Excess Water: Gently press down on the mouse pad to remove excess water without wringing or twisting the fabric. Avoid applying excessive pressure, as this may misshape the mouse pad.
By following these steps, you can effectively wash your Razer Goliathus mouse pad, removing embedded dirt and grime to restore its cleanliness and functionality. This process ensures that the mouse pad is thoroughly cleansed, setting the stage for the final step of the cleaning process.
Step 5: Drying the Mouse Pad
Properly drying your Razer Goliathus mouse pad after washing is essential to prevent moisture-related issues and ensure that it is ready for immediate use. Follow these steps to effectively dry the mouse pad:
- Use a Dry Towel: Lay the mouse pad flat on a clean, dry towel, and gently press another dry towel on top of it to absorb excess water. Avoid rubbing the towel on the surface, as this may cause friction and potential damage to the fabric.
- Air Dry in a Well-Ventilated Area: Once excess water has been removed, place the mouse pad in a well-ventilated area away from direct sunlight or heat sources. Allow it to air dry completely, ensuring that both sides are exposed to air circulation.
- Check for Dryness: After a few hours, check the mouse pad for any remaining dampness. If necessary, allow it to continue air drying until no moisture is present.
- Ensure Complete Dryness: Before returning the mouse pad to your desk, ensure that it is completely dry to the touch. Any residual moisture may lead to mildew or odors if the pad is used prematurely.
By following these steps, you can effectively dry your Razer Goliathus mouse pad, ensuring that it is free from excess moisture and ready for immediate use. Proper drying is essential to maintain the integrity and cleanliness of the mouse pad, completing the comprehensive cleaning process.
Conclusion
Cleaning your Razer Goliathus mouse pad is an essential aspect of maintaining a hygienic and efficient gaming or work environment. By following the step-by-step process outlined in this guide, you can ensure that your mouse pad remains in optimal condition, providing a reliable and clean surface for your mouse to glide across.
From removing the mouse pad from your desk to effectively washing and drying it, each step plays a crucial role in revitalizing the cleanliness and functionality of the mouse pad. Regular cleaning not only enhances the visual appeal of the mouse pad but also contributes to a more hygienic gaming or work setup, free from dust, dirt, and stains.
By investing a small amount of time and effort into cleaning your Razer Goliathus mouse pad, you can extend its lifespan and maintain its performance, ultimately enhancing your overall computing experience. Whether you are a dedicated gamer, a professional, or simply someone who values a tidy workspace, the cleanliness of your mouse pad is an important factor in ensuring a comfortable and efficient computing environment.
With the knowledge and techniques acquired from this guide, you are well-equipped to tackle the cleaning process and keep your Razer Goliathus mouse pad in top condition. By incorporating regular cleaning into your maintenance routine, you can enjoy a pristine and reliable mouse pad, contributing to a more enjoyable and productive computing experience.


