Introduction
Welcome to the world of Azzor gaming mice! These high-performance peripherals are designed to elevate your gaming experience, offering precision, speed, and customization to suit your unique gaming style. One crucial aspect of owning an Azzor gaming mouse is ensuring that it is always charged and ready for action. In this guide, we will walk you through the essential steps to effectively charge your Azzor gaming mouse, ensuring that you can continue dominating the virtual battlefield without any interruptions.
Charging your Azzor gaming mouse is a straightforward process, but it's important to follow the correct steps to ensure optimal performance and battery longevity. Whether you're a seasoned gamer or new to the world of gaming peripherals, understanding how to charge your Azzor gaming mouse is essential knowledge that will keep you in the game.
So, let's dive into the step-by-step process of charging your Azzor gaming mouse and ensure that you're always prepared for your next gaming session. Whether you're in the midst of an intense battle or exploring vast virtual worlds, a fully charged Azzor gaming mouse is your trusty companion, ready to deliver peak performance when you need it most. Let's get started!
Step 1: Locate the Charging Port
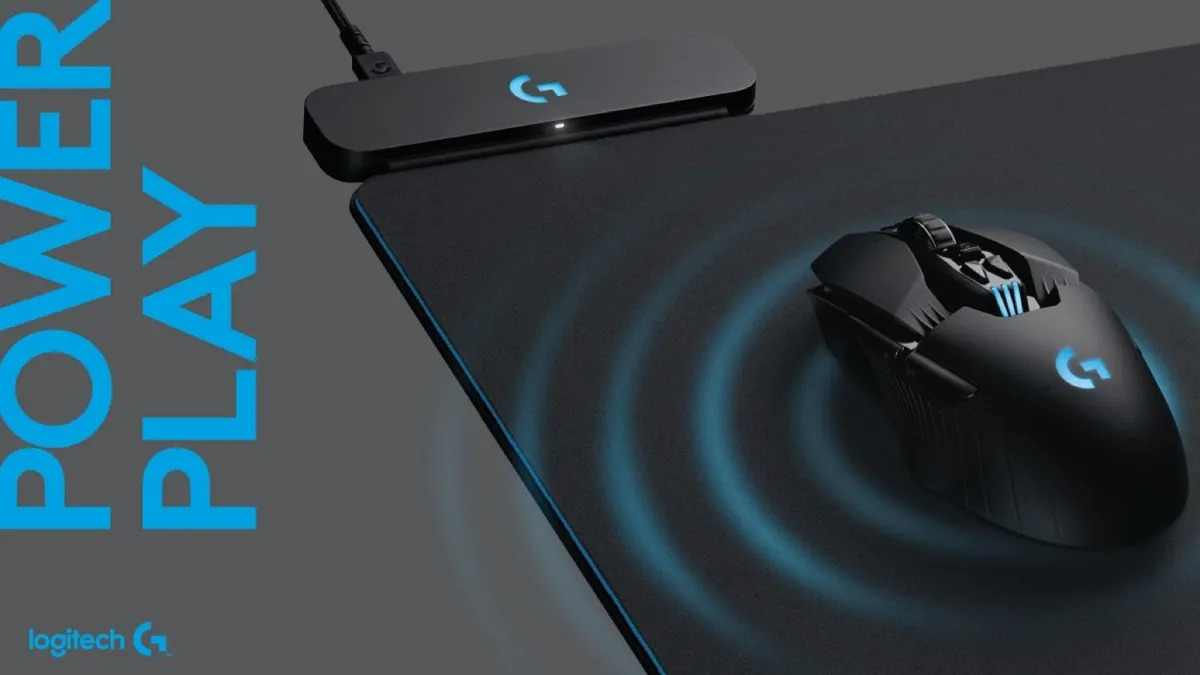
Before you can begin charging your Azzor gaming mouse, you need to locate the charging port. The charging port is typically situated on the front or underside of the mouse, depending on the specific model. It’s essential to familiarize yourself with the mouse’s design to identify the precise location of the charging port. Some Azzor gaming mice feature a discreetly positioned charging port to maintain a sleek and unobtrusive aesthetic.
Once you have identified the charging port, take a moment to inspect it carefully. Ensure that there is no debris or obstructions that could impede the connection when inserting the charging cable. Keeping the charging port clean and free from any foreign particles will help maintain a reliable connection and facilitate efficient charging.
Additionally, familiarize yourself with the type of charging port used by your Azzor gaming mouse. Some models may utilize a standard USB-C port, while others may feature a micro-USB or proprietary charging interface. Understanding the specific charging port type will ensure that you use the correct charging cable and avoid any potential compatibility issues.
By locating the charging port and understanding its design, you are ready to proceed with the next step in the charging process. This initial step sets the foundation for a successful and hassle-free charging experience, ensuring that your Azzor gaming mouse remains powered up and ready for your gaming adventures.
Step 2: Use the Provided Charging Cable
Once you have located the charging port on your Azzor gaming mouse, it’s time to utilize the provided charging cable. Azzor gaming mice typically come with a dedicated charging cable that is specifically designed to deliver the optimal power and charging capability for your device. This specialized cable is an essential component in maintaining the performance and longevity of your gaming mouse’s battery.
When handling the provided charging cable, take note of its length and flexibility. A high-quality charging cable should offer sufficient length to accommodate various charging setups, whether you’re connecting it to a laptop, desktop computer, or a USB power adapter. The flexibility of the cable ensures that you can easily maneuver it to establish a secure connection without placing strain on the charging port or the cable itself.
Inspect the connectors at both ends of the charging cable. The end that connects to your Azzor gaming mouse should feature a secure and snug fit to ensure a stable connection during the charging process. Similarly, the opposite end of the cable, which connects to the power source, should have a reliable connector that minimizes the risk of disconnection during charging.
Using the provided charging cable not only simplifies the charging process but also ensures that you are utilizing a compatible and reliable accessory that is specifically engineered for your Azzor gaming mouse. This dedicated cable is a fundamental component in maintaining the performance and longevity of your gaming mouse’s battery, providing a seamless and efficient charging experience for continued gaming excellence.
Step 3: Connect the Cable to a Power Source
With the provided charging cable in hand, the next step in the process of charging your Azzor gaming mouse is to connect the cable to a reliable power source. This step is crucial in initiating the charging process and ensuring that your gaming mouse’s battery receives the necessary power to replenish its charge.
When selecting a power source, consider using a stable and well-supported outlet or device that can deliver consistent power without fluctuations. This can include a USB port on a computer, a dedicated USB power adapter, or a compatible charging dock designed for gaming peripherals. It’s important to choose a power source that aligns with the recommended specifications provided for your Azzor gaming mouse to facilitate efficient and safe charging.
As you connect the charging cable to the power source, pay attention to the fit and stability of the connection. A secure and snug connection minimizes the risk of interruptions in the charging process, ensuring that the power is transmitted effectively from the source to your gaming mouse. Avoid applying excessive force when connecting the cable, as this can potentially damage the charging port or the cable itself.
Once the cable is securely connected to the power source, take a moment to confirm that the connection is stable and that the charging process has commenced. Some Azzor gaming mice feature LED indicators that provide visual feedback on the charging status, allowing you to verify that the power is flowing to the device. This visual cue can offer reassurance that the charging process is underway and progressing as expected.
By connecting the charging cable to a suitable power source, you are taking a proactive step in ensuring that your Azzor gaming mouse receives the necessary power to recharge its battery, keeping it primed for your next gaming session.
Step 4: Monitor the Charging Status
As your Azzor gaming mouse begins to charge, it’s important to monitor the charging status to ensure that the process is proceeding as expected. Keeping an eye on the charging status allows you to stay informed about the progress and make any necessary adjustments to optimize the charging experience.
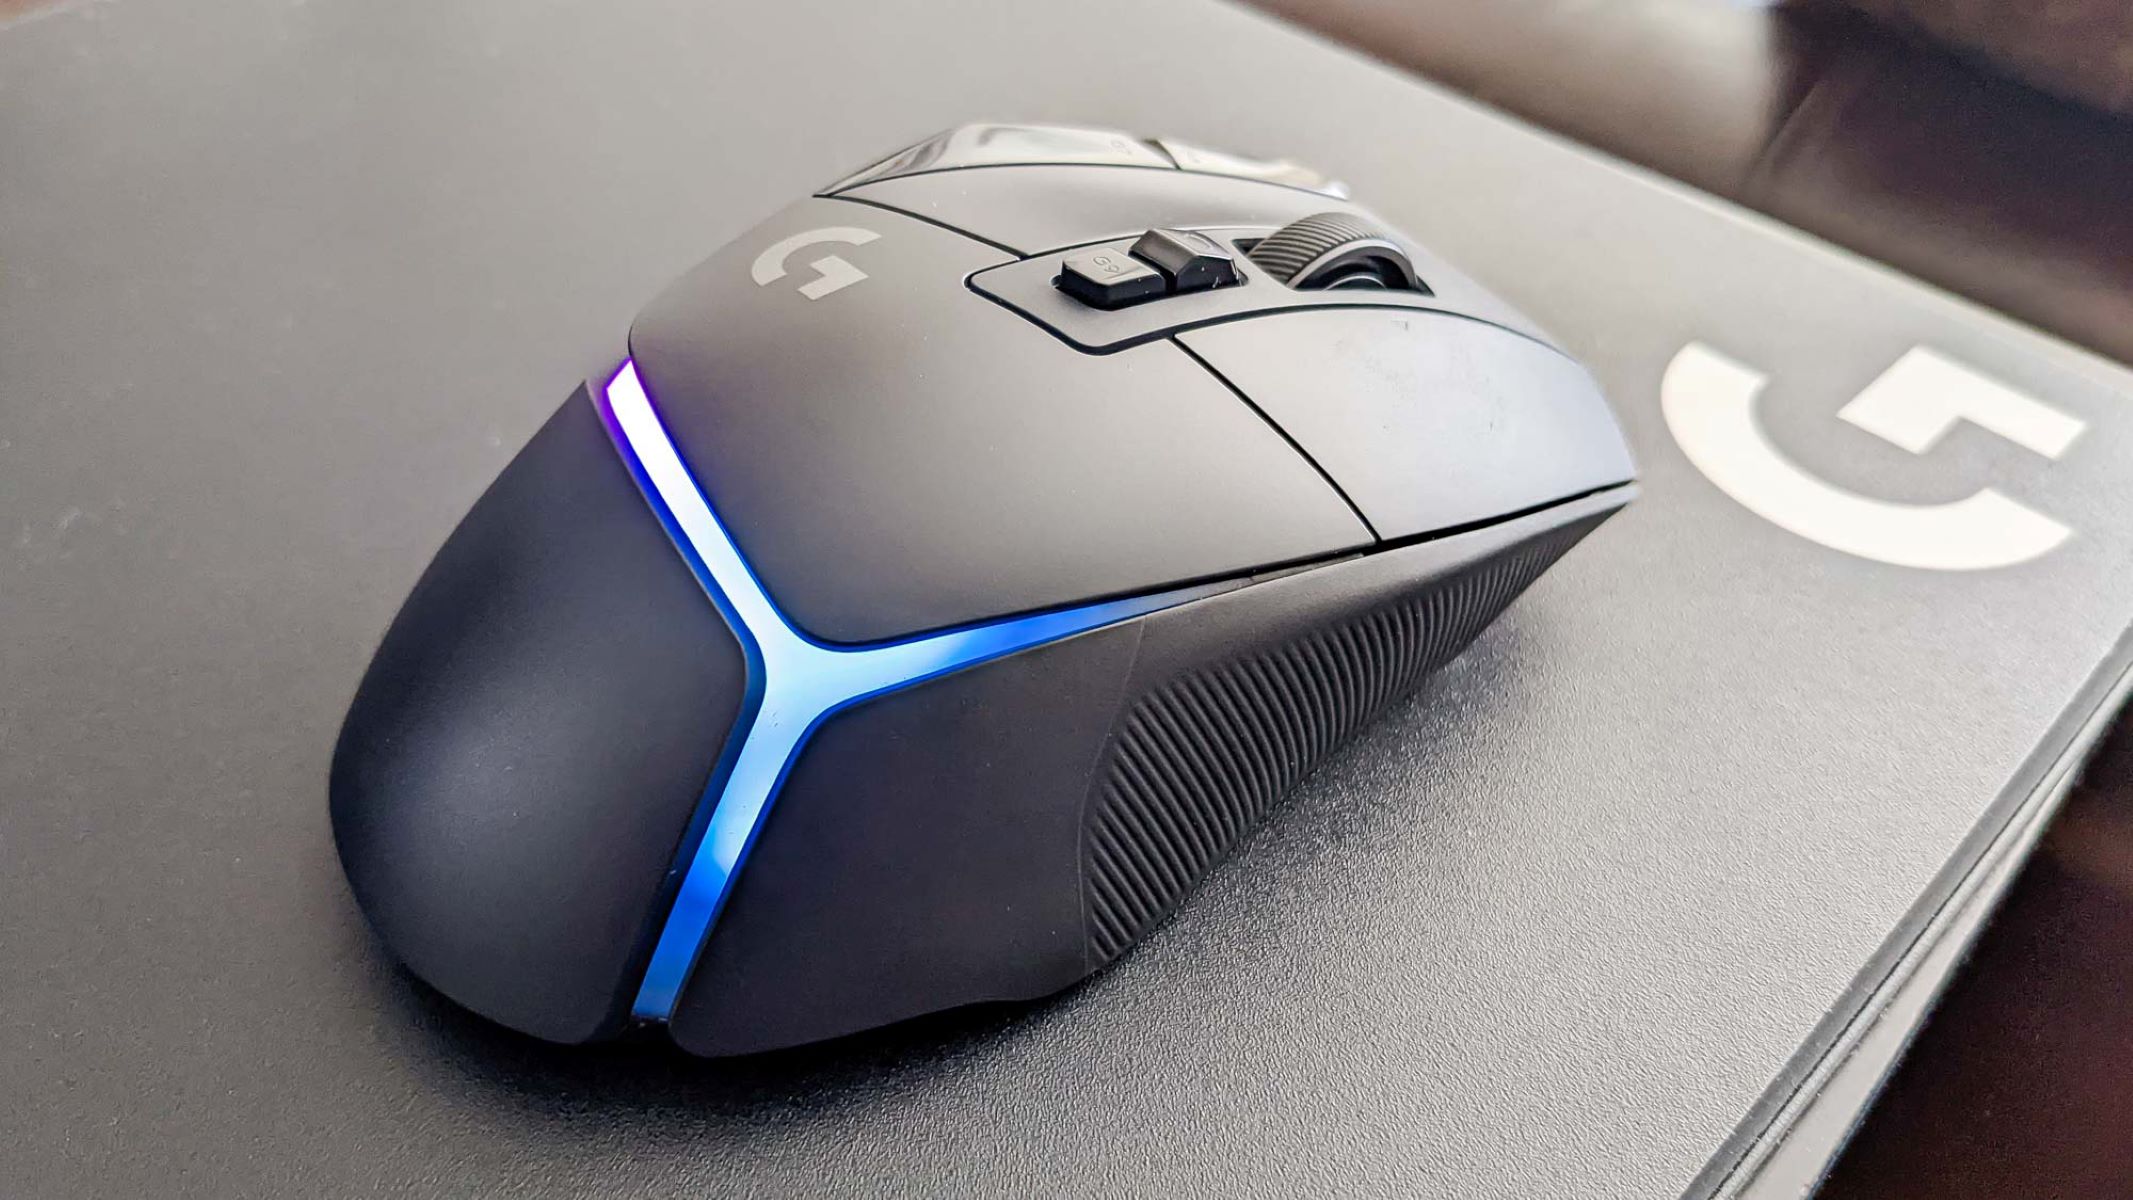
Many Azzor gaming mice are equipped with LED indicators that convey the charging status in a clear and intuitive manner. These indicators may change color, blink, or remain steady to communicate different stages of the charging process. Familiarize yourself with the specific LED patterns or colors associated with charging, as this will enable you to interpret the status accurately.
During the charging process, observe the behavior of the LED indicators and take note of any deviations from the expected charging status. If the LED indicators do not illuminate as anticipated or exhibit unusual patterns, it may indicate a potential issue with the charging connection or the device’s battery. In such cases, it is advisable to disconnect the charging cable and reassess the connection before resuming the charging process.
While monitoring the charging status, it’s also beneficial to periodically check the temperature of the gaming mouse. Azzor gaming mice are designed to maintain a comfortable temperature during charging, and excessive heat may indicate a malfunction or an incompatible charging setup. If the gaming mouse becomes unusually warm during charging, it is advisable to disconnect it from the power source and allow it to cool before resuming the charging process.
By actively monitoring the charging status and responding to any irregularities, you can ensure that your Azzor gaming mouse undergoes a smooth and efficient charging cycle, maintaining its performance and reliability for your gaming endeavors.
Step 5: Disconnect the Cable When Fully Charged
Once your Azzor gaming mouse has completed the charging cycle and its battery is fully replenished, it is essential to disconnect the charging cable to prevent overcharging and maintain the optimal performance of the device. Knowing when to disconnect the cable ensures that your gaming mouse remains in peak condition and ready for your next gaming session.
One of the most reliable indicators of a fully charged Azzor gaming mouse is the behavior of the LED indicators. Many Azzor gaming mice feature LED indicators that change color or exhibit a steady glow when the battery is fully charged. Familiarize yourself with the specific LED patterns associated with a fully charged status to confidently identify when the charging process is complete.
Upon recognizing that the gaming mouse is fully charged, gently disconnect the charging cable from both the power source and the device. When disconnecting the cable, exercise care to avoid applying excessive force or causing damage to the charging port. A smooth and deliberate disconnection ensures that the charging port and the cable remain in optimal condition for future charging cycles.
After disconnecting the cable, take a moment to inspect the charging port and the cable connectors for any signs of wear or damage. Maintaining these components in good condition contributes to the longevity and reliability of the charging process, ensuring that your Azzor gaming mouse consistently receives effective and safe charging.
By promptly disconnecting the cable when your Azzor gaming mouse reaches a full charge, you are actively preserving the battery’s health and the overall performance of the device, setting the stage for uninterrupted gaming experiences and continued excellence in your virtual endeavors.
Conclusion
Congratulations! You’ve successfully navigated the essential steps to charge your Azzor gaming mouse, ensuring that it remains powered up and ready to enhance your gaming adventures. By following the straightforward process outlined in this guide, you’ve gained the knowledge and confidence to maintain your gaming mouse’s battery at optimal levels, setting the stage for uninterrupted gaming excellence.
Charging your Azzor gaming mouse is a fundamental aspect of caring for your gaming peripherals, and your commitment to understanding and executing the charging process demonstrates your dedication to maximizing your gaming experience. By locating the charging port, utilizing the provided charging cable, connecting to a reliable power source, monitoring the charging status, and disconnecting the cable when fully charged, you’ve embraced the responsibility of maintaining the performance and longevity of your Azzor gaming mouse.
As you continue to embark on thrilling gaming journeys, remember that a charged Azzor gaming mouse is your steadfast companion, empowering you to unleash your skills and immerse yourself in captivating virtual realms. Your proactive approach to charging your gaming mouse reflects your commitment to seamless gaming experiences and the pursuit of gaming excellence.
With the knowledge and insights gained from this guide, you are well-equipped to integrate efficient charging practices into your gaming routine, ensuring that your Azzor gaming mouse remains a reliable and high-performing asset in your gaming arsenal. Embrace the power of a fully charged Azzor gaming mouse, and let your gaming prowess shine in every virtual conquest.