Introduction
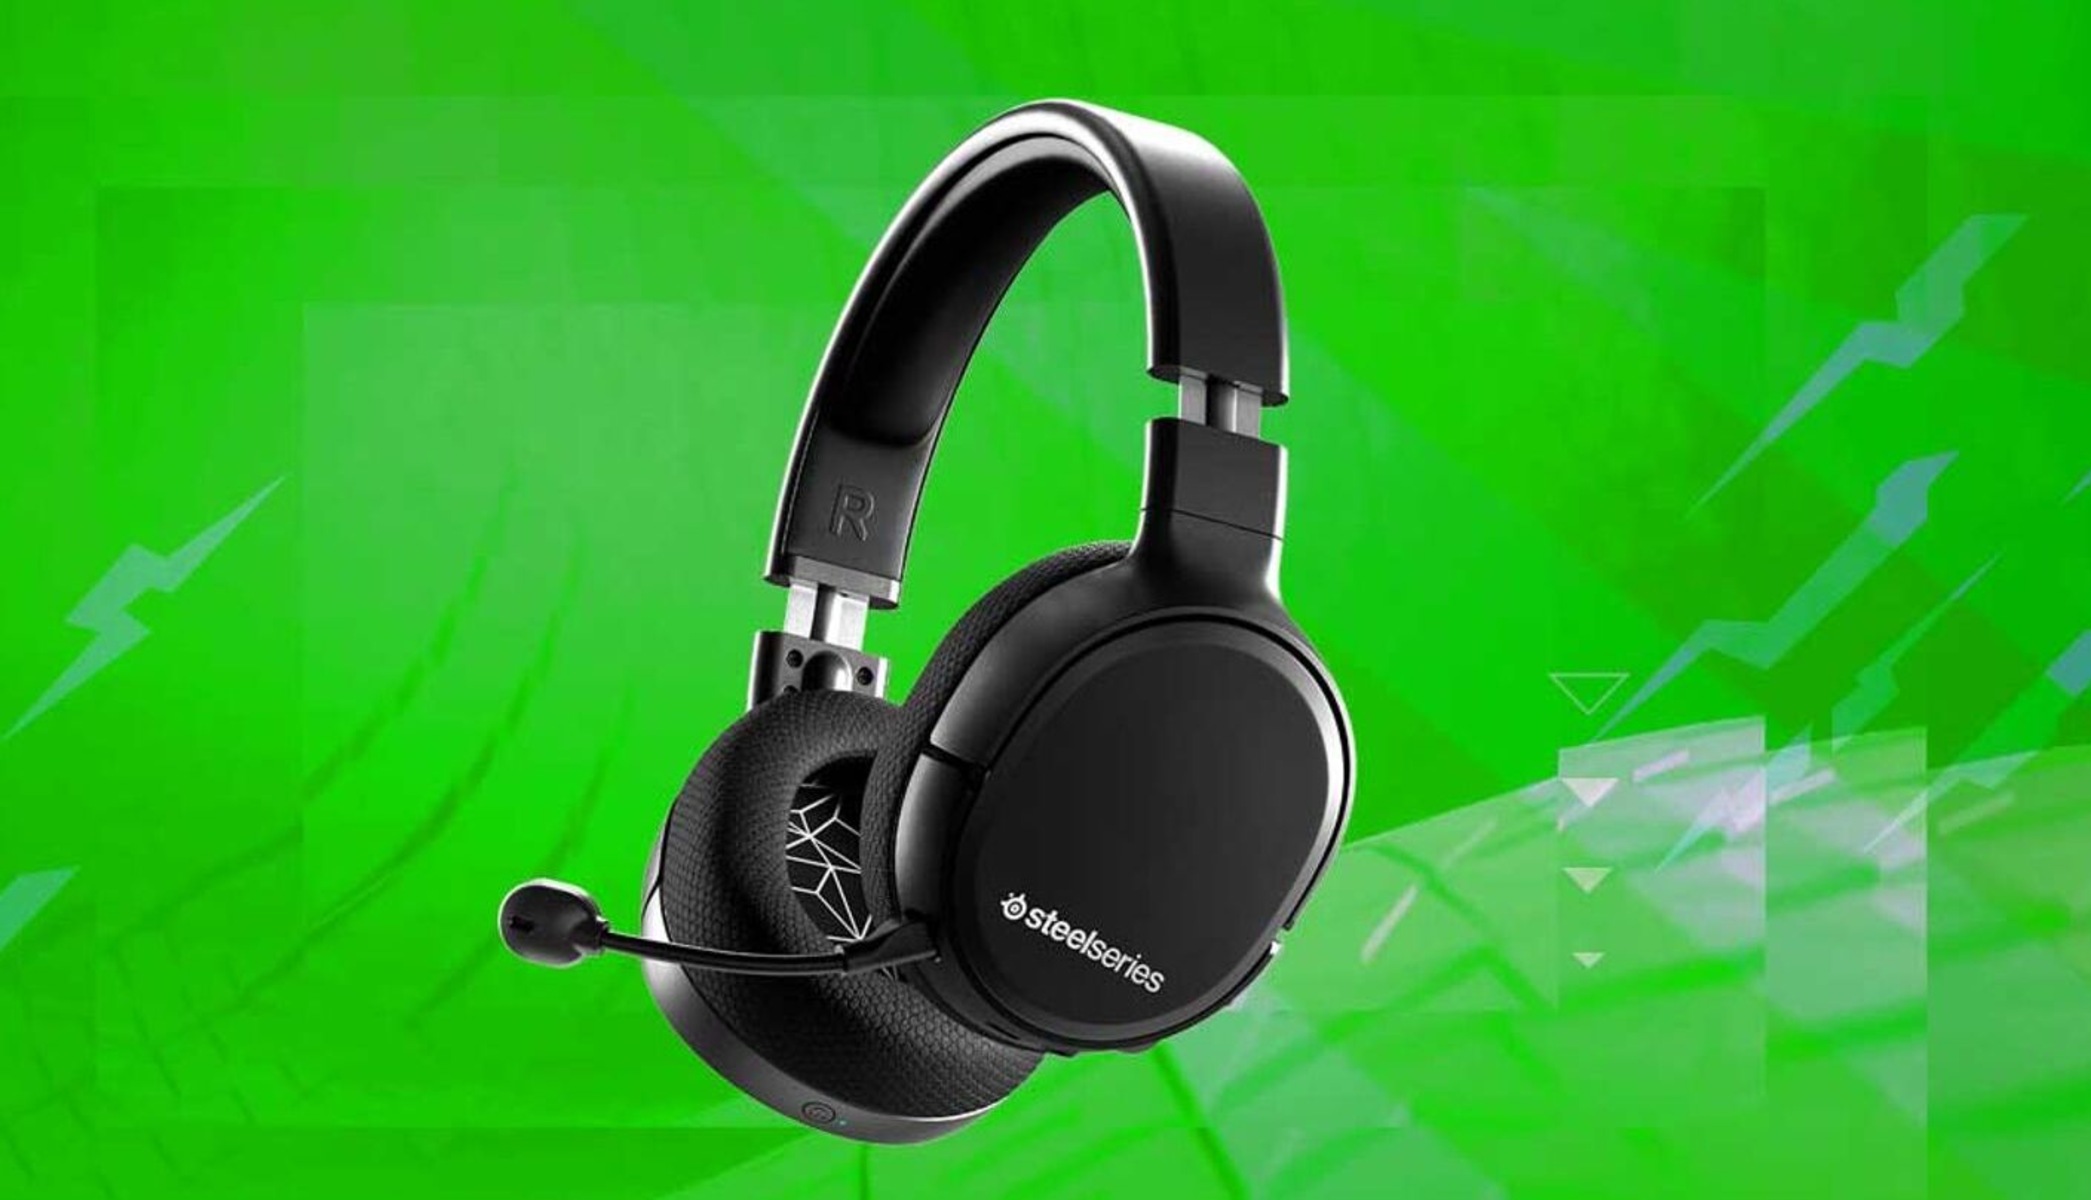
Are you ready to elevate your gaming experience on Xbox One? A gaming headset can transport you into the heart of the action, allowing you to hear every footstep, explosion, and whisper with crystal clarity. Whether you're diving into a multiplayer battle, immersing yourself in a captivating story, or simply chatting with friends, a high-quality gaming headset can make all the difference.
In this comprehensive guide, you'll learn how to set up your gaming headset on the Xbox One, unlocking the full potential of your gaming audio. By following these simple steps, you can seamlessly integrate your headset with your console, ensuring that you're ready to dive into your favorite games with immersive sound and clear communication.
So, grab your gaming headset, power up your Xbox One, and let's embark on this journey to optimize your gaming experience. Whether you're a seasoned gamer or new to the world of gaming headsets, this guide will equip you with the knowledge and confidence to set up your headset like a pro. Let's dive in and unleash the full power of your gaming audio setup.
Step 1: Check Compatibility
Before diving into the setup process, it’s crucial to ensure that your gaming headset is compatible with the Xbox One. Compatibility issues can lead to frustration and may hinder the overall gaming experience. To verify compatibility, consider the following factors:
- Headset Model: Check the specifications of your gaming headset to confirm that it is designed for use with the Xbox One. Some headsets are specifically tailored for certain gaming consoles, so it’s essential to verify compatibility before proceeding.
- Connection Type: Determine the connection type required for the headset. Many gaming headsets for Xbox One utilize a 3.5mm audio jack for connectivity, while others may require an adapter or proprietary connection. Ensure that your headset’s connection type aligns with the available ports on your controller or console.
- Adapter Requirement: If your headset utilizes a different connection type than the standard 3.5mm audio jack, such as USB or optical audio, check if an adapter is necessary to facilitate compatibility with the Xbox One. Some headsets come with specific adapters, while others may require separate purchases.
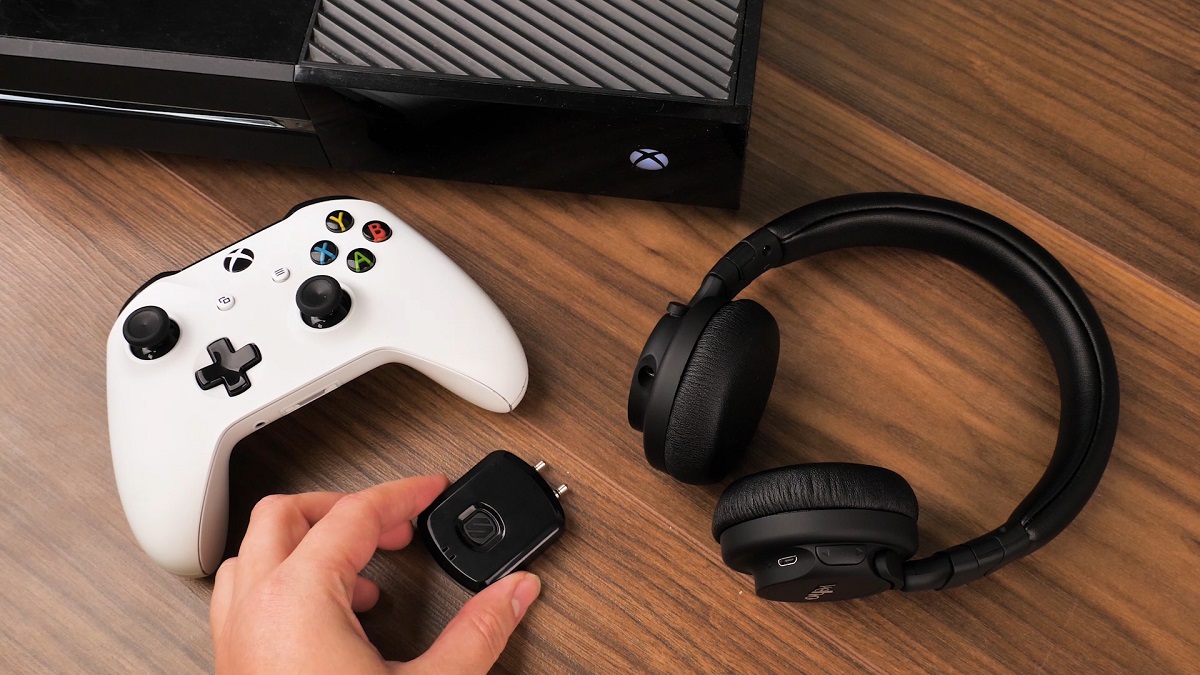
- Wireless Compatibility: For wireless headsets, confirm that the model is compatible with the Xbox One’s wireless connectivity standards. Additionally, check if any specific wireless dongles or receiver units are needed to establish a wireless connection with the console.
By thoroughly assessing these compatibility factors, you can preemptively address any potential hurdles and ensure a seamless setup process. If your headset meets the compatibility requirements, you’re ready to proceed to the next step and connect it to your Xbox One controller.
Step 2: Connect the Headset to the Controller
Now that you’ve confirmed the compatibility of your gaming headset with the Xbox One, it’s time to establish the physical connection between the headset and your controller. Follow these straightforward steps to seamlessly connect your headset:
- Controller Preparation: Ensure that your Xbox One controller is powered on and ready for the setup process. If the controller is low on battery, consider charging it to avoid interruptions during the setup.
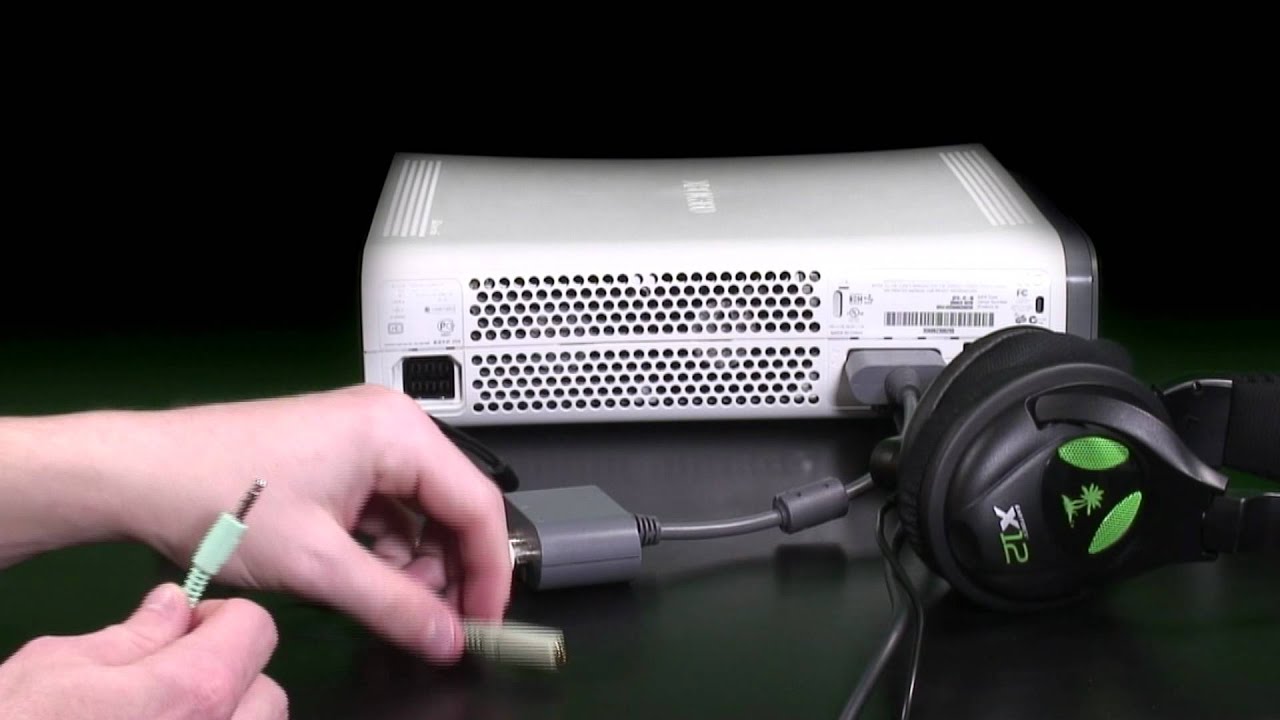
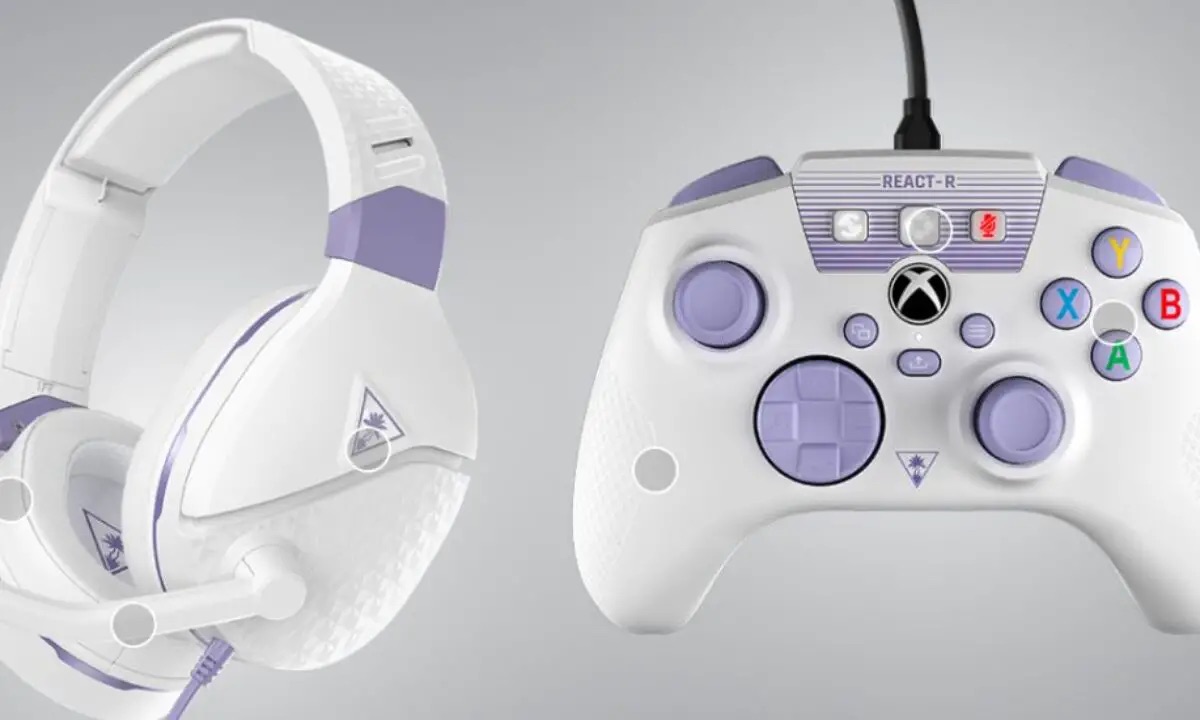
- Locate the 3.5mm Jack: Identify the 3.5mm audio jack on your Xbox One controller. This is the port where you’ll plug in the audio cable of your gaming headset.
- Insert the Audio Cable: Take the audio cable attached to your gaming headset and gently plug it into the 3.5mm audio jack on the controller. Apply steady pressure to ensure a secure connection without forcing the plug.
- Adjust Cable Slack: Once the cable is connected, manage any excess slack to prevent it from getting tangled or interfering with your gaming experience. Tucking the cable along the controller’s contours can help maintain a tidy setup.
- Verify Connection: After connecting the headset, verify that the audio output is routed through the headset. You can do this by accessing the Xbox One’s audio settings and ensuring that the headset is recognized as the primary audio output device.
By following these steps, you can establish a reliable physical connection between your gaming headset and the Xbox One controller, paving the way for immersive audio and seamless communication during your gaming sessions. With the headset successfully connected, it’s time to fine-tune the audio settings to optimize your gaming experience.
Step 3: Adjust Audio Settings
Optimizing the audio settings on your Xbox One is essential to ensure that your gaming headset delivers the best possible sound quality and communication clarity. By fine-tuning the audio settings, you can customize the audio output to suit your preferences and gaming environment. Follow these steps to adjust the audio settings:
- Access the Settings Menu: Navigate to the settings menu on your Xbox One console. This can typically be found in the system’s main menu or dashboard.
- Select Audio Settings: Within the settings menu, locate the audio or sound settings. These options allow you to customize various aspects of the audio output, including volume levels, chat settings, and spatial audio features.
- Adjust Volume Levels: Fine-tune the volume levels to achieve a comfortable and immersive audio experience. Many gaming headsets offer independent volume controls for game audio and chat communication, allowing you to balance the sound according to your preferences.
- Configure Chat Settings: If your gaming headset features a microphone for in-game communication, ensure that the chat settings are configured optimally. You can adjust microphone sensitivity, voice monitoring, and chat mixer settings to enhance communication clarity during multiplayer gaming sessions.
- Explore Spatial Audio Options: Take advantage of any spatial audio features offered by your gaming headset and the Xbox One console. Spatial audio technologies, such as surround sound or 3D audio, can significantly enhance the immersion and positional awareness in games that support these audio formats.
- Test Audio Output: After adjusting the settings, test the audio output using a game or multimedia content. This allows you to verify that the audio settings are optimized for your gaming headset, ensuring an immersive and balanced audio experience.
By customizing the audio settings to align with your gaming preferences, you can unlock the full potential of your gaming headset and immerse yourself in captivating audio landscapes while maintaining clear communication with fellow gamers. With the audio settings finely tuned, it’s time to put your headset to the test and ensure that everything is working seamlessly.
Step 4: Test the Headset
Before embarking on your gaming adventures, it’s crucial to test your gaming headset to ensure that all audio and communication features are functioning as intended. By conducting a thorough test, you can identify any potential issues and make any necessary adjustments. Follow these steps to test your headset:
- Audio Playback Test: Launch a game or multimedia content on your Xbox One console to experience the audio output through your gaming headset. Pay attention to the sound quality, positional audio, and overall immersion provided by the headset.
- Microphone Test: If your gaming headset includes a microphone for in-game communication, engage in a test conversation with friends or utilize the console’s built-in microphone testing features. Verify that your voice is clear and that the microphone functions reliably without distortion or background noise.
- Communication Check: If you plan to engage in multiplayer gaming, test the communication features of your headset by joining a party or online game lobby. Ensure that you can hear other players clearly and that your voice is transmitted effectively during conversations.
- Comfort Assessment: Evaluate the comfort and fit of the headset during extended use. Assess the weight, ear cushioning, and headband adjustment to ensure that the headset remains comfortable during prolonged gaming sessions.
- Positional Awareness: Engage in gameplay that emphasizes positional audio cues, such as first-person shooters or immersive open-world titles. Pay attention to how the headset conveys spatial awareness and environmental sounds, enhancing your overall gaming experience.
By thoroughly testing your gaming headset, you can address any potential issues and fine-tune the settings to optimize your gaming audio and communication experience. Once you’re satisfied with the performance of your headset, you’re ready to dive into your favorite games with enhanced audio immersion and seamless communication.
Conclusion
Congratulations! You’ve successfully navigated the process of setting up your gaming headset on the Xbox One, unlocking a new realm of immersive audio and seamless communication for your gaming endeavors. By following the steps outlined in this guide, you’ve empowered yourself to harness the full potential of your gaming headset and elevate your gaming experience to new heights.
With a keen eye on compatibility, you ensured that your gaming headset seamlessly integrates with the Xbox One, laying the foundation for a reliable and immersive audio setup. By connecting the headset to the controller, adjusting the audio settings, and conducting thorough testing, you’ve fine-tuned every aspect of the setup to align with your preferences and gaming environment.
As you embark on your gaming adventures, the meticulously configured audio settings and the comfort of your headset will enhance your immersion in captivating game worlds, allowing you to hear every detail with precision and clarity. Whether you’re engaging in intense multiplayer battles, exploring vast virtual landscapes, or communicating with fellow gamers, your gaming headset is now a vital ally in your gaming arsenal.
Remember to periodically revisit the audio settings to fine-tune them based on different gaming experiences and genres. Additionally, stay informed about firmware updates or new features for your headset to continually optimize its performance and capabilities.
Armed with your newly set up gaming headset, you’re poised to embrace the dynamic audio landscapes of your favorite games, communicate effectively with friends and teammates, and immerse yourself in the rich tapestry of gaming audio. Your journey to set up your gaming headset on the Xbox One has equipped you with the knowledge and confidence to maximize your gaming audio experience. Now, venture forth and let the power of immersive gaming audio transport you to new realms of excitement and adventure.