Introduction
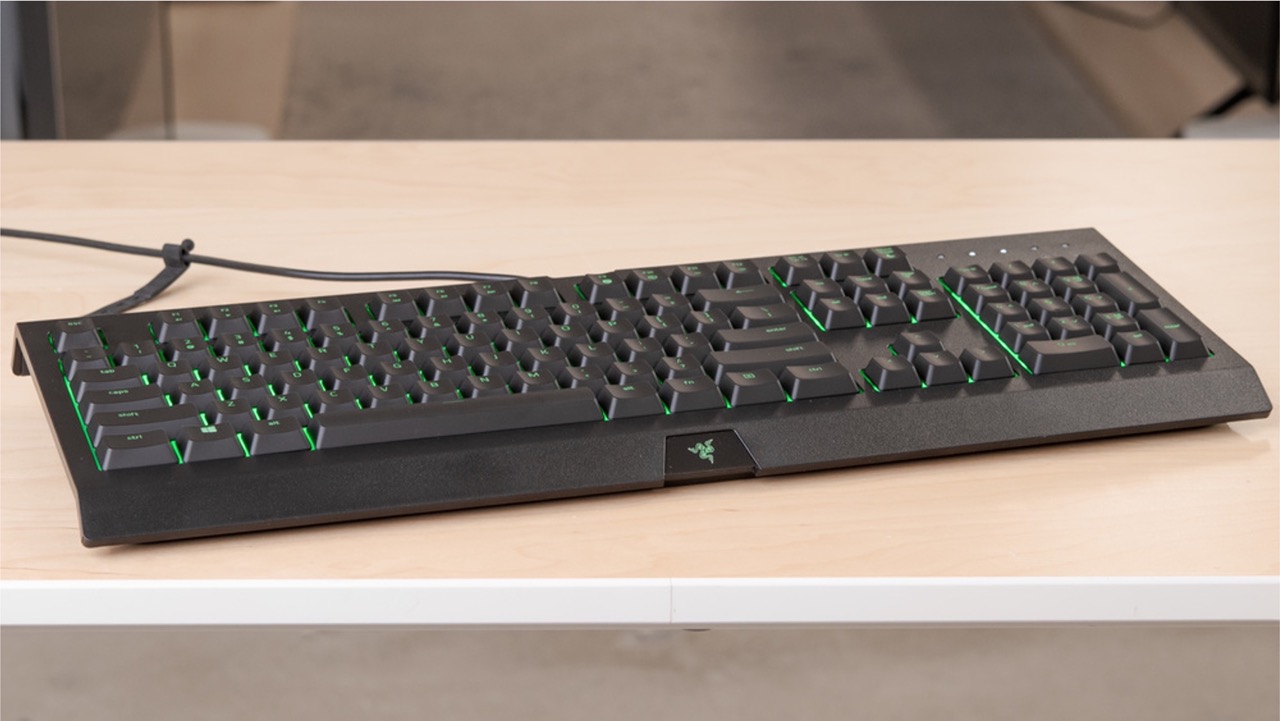
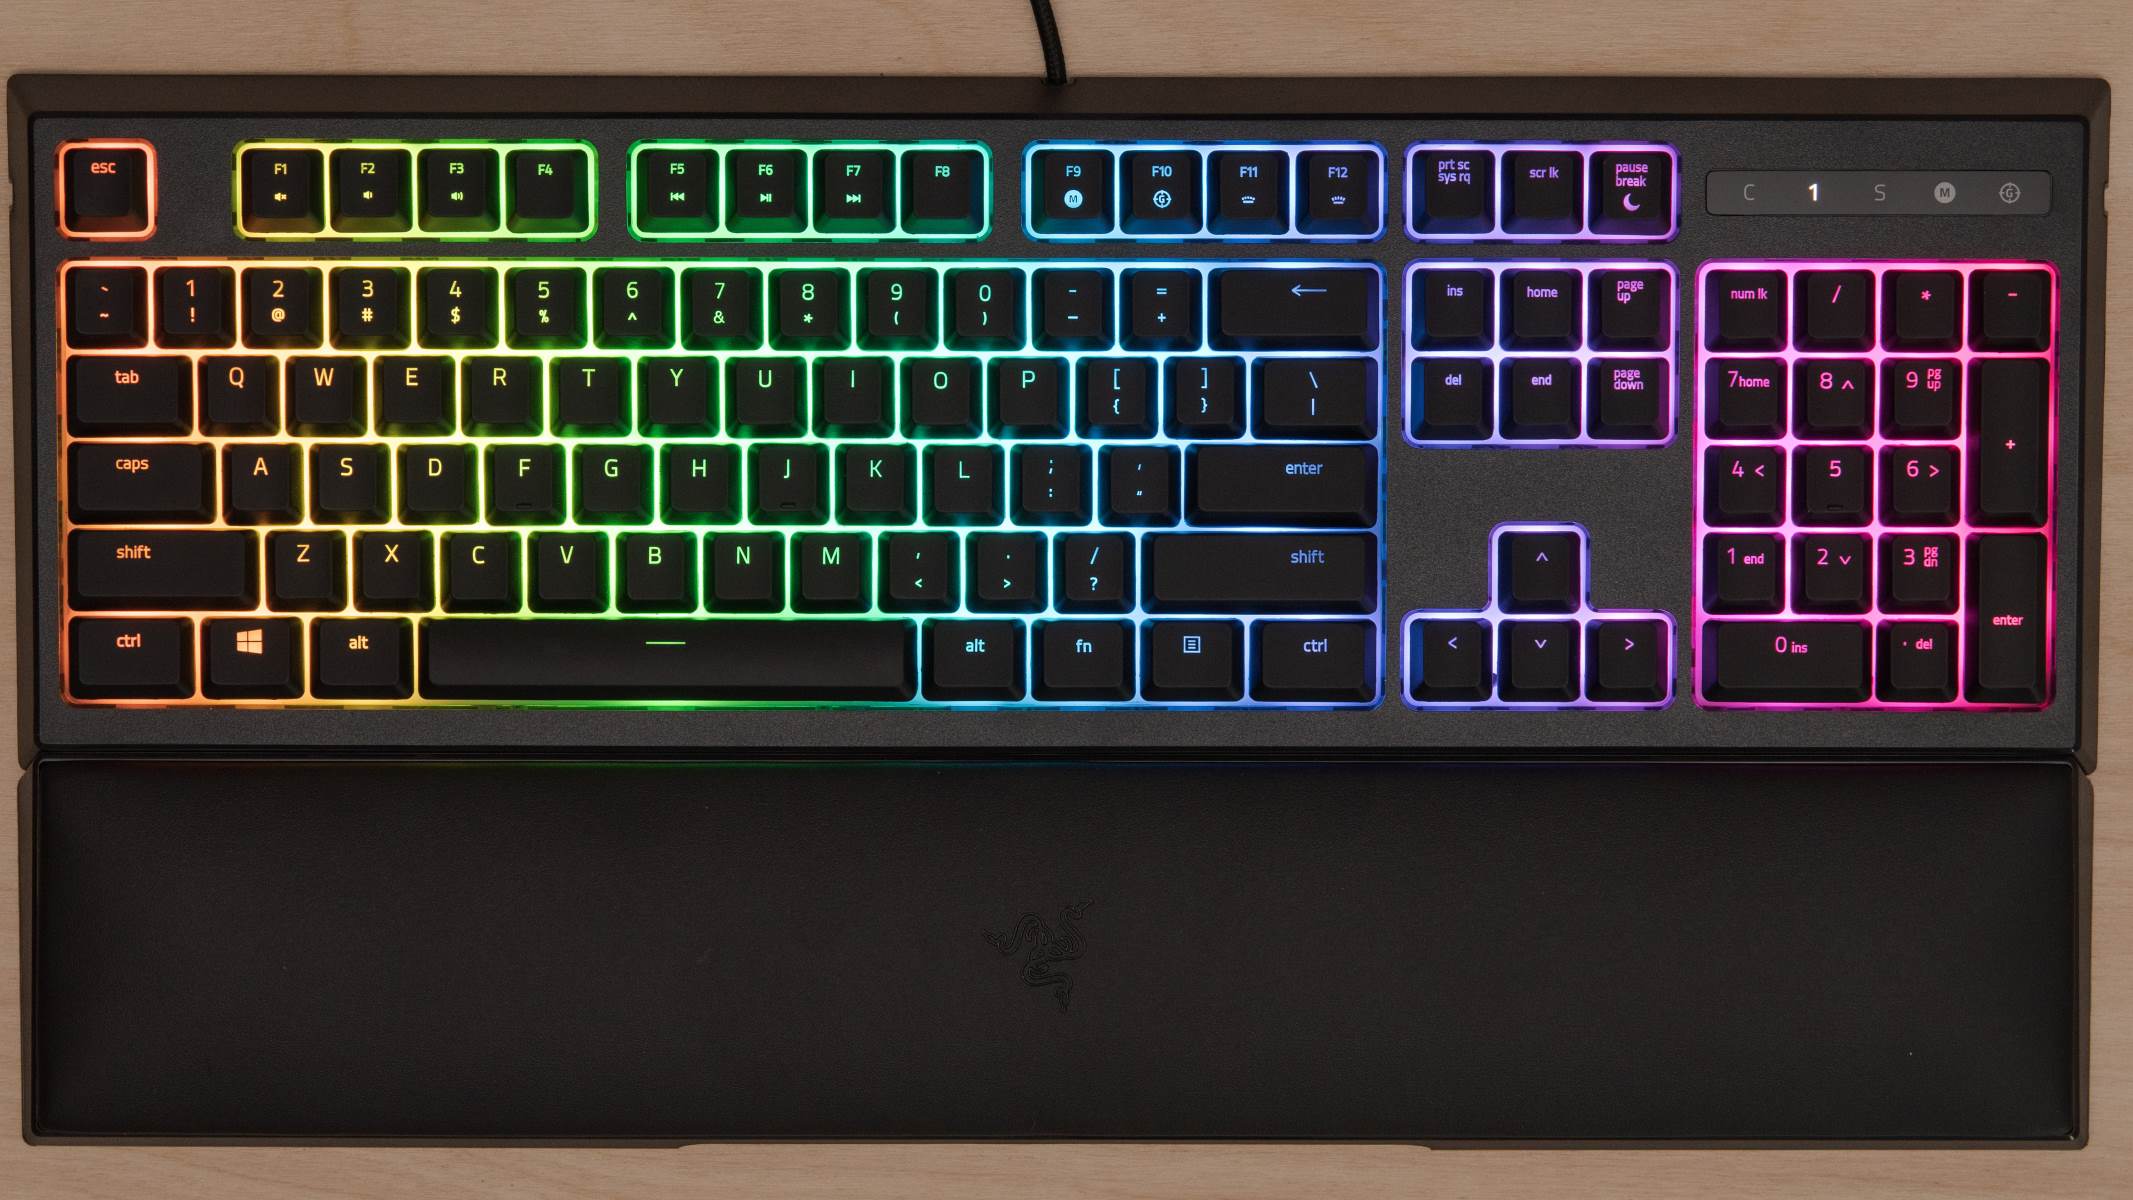
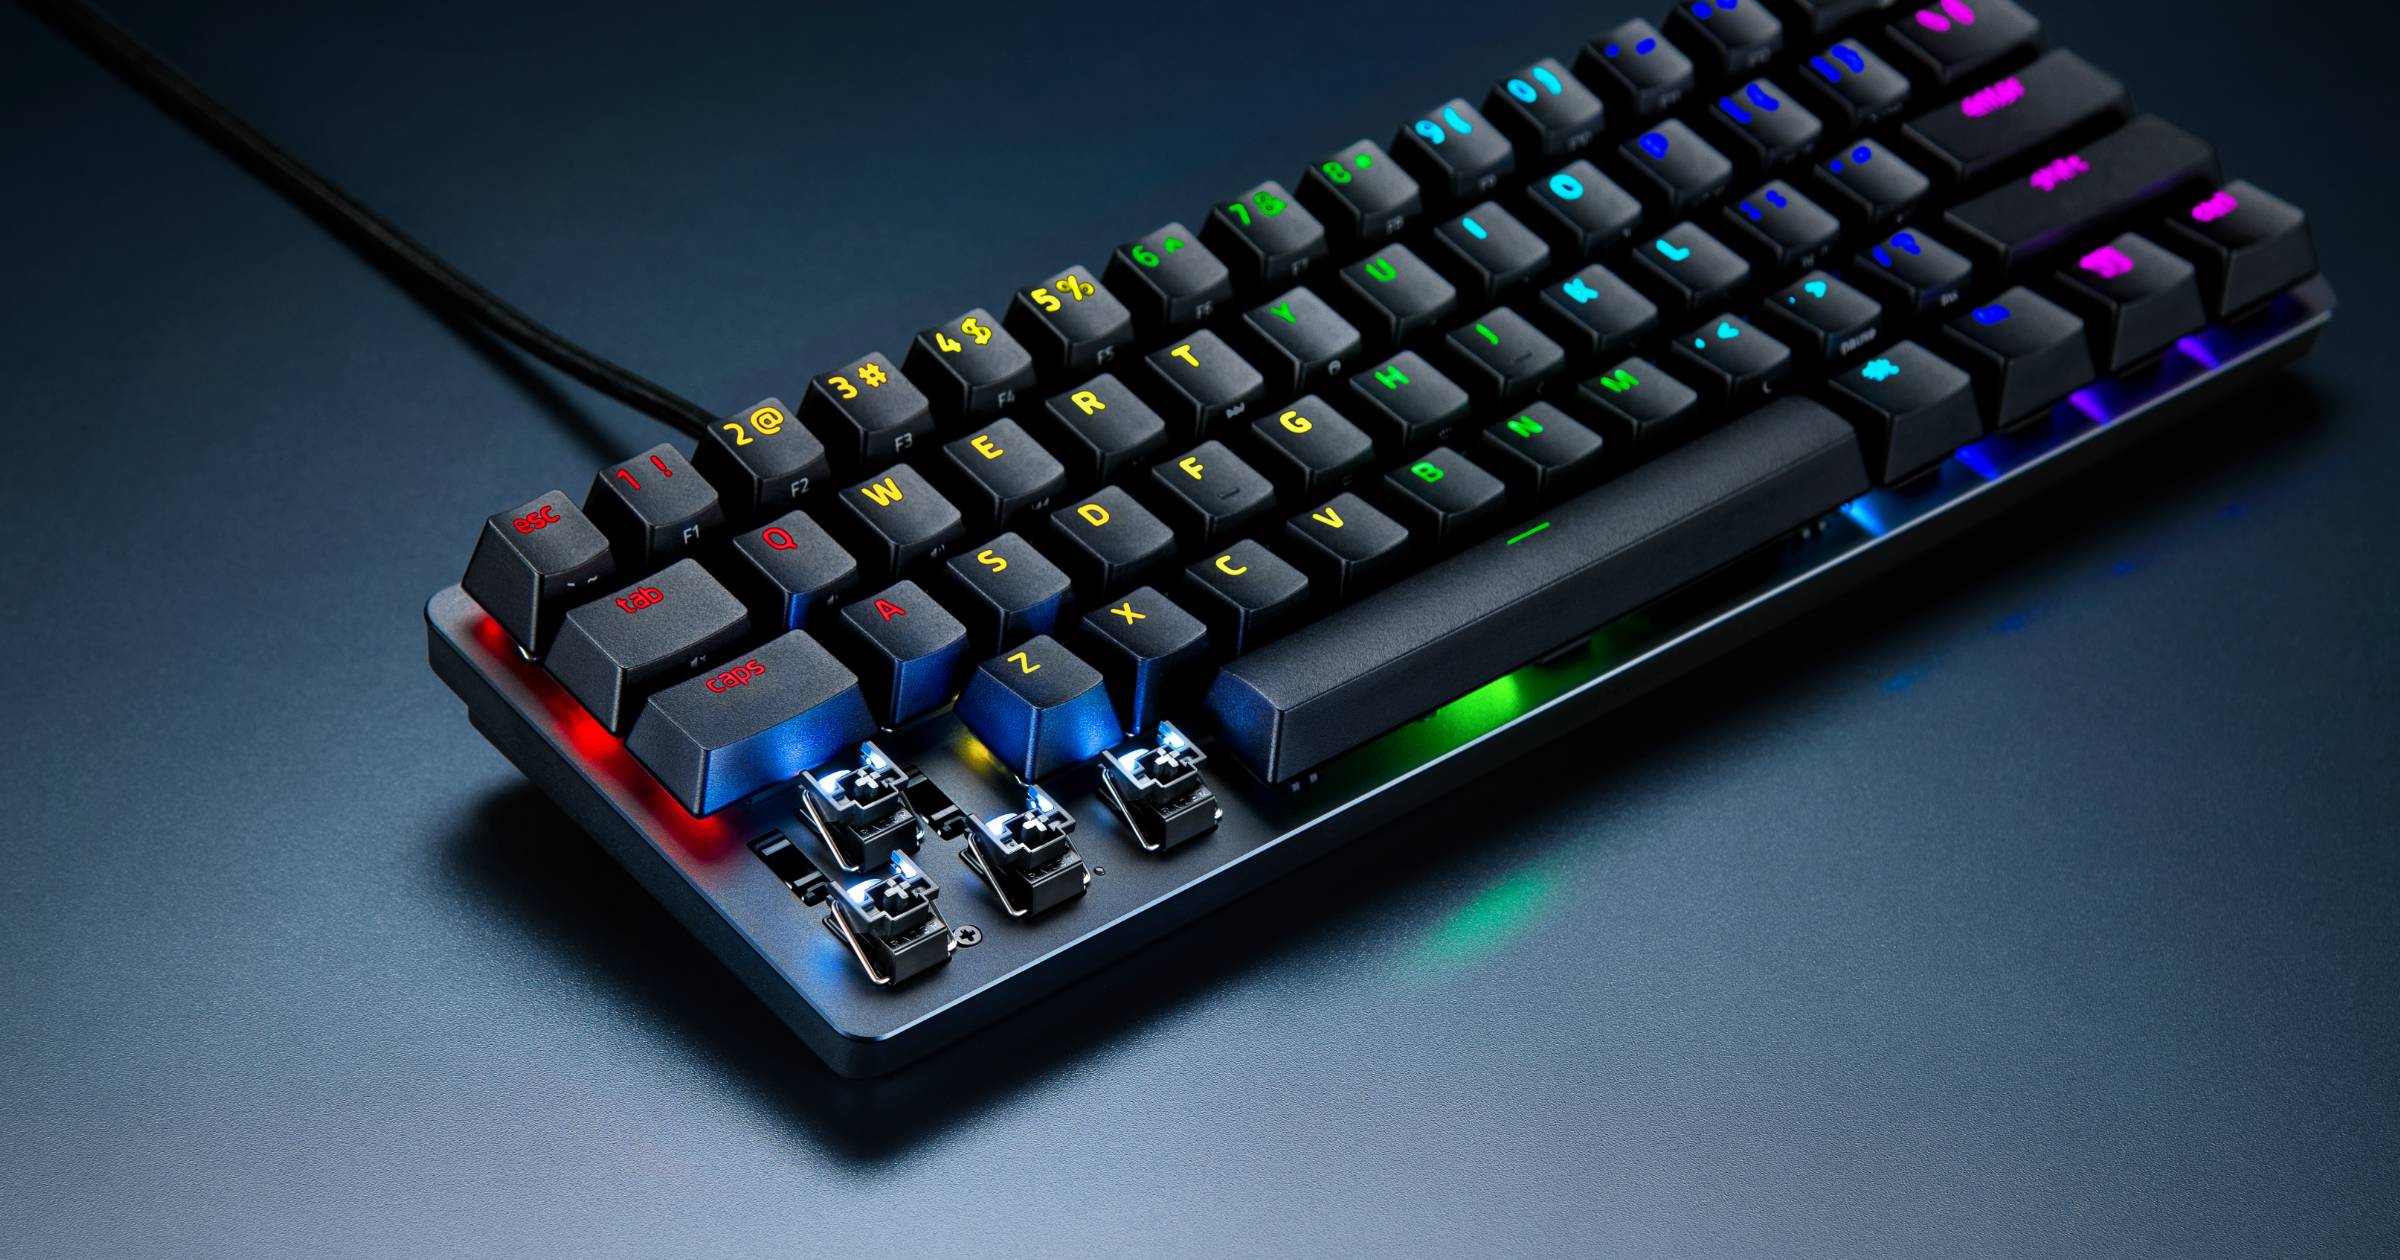
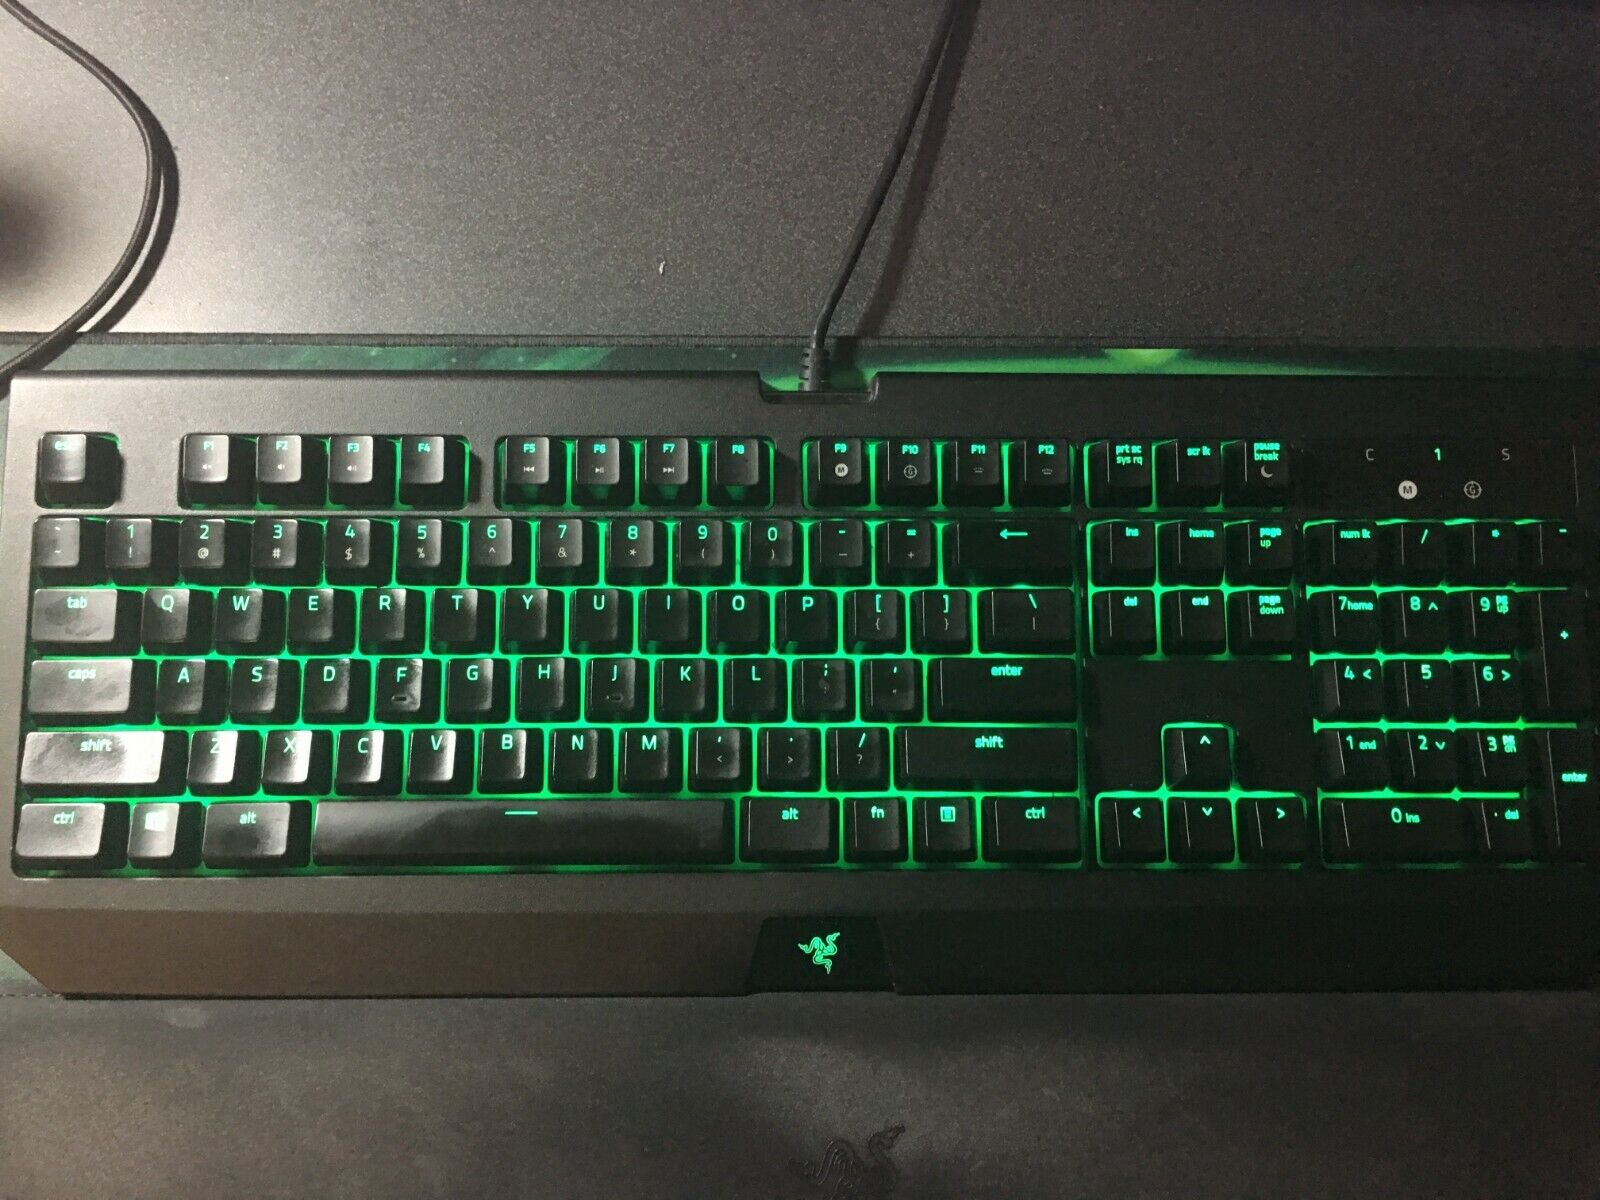
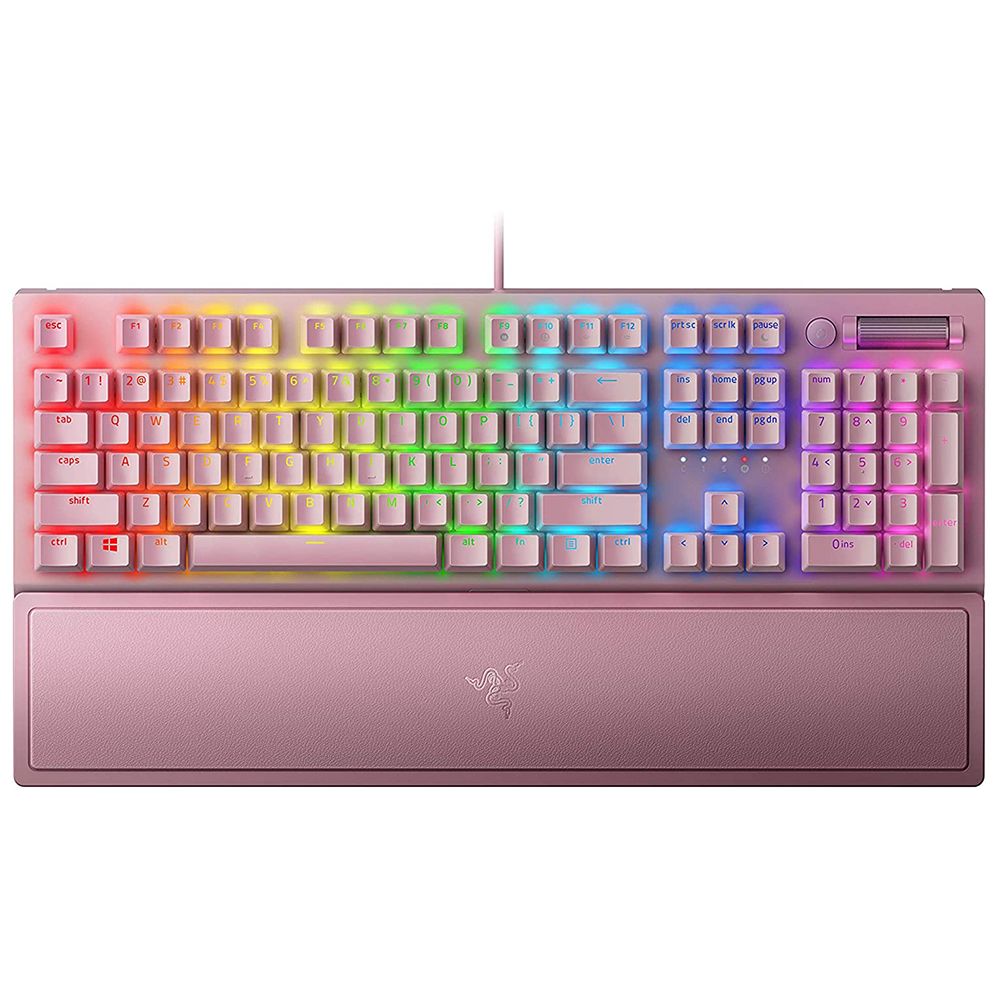
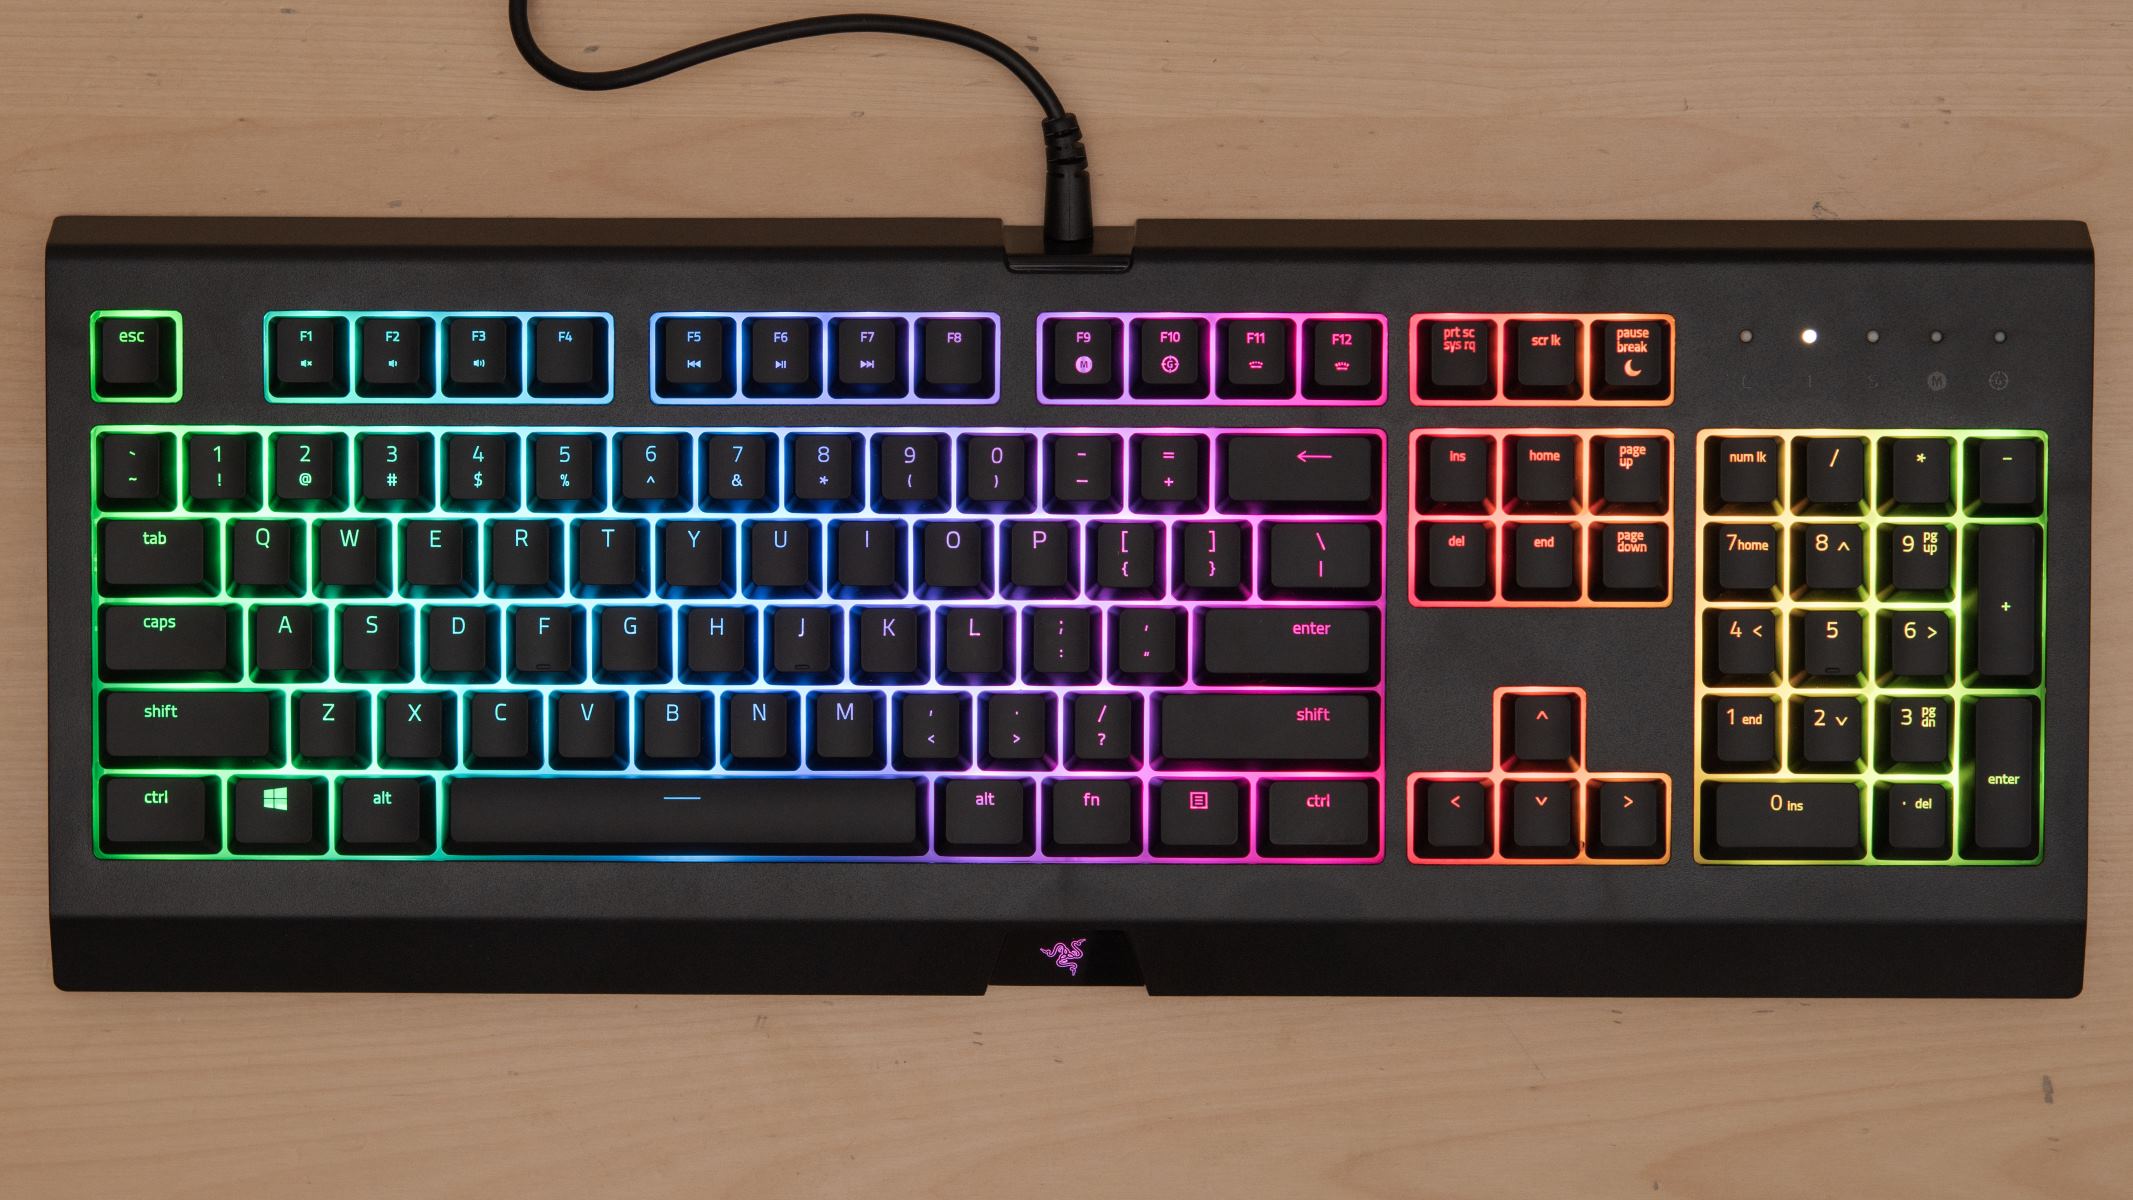
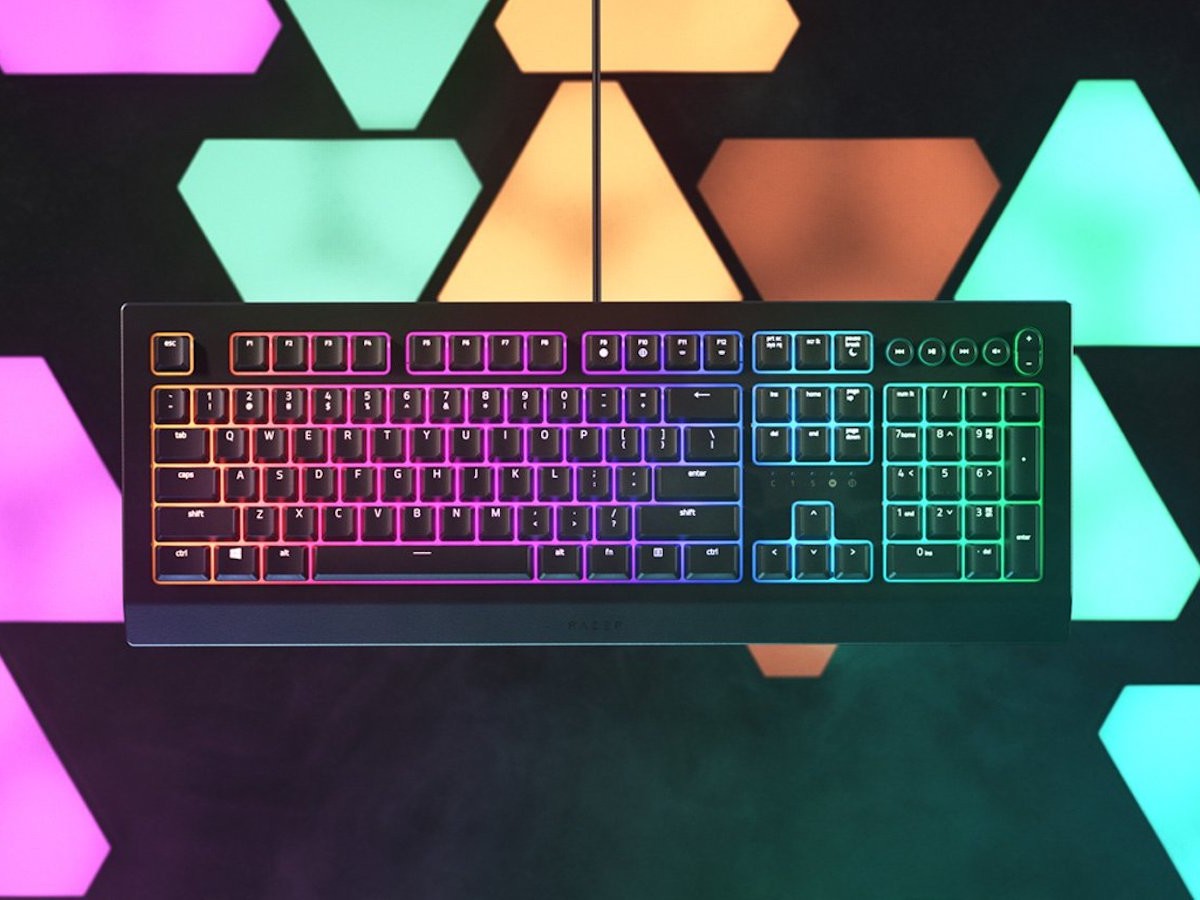
Are you ready to elevate your gaming experience with a personalized touch? The Razer Cynosa gaming keyboard allows you to customize the color of its backlighting, adding a vibrant and dynamic element to your gaming setup. Whether you prefer a soothing blue, an energizing red, or a mesmerizing rainbow effect, the Razer Cynosa's Chroma RGB lighting system offers a spectrum of possibilities to match your mood or gaming environment.
In this guide, you will learn how to change the color of your Razer Cynosa gaming keyboard with ease. By following the step-by-step instructions, you can unleash your creativity and transform your gaming space into a visually stunning arena. From gathering the necessary materials to customizing the color effects, this comprehensive tutorial will empower you to make the most of your Razer Cynosa keyboard's customizable features.
So, grab your Razer Cynosa, prepare your gaming station, and let's embark on a colorful journey to personalize your gaming experience. Get ready to immerse yourself in a world of vibrant hues and dynamic lighting effects as you unlock the full potential of your Razer Cynosa gaming keyboard. Let's dive in and illuminate your gaming realm with the perfect color palette!
Step 1: Gather the Necessary Materials
Before diving into the colorful realm of customizing your Razer Cynosa gaming keyboard, it’s essential to gather the required materials to ensure a seamless and enjoyable process. Here’s what you’ll need:
- Razer Cynosa Gaming Keyboard: This is the centerpiece of your customization journey. Ensure that your Razer Cynosa keyboard is connected to your computer and ready for the next steps.
- Computer or Laptop: You’ll need a computer or laptop to install the necessary software and customize the color effects of your Razer Cynosa keyboard.
- Internet Connection: A stable internet connection is essential to download and install the Razer Synapse software, which enables you to personalize your keyboard’s lighting.
- Razer Synapse Software: This software serves as the control center for customizing your Razer Cynosa keyboard’s lighting effects. Ensure that you have the latest version of Razer Synapse installed on your computer.
Once you have these materials ready, you’ll be fully equipped to embark on the exciting journey of transforming your Razer Cynosa gaming keyboard into a visual masterpiece. With these essentials at your disposal, you’re just a few steps away from immersing yourself in a world of captivating colors and dynamic lighting effects.
Step 2: Install Razer Synapse
Before you can unleash the full potential of your Razer Cynosa gaming keyboard’s customizable lighting, you need to install the Razer Synapse software. This powerful tool serves as the gateway to a myriad of customization options, allowing you to personalize your keyboard’s lighting effects with ease. Follow these steps to install Razer Synapse:
- Download Razer Synapse: Visit the official Razer website or the Razer Synapse download page to acquire the latest version of the software. Ensure that you download it from a trusted source to guarantee a secure installation.
- Run the Installer: Once the download is complete, run the installer file to initiate the installation process. Follow the on-screen prompts to proceed with the installation.
- Complete the Installation: After following the installation prompts, Razer Synapse will be successfully installed on your computer, ready to be launched for the next steps.
After installing Razer Synapse, you’re one step closer to unlocking the full spectrum of customizable lighting effects for your Razer Cynosa gaming keyboard. This intuitive software will serve as your control center, empowering you to create captivating lighting displays that resonate with your gaming style and preferences. With Razer Synapse installed, you’re poised to take the next exciting steps in customizing your gaming experience.
Step 3: Open Razer Synapse and Connect Your Keyboard
Now that you have Razer Synapse installed on your computer, it’s time to open the software and establish a connection with your Razer Cynosa gaming keyboard. Follow these straightforward steps to launch Razer Synapse and ensure that your keyboard is seamlessly integrated:
- Launch Razer Synapse: Locate the Razer Synapse icon on your desktop or in the designated installation folder. Double-click the icon to open the software and access its suite of customization options.
- Connect Your Razer Cynosa Keyboard: If your Razer Cynosa keyboard is not already connected to your computer, proceed to connect it via the appropriate USB port. Ensure a secure connection to enable seamless communication between the keyboard and Razer Synapse.
- Automatic Recognition: Upon connecting your Razer Cynosa keyboard, Razer Synapse should automatically detect and recognize the device. You should see your keyboard displayed within the software’s interface, indicating a successful connection.
With Razer Synapse launched and your Razer Cynosa keyboard seamlessly integrated, you’re now ready to delve into the vibrant world of customizable lighting effects. The successful connection between Razer Synapse and your keyboard sets the stage for the exciting customization process that awaits. Get ready to infuse your gaming environment with a captivating array of colors and dynamic lighting displays as you proceed to the next steps.
Step 4: Navigate to the “Chroma Studio” Tab
Once your Razer Cynosa gaming keyboard is connected and recognized by Razer Synapse, it’s time to explore the “Chroma Studio” tab, where the magic of color customization unfolds. Follow these steps to navigate to the “Chroma Studio” and prepare to unleash a spectrum of vibrant lighting effects:
- Access Razer Synapse: If Razer Synapse is not already open, launch the software by double-clicking its icon on your desktop or accessing it from the designated installation folder.
- Explore the Tabs: Within the Razer Synapse interface, navigate to the top menu and locate the “Chroma Studio” tab. Click on this tab to enter the realm of customizable lighting effects for your Razer Cynosa keyboard.
- Discover Customization Options: Upon entering the “Chroma Studio,” you’ll be greeted by a range of customization options, including preset lighting effects, color configurations, and the ability to create your own unique lighting profiles.
As you venture into the “Chroma Studio,” you’ll be met with a captivating array of possibilities to infuse your Razer Cynosa gaming keyboard with personalized lighting effects. The intuitive interface of the “Chroma Studio” empowers you to explore, create, and tailor lighting displays that resonate with your gaming ambiance and style. With the “Chroma Studio” at your fingertips, you’re poised to embark on a visually captivating journey as you prepare to customize the color effects of your Razer Cynosa keyboard.
Step 5: Select the Color Effect You Want to Apply
With the “Chroma Studio” tab at your disposal, it’s time to delve into the exciting process of selecting the ideal color effect to adorn your Razer Cynosa gaming keyboard. Follow these steps to explore and choose the perfect color effect that aligns with your gaming ambiance and personal style:
- Explore Preset Effects: Within the “Chroma Studio” tab, you’ll encounter a diverse selection of preset color effects, ranging from soothing gradients to dynamic pulsating patterns. Take the time to explore these options and envision how each effect can enhance your gaming environment.
- Preview the Effects: Many preset effects allow you to preview them in real-time, giving you a glimpse of how they would illuminate your Razer Cynosa keyboard. Take advantage of these previews to assess the visual impact of each color effect.
- Consider Your Preferences: Reflect on your gaming preferences and the ambiance you wish to create. Whether you seek a calming blue glow, an intense red radiance, or a mesmerizing spectrum of colors, choose the effect that resonates with your vision.
By carefully selecting the color effect that aligns with your gaming mood and environment, you’re poised to infuse your Razer Cynosa keyboard with a captivating visual identity. The process of choosing the ideal color effect is an opportunity to personalize your gaming space and elevate your immersive experience. Embrace this step as you prepare to immerse yourself in a world of vibrant hues and dynamic lighting displays that reflect your unique gaming persona.
Step 6: Customize the Color Effect
Now that you’ve selected a color effect for your Razer Cynosa gaming keyboard, it’s time to personalize and fine-tune the chosen effect to align with your gaming preferences. Follow these steps to customize the color effect and tailor it to your desired visual aesthetic:
- Adjust Color Intensity: Depending on the selected color effect, you may have the option to adjust the intensity of individual colors or the overall brightness. Fine-tune these parameters to achieve the perfect balance of vibrancy and subtlety.
- Explore Customization Tools: Within the “Chroma Studio” tab, you’ll find an array of customization tools that allow you to modify the speed, direction, and pattern of the chosen color effect. Experiment with these tools to create a dynamic and visually engaging lighting display.
- Create Custom Profiles: If the preset effects don’t fully align with your vision, consider creating custom lighting profiles. This feature empowers you to craft unique color combinations and effects that are tailored specifically to your gaming setup and preferences.
As you delve into the customization process, embrace the opportunity to sculpt the perfect visual ambiance for your gaming environment. The ability to fine-tune color intensity, explore customization tools, and create custom profiles empowers you to craft a lighting display that encapsulates your gaming persona. With each adjustment, you’re one step closer to immersing yourself in a world of personalized lighting that amplifies your gaming experience.
Step 7: Save and Apply the New Color Effect
After customizing the color effect to perfection, it’s time to save your creation and apply it to your Razer Cynosa gaming keyboard. Follow these essential steps to preserve your personalized lighting display and bring it to life on your keyboard:
- Save Your Custom Profile: If you’ve crafted a unique color effect or fine-tuned a preset option to your liking, ensure that you save your custom profile within the “Chroma Studio” tab. This preserves your personalized lighting configuration for future use.
- Assign the Effect to Your Keyboard: Once your custom profile is saved, assign it to your Razer Cynosa keyboard. This action ensures that your meticulously crafted color effect is seamlessly integrated and ready to illuminate your gaming space.
- Experience the Transformation: With the new color effect applied, take a moment to bask in the captivating transformation of your Razer Cynosa gaming keyboard. Witness the dynamic lighting display that you’ve tailored to perfection.
By saving and applying your new color effect, you’re immortalizing your creative vision and infusing your gaming environment with a personalized touch. The process of preserving and activating your custom lighting profile marks the culmination of your journey to transform your Razer Cynosa keyboard into a visually stunning centerpiece of your gaming setup. Embrace this final step as you prepare to immerse yourself in a world of vibrant hues and dynamic lighting displays that reflect your unique gaming persona.
Conclusion
Congratulations on successfully customizing the color effects of your Razer Cynosa gaming keyboard! By following the step-by-step process outlined in this guide, you’ve unlocked the full potential of your keyboard’s Chroma RGB lighting system, allowing you to infuse your gaming space with a captivating array of vibrant hues and dynamic lighting displays.
Through the seamless integration of Razer Synapse and the exploration of the “Chroma Studio” tab, you’ve ventured into a world of personalized lighting effects, where your creativity and gaming preferences converge. The ability to select, customize, and apply color effects has empowered you to sculpt a visually captivating ambiance that resonates with your gaming style and environment.
As you bask in the radiance of your personalized color effect, envision the immersive gaming experiences that await, illuminated by the dynamic lighting display of your Razer Cynosa keyboard. Whether you’re embarking on epic quests, engaging in intense battles, or immersing yourself in virtual worlds, your customized lighting will serve as a vibrant backdrop, enhancing every gaming moment.
Embrace the opportunity to revisit the “Chroma Studio” and experiment with new color effects, allowing your Razer Cynosa keyboard to evolve alongside your gaming journey. With each customization, you’ll continue to redefine and elevate your gaming environment, infusing it with a dynamic visual identity that reflects your unique gaming persona.
With your Razer Cynosa gaming keyboard now adorned with a personalized color effect, you’re poised to embark on gaming adventures that are not only immersive but visually captivating. Let the vibrant hues and dynamic lighting displays serve as a testament to your creativity and passion for gaming, elevating every moment spent in your virtual realms.