**
Introduction
**
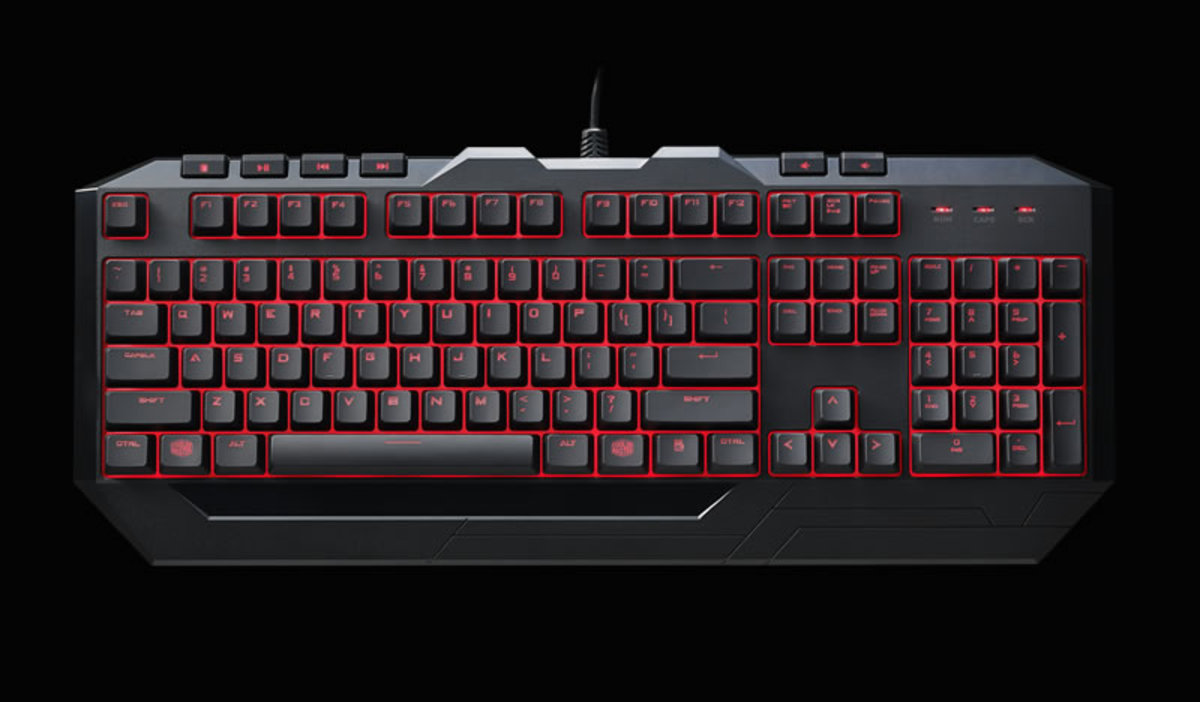
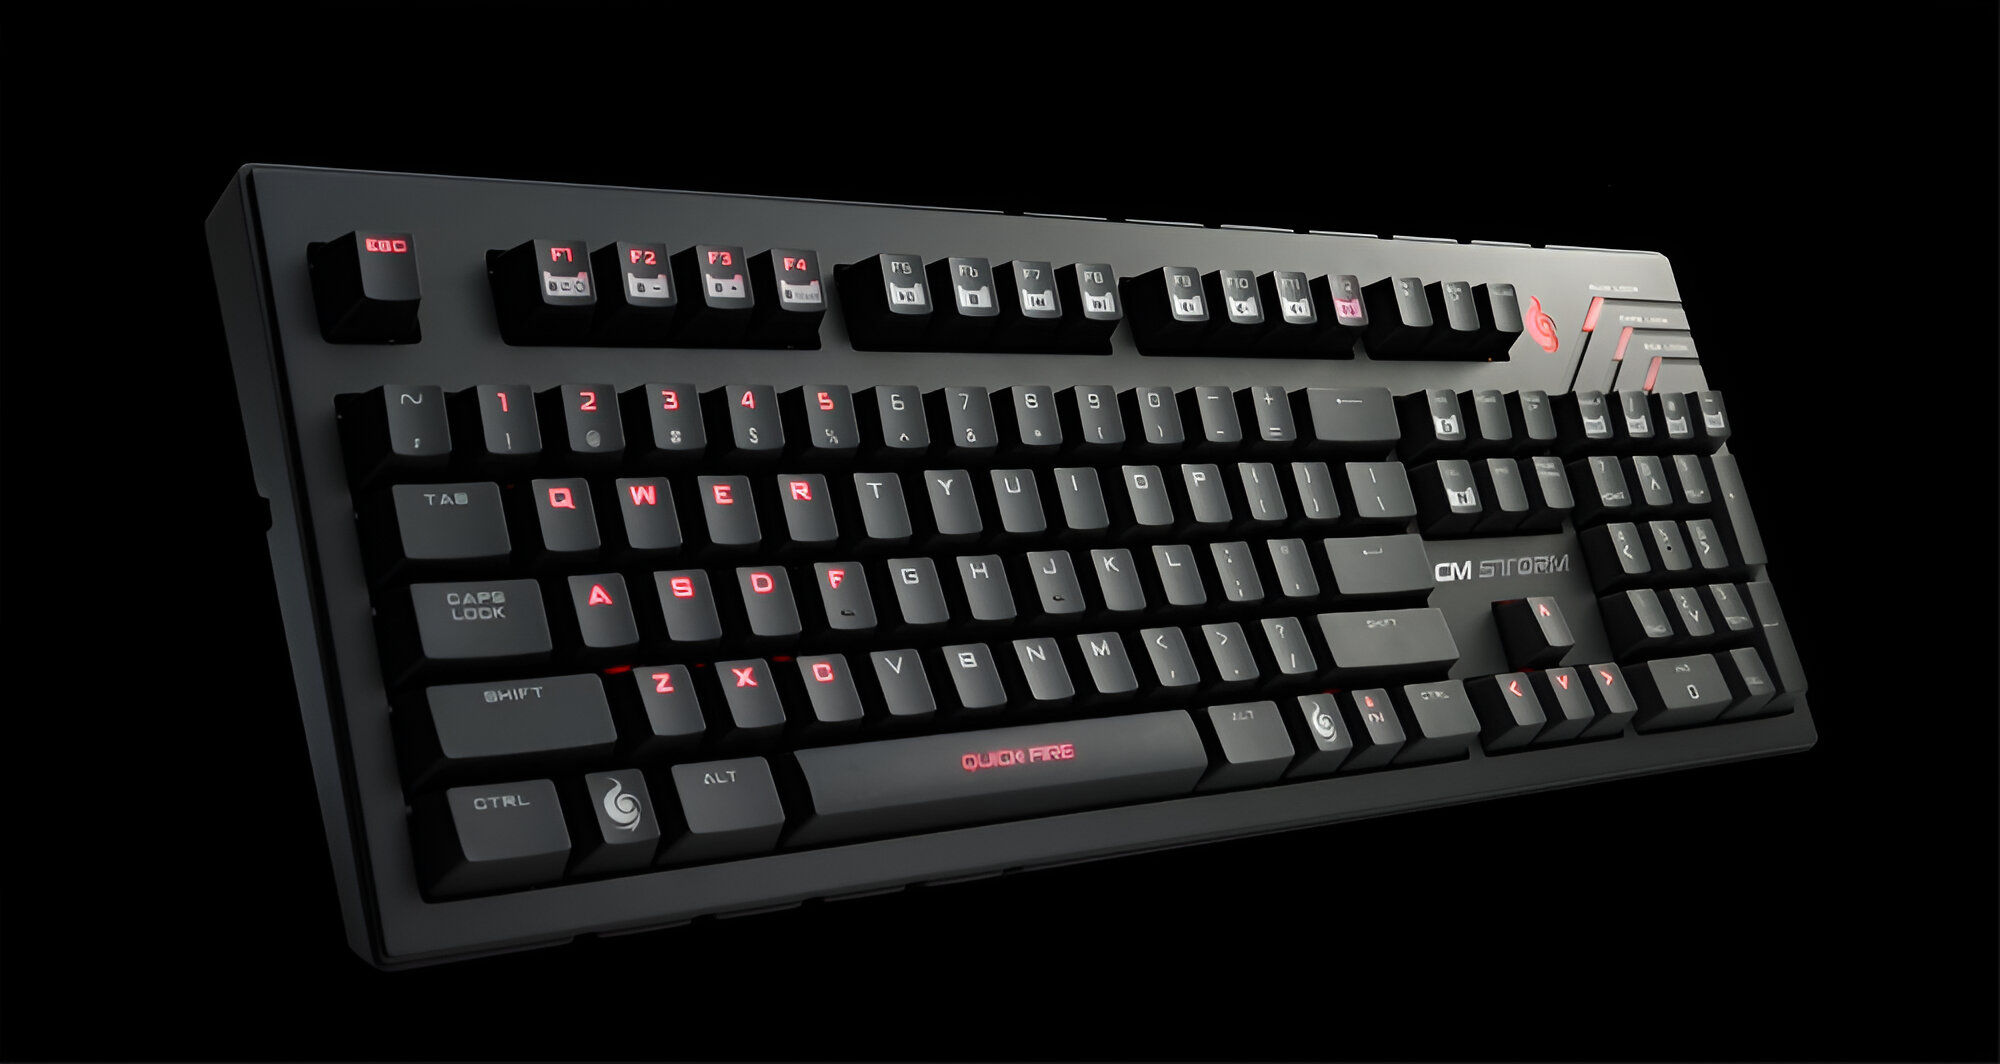
Welcome to the world of mechanical keyboards, where every keystroke is a symphony of tactile feedback and precision. Among the many keys on a mechanical keyboard, the back shift key holds a special place due to its frequent use in typing. However, encountering issues with the back shift key can be frustrating, disrupting the flow of your work or gaming experience. Fear not, for in this guide, we will delve into the art of repairing the back shift key on a mechanical keyboard, specifically the CM Storm series.
Whether you are a seasoned enthusiast or a newcomer to the realm of mechanical keyboards, understanding the intricacies of these devices is crucial for maintaining their functionality. The back shift key, located on the right or left side of the keyboard, serves the essential function of capitalizing letters and entering symbols above the numbers. When this key malfunctions, it can impede your typing speed and accuracy, leading to a less-than-optimal user experience.
In this comprehensive guide, we will embark on a journey to troubleshoot and repair the back shift key on a CM Storm mechanical keyboard. From disassembling the keyboard to identifying the root cause of the issue, we will explore each step with precision and clarity. By the end of this guide, you will have the knowledge and confidence to tackle the repair process, restoring your keyboard to its optimal state.
So, grab your toolkit and prepare to unravel the mysteries of the back shift key. Whether you are a DIY enthusiast, a tech-savvy individual, or simply someone looking to extend the lifespan of their beloved keyboard, this guide is tailored to equip you with the skills needed to conquer the challenge ahead. Let's dive into the world of mechanical keyboard repair and unleash the full potential of your CM Storm keyboard.
**
Understanding the Back Shift Key
**
Before delving into the repair process, it is essential to grasp the functionality and significance of the back shift key on a mechanical keyboard. Unlike its membrane counterpart, a mechanical keyboard utilizes individual mechanical switches for each key, providing a distinct tactile feel and audible feedback with every press. The back shift key, often located on the right and left sides of the keyboard, plays a pivotal role in facilitating capitalization and accessing additional characters.
When the back shift key is pressed, it triggers the input of uppercase letters, allowing for seamless integration of capitalization within the typing process. Furthermore, in combination with other keys, such as the number row, the back shift key enables users to input symbols and special characters, enhancing the versatility of the keyboard. Given its frequent utilization in everyday typing tasks and gaming activities, the reliability and responsiveness of the back shift key are paramount for a smooth user experience.
Understanding the anatomy of the back shift key within the keyboard’s matrix is crucial for diagnosing and resolving issues. Each key on a mechanical keyboard is supported by a stem and a spring mechanism, which, when actuated, completes the circuit and registers the keypress. Any disruption or malfunction within this mechanism can lead to unresponsive or erratic behavior of the back shift key.
Moreover, the back shift key’s placement in the keyboard’s layout influences its susceptibility to wear and tear. Over time, dust accumulation, debris, or metal fatigue within the switch assembly can compromise the key’s performance, resulting in inconsistent actuation or failure to register keystrokes. By comprehending the intricacies of the back shift key and its underlying mechanisms, you will be better equipped to diagnose and address potential issues, paving the way for a successful repair process.
Now that we’ve gained insight into the pivotal role of the back shift key and its operational dynamics within a mechanical keyboard, it’s time to embark on the journey of disassembling the keyboard to uncover the root cause of the issue.
Disassembling the Keyboard
Before delving into the intricate realm of keyboard disassembly, it’s crucial to gather the necessary tools for a seamless and safe process. A keycap puller, screwdriver set, and a soft, clean cloth are indispensable for this endeavor. Additionally, having a well-lit and spacious work area will facilitate a smooth disassembly process.
To initiate the disassembly, start by disconnecting the keyboard from the computer and turning it upside down to reveal the underside. Most mechanical keyboards, including the CM Storm series, are secured by screws located on the backplate. Using the appropriate screwdriver, carefully remove the screws and set them aside in a secure location to prevent misplacement.
Once the screws have been removed, gently separate the backplate from the keyboard’s main body. It’s essential to exercise caution during this step to avoid damaging the internal components or the keyboard’s casing. With the backplate removed, the internal circuitry and switches will come into view, providing a closer look at the intricate mechanisms responsible for the keyboard’s functionality.
With the keyboard partially disassembled, the next step involves removing the keycaps to access the individual switches, including the back shift key. A keycap puller is an invaluable tool for this task, as it allows for the safe and effortless removal of keycaps without causing damage to the switches or the keycap itself. Carefully position the keycap puller over the back shift key and gently apply upward pressure to detach the keycap from the switch stem. Repeat this process for any other keycaps that require removal to access the back shift key and its surrounding switches.
As the keycaps are removed, take note of their layout and orientation to ensure accurate reassembly later in the process. Additionally, use a soft, clean cloth to gently wipe the exposed switches and the keyboard’s interior, removing any dust or debris that may have accumulated over time. This meticulous cleaning process contributes to the overall maintenance of the keyboard and prepares the switches for closer inspection and potential repair.
With the keyboard disassembled and the keycaps removed, we have successfully gained access to the internal components, setting the stage for identifying and resolving the issues affecting the back shift key. In the next section, we will delve into the process of identifying the root cause of the back shift key’s malfunction and formulating a targeted repair strategy.
Identifying the Issue
As we venture into the heart of the keyboard’s internal components, a keen eye and systematic approach are essential for identifying the underlying issues affecting the back shift key. The first step in this diagnostic process involves a comprehensive visual inspection of the back shift key’s switch and its immediate surroundings. Look for any signs of physical damage, corrosion, or foreign debris that may be impeding the key’s functionality.
Inspect the switch beneath the back shift key to ensure that it is aligned properly and free from any obstructions. The stem of the switch should move smoothly without any impediments, and the contact points should be clean and devoid of residue. Additionally, examine the surrounding area for any anomalies that could affect the key’s performance, such as loose components or soldering issues.
Once the visual inspection is complete, the next step is to perform a series of tests to gauge the responsiveness and consistency of the back shift key. Reconnect the keyboard to a computer and open a text document or a keyboard testing tool to monitor the key’s input. Press the back shift key multiple times, varying the pressure and angle of actuation to observe any irregularities in its behavior.
If the back shift key exhibits inconsistent actuation, registers multiple keystrokes from a single press, or fails to register any input, the issue may stem from the switch mechanism itself. Mechanical switches can experience wear and tear over time, leading to diminished performance and reliability. In some cases, dust or debris may have infiltrated the switch, impeding its functionality and requiring thorough cleaning or replacement.
Furthermore, if the issue persists even after cleaning the switch and its surroundings, it may be indicative of an underlying electrical or firmware-related issue. In such scenarios, consulting the keyboard’s documentation or seeking support from the manufacturer’s technical resources can provide valuable insights into potential firmware updates or troubleshooting steps to address the issue.
By meticulously examining the switch, conducting input tests, and exploring potential firmware considerations, we can pinpoint the specific nature of the issue plaguing the back shift key. Armed with this knowledge, we are poised to delve into the intricate process of repairing the back shift key, breathing new life into its functionality and restoring the keyboard to its optimal state.
Repairing the Back Shift Key
Armed with a comprehensive understanding of the back shift key’s intricacies and the underlying issue affecting its performance, we are now prepared to embark on the repair process. Depending on the nature of the issue identified during the diagnostic phase, several targeted approaches can be employed to restore the back shift key to its optimal functionality.
If the issue primarily stems from debris or dust accumulation within the switch mechanism, a meticulous cleaning process can often yield significant improvements. Using compressed air or a specialized electronics cleaning brush, carefully remove any foreign particles that may be obstructing the switch’s operation. Ensure that the cleaning process is thorough yet gentle to avoid damaging the delicate components of the switch.
For mechanical switches exhibiting signs of wear or diminished responsiveness, a more involved approach may be necessary. Depending on the keyboard’s design and the switch type employed, it may be feasible to disassemble the switch for a more detailed cleaning or lubrication of the internal components. However, it is crucial to exercise caution and refer to the keyboard’s documentation or online resources for specific guidance on disassembling and servicing the switches.
In instances where the switch’s performance is significantly compromised and cleaning alone does not yield the desired results, the replacement of the switch may be the most effective course of action. Mechanical keyboards, including those in the CM Storm series, often feature modular switch designs that facilitate the removal and replacement of individual switches without requiring extensive soldering or specialized equipment.
Obtaining a compatible replacement switch and carefully installing it in place of the malfunctioning switch can breathe new life into the back shift key, restoring its tactile feedback and reliability. It is imperative to source the appropriate switch type and ensure compatibility with the keyboard’s PCB to guarantee a seamless replacement process.
Furthermore, if the issue is determined to be firmware-related, consulting the keyboard’s documentation and the manufacturer’s support resources can provide valuable insights into potential firmware updates or recalibration procedures. Keeping the keyboard’s firmware up to date is essential for addressing any software-related anomalies that may affect the performance of individual keys, including the back shift key.
By meticulously addressing the identified issue through targeted cleaning, switch servicing, or replacement, we can breathe new life into the back shift key, reinstating its pivotal role in the keyboard’s functionality. With the repair process underway, the next crucial step involves testing the key to validate the effectiveness of the undertaken repairs.
Testing the Key
With the repair process for the back shift key completed, it is essential to conduct thorough testing to validate the effectiveness of the undertaken repairs and ensure the key’s optimal functionality. Testing the key involves a series of deliberate and varied input scenarios to gauge its responsiveness, consistency, and overall performance in real-world usage.
Begin the testing phase by reconnecting the keyboard to a computer and opening a text document or a keyboard testing tool that visually displays the input from each key. This setup provides a clear and immediate way to monitor the back shift key’s behavior as testing unfolds. With the testing environment prepared, proceed to press the back shift key multiple times, varying the pressure and actuation angles to assess its responsiveness.
During the testing process, pay close attention to the key’s tactile feedback, actuation force, and the accuracy of input. The key should register consistently with a discernible tactile bump and audible feedback characteristic of mechanical switches. Additionally, verify that the key reliably inputs uppercase letters and effectively activates secondary functions when combined with other keys, such as accessing symbols or special characters.
As part of the testing regimen, engage in prolonged typing sessions to simulate real-world usage scenarios and ascertain the key’s performance under sustained operation. Rapidly inputting capitalized letters and utilizing the back shift key in conjunction with other keys can reveal any latent issues that may not manifest during casual testing. This comprehensive approach ensures that the key is thoroughly vetted for reliability and consistency.
Furthermore, if the keyboard features customizable firmware or programmable key functions, ensure that the back shift key’s programming, if applicable, remains intact and functions as intended. Any custom key assignments or macros associated with the back shift key should be tested to verify their seamless integration with the repaired key.
Throughout the testing phase, maintain a meticulous record of the key’s performance, noting any anomalies or irregularities that may surface during testing. This documentation serves as a valuable reference and aids in identifying any residual issues that may require further attention or refinement of the repair process.
By subjecting the back shift key to rigorous and varied testing scenarios, we can confidently affirm the success of the repair efforts and the restoration of the key’s optimal functionality. With the key’s performance validated, the final phase of the repair process involves reassembling the keyboard to conclude this comprehensive endeavor.
Reassembling the Keyboard
As we reach the culmination of the repair process, reassembling the keyboard is a pivotal step that demands precision and attention to detail. The reassembly phase involves restoring the keyboard to its original configuration after the repair efforts, ensuring that every component is securely positioned and the keycaps are reinstalled with care and accuracy.
Commence the reassembly by carefully aligning the backplate with the keyboard’s main body, taking note of any alignment markers or guideposts that facilitate the correct positioning of the components. Once aligned, gently secure the backplate in place using the previously removed screws, tightening them evenly to maintain a balanced and secure fit. Exercise caution to avoid overtightening the screws, as this may damage the keyboard’s casing or internal components.
With the backplate securely fastened, proceed to reattach the keycaps, paying close attention to their orientation and alignment. Using a keycap puller, carefully position each keycap over its respective switch stem and apply gentle downward pressure to seat it in place. Ensure that the keycaps are aligned uniformly and exhibit consistent spacing, preserving the keyboard’s aesthetic and functional integrity.
During the keycap reinstallation process, take the opportunity to inspect the keycaps for any signs of wear or damage, as this presents an ideal opportunity to replace or upgrade the keycaps if desired. Upgrading to custom or specialized keycaps can enhance the keyboard’s visual appeal and tactile experience, providing a personalized touch to complement the repaired back shift key.
Once all keycaps are securely reinstalled, perform a visual inspection of the keyboard to verify that every keycap is seated correctly and that the overall layout appears uniform and aligned. This meticulous attention to detail ensures that the keyboard’s appearance and functionality are restored to their optimal state, reflecting the successful completion of the repair process.
Following the reassembly of the keyboard, reconnect it to the computer and conduct a final round of testing to confirm the seamless integration of the repaired back shift key within the keyboard’s operational framework. Validate the key’s responsiveness, consistency, and tactile feedback to affirm its successful restoration and its readiness for continued usage.
With the keyboard reassembled and the repaired back shift key validated through comprehensive testing, we have navigated the intricate process of repairing and restoring the functionality of the key within the CM Storm mechanical keyboard. The successful reassembly marks the culmination of our endeavor, showcasing the meticulous attention to detail and technical proficiency required to undertake such a repair with confidence and precision.
Conclusion
Embarking on the journey of repairing the back shift key on a CM Storm mechanical keyboard has been a testament to the meticulous craftsmanship and technical acumen required to restore a pivotal component of a beloved input device. From the initial understanding of the back shift key’s significance to the intricate process of disassembling the keyboard and identifying the underlying issue, every step has been a testament to the dedication and precision essential for such a repair endeavor.
By delving into the heart of the keyboard’s internal components, meticulously diagnosing the issue, and formulating a targeted repair strategy, we have exemplified the resilience and resourcefulness essential for addressing intricate technical challenges. The repair process, encompassing meticulous cleaning, switch servicing, and potential replacement, has underscored the versatility and adaptability required to navigate the complexities of mechanical keyboard repair.
Furthermore, the rigorous testing and validation of the repaired back shift key have demonstrated the commitment to ensuring the key’s optimal functionality and reliability under real-world usage scenarios. The comprehensive testing regimen has served as a testament to the thoroughness and attention to detail indispensable for affirming the success of the repair efforts.
As the keyboard is meticulously reassembled, every component is positioned with care and precision, culminating in the restoration of the keyboard to its original state. The successful reassembly marks the culmination of a comprehensive repair endeavor, showcasing the seamless integration of technical proficiency and meticulous attention to detail.
In conclusion, the journey of repairing the back shift key on a CM Storm mechanical keyboard has epitomized the fusion of technical expertise, precision, and dedication. By unraveling the intricacies of mechanical keyboard repair and breathing new life into a pivotal key, we have celebrated the resilience and ingenuity required to conquer technical challenges and uphold the functionality of cherished input devices.
With the repaired back shift key seamlessly integrated into the keyboard’s operational framework, we stand poised to continue our typing endeavors and gaming pursuits with renewed confidence and satisfaction, knowing that the keyboard has been meticulously restored to its optimal state.