Introduction
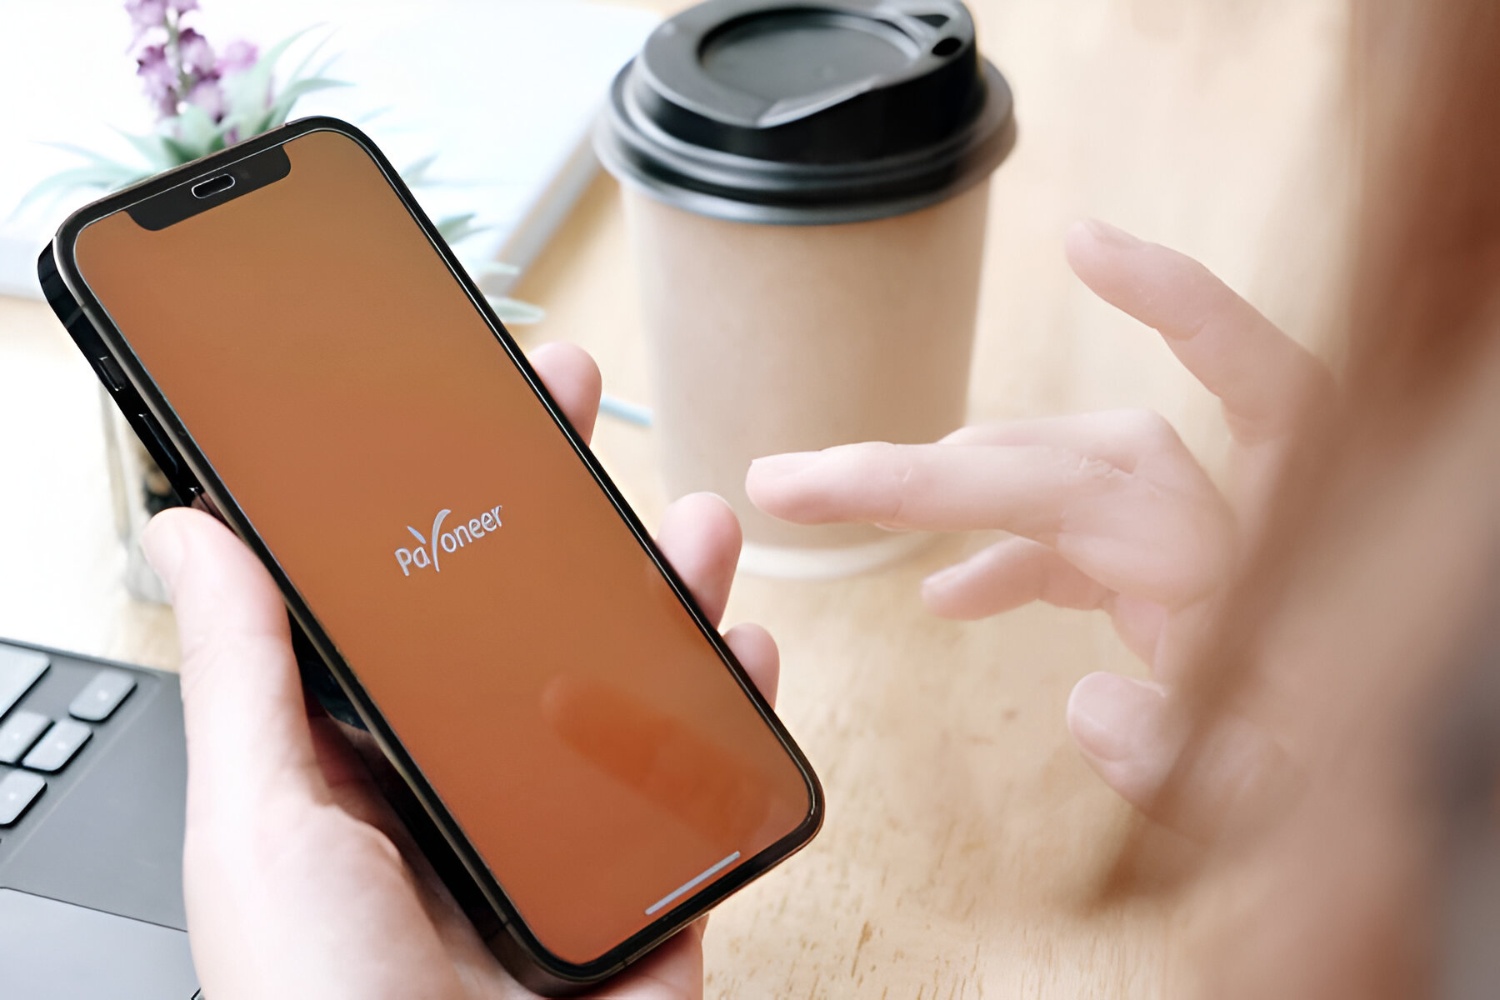
Transferring money to a Payoneer account has become an essential task for individuals and businesses operating in the global market. Whether you are earning money from freelancing, e-commerce, or any other online venture, having a Payoneer account allows you to receive and manage funds securely and efficiently.
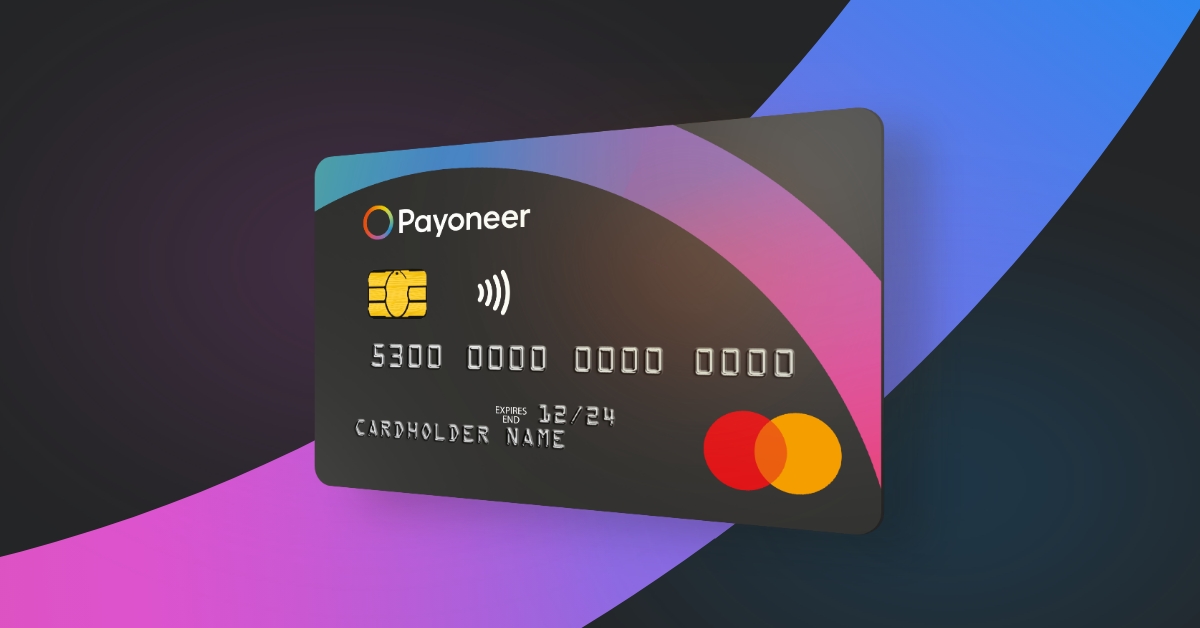
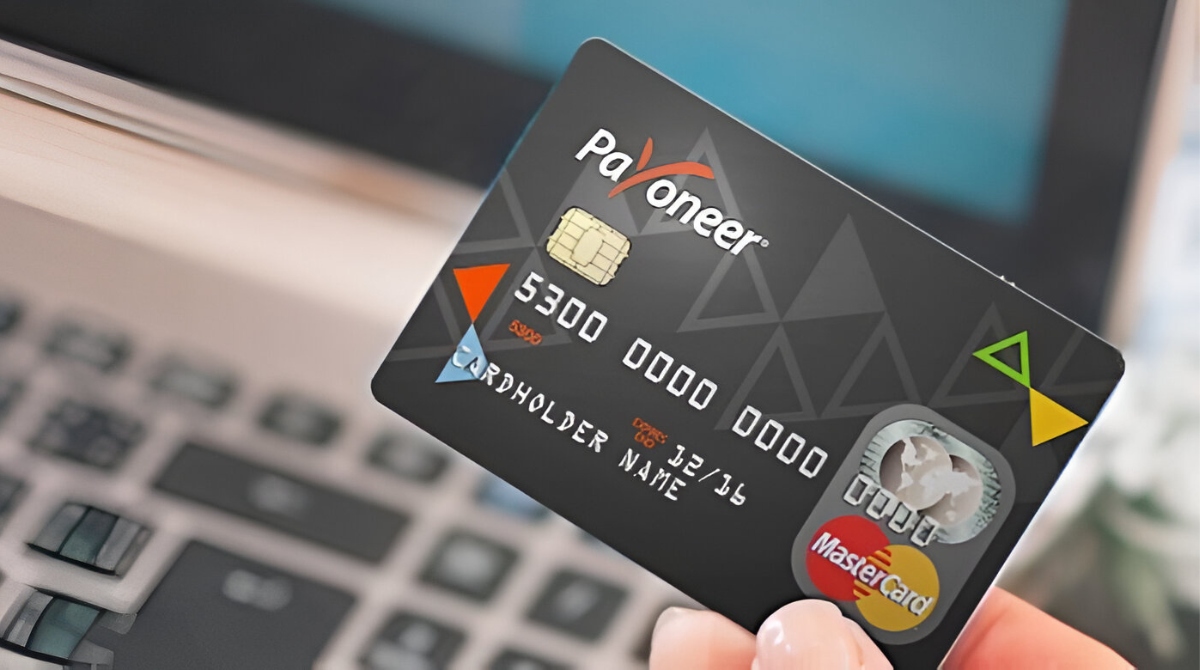
Payoneer is a trusted global payment service that offers a simple and convenient solution for receiving cross-border payments. With its wide range of features and services, it has gained popularity among freelancers, affiliate marketers, online sellers, and small businesses.
In this article, we will guide you through the process of transferring money to your Payoneer account. We will cover the steps of creating a Payoneer account, verifying your account, linking your bank account to Payoneer, adding funds, and checking your account balance. By following these steps, you can seamlessly transfer money to your Payoneer account and gain access to your funds from anywhere in the world.
So, if you’re ready to take control of your international earnings, let’s get started on the journey to transferring funds to your Payoneer account.
Create a Payoneer Account
The first step in transferring money to a Payoneer account is to create an account. Here’s how you can do it:
- Go to the Payoneer website and click on the “Sign Up” button. You will be redirected to the registration page.
- Fill in the required information, including your name, email address, date of birth, and password.
- Provide your contact details, including your phone number and address.
- Select the type of account you want to create – whether it’s an individual account or a company account.
- Choose the currency you prefer for your Payoneer account. Payoneer supports various currencies, allowing you to receive and manage funds in your preferred currency.
- Read and agree to the terms and conditions, then click on the “Submit” button to proceed.
Once you have completed the registration process, Payoneer will review your application. If everything is in order, you will receive a confirmation email with further instructions on how to verify your account.
Creating a Payoneer account is quick and straightforward. Ensure that you provide accurate information during the registration process to avoid any delays or issues with your account verification.
Verify Your Payoneer Account
After creating your Payoneer account, the next step is to verify it. Verifying your account is essential to ensure the security and legitimacy of your Payoneer transactions. Here’s how you can verify your Payoneer account:
- Log in to your Payoneer account using the credentials you provided during registration.
- Click on the “Verify Now” button or navigate to the verification section in your account settings.
- Choose the verification method that suits you best. Payoneer offers several verification options, including uploading a government-issued ID, providing your bank account details, or verifying your address through a utility bill or bank statement.
- Follow the instructions provided for the chosen verification method.
- Submit the required documents or information for verification.
- Wait for the Payoneer team to review and approve your verification request.
Verification times can vary, but Payoneer strives to process verification requests quickly to minimize any delays in accessing your funds. Once your account is verified, you will receive a confirmation email, and you can proceed to the next step of linking your bank account to your Payoneer account.
It’s important to note that Payoneer takes privacy and security seriously. All documents and personal information submitted for verification are encrypted and handled securely. Rest assured that your information is protected throughout the verification process.
Link Your Bank Account to Payoneer
Once your Payoneer account is verified, the next step is to link your bank account to enable seamless transfers between your bank and Payoneer. Follow the steps below to link your bank account:
- Log in to your Payoneer account using your credentials.
- Go to the “Settings” section in your account dashboard.
- Select “Bank Accounts” or a similar option, depending on the Payoneer interface.
- Click on the “Add Bank Account” or “Link Bank Account” button.
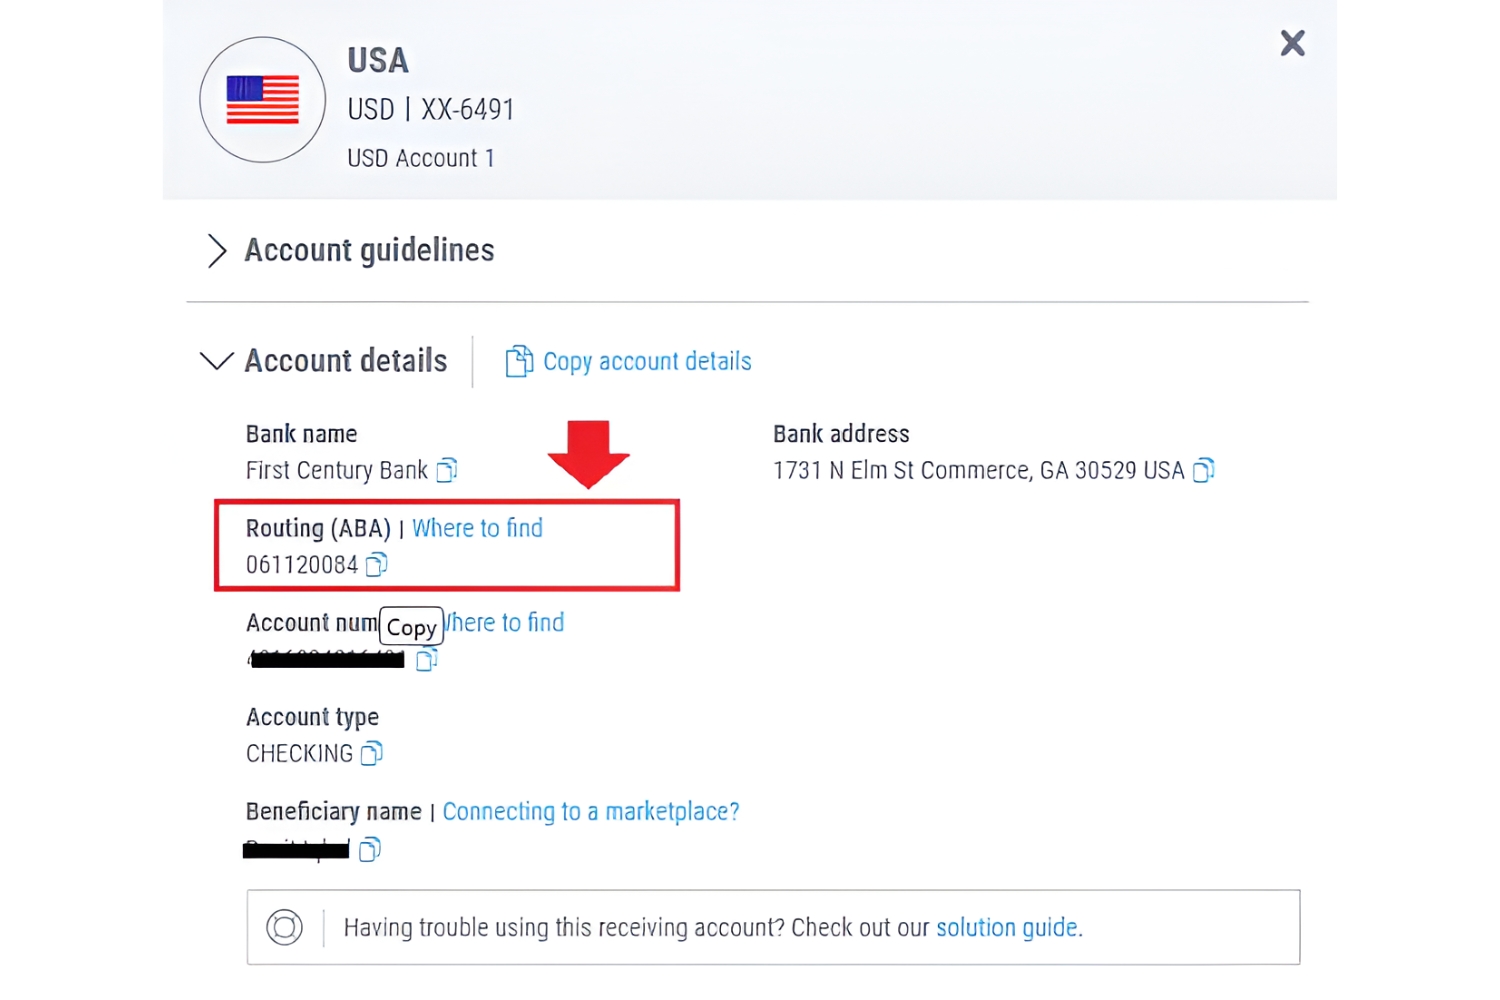
- Provide the necessary information about your bank account, such as bank name, branch, account number, and account type.
- Double-check the information you entered to ensure its accuracy.
- Click on the “Submit” or “Save” button to add your bank account to your Payoneer account.
Payoneer may require additional verification for linking your bank account. This can include providing a bank statement or other supporting documents to confirm ownership of the bank account.
Once your bank account is successfully linked, you can easily transfer funds back and forth between your Payoneer account and your bank account. This allows you to withdraw funds or add money to your Payoneer account as needed.
Linking your bank account provides you with flexibility and convenience in managing your funds. You can transfer money to and from your Payoneer account with ease, ensuring that your finances are seamlessly connected.
Add Funds to Your Payoneer Account
Once your Payoneer account is set up and your bank account is linked, you can start adding funds to your Payoneer account. There are several ways to add money to your Payoneer account, as outlined below:
- Receive Payments: If you are using Payoneer for freelance work or online business, you can receive payments directly into your Payoneer account. Simply provide your Payoneer account details to your clients or marketplace platforms, and they can transfer the funds directly to your Payoneer account.
- Transfer from Bank Account: If you have funds in your linked bank account, you can initiate a transfer from your bank account to your Payoneer account. This can be done through the transfer options provided by your bank’s online banking service or by visiting your bank in person.
- Add Funds from Other Payoneer Users: If you have contacts or clients who also have Payoneer accounts, they can send funds to your Payoneer account by using the “Make a Payment” feature within the Payoneer platform. This method allows for quick and easy fund transfers between Payoneer users.
- Receive Payments from Marketplaces: Payoneer has integrated partnerships with various e-commerce marketplaces, freelancing platforms, and affiliate networks. By linking your Payoneer account to these platforms, you can receive payments directly into your Payoneer account when you complete a transaction or earn affiliate income.
Adding funds to your Payoneer account enables you to have a central location for managing your finances and accessing your funds whenever you need them. With multiple options available, you can choose the method that works best for you and suits your specific requirements.
It’s important to note that Payoneer may charge fees for certain types of fund transfers or currency conversions. Make sure to familiarize yourself with the applicable fees to understand the cost associated with adding funds to your Payoneer account.
Transfer Money to Your Payoneer Account
Transferring money to your Payoneer account is a straightforward process that allows you to access your funds conveniently. Here’s how you can transfer money to your Payoneer account:
- Log in to your Payoneer account using your credentials.
- Navigate to the “Send” or “Transfer” section in your account dashboard.
- Choose the option to transfer money to your Payoneer account.
- Select the funding source from which you want to transfer the money. This can be your linked bank account, another Payoneer user, or funds available in your Payoneer account.
- Enter the amount you wish to transfer.
- Review the transaction details to ensure accuracy.
- Click on the “Transfer” or “Send” button to initiate the transfer.
- Wait for the transaction to be processed. The time it takes for the funds to reflect in your Payoneer account may vary depending on the transfer method and any associated processing times.
Payoneer provides a secure and reliable platform for transferring funds, ensuring that your money arrives safely in your account. It’s important to note that there may be fees associated with certain types of transfers, so make sure to familiarize yourself with any applicable charges.
Transferring money to your Payoneer account allows you to have quick access to your funds, which you can manage and utilize for various purposes, such as making online purchases, paying invoices, or withdrawing cash.
Whether you are transferring funds from your bank account, receiving payments from clients, or making transfers between Payoneer users, Payoneer ensures a seamless and efficient process for transferring money to your account.
Check Your Payoneer Balance
Keeping track of your Payoneer account balance is crucial to stay updated on your available funds and manage your finances effectively. Payoneer provides multiple options for checking your account balance:
- Dashboard: Upon logging in to your Payoneer account, you will be greeted with an overview dashboard that displays your account balance prominently. This allows for quick access to your balance as soon as you log in.
- Account Summary: In your Payoneer account, you can navigate to the “Account Summary” section to get an in-depth view of your account balance, recent transactions, and other relevant details.
- Mobile App: Payoneer offers a user-friendly mobile app that you can download to your smartphone. The app provides a convenient way to check your account balance on the go, making it easy to stay updated wherever you are.
- Email Notifications: Payoneer sends regular email notifications regarding your account activity, including updates on your account balance. Ensure that you have enabled email notifications to receive these important updates.
By regularly checking your Payoneer account balance, you can keep track of incoming funds, monitor your transactions, and plan your financial activities accordingly. It’s essential to stay informed about your account balance to make informed decisions about spending, transferring, or withdrawing funds.
In addition, Payoneer provides a comprehensive transaction history that allows you to review and track your previous transactions. This feature helps you maintain a detailed record of your financial activities and provides transparency for your personal or business finances.
Remember to take note of any fees or charges associated with certain transactions that may affect your account balance. It’s important to factor in these costs when assessing your available funds.
Monitoring your Payoneer account balance regularly ensures that you have a clear understanding of your financial situation, helping you make informed decisions and manage your funds efficiently.
Conclusion
Transferring money to your Payoneer account is a straightforward process that empowers individuals and businesses to easily manage their cross-border transactions. By creating a Payoneer account, verifying it, linking it to your bank account, and adding funds, you gain access to a reliable and secure platform for receiving, transferring, and managing your funds.
With the ability to receive payments from clients, transfer funds between Payoneer users, and add money from your bank account, Payoneer provides a range of options to suit your specific needs. The flexibility and convenience offered by Payoneer allow you to seamlessly navigate the global marketplace and unlock opportunities for growth and success.
Remember to regularly check your Payoneer account balance to stay updated on your available funds and effectively manage your financial activities. Payoneer’s intuitive dashboard, account summary section, mobile app, and email notifications keep you informed at all times to ensure that you can make informed decisions with your finances.
As you embark on your journey of transferring money to your Payoneer account, keep in mind any applicable fees and charges for certain transactions. Familiarize yourself with these details to have a complete understanding of the costs associated with using the Payoneer platform.
By following the steps outlined in this guide and leveraging the features provided by Payoneer, you can confidently transfer money to your Payoneer account and take control of your international earnings. Enjoy the convenience, security, and flexibility that Payoneer offers, and expand your global business or freelance ventures with ease.
Start your Payoneer journey today and experience the benefits of seamless cross-border transactions!