Introduction
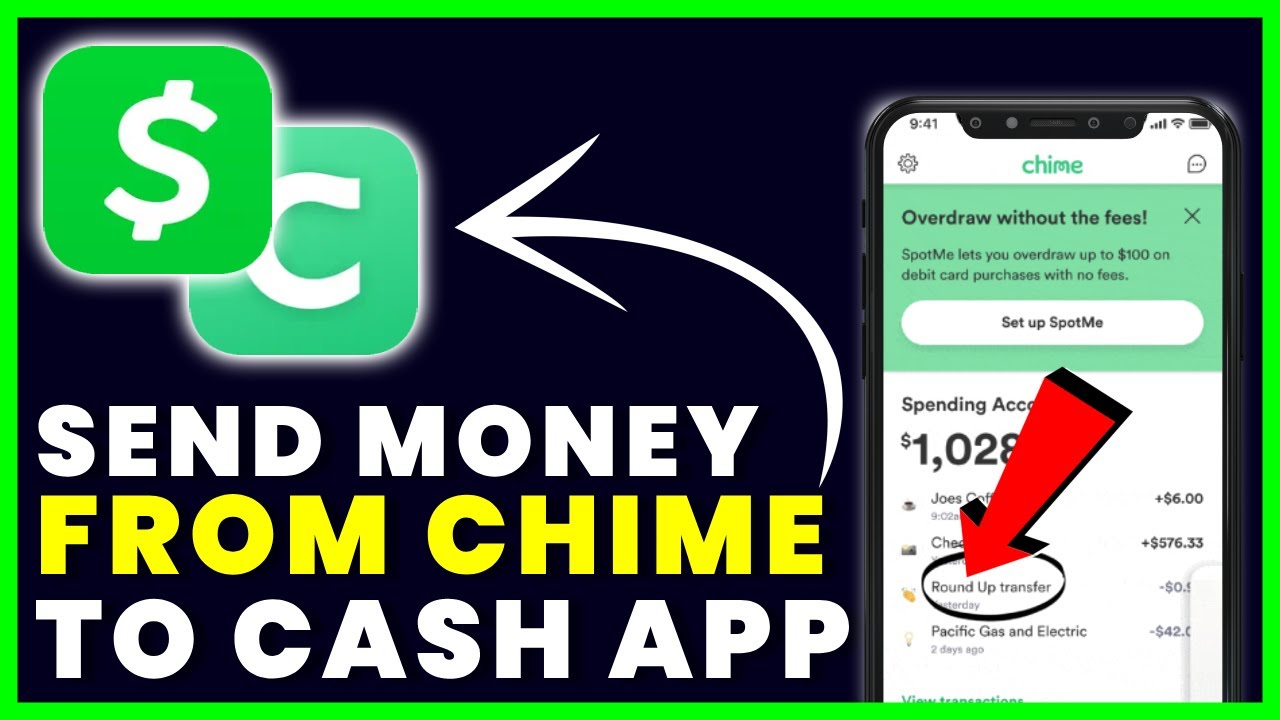
Transferring money from Chime to Cash App is a convenient and efficient way to manage your finances. Whether you need to send money to a friend, pay a bill, or simply access your funds, Chime and Cash App offer seamless integration to make the process quick and hassle-free.
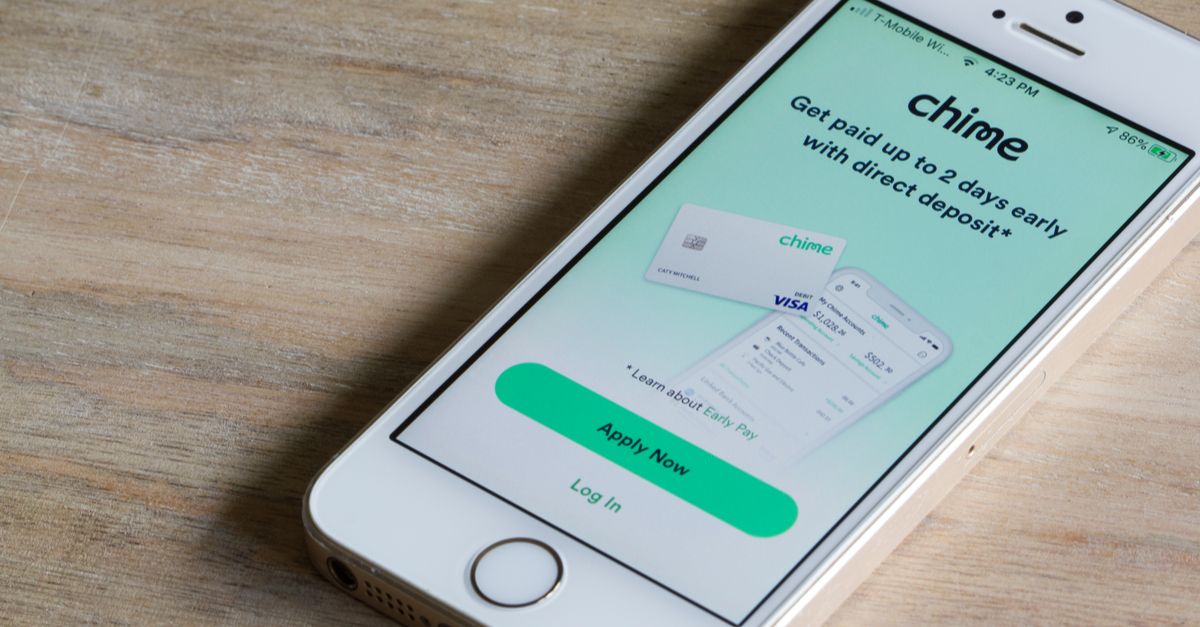
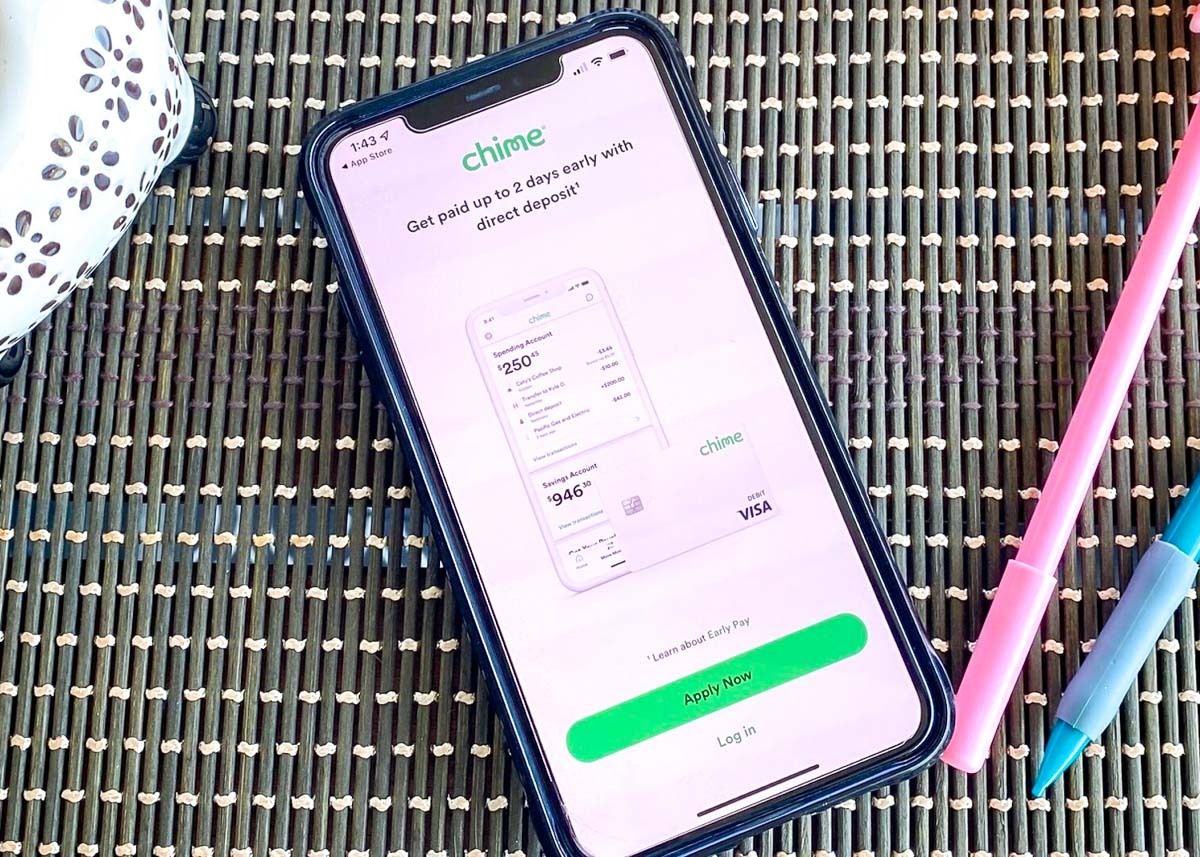
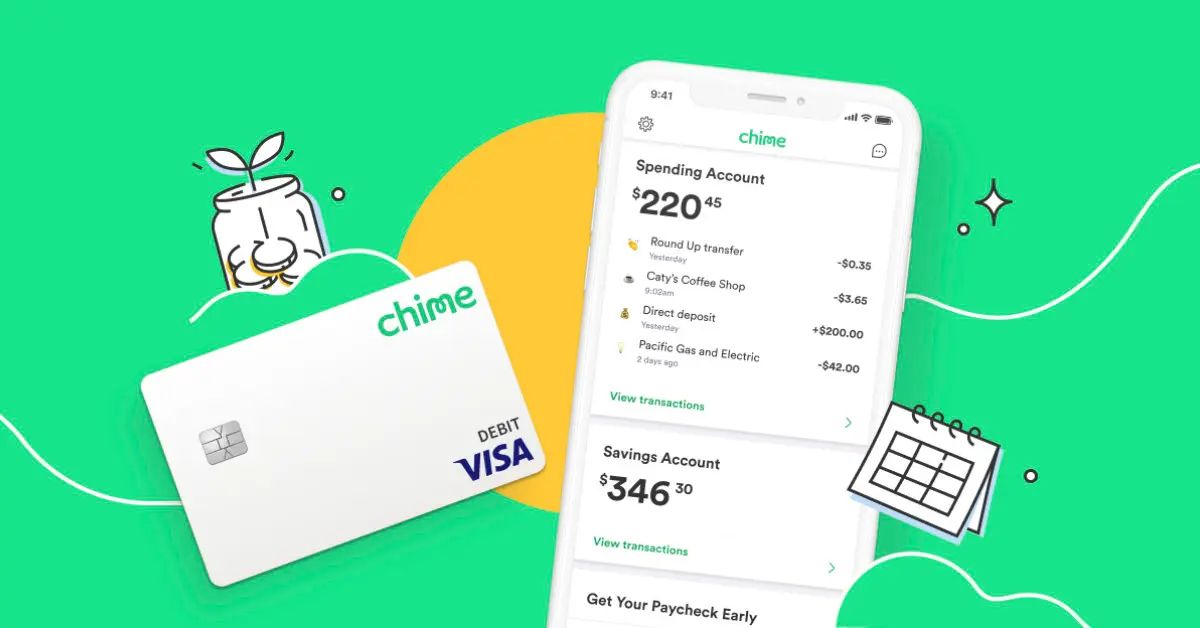
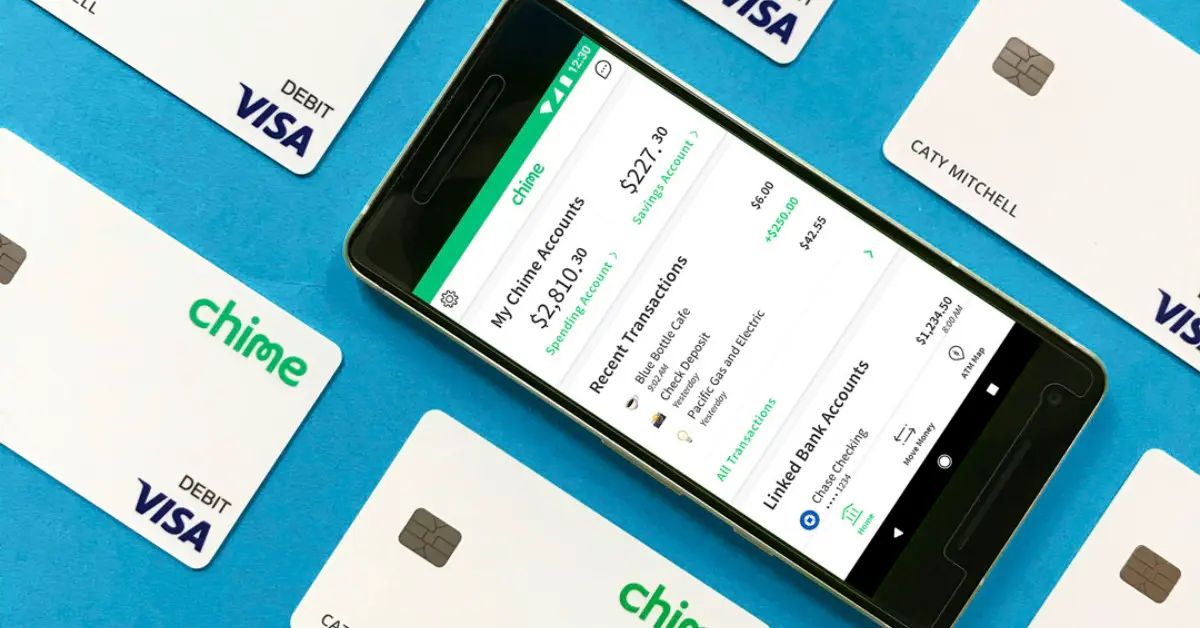
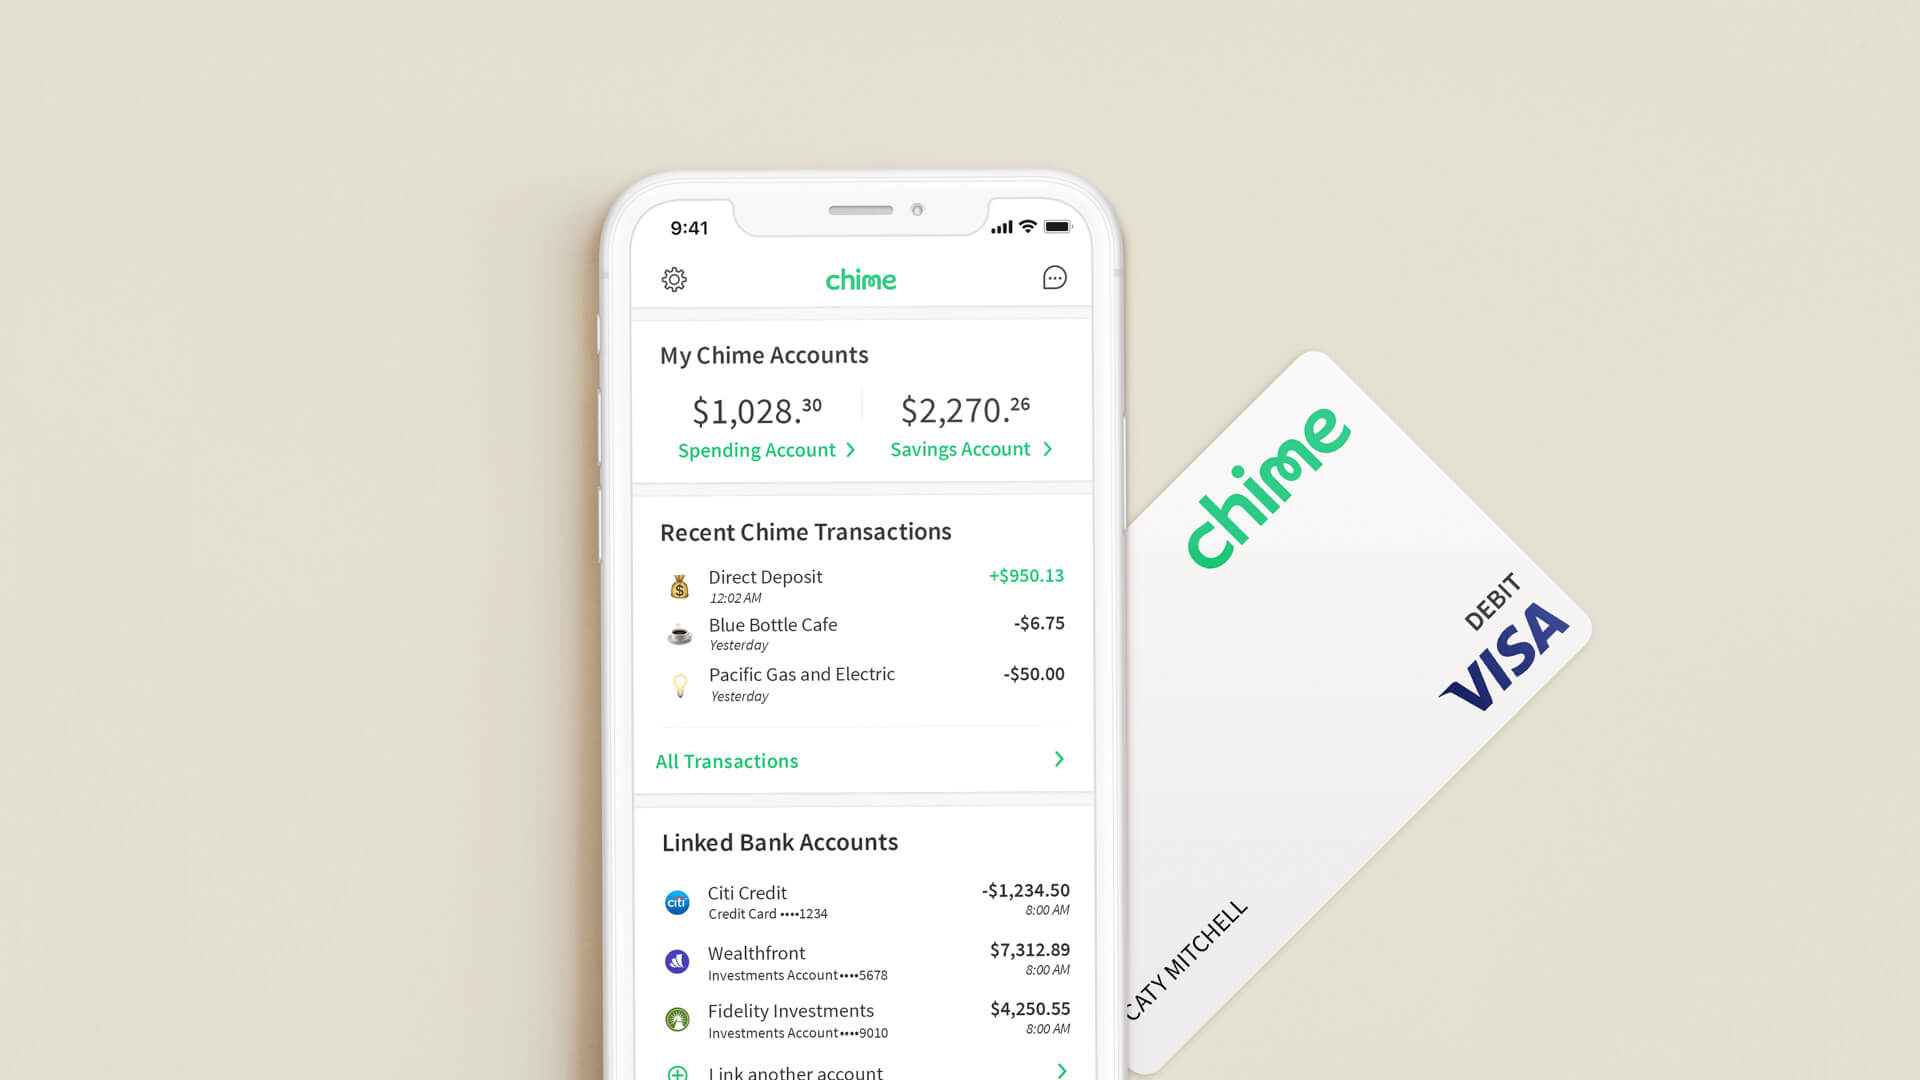
Chime is a popular mobile banking service that provides users with a range of financial management tools. With its user-friendly interface and no-fee banking features, Chime has gained a loyal following. Cash App, on the other hand, is a peer-to-peer payment app that allows users to send and receive money easily.
By linking your Chime account to your Cash App, you can quickly transfer funds between the two accounts and take advantage of the features offered by both platforms. In this guide, we will walk you through the step-by-step process of transferring money from your Chime account to your Cash App balance.
Whether you need to send money to a family member, split a bill with friends, or make a purchase online, learning how to transfer money from Chime to Cash App will give you more flexibility and control over your finances.
Now, let’s dive into the details and explore the process of setting up your Chime account, linking it to your Cash App, and transferring money seamlessly between the two platforms.
Step 1: Setting up your Chime account
Before you can transfer money from Chime to Cash App, you’ll need to set up your Chime account. Follow these simple steps to get started:
- Download the Chime mobile app: Visit the App Store or Google Play Store and search for the Chime app. Download and install it on your smartphone.
- Create a Chime account: Open the Chime app and click on “Sign Up” to create a new account. You’ll be guided through the registration process, which involves providing your personal information, such as your name, email address, and social security number.
- Verify your identity: Chime takes security seriously and requires identity verification to protect against fraud. Follow the instructions provided in the app to complete the ID verification process. This may involve taking a picture of your ID card or answering a few security questions.
- Set up direct deposit (optional): If you’d like to have your paychecks deposited directly into your Chime account, you can set up direct deposit. Chime provides you with a routing number and account number that you can provide to your employer or clients.
Once you have completed these steps, your Chime account will be created, and you’ll have access to a range of features, including online banking, mobile check deposit, and the ability to transfer money to other accounts.
It’s worth noting that Chime is a fee-free banking service, meaning you won’t be charged for monthly maintenance, overdrafts, or foreign transactions. This makes it an attractive option for individuals looking for a simple and cost-effective financial solution.
In the next step, we’ll guide you through linking your Chime account to your Cash App for seamless money transfers.
Step 2: Linking your Chime account to your Cash App
Now that you have set up your Chime account, the next step is to link it to your Cash App. Follow these straightforward instructions to establish the connection:
- Open your Cash App: Launch the Cash App on your smartphone. If you don’t have the app yet, you can download it from the App Store or Google Play Store.
- Access the ‘Banking’ section: Once you’re in the Cash App, locate and tap the ‘Banking’ tab. This is typically represented by an icon featuring a dollar sign and a card.
- Add a bank account: In the ‘Banking’ section, you will see an option to ‘Add a bank’. Tap on it to initiate the process of linking your Chime account.
- Select ‘Chime’: Cash App provides a list of popular banking institutions. Scroll through the options and find ‘Chime’. Tap on ‘Chime’ to select it as the bank account you want to add.
- Provide your Chime account details: Cash App will prompt you to enter your Chime account details, including your Chime account number and routing number. Consult your Chime app or website to locate these details if you’re unsure.
- Verify the account: Cash App will likely ask you to verify the account by completing additional security steps. This may involve confirming your identity or authorizing the link between your Chime account and Cash App.
Once you have successfully linked your Chime account to your Cash App, you will have the ability to transfer money between the two accounts seamlessly. Keep in mind that the verification process may take a short amount of time, so be patient if there is a delay in accessing the functionality.
In the next step, we will cover how to verify your Chime account on Cash App to finalize the setup and ensure a smooth money transfer process.
Step 3: Verifying your Chime account on Cash App
After linking your Chime account to your Cash App, the next step is to verify your Chime account within the Cash App. This verification process is crucial to ensure the security and integrity of your financial transactions. Follow these steps to complete the verification:
- Open your Cash App: Launch the Cash App on your smartphone.
- Access the ‘Banking’ section: Once you’re in the Cash App, tap the ‘Banking’ tab.
- Select your Chime account: In the ‘Banking’ section, locate and tap on your Chime account. This will take you to the account details and transaction history.
- Tap ‘Verify Account’: Within the Chime account details, you should see an option to ‘Verify Account’. Tap on it to initiate the verification process.
- Follow the prompts: Cash App will guide you through the verification process, which may include additional security challenges or identity confirmation. Follow the prompts provided by Cash App and provide any necessary information or documentation.
- Wait for verification: Once you have completed the required steps, Cash App will process your verification request. This may take a short amount of time, so be patient and check back later if needed.
- Receive verification confirmation: Once your Chime account has been successfully verified on Cash App, you will receive a notification or confirmation within the app. This indicates that your Chime account is now ready for money transfers.
Verifying your Chime account within Cash App ensures that you have legitimate access to the account and prevents unauthorized users from making transactions on your behalf. It is an important step to protect your financial information and maintain the security of your funds.
With your Chime account now verified on Cash App, you are ready to move on to the next step: transferring money from your Chime account to your Cash App balance. We will cover this process in detail in the following section.
Step 4: Transferring money from Chime to Cash App
Transferring money from your Chime account to your Cash App balance is incredibly simple. Follow these steps to initiate the transfer:
- Open your Cash App: Launch the Cash App on your smartphone.
- Access the ‘Banking’ section: Once you’re in the Cash App, tap the ‘Banking’ tab.
- Select your Chime account: In the ‘Banking’ section, locate and tap on your Chime account. This will take you to the account details and transaction history.
- Tap ‘Transfer Money’: Within the Chime account details, you should see an option to ‘Transfer Money’. Tap on it to enter the transfer details.
- Enter transfer amount: In the transfer details section, enter the amount you want to transfer from your Chime account to your Cash App balance.
- Review and confirm: Take a moment to review the transfer details, including the amount and the destination. Once you’ve confirmed that everything is correct, proceed to confirm the transfer.
- Wait for the transfer to complete: The transfer process may take a few moments to complete, depending on various factors such as network speed and transaction load. Be patient and avoid navigating away from the app during this time.
Once the transfer is complete, you will see the transferred amount reflected in your Cash App balance. You can now use this balance to make payments, send money to other Cash App users, or withdraw it to your connected bank account.
It’s important to note that there may be limits on the amount you can transfer from your Chime account to your Cash App balance within a certain time period. These limits can vary and may depend on factors such as your account activity and verification status. Check the terms and conditions of both Chime and Cash App for more information on transfer limits and restrictions.
In the next step, we will cover how to confirm the transfer on Cash App to ensure that the funds have been successfully deposited into your account.
Step 5: Confirming the transfer on Cash App
After transferring money from your Chime account to your Cash App balance, it is important to confirm the transfer to ensure that the funds have been successfully deposited into your account. Follow these steps to confirm the transfer on Cash App:
- Open your Cash App: Launch the Cash App on your smartphone.
- Access the ‘Banking’ section: Once you’re in the Cash App, tap the ‘Banking’ tab.
- Select your Cash App balance: In the ‘Banking’ section, locate and tap on your Cash App balance. This will take you to the account details and transaction history.
- Check transaction history: Within the Cash App balance details, review the transaction history to locate the transfer you made from your Chime account.
- Verify the details: Confirm that the transfer amount, date, and time of the transaction match your intended transfer.
- Check the available balance: Ensure that the transferred funds have been added to your Cash App balance. The amount should reflect the transferred amount from your Chime account.
- Verify transaction status: Look for any indications or status updates that confirm the transfer as successful. This may include a “Completed” or “Successful” status next to the transaction.
By confirming the transfer on Cash App, you ensure that the funds have been successfully deposited into your account and are available for use. If you notice any discrepancies or issues with the transfer, contact Cash App support for assistance.
It’s worth noting that transfers between Chime and Cash App are generally processed in real-time, but there may be instances where delays occur due to technical or network issues. If you do not see the transferred funds reflecting in your Cash App balance after a reasonable amount of time, contact customer support to investigate the issue.
With the transfer confirmed and the funds successfully deposited into your Cash App balance, you can now proceed to the final step: withdrawing money from your Cash App balance. We will cover this process in the following section.
Step 6: Withdrawing money from your Cash App balance
Once you have transferred money from your Chime account to your Cash App balance, you may want to withdraw the funds to access them in a different form. Follow these steps to withdraw money from your Cash App balance:
- Open your Cash App: Launch the Cash App on your smartphone.
- Access the ‘Banking’ section: Once you’re in the Cash App, tap the ‘Banking’ tab.
- Select your Cash App balance: In the ‘Banking’ section, locate and tap on your Cash App balance to access the account details.
- Tap ‘Cash Out’: Within the Cash App balance details, you should see an option to ‘Cash Out’. Tap on it to initiate the withdrawal process.
- Choose the withdrawal method: Cash App provides various withdrawal methods, such as transferring to your connected bank account or using the Cash App card for in-person or online purchases. Select your preferred withdrawal method.
- Enter withdrawal details: Depending on the withdrawal method you choose, Cash App may require additional information, such as bank account details or the desired withdrawal amount. Enter the required details accurately.
- Confirm the withdrawal: Review the withdrawal details, including the amount and destination, to ensure everything is correct. Once you’ve confirmed the withdrawal, proceed to confirm the transaction.
- Wait for the withdrawal to complete: The withdrawal process may take a short amount of time to complete, depending on the method chosen and any processing times associated with it. Be patient and avoid navigating away from the app during this time.
Once the withdrawal is complete, the funds will be transferred to the chosen withdrawal destination, such as your bank account or Cash App card. You can now use the withdrawn funds as needed, whether it’s for cash withdrawals, online purchases, or any other financial transactions.
It’s important to note that Cash App may have specific withdrawal limits and fees associated with certain withdrawal methods. Be sure to check the terms and conditions of Cash App to understand any applicable fees and restrictions.
Congratulations! You have successfully transferred money from your Chime account to your Cash App balance and learned how to withdraw the funds. You now have the flexibility to manage your finances efficiently using these two user-friendly platforms.
Conclusion
Transferring money from Chime to Cash App provides a seamless and convenient way to manage your finances. By setting up your Chime account, linking it to your Cash App, and verifying the connection, you gain access to a range of features that allow you to easily transfer funds between the two accounts.
Throughout this guide, we have covered the step-by-step process of setting up your Chime account, linking it to your Cash App, verifying your Chime account on Cash App, transferring money from Chime to Cash App, confirming the transfer on Cash App, and finally, withdrawing money from your Cash App balance.
It’s important to remember that while this guide provides general instructions, there may be variations or updates to the process. Always refer to the official documentation and support resources provided by Chime and Cash App for the most accurate and up-to-date information.
Now that you’re familiar with the process, you can take advantage of the flexibility and convenience offered by Chime and Cash App to manage your finances more effectively. Whether you need to send money to friends, pay bills, or access your funds, the seamless integration between Chime and Cash App makes it quick and hassle-free.
Remember to stay mindful of any transfer limits, fees, and security measures associated with these platforms. Keeping your financial information secure is crucial, so exercise caution and report any suspicious activity to the respective customer support teams.
So go ahead and utilize the power of Chime and Cash App to simplify your financial transactions and take control of your money. Enjoy the convenience and ease of transferring money between Chime and Cash App, and make the most of these user-friendly mobile banking solutions.