Introduction
Welcome to our comprehensive guide on how to make payments using Cash App! In this digital age, convenience and simplicity are key when it comes to managing our finances. Cash App is a popular mobile payment service that allows users to send, receive, and request money with just a few taps on their smartphones.
Whether you’re splitting the bill with friends, paying your share of rent, or reimbursing someone for a favor, Cash App provides a seamless and user-friendly platform to handle all your transactions. With its secure and instant money transfer capabilities, Cash App has become a go-to solution for many individuals and businesses alike.
In this guide, we will walk you through the process of setting up your Cash App account, adding funds, sending and requesting payments, withdrawing money, and provide some essential security and privacy tips. Additionally, we will address common troubleshooting issues that may arise while using Cash App.
By the end of this guide, you will have a solid understanding of how to navigate through the app and make payments effortlessly. So, let’s dive in and get started with setting up your Cash App account!
Setting Up Cash App
Before you can start making payments with Cash App, you’ll need to download the app and set up your account. Follow these simple steps to get started:
- Download Cash App: Head to your device’s app store and search for “Cash App.” Download and install the app on your smartphone.
- Create an Account: Launch Cash App and click on the “Sign Up” button. Enter your email address or phone number, and create a unique username and secure password.
- Verify Your Account: Cash App will send you a verification code via email or SMS. Enter the code to confirm and activate your account.
- Link a Payment Method: To send and receive money, you’ll need to link a valid debit or credit card to your Cash App account. Tap on the profile icon in the top left corner of the app, then select “Add a Bank.” Follow the on-screen instructions to add your card details securely.
- Set Up a Cashtag: Cash App allows you to create a unique Cashtag, which is a personalized identifier for your account. It can be your name, username, or any other desired handle. This Cashtag will make it easier for others to send you money. Simply go to the “Profile” tab and select “Edit” next to your Cashtag to set it up.
- Enable Security Features: Cash App offers additional security features, such as Face ID, Touch ID, or a passcode. Go to the “Profile” tab, select “Privacy & Security,” and set up your preferred security measures to protect your account.
Once you have completed these steps, you’re all set up and ready to start making payments with Cash App. In the next section, we will explore how to add funds to your account.
Adding Funds to Your Cash App Account
Now that your Cash App account is set up, you’ll need to add funds to it before you can start making payments. Here’s how you can add money to your Cash App account:
- Open Cash App: Launch the Cash App on your smartphone and sign in to your account using your credentials.
- Tap on the “Banking” Tab: At the bottom of the screen, you’ll find the “Banking” tab. Tap on it to access your Cash App account balance.
- Select “Add Cash”: On the next screen, you’ll see the option to “Add Cash.” Tap on it to initiate the process of adding funds to your account.
- Enter the Amount: Specify the amount of money you want to add to your Cash App account. You can either enter a specific amount or choose from the predefined options.
- Confirm with Touch ID or Enter PIN: Depending on the security settings you’ve enabled, you’ll need to confirm the transaction using either your Touch ID, Face ID, or by entering your Cash App PIN.
- Link a Debit Card: To complete the transaction, you’ll be prompted to link a valid debit card. If you haven’t added a debit card yet, follow the on-screen instructions to securely add one.
- Complete the Transaction: Once your debit card is linked, review the details of the transaction and confirm to add the specified amount to your Cash App account.
It’s important to note that Cash App charges a fee for instant transfers, so be sure to review the details and any associated fees before completing the transaction. Additionally, Cash App has a maximum limit for adding funds, so keep that in mind if you’re planning to add a large amount.
With funds successfully added to your Cash App account, you’re now ready to send payments. In the next section, we will guide you on how to send money using Cash App.
Sending Payments Using Cash App
One of the key features of Cash App is the ability to send money to your friends, family, or anyone else in just a few taps. To send payments using Cash App, follow these simple steps:
- Open Cash App: Launch the Cash App on your smartphone and sign in to your account using your credentials.
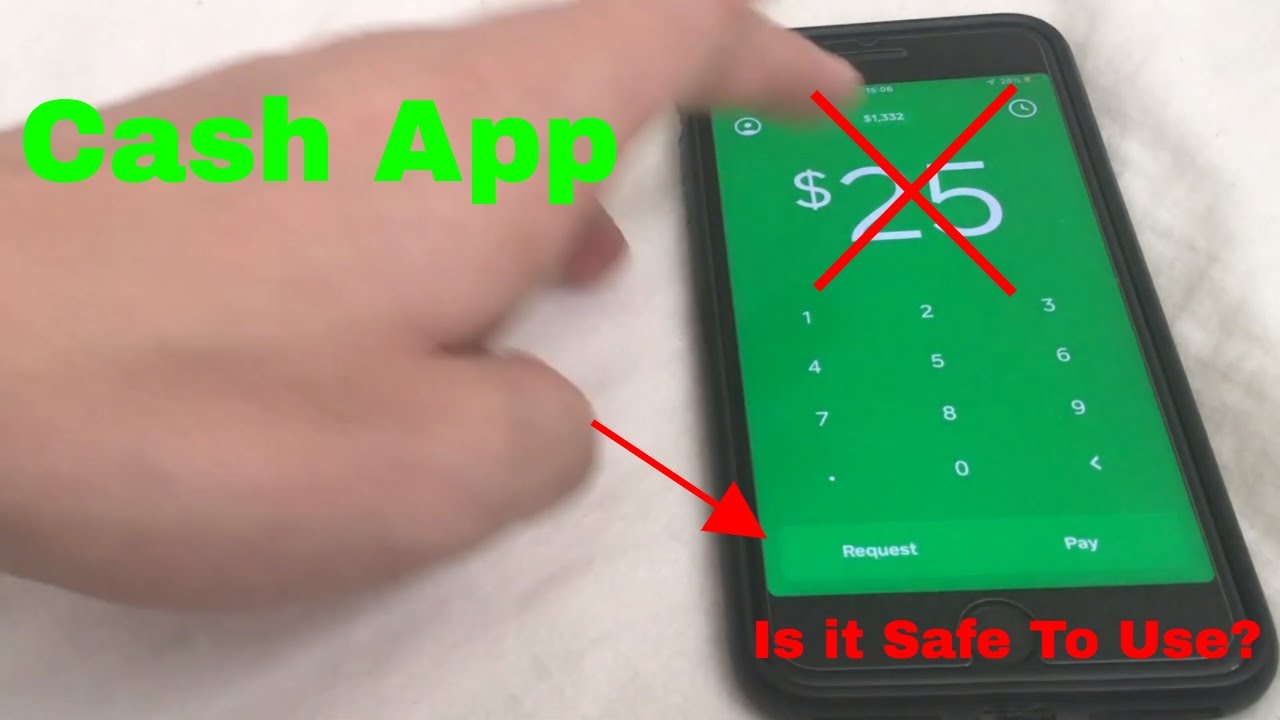
- Tap on the “$” icon: At the bottom of the screen, you’ll find the “$” icon representing the “Send” function. Tap on it to start the payment process.
- Enter the Recipient’s Cashtag or Phone Number: Cash App allows you to send money to the recipient’s Cashtag, which is their unique identifier, or their phone number. Enter the correct information to ensure the payment goes to the intended recipient.
- Specify the Amount: Next, enter the amount you want to send. You can either enter a specific amount or choose from the predefined options.
- Add a Note (Optional): If you want to add a message or note to accompany the transaction, you can do so in the “For” field. This step is optional.
- Review and Confirm: Before finalizing the payment, review the details to ensure they are accurate. Double-check the recipient’s information and the amount you want to send.
- Confirm with Touch ID or Enter PIN: Depending on the security settings you’ve enabled, you’ll need to confirm the transaction using either your Touch ID, Face ID, or by entering your Cash App PIN.
- Complete the Transaction: Once you’ve confirmed the payment, Cash App will initiate the transfer. In a matter of seconds, the funds will be sent to the recipient’s Cash App account.
It’s worth noting that Cash App also allows you to send money to non-Cash App users. Simply select the option to “Request $Cashtag” and enter the recipient’s email address or phone number. They will receive a notification with instructions on how to claim the funds.
With the ability to send payments at your fingertips, let’s move on to the next section, which covers how to request payments using Cash App.
Requesting Payments Using Cash App
In addition to sending payments, Cash App also allows you to request money from friends, family, or anyone else who owes you. Here’s how you can request payments using Cash App:
- Open Cash App: Launch the Cash App on your smartphone and sign in to your account using your credentials.
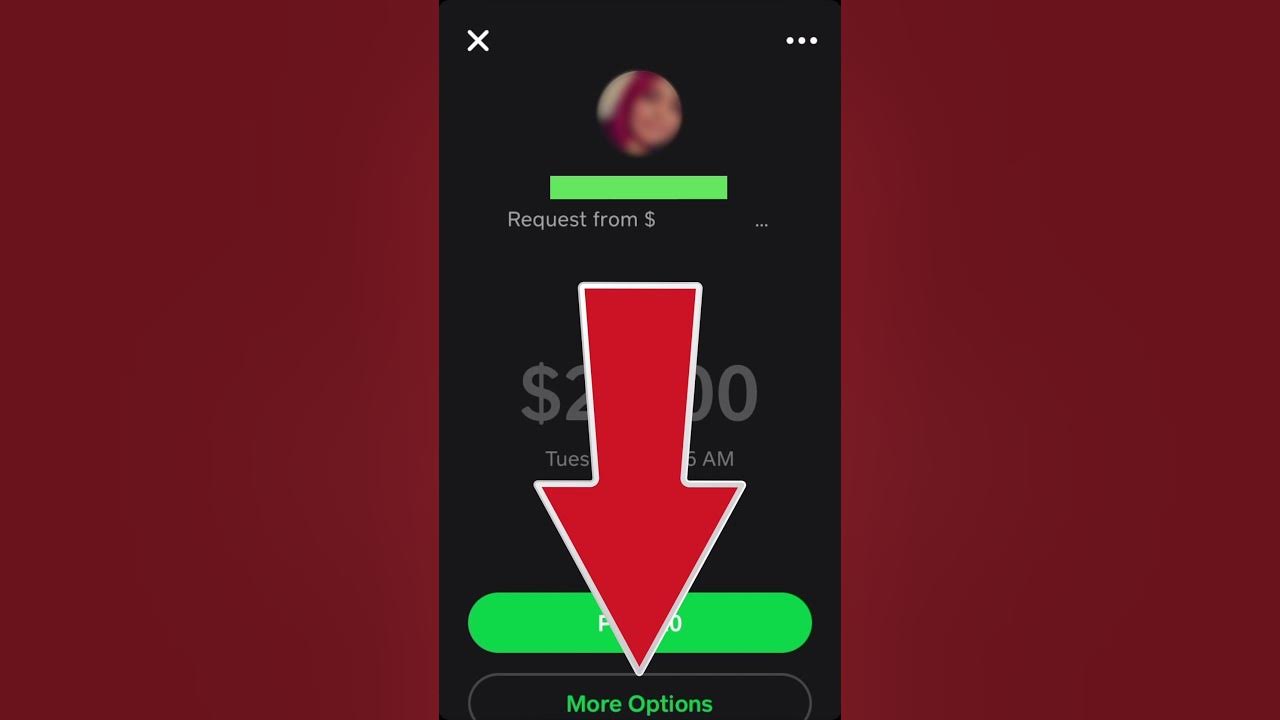
- Tap on the “$” icon: At the bottom of the screen, you’ll find the “$” icon representing the “Request” function. Tap on it to start the payment request process.
- Enter the Recipient’s Cashtag or Phone Number: Just like when sending payments, Cash App requires the recipient’s Cashtag or phone number to initiate a payment request. Enter the correct information to ensure the request reaches the intended person.
- Specify the Amount: Next, enter the amount you want to request. You can either enter a specific amount or choose from the predefined options.
- Add a Note (Optional): If you want to provide additional information or context for the payment request, you can add a note in the “For” field. This step is optional but can help clarify the purpose of the request.
- Review and Confirm: Take a moment to review the details of the payment request. Double-check the recipient’s information and the requested amount to ensure accuracy.
- Confirm with Touch ID or Enter PIN: Depending on your security settings, you may need to authenticate the transaction using Touch ID, Face ID, or your Cash App PIN.
- Send the Request: After confirming the payment request, Cash App will send a notification to the recipient, letting them know that you’re requesting payment. They can then follow the instructions within the app to fulfill the payment request.
It’s important to communicate with the recipient outside of Cash App, such as through messaging or in person, to inform them about the payment request. This way, they can promptly fulfill it, ensuring a smooth and efficient transaction.
With the ability to send and request payments using Cash App, let’s move on to the next section, which covers how to withdraw funds from your Cash App account.
Withdrawing Funds from Your Cash App Account
When you receive payments or accumulate funds in your Cash App account, you may want to withdraw the money and transfer it to your bank account. Cash App makes it easy to withdraw funds in just a few simple steps. Here’s how:
- Open Cash App: Launch the Cash App on your smartphone and sign in to your account using your credentials.
- Tap on the “$” icon: At the bottom of the screen, you’ll find the “$” icon representing the “Balance” function. Tap on it to access your Cash App account balance.
- Select “Cash Out”: On the next screen, you’ll find the option to “Cash Out.” Tap on it to initiate the process of withdrawing funds.
- Enter the Withdrawal Amount: Specify the amount you want to withdraw from your Cash App account. You can either enter a specific amount or choose from the predefined options.
- Choose your Withdrawal Speed: Cash App offers two withdrawal options: Standard (1-3 business days) and Instant (additional fee applies). Select the withdrawal speed based on your preference and urgency.
- Confirm with Touch ID or Enter PIN: Depending on the security settings you’ve enabled, you’ll need to confirm the withdrawal transaction using either your Touch ID, Face ID, or by entering your Cash App PIN.
- Select your Bank Account: Cash App will display the bank accounts linked to your account. Choose the desired bank account to transfer the funds.
- Complete the Transaction: Once you’ve reviewed the details and confirmed, Cash App will initiate the withdrawal process. If you chose the Instant option, the funds will be transferred immediately. Otherwise, it may take 1-3 business days to reach your bank account.
It’s worth noting that Cash App may charge a fee for Instant withdrawals, so be sure to review the details and associated fees before completing the transaction. Additionally, ensure that your bank account information is accurate to avoid any issues with the withdrawal process.
With the ability to withdraw funds from your Cash App account, you now have a full understanding of the payment process. In the next section, we’ll provide some essential security and privacy tips for using Cash App.
Security and Privacy Tips for Using Cash App
When using any digital payment service, including Cash App, it’s crucial to prioritize your security and protect your privacy. Here are some essential tips to ensure a safe and secure experience:
- Enable Two-Factor Authentication: Cash App offers the option to enable two-factor authentication (2FA) for an additional layer of security. Go to the “Profile” tab, select “Privacy & Security,” and enable 2FA to protect your account from unauthorized access.
- Set a Strong PIN: Choose a unique and strong PIN for your Cash App account. Avoid using common and easily guessable combinations such as birth dates or repetitive numbers.
- Be Cautious of Scams: Cash App transactions should only be conducted with trusted individuals or businesses. Beware of phishing attempts, fake customer support, and suspicious requests for personal or financial information.
- Verify Transaction Details: Before confirming any payments or withdrawals, double-check the recipient’s information, transaction amount, and any associated fees. Pay attention to any discrepancies or unfamiliar details.
- Keep your App Updated: Regularly update the Cash App on your smartphone to ensure you have the latest security patches and features.
- Secure Your Mobile Device: Use a strong passcode or biometric authentication (such as Touch ID or Face ID) to lock your mobile device. This protects your Cash App account in case your device falls into the wrong hands.
- Monitor Your Account Activity: Regularly review your Cash App account activity to identify any unauthorized transactions or suspicious activity. Report any unauthorized transactions to Cash App’s customer support immediately.
- Keep Personal Information Confidential: Avoid sharing sensitive information, such as your Cash App login credentials or bank account details, with anyone. Cash App will never ask for your password or PIN outside of the app.
By following these security and privacy tips, you can safeguard your Cash App account and ensure secure transactions. Stay vigilant and report any potential security concerns to Cash App’s customer support.
In the next section, we’ll address common troubleshooting issues that you may encounter while using Cash App.
Troubleshooting Common Issues with Cash App
While Cash App strives to provide a seamless experience, it’s not uncommon to encounter occasional issues or glitches. Here are some common troubleshooting steps for resolving typical problems with Cash App:
- Check your Internet Connection: Ensure that you have a stable internet connection before using Cash App. Poor or unstable internet connectivity can cause delays or errors in transactions.
- Update the App: Ensure that you have the latest version of Cash App installed on your smartphone. Outdated versions may have bugs or compatibility issues.
- Restart the App: Sometimes, simply restarting the Cash App can resolve minor glitches. Close the app entirely and reopen it to see if the issue persists.
- Clear App Cache: If you’re experiencing persistent issues, clearing the cache of the Cash App can help. Go to your device’s settings, find the Cash App, and clear its cache.
- Verify Recipient Information: Double-check the recipient’s Cashtag, phone number, or email address when sending or requesting payments. Ensure that the information is correct to avoid sending funds to the wrong person.
- Contact Cash App Support: If you’re facing a specific issue that you can’t resolve on your own, reach out to Cash App’s customer support. They can provide guidance and assistance in troubleshooting the problem.
- Monitor Transaction Status: If a payment appears as pending or fails to go through, check the transaction status in your Cash App activity. Look for any error messages or notifications that may provide insights into the issue.
- Review Account Limits: Cash App has certain limits on sending and receiving money. If you’re unable to complete a transaction due to reaching your limit, consider verifying your account or upgrading to a higher account tier to increase your limits.
Remember, Cash App’s customer support is there to assist you with any technical or transaction-related issues. Don’t hesitate to reach out to them directly if you encounter any persistent problems or need further clarification.
Now that we’ve covered troubleshooting, let’s conclude this comprehensive guide to using Cash App.
Conclusion
Cash App provides a user-friendly and convenient platform for making payments, sending and receiving money, and managing your finances. By following the steps outlined in this guide, you can easily set up your Cash App account, add funds, send payments, request money, and withdraw funds to your bank account.
Remember to prioritize your security and privacy by enabling two-factor authentication, setting a strong PIN, and being cautious of scams or suspicious activity. Regularly monitor your account for any unauthorized transactions and keep your app updated to ensure the latest security features.
If you encounter any issues, refer to the troubleshooting steps provided or reach out to Cash App’s customer support for assistance. They are available to help resolve any technical or transaction-related problems you may face.
With its seamless interface and hassle-free payment options, Cash App has become a popular choice for individuals and businesses alike. Whether you’re splitting bills with friends, paying your share of rent, or conducting business transactions, Cash App makes it quick and easy.
We hope this guide has provided you with the necessary information to navigate Cash App confidently and make payments with ease. Now, go ahead and enjoy the convenience and simplicity that Cash App offers for your financial transactions!